Diese Seite gilt für Apigee und Apigee Hybrid.
Apigee Edge-Dokumentation aufrufen

In diesem Schritt erstellen Sie einen einfachen API-Proxy, der einen Mock-Zieldienst aufruft.
Apigee in der Cloud Console
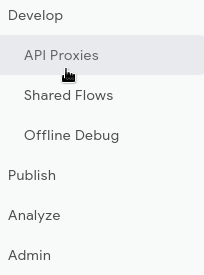
Rufen Sie in der Google Cloud Console die Seite Proxy-Entwicklung > API-Proxys auf.
- Achten Sie darauf, dass der Name Ihrer Organisation in der Projektauswahl im Bereich Google Cloud ausgewählt ist. Der Name der Organisation entspricht dem Namen Ihres Google Cloud -Projekts.
- Klicken Sie auf + Erstellen.
- Wählen Sie im Bereich Proxy erstellen unter Proxy-Vorlage die Option Reverse-Proxy (häufigste Quelle) aus. Ein Reverse-Proxy leitet eingehenden Traffic einfach an einen Back-End-Dienst weiter.
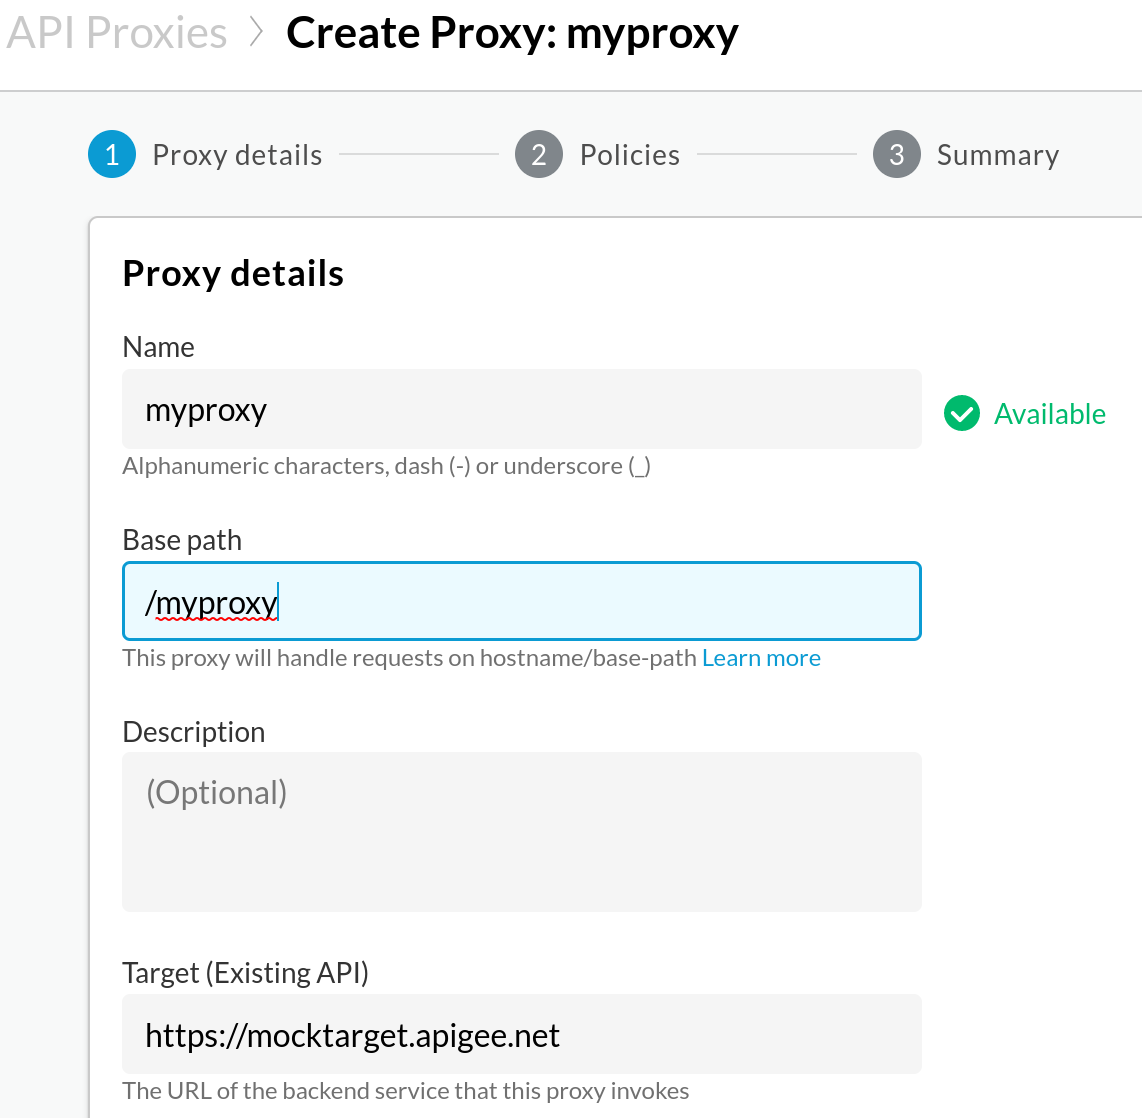
- Geben Sie unter Proxydetails Folgendes ein:
- Proxyname: Geben Sie
myproxyein. In den verbleibenden Schritten in diesem Abschnitt wird davon ausgegangen, dass dies Ihr Proxyname ist. - Basispfad: Wird automatisch auf den Wert festgelegt, den Sie für
Proxy nameeingeben. Der Basispfad ist Teil der URL, die zum Senden von Anfragen an Ihre API verwendet wird. Apigee verwendet die URL, um eingehende Anfragen zuzuordnen und an den richtigen API-Proxy weiterzuleiten. - Beschreibung (Optional): Geben Sie eine Beschreibung für den neuen API-Proxy ein, z. B. „Apigee mit einem einfachen Proxy testen“.
- Ziel (vorhandene API): Geben Sie
https://mocktarget.apigee.netein. Dies definiert die Ziel-URL, die Apigee für eine Anfrage an den API-Proxy aufruft. Der simulierte Zieldienst wird bei Apigee gehostet und gibt einfache Daten zurück. Ein API-Schlüssel oder ein Zugriffstoken sind nicht erforderlich. - Space (optional): Wenn Apigee Spaces für Ihre Organisation aktiviert ist, können Sie den API-Proxy einem Space zuordnen, der aus der Liste der verfügbaren Optionen ausgewählt wird. Weitere Informationen finden Sie unter Apigee Spaces-Übersicht.
- Klicken Sie auf Weiter.
- Proxyname: Geben Sie
- Lassen Sie das Feld Bereitstellungsumgebungen unter Bereitstellen (optional) unverändert. In diesem Beispiel erstellen Sie den Proxy, ohne ihn zu diesem Zeitpunkt bereitzustellen. Sie können das Feld Dienstkonto auch ignorieren. Lassen Sie das Feld leer.
- Klicken Sie auf Erstellen.
Apigee erstellt den neuen Proxy und zeigt eine Zusammenfassung der Proxydetails im Bereich Proxy-Zusammenfassung an.
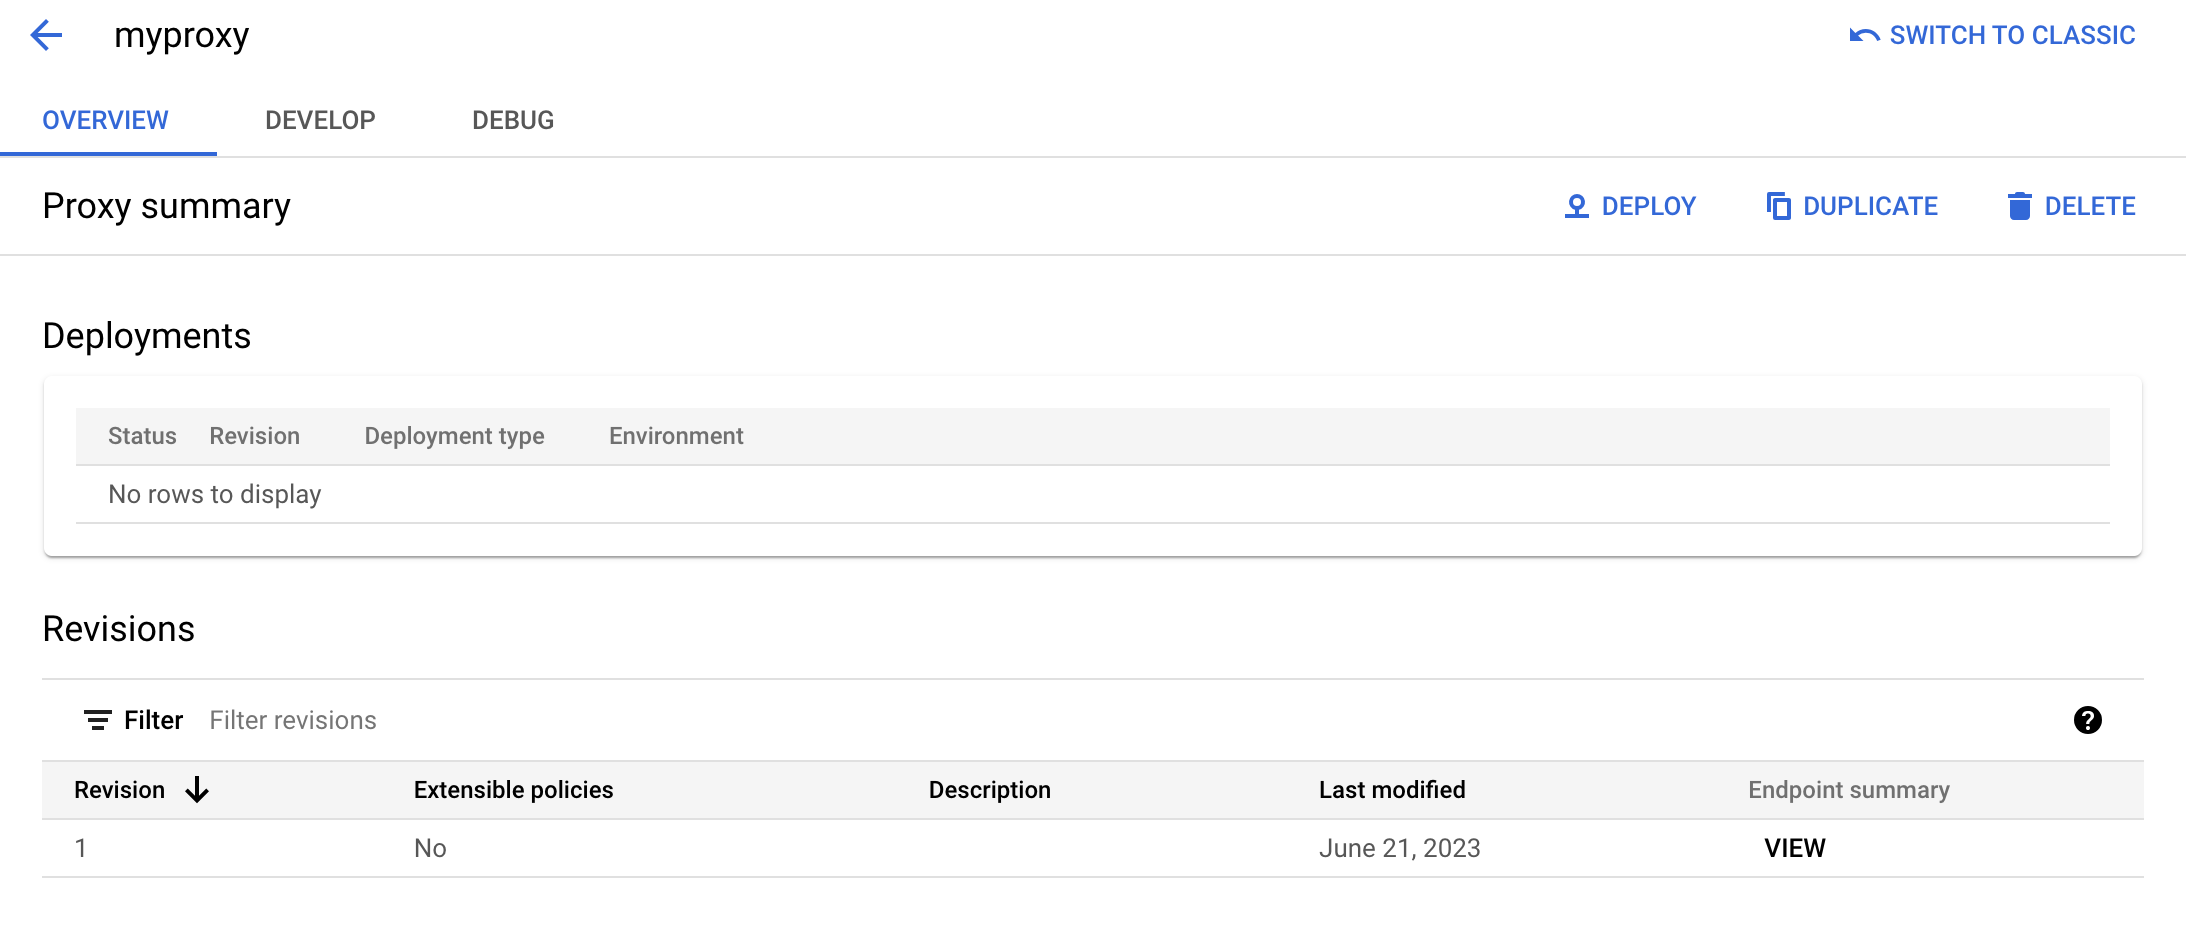
Der Bereich Bereitstellungen ist leer, weil der Proxy noch nicht bereitgestellt wurde.
- Klicken Sie im Abschnitt Überarbeitungen unter Endpunktzusammenfassung auf Anzeigen.
Im Bereich „Endpunkte“ wird Folgendes angezeigt:
- Proxy-Endpunkte: Der Basispfad, den Sie für den Proxy festgelegt haben. In diesem Beispiel ist das
/myproxy. - Zielendpunkte: Der Basispfad, den Sie für das Ziel festlegen. In diesem Beispiel ist das
https://mocktarget.apigee.net.
- Proxy-Endpunkte: Der Basispfad, den Sie für den Proxy festgelegt haben. In diesem Beispiel ist das
- Klicken Sie auf Schließen, um zur Seite „Proxy-Zusammenfassung“ zurückzukehren.
Klassisches Apigee
So erstellen Sie einen einfachen API-Proxy in der klassischen Apigee-Benutzeroberfläche:
- Öffnen Sie die Apigee-Benutzeroberfläche in einem Browser.
- Klicken Sie in der Hauptansicht der Benutzeroberfläche auf Entwickeln > API-Proxys.
Wählen Sie in der Drop-down-Liste Umgebung die Umgebung aus, in der Sie einen neuen API-Proxy erstellen möchten.
In der Apigee-Benutzeroberfläche wird eine Liste der API-Proxys für diese Umgebung angezeigt. Wenn Sie noch keine Proxys erstellt haben, ist die Liste leer.
- Klicken Sie auf Neu erstellen.

Der Assistent zum Erstellen von Proxys wird gestartet.
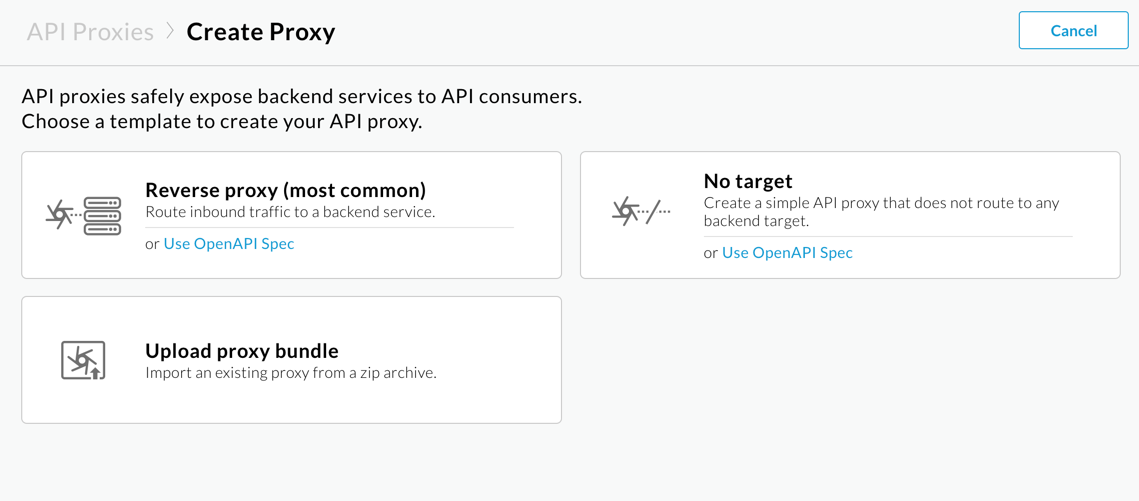
- Wählen Sie Reverse-Proxy (wird am häufigsten verwendet) aus.
Die Ansicht Proxy-Details wird angezeigt.
- Konfigurieren Sie den Proxy mit den folgenden Einstellungen:
- Proxyname: Geben Sie
myproxyein. In den verbleibenden Schritten in diesem Abschnitt wird davon ausgegangen, dass dies Ihre Proxy-ID ist. - Proxy-Basispfad: Wird automatisch auf
/myproxyfestgelegt. Der Proxy-Basispfad ist Teil der URL, die zum Senden von Anfragen an Ihre API verwendet wird. Apigee verwendet die URL, um eingehende Anfragen zuzuordnen und an den richtigen API-Proxy weiterzuleiten. - Beschreibung (optional): Geben Sie eine Beschreibung für den neuen API-Proxy ein, z. B. Apigee mit einem einfachen Proxy testen.
- Ziel (vorhandene API): Geben Sie
https://mocktarget.apigee.netein. Dies definiert die Ziel-URL, die Apigee für eine Anfrage an den API-Proxy aufruft. Der simulierte Zieldienst wird bei Apigee gehostet und gibt einfache Daten zurück. Ein API-Schlüssel oder ein Zugriffstoken sind nicht erforderlich.
Die Details Ihres API-Proxys sollten so aussehen:
- Proxyname: Geben Sie
- Klicken Sie auf Weiter.
- Wählen Sie auf dem Bildschirm Allgemeine Richtlinien die Sicherheitsoption Passthrough (keine Autorisierung) aus.
- Klicken Sie auf Weiter.
- Klicken Sie im Bildschirm Zusammenfassung auf Erstellen. Übernehmen Sie die Auswahl von Optionale Bereitstellung.
Apigee generiert den Proxy (manchmal auch als Proxy-Bundle bezeichnet):
- Klicken Sie auf Zur Proxyliste.
Apigee zeigt die Ansicht Proxys an, in der eine Liste der API-Proxys angezeigt wird. Der neue Proxy hat eine graue Statusanzeige, was bedeutet, dass er noch nicht bereitgestellt wurde.
Als Nächstes stellen Sie den API-Proxy bereit. Ein Proxy muss bereitgestellt werden, bevor er von einem Client verwendet werden kann.
1 (ALS NÄCHSTES) Schritt 2: API-Proxy bereitstellen 3 4 5