This page applies to Apigee and Apigee hybrid.
Apigee API hub lets you consolidate and organize information about all of the APIs of interest to your organization. API hub lets you capture critical information about APIs that allows developers to discover and evaluate them easily and leverage the work of other teams wherever possible. API platform teams can use API hub to gain visibility into and manage their portfolio of APIs.
The value of centralized API management
Many organizations are challenged by the increasing number of APIs that they develop and use. As the number of APIs increases, they become harder to track, which can lead to duplication rather than reuse, an expensive inefficiency. When APIs proliferate without design standards and governance checks, the API landscape grows inconsistent, slowing teams down, while a well-organized API program helps them go faster.
The API hub experience is primarily aimed at consumers and producers of APIs within an organization whose main concerns are finding, listing, comparing, and evaluating APIs both within and external to the organization's network ecosystem. API hub allows you to manage a complete catalog of all your APIs along with their associated entities, including API versions, dependencies, deployments, and more. You can also associate API specifications with API versions, and for OpenAPI specs, API hub parses them and extracts metadata, including API operations. In addition, you can link an API version to a particular API deployment endpoint.
Key benefits of Apigee API hub
API hub administrators can:
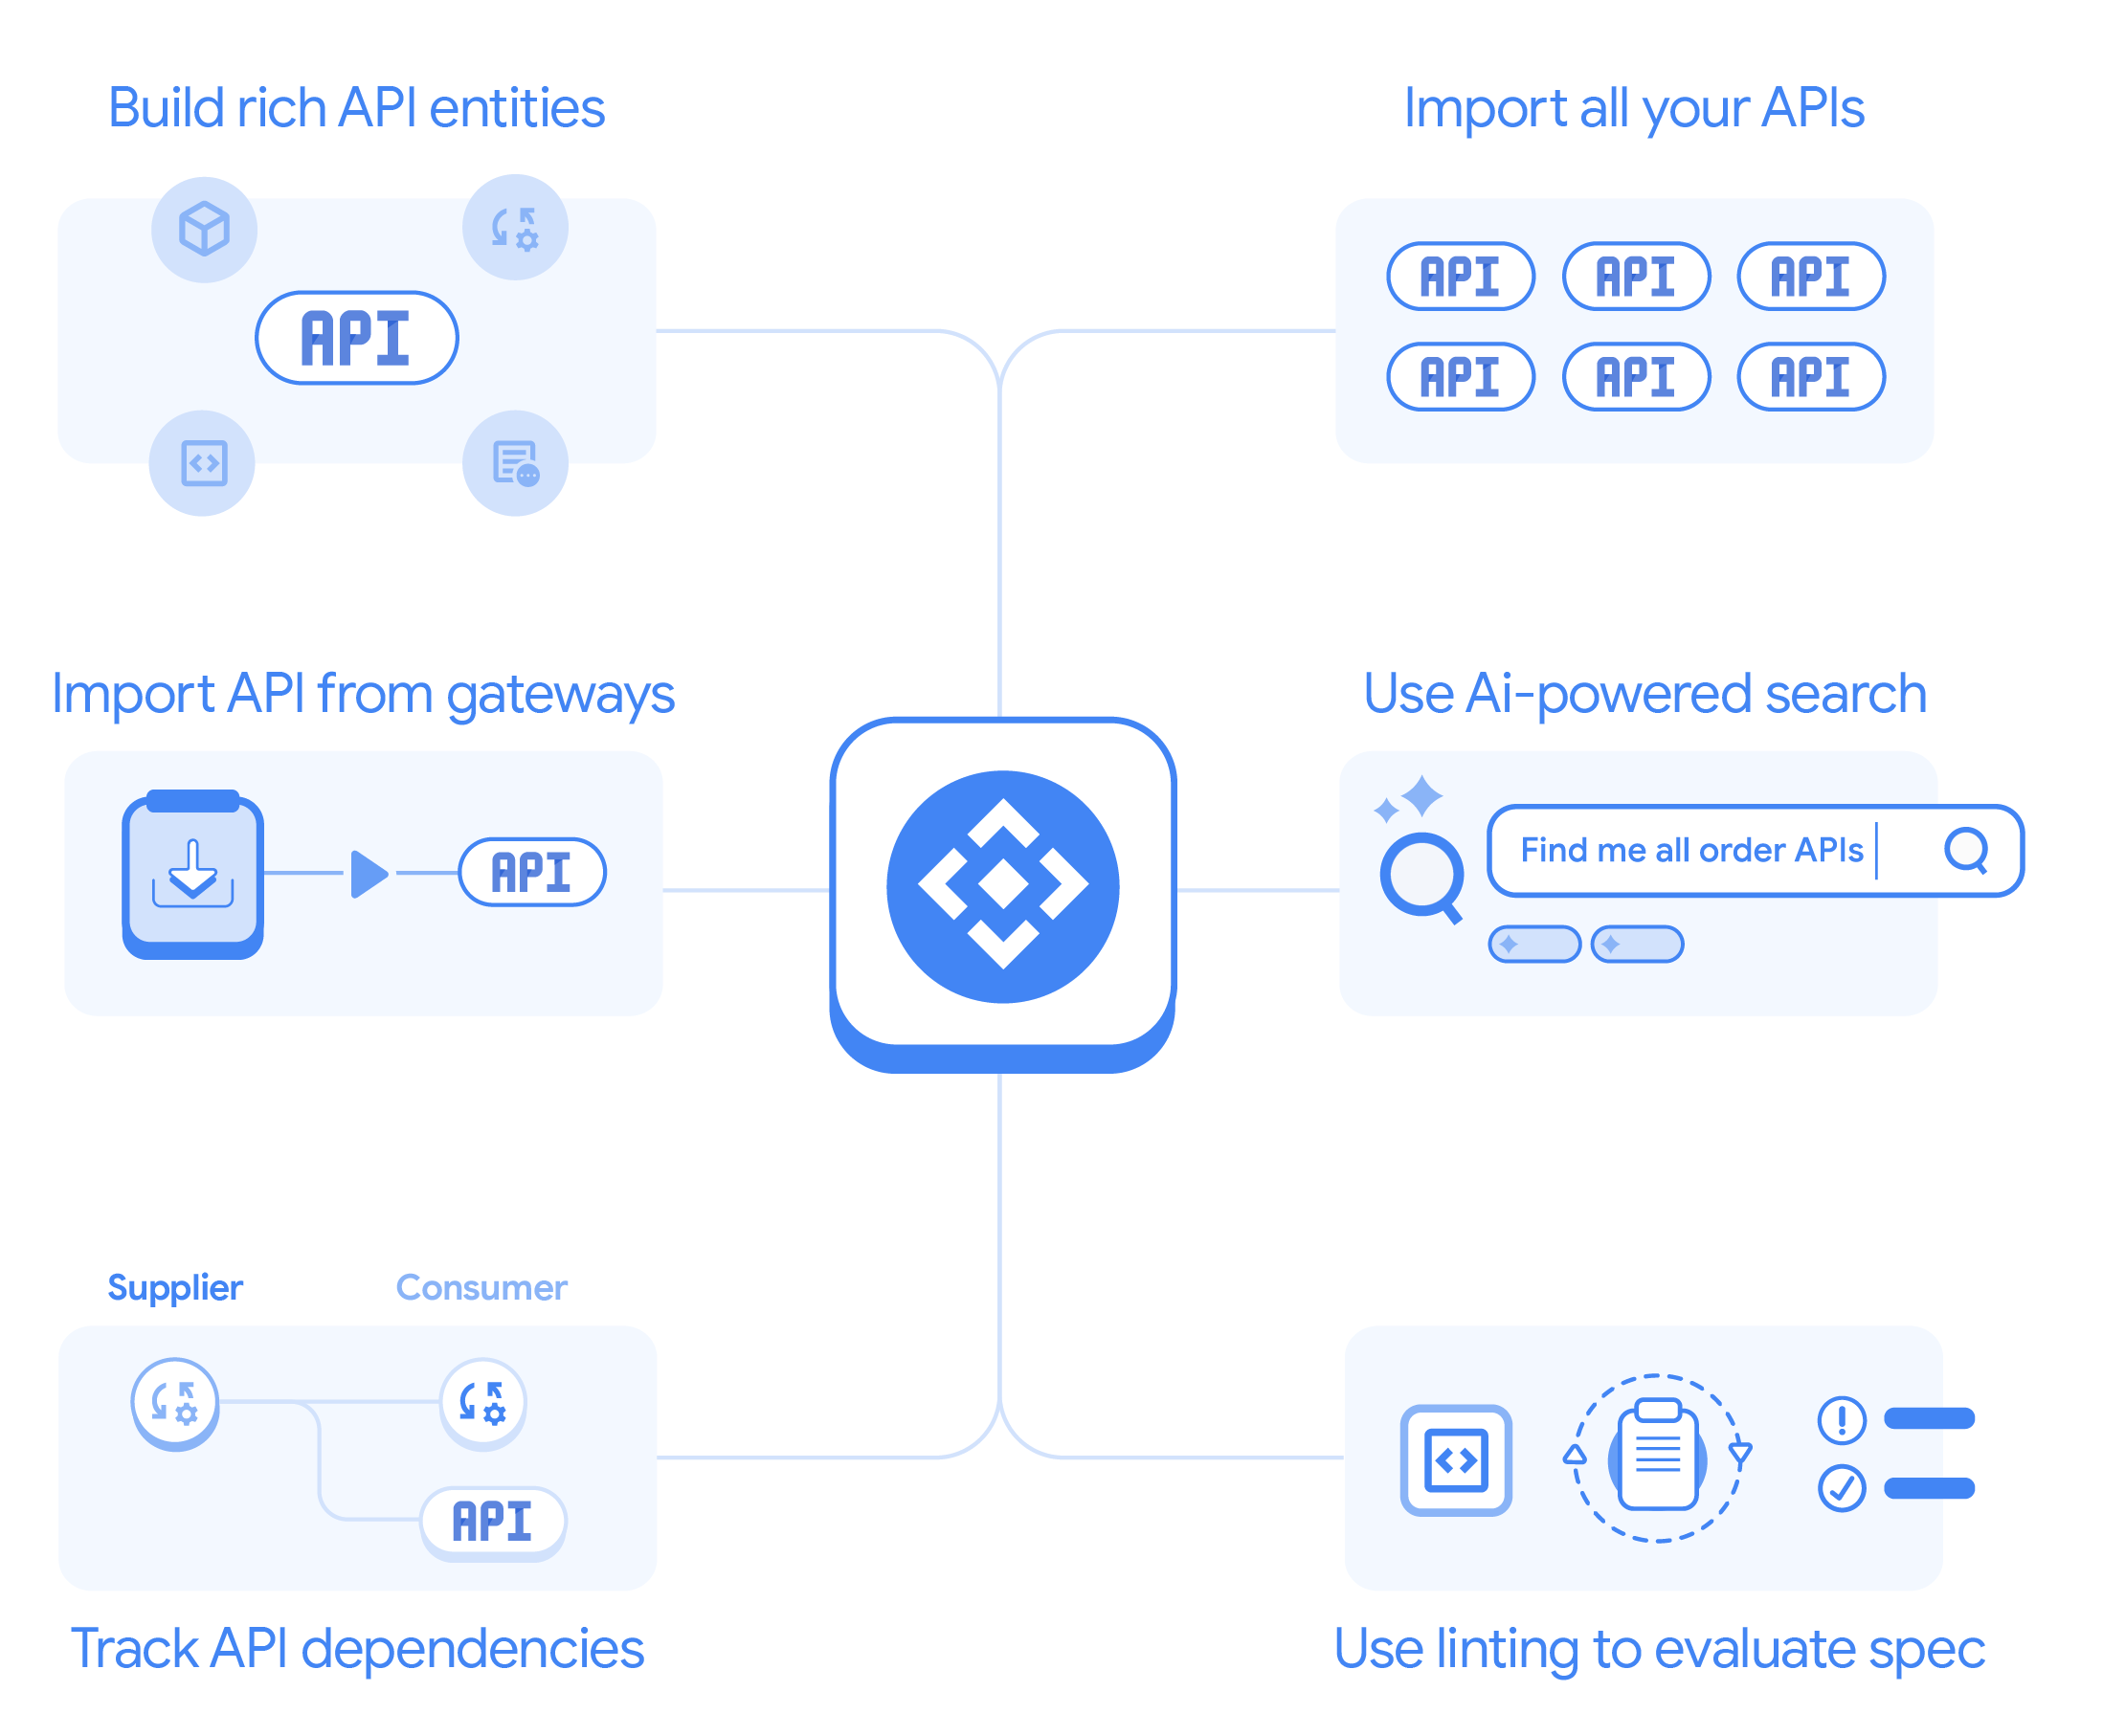
- Add, edit and manage a complete catalog of all your APIs along with their associated entities.
- Manage the entire API lifecycle with support for versioning of APIs, linking versions to API specifications, surfacing the operations parsed from a specification, linking an API version to a particular deployment endpoint, and more.
- Add attributes to your set of APIs and tag them with various lifecycle stages, compliance information, and other information that you wish to track.
- Filter and search for APIs based on a rich set of attributes.
- Link API hub to one or more Apigee and Apigee hybrid projects to automatically fetch Apigee API proxy information and store it in API hub. API hub periodically (once in six hours) runs a scheduler that connects to your Apigee project, and gets the latest proxy definitions.
- Use powerful semantic search capabilities to find APIs with free-form search.
- Track compliance for your API specification files using linting functionality.
- Track dependencies for your APIs by modeling dependencies between various operations in your APIs.
- Store API life cycle data.
With API hub, you bring rich information about your APIs together into one place to accelerate the consistency, use, reuse, and governance of your API portfolio.
Key features and concepts
API resources
An API resource represents an API that exists within your organization's network ecosystem. API resources stored in API hub are searchable and provide detailed operational and descriptive information about the API such as deployments, versions, operations, lifecycle stage, and other key attributes.
Versioning
The ability to model and organize API versions is a key feature of API hub. Every API resource in API hub has at least one version associated with it. You can think of a version as the state of an API at a point in time. Fundamentally, versions help you group and organize your APIs based on underlying sets of operations, deployments, and other metadata.
Auto-register Apigee API proxies
Auto-registration refers to getting API data from external systems into API hub. You can register all the proxies present in an Apigee or Apigee hybrid runtime project directly in API hub by attaching your runtime project to API hub. See Auto-register Apigee proxies.
Spec parsing and linting
Another key API hub feature is its ability to parse certain API specifications, such as OpenAPI specs, into their contained definitions, operations, and other key components, and store that information with an API resource. API hub also provides linting feedback for imported specifications.
Searching
API hub's powerful search capabilities support both LLM-based free-text and filter-based search operations that let you search based on any part of the API definition. These powerful search tools enable you to identify the API asset that serves specific use cases so that you can either avoid rebuilding or duplicating API engineering efforts.
API supply chain
API hub API supply chain helps you view and manage the operational relationships or dependencies between your APIs. Finding and tracking an API's dependencies helps you manage your API ecosystem more efficiently and troubleshoot broken API operations.