Maintenant que vous avez configuré Google Cloud et l'UI Apigee, et que vous avez installé et configuré l'environnement d'exécution, vous êtes prêt à voir comment ils fonctionnent ensemble.
1. Créer un proxy d'API à l'aide de l'interface utilisateur Apigee
Cette section explique comment créer un proxy d'API dans l'interface utilisateur à l'aide de l'assistant de création de proxy d'API.
Pour créer un proxy d'API simple à l'aide de l'assistant de proxy d'API :
- Ouvrez l'interface utilisateur Apigee dans un navigateur.
- Sélectionnez votre organisation dans le menu déroulant situé dans l'angle supérieur gauche.
- Sélectionnez Développer > Proxys d'API dans la vue principale.
- Cliquez sur Créer. L'assistant de proxy d'API démarre.
- Sélectionnez Proxy inverse (solution la plus courante).
La vue Informations sur le proxy s'affiche.
- Configurez votre proxy avec les paramètres suivants :
- Nom du proxy : saisissez "myproxy". Dans les étapes suivantes de cette section, nous partons du principe qu'il s'agit de l'ID de votre proxy.
- Chemin de base du proxy : défini automatiquement sur "/myproxy". Le chemin de base du proxy fait partie de l'URL utilisée pour envoyer des requêtes à votre API. Edge utilise l'URL pour mettre en correspondance et acheminer les requêtes entrantes vers le proxy d'API approprié.
- (Facultatif) Description : saisissez une description de votre nouveau proxy d'API, par exemple "Test Apigee hybride avec un simple proxy".
- Cible (API existante) : saisissez "https://mocktarget.apigee.net". Cela définit l'URL cible qu'Apigee appelle pour une requête adressée au proxy d'API. Le service "mocktarget" est hébergé sur Apigee et renvoie des données simples. Il ne nécessite aucune clé d'API ni jeton d'accès.
Les détails de votre proxy API doivent se présenter comme suit :
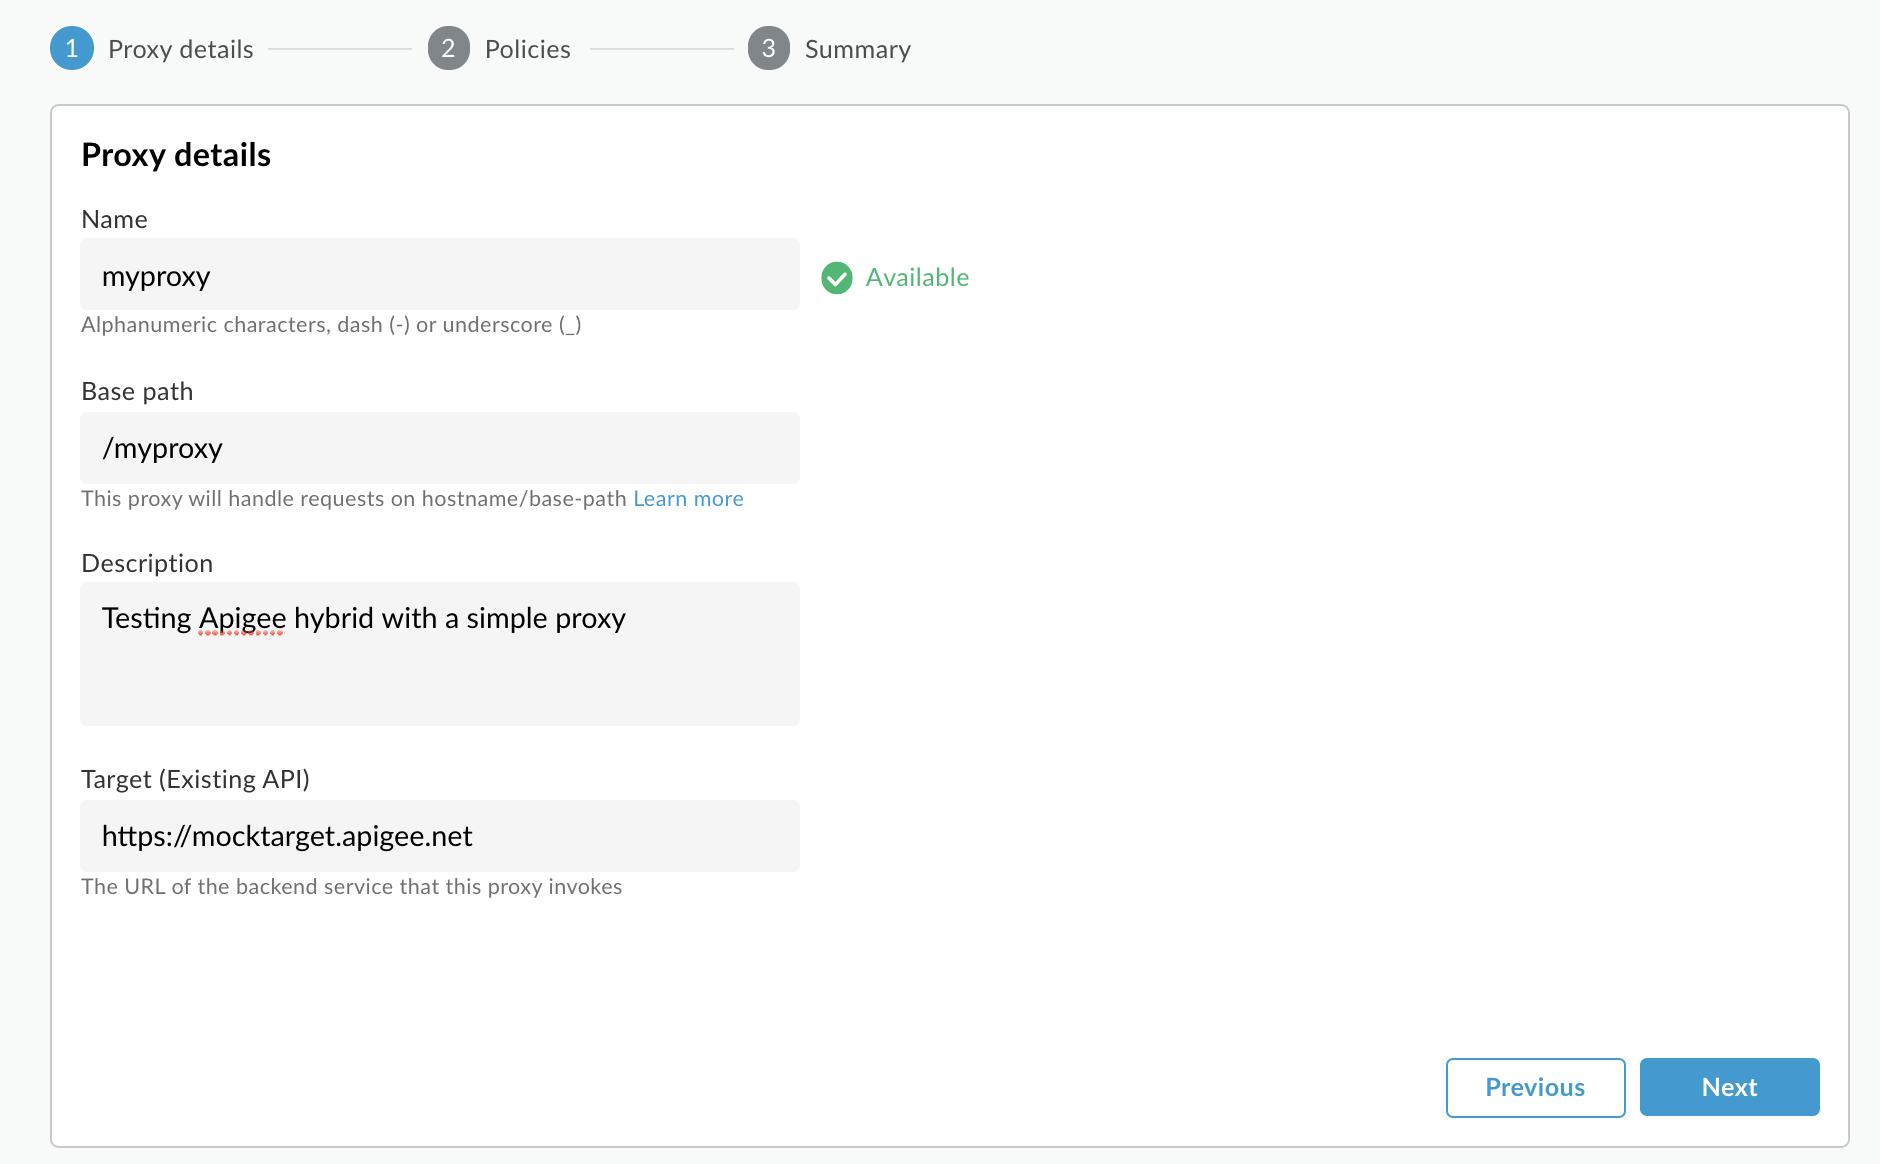
- Cliquez sur Suivant.
- Sur l'écran Règles, sélectionnez l'option de sécurité Direct (sans autorisation).
- Cliquez sur Suivant.
- Sur l'écran Résumé, sélectionnez un environnement sur lequel déployer votre proxy, puis cliquez sur Créer et déployer.
Le mode hybride génère le proxy (parfois appelé groupe de proxy) :
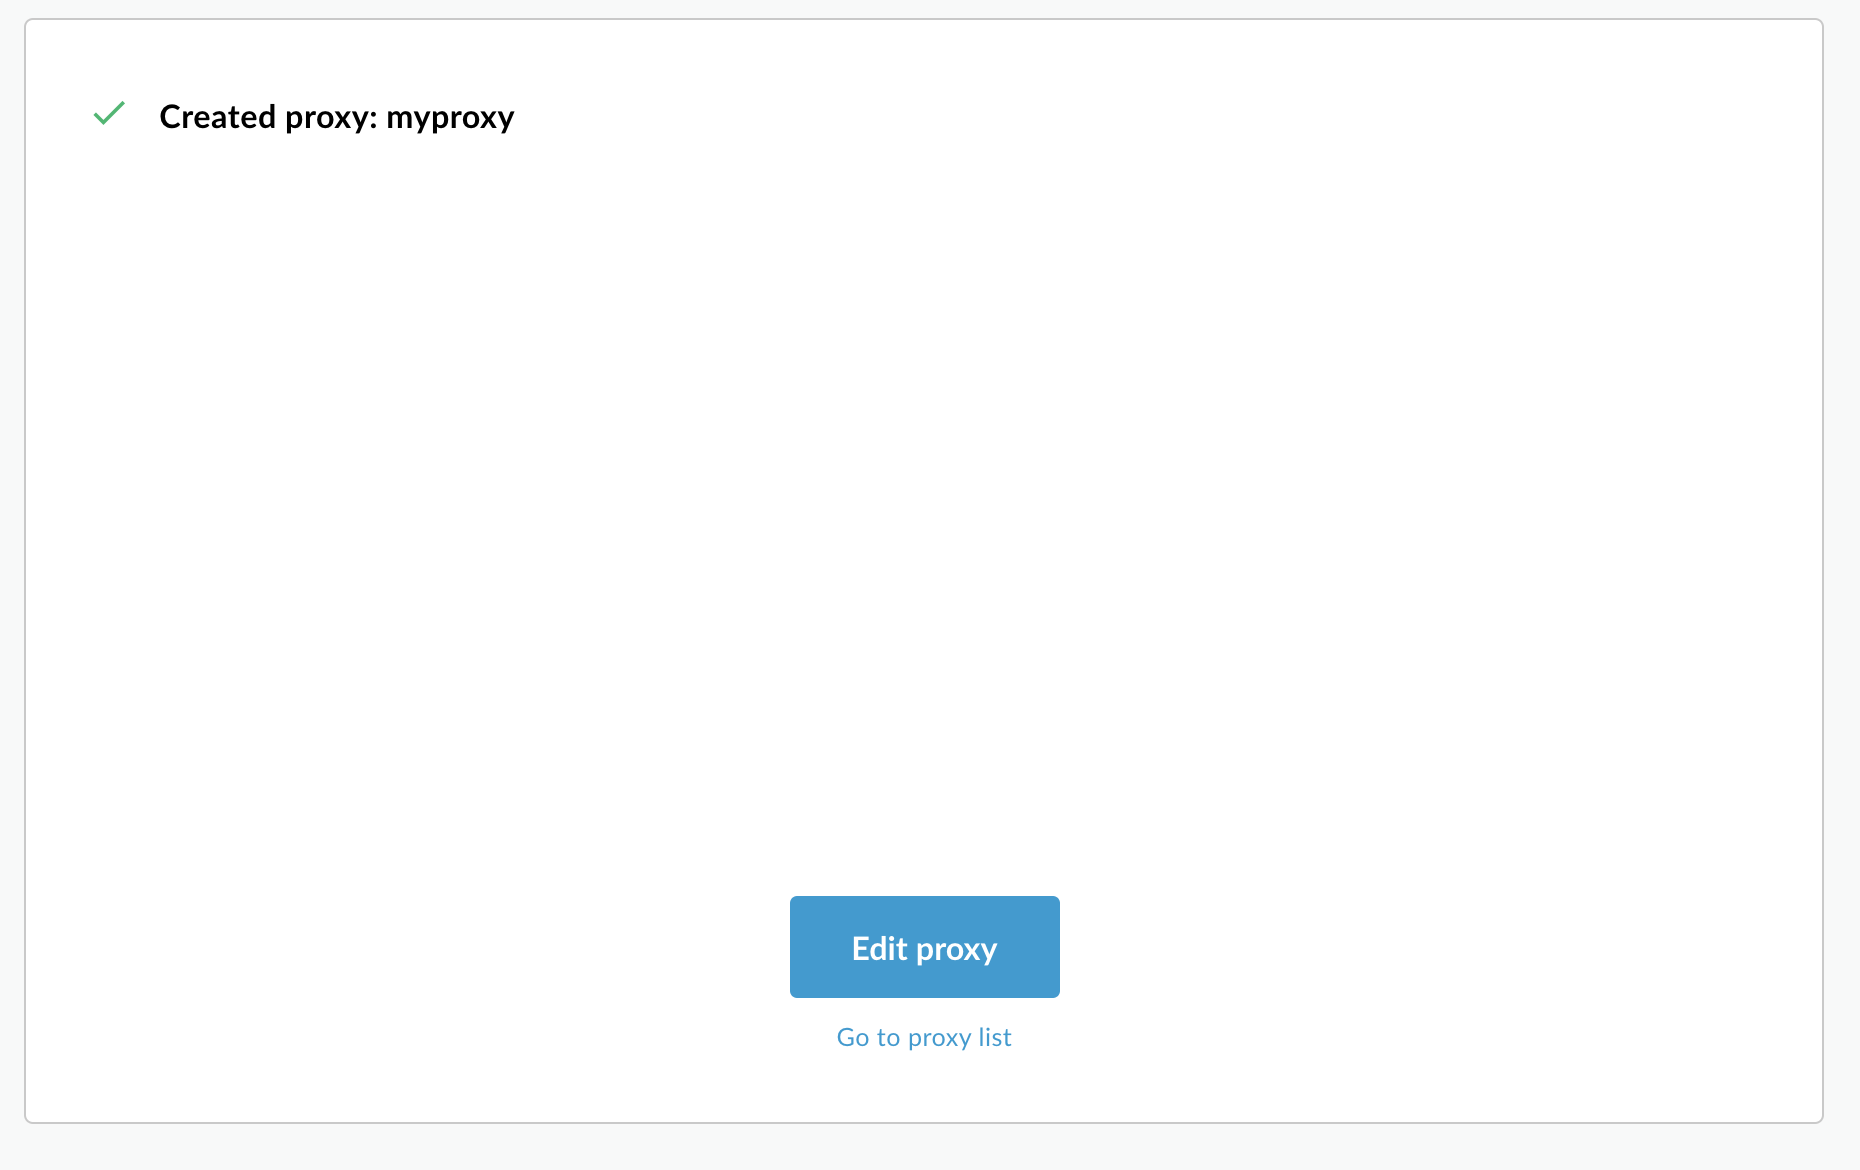
- Cliquez sur Accéder à la liste des proxys.
Apigee affiche la vue Proxy, qui affiche une liste de proxys d'API. Votre nouveau proxy doit apparaître avec un indicateur d'état vert, ce qui signifie qu'il a été déployé.
2. Appeler le proxy d'API
Lorsque l'interface indique que votre proxy est déployé, vous pouvez essayer de l'appeler à l'aide de cURL ou du client REST de votre choix. Exemple :
- Assurez-vous que la variable d'environnement
DOMAINest définie sur le nom de domaine que vous avez utilisé pour le nom d'hôte de votre groupe d'environnement dans la section Configuration du projet et de l'organisation – Étape 3 : Créer un groupe d'environnements.echo $DOMAIN
-
Recherchez l'adresse IP externe et le port de la passerelle d'entrée Apigee à l'aide de la commande suivante:
kubectl get svc -n apigee -l app=apigee-ingressgateway
Le résultat doit se présenter sous la forme suivante :
NAME                                        TYPE           CLUSTER-IP    EXTERNAL-IP     PORT(S)                                      AGE
apigee-ingressgateway-prod-hybrid-37a39bd   LoadBalancer   192.0.2.123   233.252.0.123   15021:32049/TCP,80:31624/TCP,443:30723/TCP   16h
- Exportez votre adresse IP externe et votre port vers des variables:
export INGRESS_IP_ADDRESS=EXTERNAL_IP_ADDRESS
export INGRESS_PORT=PORT_NUMBER - Appelez le proxy d'API à l'aide de la commande suivante :
curl  -H Host:$DOMAIN --resolve \
  $DOMAIN:$INGRESS_PORT:$INGRESS_IP_ADDRESS  \
  https://$DOMAIN:$INGRESS_PORT/myproxy -k
Exemple :
curl -H Host:example.com --resolve example.com:443:233.252.0.123 https://example.com:443/myproxy -k
Pour en savoir plus sur la création et le déploiement de proxys d'API, consultez la page Présentation de la création de votre premier proxy.