Maintenant que vous avez configuré Google Cloud et l'UI Apigee hybrid, et que vous avez installé et configuré l'environnement d'exécution, vous êtes prêt à voir comment ils fonctionnent ensemble.
Cette section vous guide au cours des procédures suivantes :
Créez un proxy d'API dans l'interface utilisateur d'Apigee à l'aide de l'assistant de proxy d'API.
Sélectionnez Développer > Proxys d'API dans la vue principale.
Dans la liste déroulante Environnement, sélectionnez l'environnement dans lequel vous souhaitez créer un proxy d'API. Dans cette section, nous partons du principe que le nom de l'environnement est "test". Vous avez créé au moins un environnement à l'étape 5 : Ajouter un environnement.
L'interface utilisateur hybride affiche la liste des proxys d'API pour cet environnement. Si vous n'avez pas encore créé de proxy, la liste est vide.
Cliquez sur +Proxy en haut à droite. L'assistant de création de proxy d'API démarre :
Sélectionnez Proxy inverse (le plus courant), puis cliquez sur Suivant.
La vue Informations sur le proxy s'affiche.
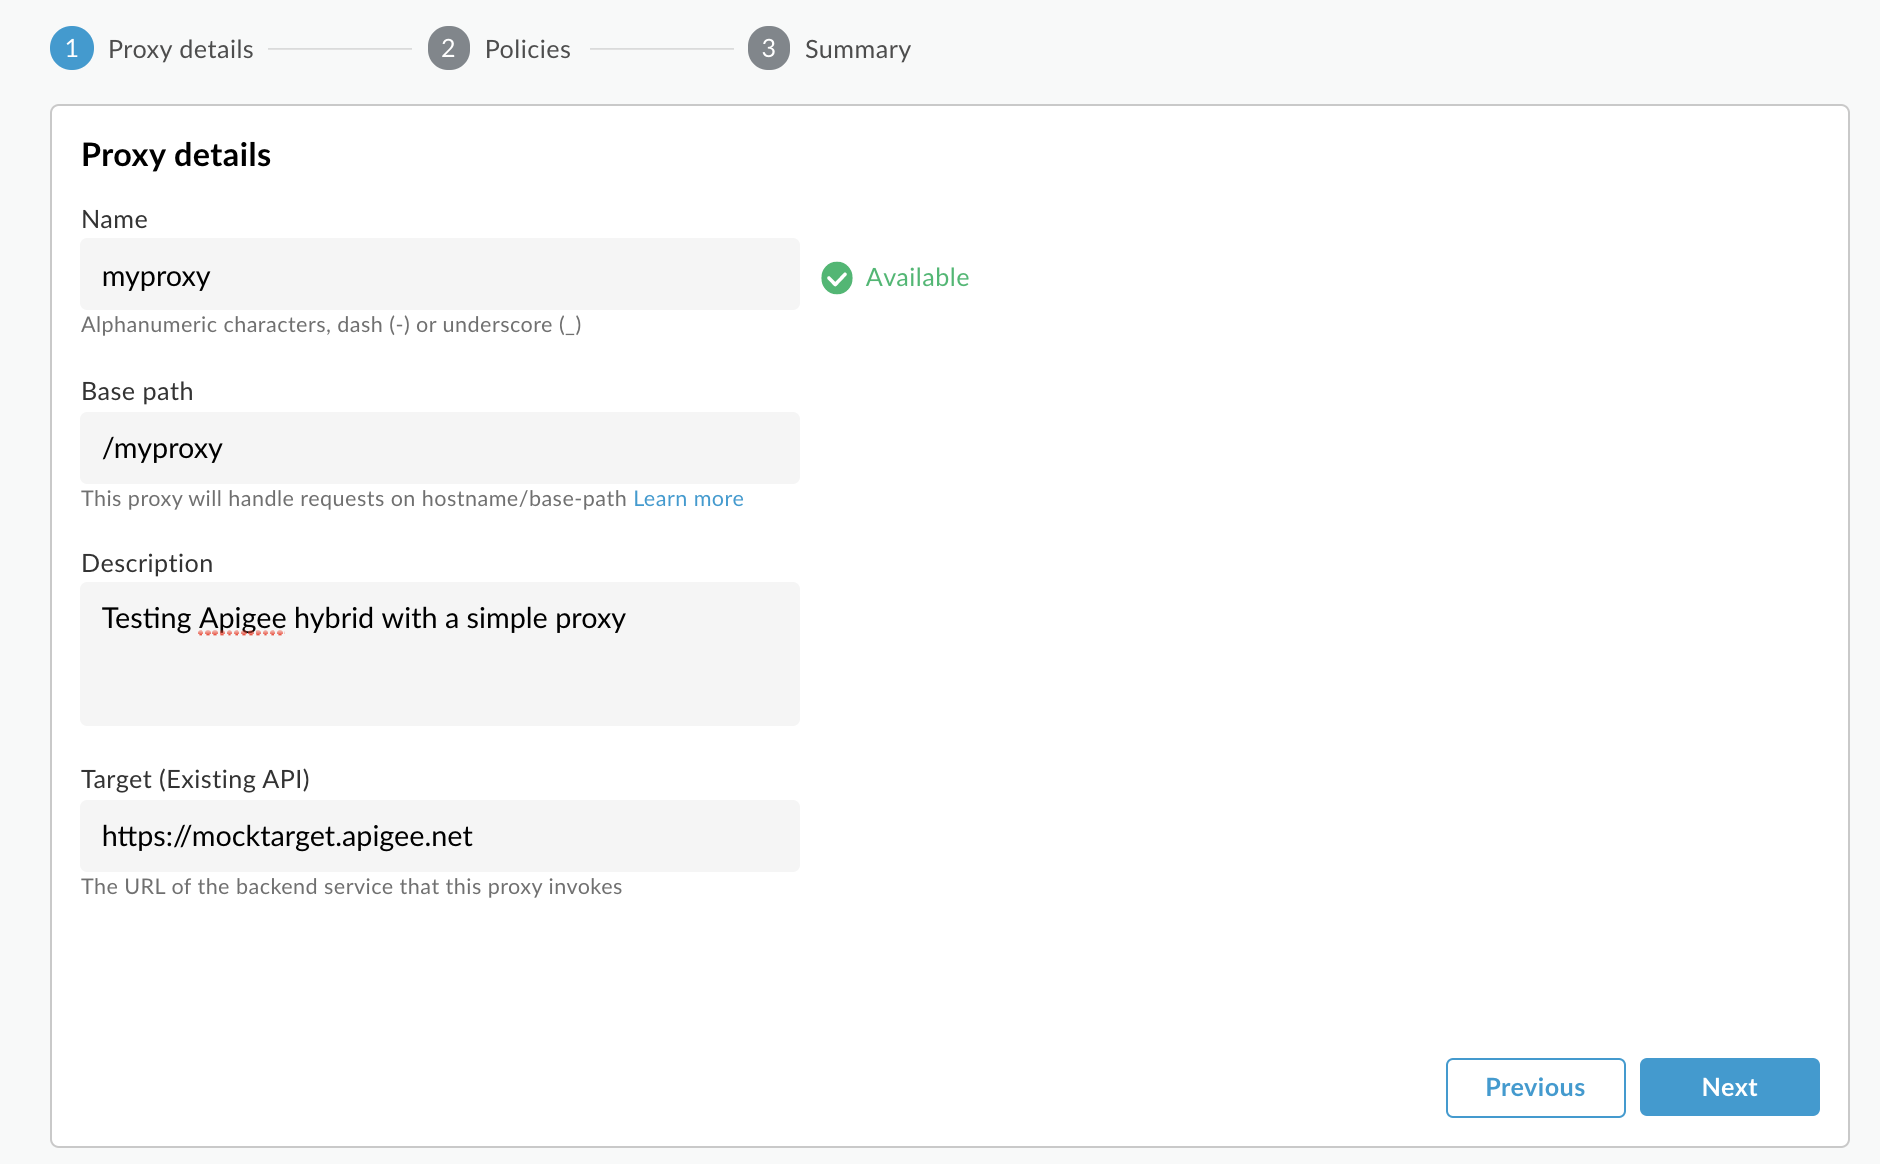
Configurez votre proxy avec les paramètres suivants :
Nom du proxy : saisissez "myproxy". Dans les étapes suivantes de cette section, nous partons du principe qu'il s'agit de l'ID de votre proxy.
Chemin de base du proxy : défini automatiquement sur "/myproxy". Le chemin de base du proxy fait partie de l'URL utilisée pour envoyer des requêtes à votre API. Edge utilise l'URL pour mettre en correspondance et acheminer les requêtes entrantes vers le proxy d'API approprié.
(Facultatif) Description : saisissez une description de votre nouveau proxy d'API, par exemple "Test Apigee hybride avec un simple proxy".
Cible (API existante) : saisissez "https://mocktarget.apigee.net". Cela définit l'URL cible qu'Apigee appelle pour une requête adressée au proxy d'API. Le service "mocktarget" est hébergé sur Apigee et renvoie des données simples. Il ne nécessite aucune clé d'API ni jeton d'accès.
Les détails de votre proxy API doivent se présenter comme suit :
Cliquez sur Suivant.
Sur l'écran Règles, sélectionnez l'option de sécurité Direct (sans autorisation).
Cliquez sur Suivant.
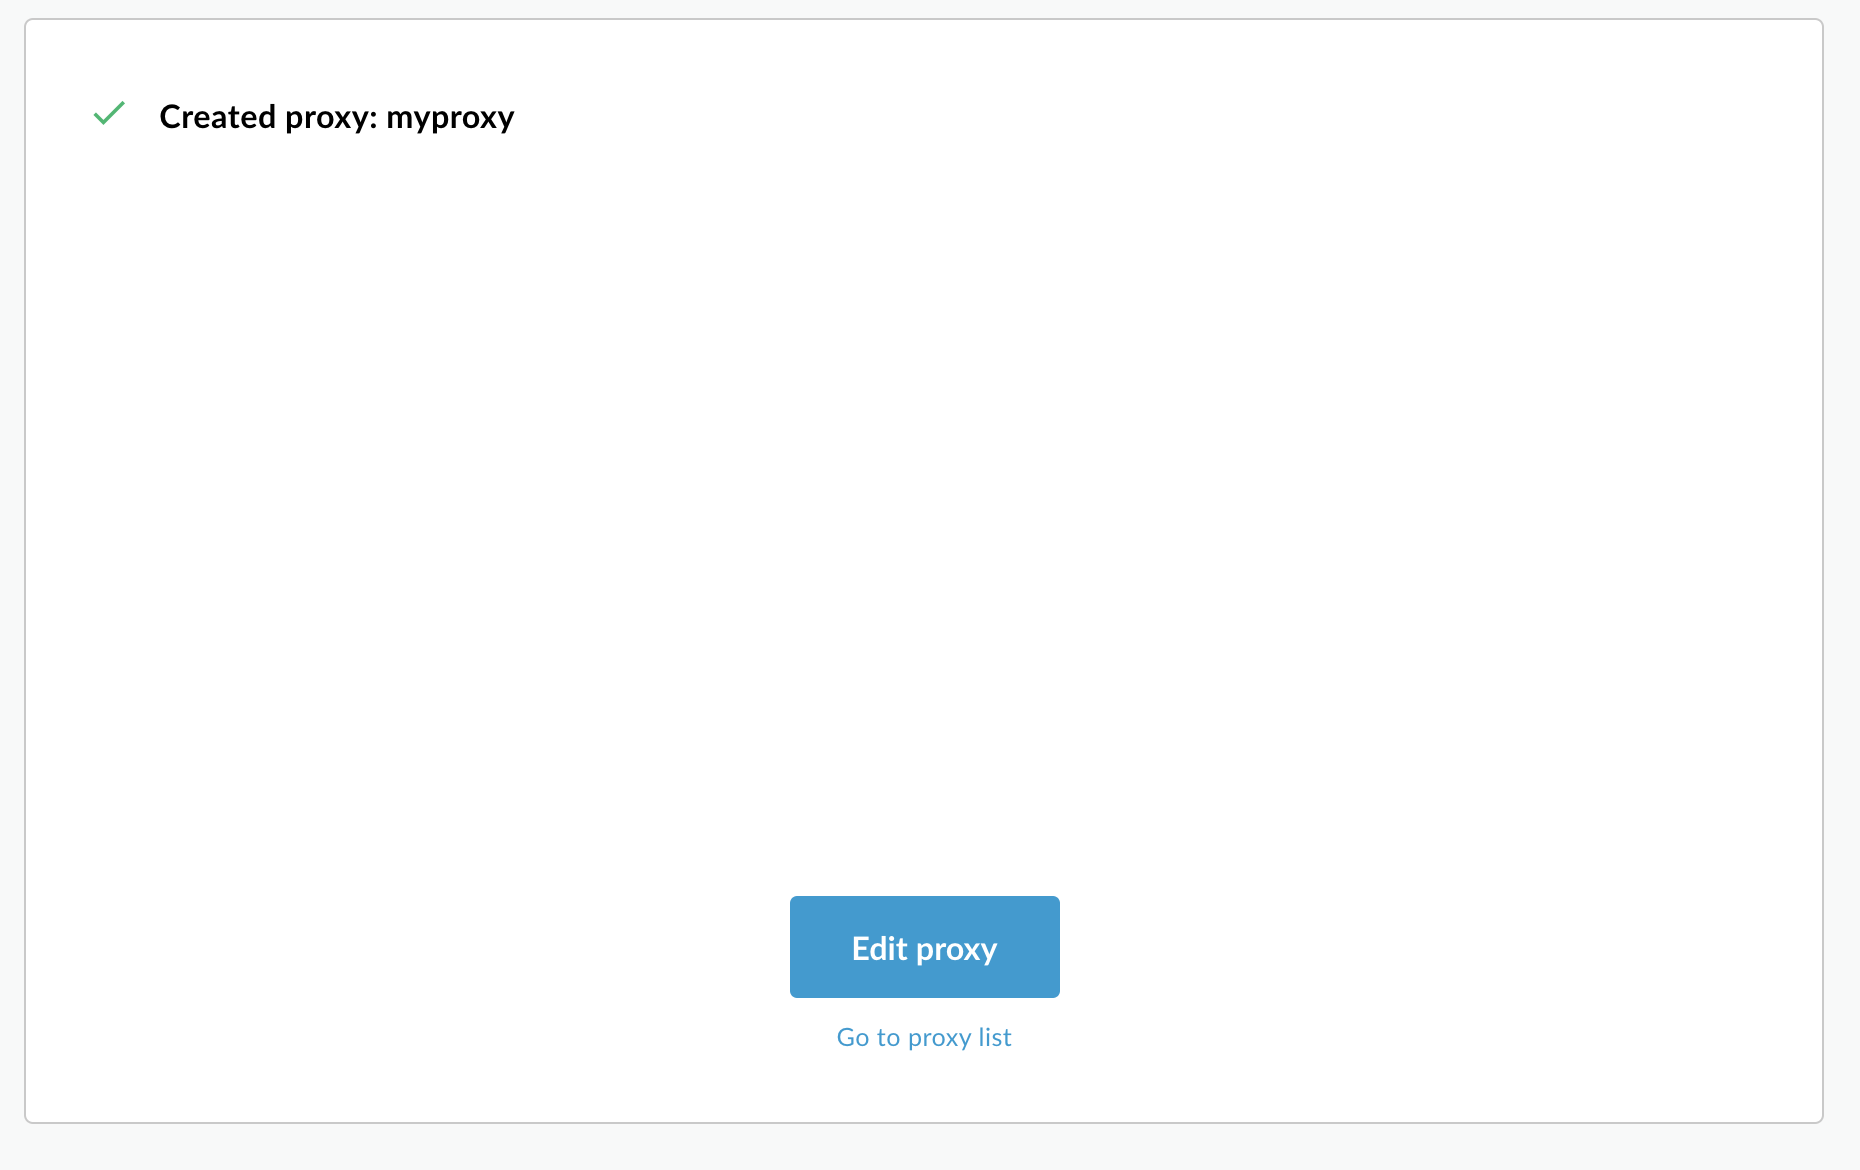
Sur l'écran Résumé, cliquez sur Créer.
Le mode hybride génère le proxy (parfois appelé groupe de proxy) :
Cliquez sur Accéder à la liste des proxys.
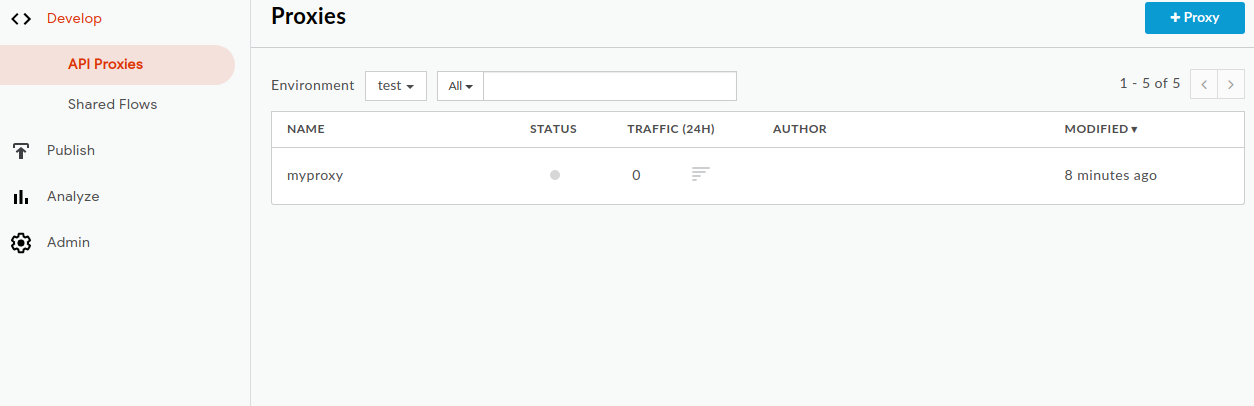
Apigee hybrid affiche la vue Proxys, qui comporte la liste des proxys d'API. Le nouveau proxy doit se trouver en haut de la liste, avec un indicateur d'état gris, ce qui signifie qu'il n'a pas encore été déployé.
2. Déployez votre proxy sur le cluster à l'aide de l'interface utilisateur hybride
Après avoir créé un proxy, vous devez le déployer pour pouvoir l'essayer. Cette section explique comment déployer votre nouveau proxy à l'aide de l'UI hybride.
Pour déployer un proxy d'API dans l'interface utilisateur hybride, procédez comme suit :
Dans l'interface utilisateur hybride, sélectionnez Développer > Proxys d'API.
Assurez-vous que l'environnement "test" est sélectionné.
L'UI affiche votre nouveau proxy dans la liste des proxys :
Cliquez sur le proxy "myproxy".
L'interface utilisateur affiche l'onglet Présentation des proxys d'API pour ce proxy.
Notez que, sous Déploiements, la colonne Révision affiche la mention "Non déployé".
Dans la colonne Révision, développez le sélecteur déroulant pour choisir la révision à déployer.
La liste déroulante n'affiche que les valeurs "1" et "Annuler le déploiement" :
Dans la liste déroulante, sélectionnez "1", qui est la révision que vous souhaitez déployer.
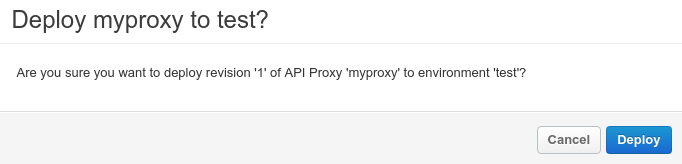
L'UI vous invite à confirmer le déploiement :
Cliquez sur Déployer.
L'UI démarre le processus de déploiement de la révision 1 de votre nouveau proxy sur le cluster.
Notez que le déploiement n'est pas un processus instantané. Le modèle de déploiement "cohérent à terme" de hybride signifie qu'un nouveau déploiement sera déployé sur le cluster sur une courte période, et pas immédiatement.
Bien qu'il existe plusieurs façons de vérifier l'état de déploiement d'un proxy dans l'interface utilisateur, les deux étapes suivantes expliquent comment appeler le proxy d'API que vous venez de déployer et comment vérifier l'état du déploiement via un appel à l'API Apigee.
Sauf indication contraire, le contenu de cette page est régi par une licence Creative Commons Attribution 4.0, et les échantillons de code sont régis par une licence Apache 2.0. Pour en savoir plus, consultez les Règles du site Google Developers. Java est une marque déposée d'Oracle et/ou de ses sociétés affiliées.
Dernière mise à jour le 2025/09/04 (UTC).
[[["Facile à comprendre","easyToUnderstand","thumb-up"],["J'ai pu résoudre mon problème","solvedMyProblem","thumb-up"],["Autre","otherUp","thumb-up"]],[["Difficile à comprendre","hardToUnderstand","thumb-down"],["Informations ou exemple de code incorrects","incorrectInformationOrSampleCode","thumb-down"],["Il n'y a pas l'information/les exemples dont j'ai besoin","missingTheInformationSamplesINeed","thumb-down"],["Problème de traduction","translationIssue","thumb-down"],["Autre","otherDown","thumb-down"]],["Dernière mise à jour le 2025/09/04 (UTC)."],[[["\u003cp\u003eThis documentation pertains to version 1.4 of the Apigee hybrid, which is end-of-life and requires an upgrade to a newer version for continued support.\u003c/p\u003e\n"],["\u003cp\u003eYou can create a new API proxy using the API Proxy Wizard in the Apigee UI, configuring settings like the proxy name, base path, description, and target API.\u003c/p\u003e\n"],["\u003cp\u003eAfter creating a new proxy, it must be deployed to the cluster using the hybrid UI by selecting the appropriate revision, although this deployment may not be immediate.\u003c/p\u003e\n"],["\u003cp\u003eOnce deployed, the API proxy can be tested by making a call to it using cURL or a similar tool, referencing the environment group's host alias.\u003c/p\u003e\n"],["\u003cp\u003eIf encountering TLS/SSL errors with a self-signed certificate, specific steps involving environment variables for the ingress host and port should be followed to successfully call the deployed API proxy.\u003c/p\u003e\n"]]],[],null,["# Create and deploy a new API proxy\n\n| You are currently viewing version 1.4 of the Apigee hybrid documentation. **This version is end of life.** You should upgrade to a newer version. For more information, see [Supported versions](/apigee/docs/hybrid/supported-platforms#supported-versions).\n\nNow that you've configured and the hybrid UI, and installed and configured the\nruntime, you're ready to see how it all works together.\n\nThis section walks you through the following:\n\n1. **[Create a new API proxy](#create-proxy)** in the Apigee UI using the API Proxy Wizard\n2. **[Deploy your new proxy](#deploy)** to your cluster with the UI\n\n1. Create a new API proxy using the hybrid UI\n---------------------------------------------\n\nThis section describes how to create a new API proxy in the UI by using the API Proxy Wizard.\n\n**To create a simple API proxy using the API Proxy Wizard:**\n\n1. Open [Apigee UI](https://apigee.google.com) in a browser.\n2. Select **Develop \\\u003e API Proxies** in the main view.\n3. From the **Environment** drop-down list, select the environment in which you want to create a new API proxy. This section assumes the name of the environment is \"test\". You created at least one environment in [Step 5: Add an environment](/apigee/docs/hybrid/v1.4/precog-add-environment).\n\n The hybrid UI displays a list of API proxies for that environment. If you haven't created any\n proxies yet, the list is empty.\n4. Click **+Proxy** in the upper right. The API Proxy Wizard starts.\n5. Select **Reverse proxy** (most common), and click **Next** .\n\n The **Proxy details** view is displayed.\n6. Configure your proxy with the following settings:\n - **Proxy Name:** Enter \"myproxy\". The remaining steps in this section assume that this is your proxy's ID.\n - **Proxy Base Path:** Automatically set to \"/myproxy\". The **Proxy Base\n Path** is part of the URL used to make requests to your API. Edge uses the URL to match and route incoming requests to the proper API proxy.\n - (Optional)**Description:** Enter a description for your new API proxy, such as \"Testing Apigee hybrid with a simple proxy\".\n - **Target (Existing API):** Enter \"https://mocktarget.apigee.net\". This defines the target URL that Apigee invokes on a request to the API proxy. The mocktarget service is hosted at Apigee and returns simple data. It requires no API key or access token.\n\n Your API proxy's details should look like the following:\n\n7. Click **Next**.\n8. On the **Policies** screen, select **Pass through (no authorization)** as the security option.\n9. Click **Next**.\n10. On the **Summary** screen, click **Create** .\n\n Hybrid generates the proxy (sometimes referred to as *the proxy bundle*):\n\n | **NOTE:** In this case, the hybrid UI does *not* deploy the proxy to your cluster. You will do this in [the next step](#deploy).\n11. Click **Go to proxy list** .\n\n Hybrid displays the **Proxies** view, which displays a list of API proxies. The\n new proxy should be at the top of the list, with a gray status indicator, meaning that it has\n not yet been deployed.\n\n2. Deploy your proxy to the cluster using the hybrid UI\n-------------------------------------------------------\n\nAfter creating a new proxy, you must deploy it so that you can try it out. This section\ndescribes how to deploy your new proxy using the hybrid UI.\n\n**To deploy an API proxy in the hybrid UI:**\n\n1. In the hybrid UI, select **Develop \\\u003e API Proxies** .\n\n Be sure the \"test\" environment is selected.\n\n The UI displays your new proxy in the proxies list:\n\n2. Click on the \"myproxy\" proxy.\n\n The UI displays the **API Proxies Overview** tab for that proxy.\n\n Notice that under **Deployments** , the **Revision** column shows\n \"Not deployed\".\n3. In the **Revision** column, expand the drop-down selector to choose the revision to deploy.\n\n The drop down list displays only \"1\" and \"Undeploy\".\n4. Select \"1\"---the revision that you want to deploy---from the drop down list.\n\n The UI prompts you to confirm the deployment:\n\n5. Click **Deploy** .\n\n The UI begins the process of deploying revision 1 of your new proxy to the cluster.\n\n Note that deployment is not an instantaneous process. Hybrid's \"eventually consistent\"\n deployment model means that a new deployment will be rolled out to the cluster over a short\n period of time and not immediately.\n\nWhile there are [several ways](/apigee/docs/api-platform/deploy/ui-deploy-overview#viewing-deployment-status) to check the\ndeployment status of a proxy in the UI, the next two steps explain how to call the API proxy\nyou just deployed and how\nto check the deployment status with a call to the [Apigee APIs](/apigee/docs/reference/apis/apigee/rest).\n\n3. Call the API proxy\n---------------------\n\nWhen the [UI indicates\nyour proxy is deployed](/apigee/docs/api-platform/deploy/ui-deploy-overview#viewing-deployment-status), you can try calling it using cURL or the REST client of your choice.\nFor example:\n\n1. Export your environment group's host alias to a variable: \n\n ```\n $HOSTALIAS=your_host_alias\n ```\n2. Call the API proxy: \n\n ```\n curl -k https://$HOSTALIAS/myproxy\n ```\n\n\n For example: \n\n ```\n curl -v -k https://apitest.acme.com/myproxy\n ```\n\n If the call succeeds, you will see the following output: \n\n ```\n Hello, Guest!\n ```\n\n\nIf you used a self-signed certificate and you get a TLS/SSL error, try these steps instead:\n\n1. Export your environment group's host alias to a variable: \n\n ```\n $HOSTALIAS=your_host_alias\n ```\n2. Export the ingress host: \n\n ```\n export INGRESS_HOST=$(kubectl -n istio-system get service \\\n istio-ingressgateway -o jsonpath='{.status.loadBalancer.ingress[0].ip}')\n ```\n3. Export the secure ingress port number: \n\n ```\n export SECURE_INGRESS_PORT=$(kubectl -n istio-system get \\\n service istio-ingressgateway -o jsonpath='{.spec.ports[?(@.name==\"https\")].port}')\n ```\n4. Call the API proxy: \n\n ```\n curl -H Host:$HOSTALIAS --resolve \\\n $HOSTALIAS:$SECURE_INGRESS_PORT:$INGRESS_HOST \\\n https://$HOSTALIAS:$SECURE_INGRESS_PORT/myproxy -k\n ```\n\n*[Google Cloud]: Google Cloud"]]