이제 Google Cloud와 Apigee UI를 구성하고 런타임을 설치 및 구성했으므로 이 모든 것이 어떻게 작동하는지 볼 준비가 되었습니다.
1. Apigee UI를 사용하여 새 API 프록시 만들기
이 섹션에서는 API 프록시 마법사를 사용하여 UI에서 새 API 프록시를 만드는 방법을 설명합니다.
Cloud 콘솔의 Apigee
Cloud 콘솔에서 Apigee를 사용하여 새 API 프록시를 만들려면 다음 안내를 따르세요.
- 브라우저에서 Cloud 콘솔의 Apigee UI를 엽니다.
- 왼쪽 상단에 있는 드롭다운 메뉴에서 조직을 선택합니다.
- 기본 뷰에서 프록시 개발 > API 프록시를 선택합니다.
- 새로 만들기를 클릭합니다. API 프록시 마법사가 시작됩니다.
- 가장 일반적인 리버스 프록시를 선택합니다.
프록시 세부정보 뷰가 표시됩니다.
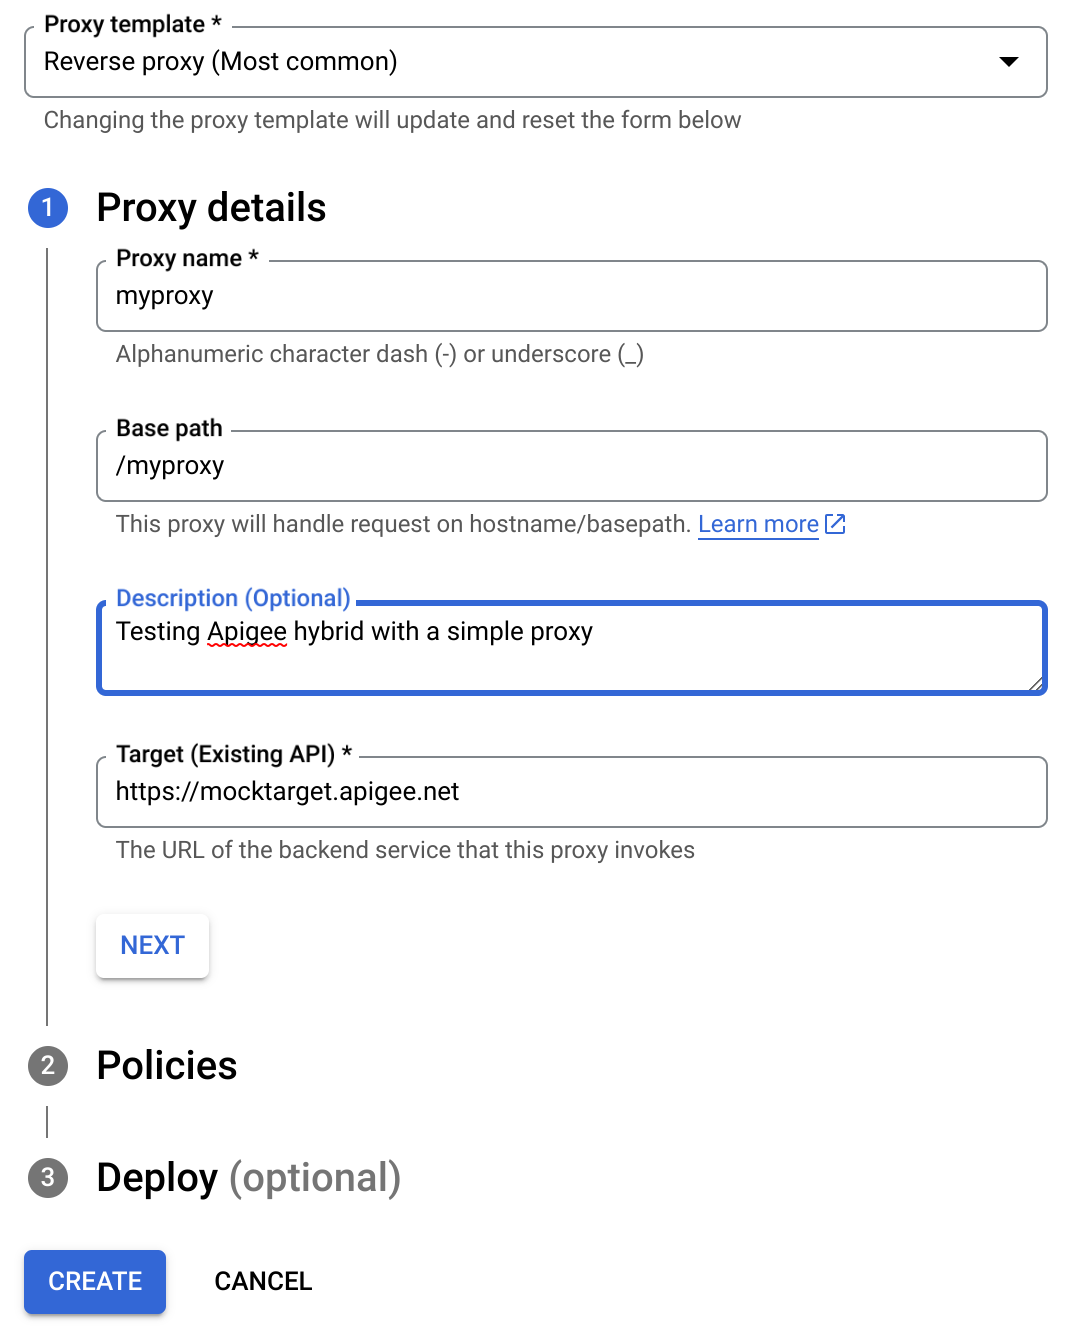
- 다음 설정으로 프록시를 구성합니다.
- 프록시 이름: myproxy를 입력합니다. 이 섹션의 나머지 단계에서는 이를 프록시 ID라고 가정합니다.
- 기본 경로: / 뒤에 프록시 이름이 옵니다. 이 예시에서는 /myproxy입니다. 기본 경로는 API에 요청을 수행하는 데 사용되는 URL의 일부입니다. Edge는 URL을 사용하여 수신 요청을 적절한 API 프록시로 일치시키며 라우팅합니다.
- (선택사항) 설명: '간단한 프록시로 Apigee Hybrid 테스트'와 같이 새 API 프록시에 설명을 입력합니다.
- 대상(기존 API): https://mocktarget.apigee.net을 입력합니다. 이는 Apigee가 API 프록시에 대한 요청에서 호출하는 대상 URL을 정의합니다. mocktarget 서비스는 Apigee에서 호스팅되며 간단한 데이터를 반환합니다. API 키 또는 액세스 토큰이 필요하지 않습니다.
API 프록시의 세부정보는 다음과 같아야 합니다.
- 다음을 클릭합니다.
- 정책 화면에서 보안 옵션으로 통과(승인 없음)을 선택합니다.
- 다음을 클릭합니다.
- 배포(선택사항) 아래의 배포 환경 필드에서 프록시를 배포할 환경을 하나 이상 선택할 수 있습니다. 이 시점에서 프록시를 배포하지 않으려면 배포 환경 필드를 비워 둡니다. 나중에 언제든지 프록시를 배포할 수 있습니다.
- 만들기를 클릭합니다. Apigee는 프록시를 생성합니다. 이는 프록시 번들이라고도 합니다.
Apigee는 프록시 요약 뷰를 표시합니다. 프록시를 배포하도록 선택한 경우 배포 섹션에 처음 배포할 때 버전 번호 1이 표시됩니다. 상태 열에 프록시가 배포된 환경이 녹색 상태 표시기와 함께 표시됩니다.
그 아래에 엔드포인트 섹션이 표시됩니다.
- 프록시 엔드포인트: 프록시에 설정한 기본 경로(이 예시에서는
/myproxy)입니다. - 대상 엔드포인트: 대상에 설정한 기본 경로(이 예시에서는
https://mocktarget.apigee.net)입니다.
기본 Apigee
기본 Apigee를 사용하여 새 API 프록시를 만들려면 다음 안내를 따르세요.
- 브라우저에서 Apigee UI를 엽니다.
- 왼쪽 상단에 있는 드롭다운 메뉴에서 조직을 선택합니다.
- 기본 뷰에서 개발 > API 프록시를 선택합니다.
- 새로 만들기를 클릭합니다. API 프록시 마법사가 시작됩니다.
- 가장 일반적인 리버스 프록시를 선택합니다.
프록시 세부정보 뷰가 표시됩니다.
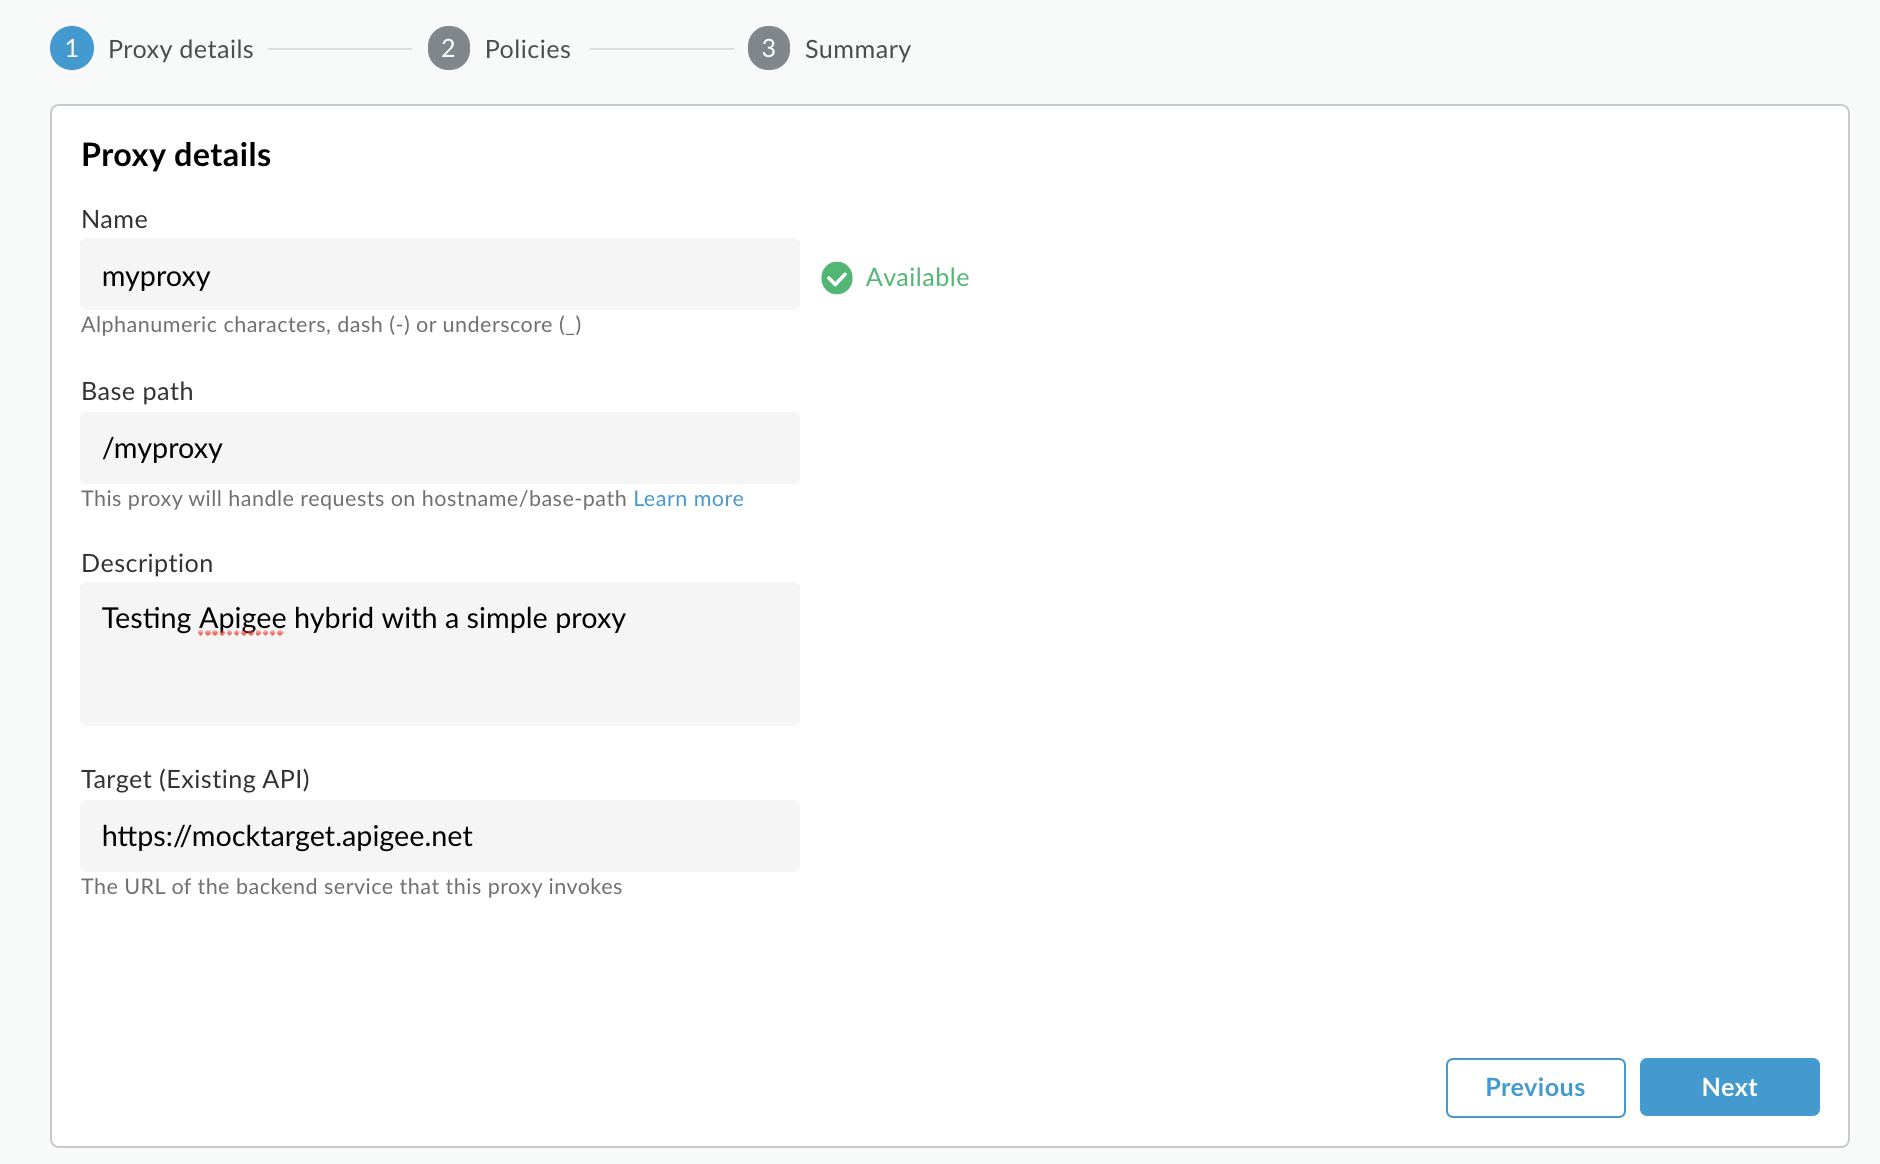
- 다음 설정으로 프록시를 구성합니다.
- 프록시 이름: 'myproxy'를 입력합니다. 이 섹션의 나머지 단계에서는 이를 프록시 ID라고 가정합니다.
- 프록시 기본 경로: '/myproxy'로 자동 설정됩니다. 프록시 기본 경로는 API에 요청을 수행하는 데 사용되는 URL의 일부입니다. Edge는 URL을 사용하여 수신 요청을 적절한 API 프록시로 일치시키며 라우팅합니다.
- (선택사항) 설명: '간단한 프록시로 Apigee 하이브리드 테스트'와 같이 새 API 프록시에 설명을 입력합니다.
- 대상(기존 API): https://mocktarget.apigee.net을 입력합니다. 이는 Apigee가 API 프록시에 대한 요청에서 호출하는 대상 URL을 정의합니다. mocktarget 서비스는 Apigee에서 호스팅되며 간단한 데이터를 반환합니다. API 키 또는 액세스 토큰이 필요하지 않습니다.
API 프록시의 세부정보는 다음과 같아야 합니다.
- 다음을 클릭합니다.
- 정책 화면에서 보안 옵션으로 통과(승인 없음)을 선택합니다.
- 다음을 클릭합니다.
- 요약 화면에서 프록시를 배포할 환경을 선택하고 생성 및 배포를 클릭합니다.
하이브리드는 프록시를 생성합니다. 이는 프록시 번들이라고도 합니다.
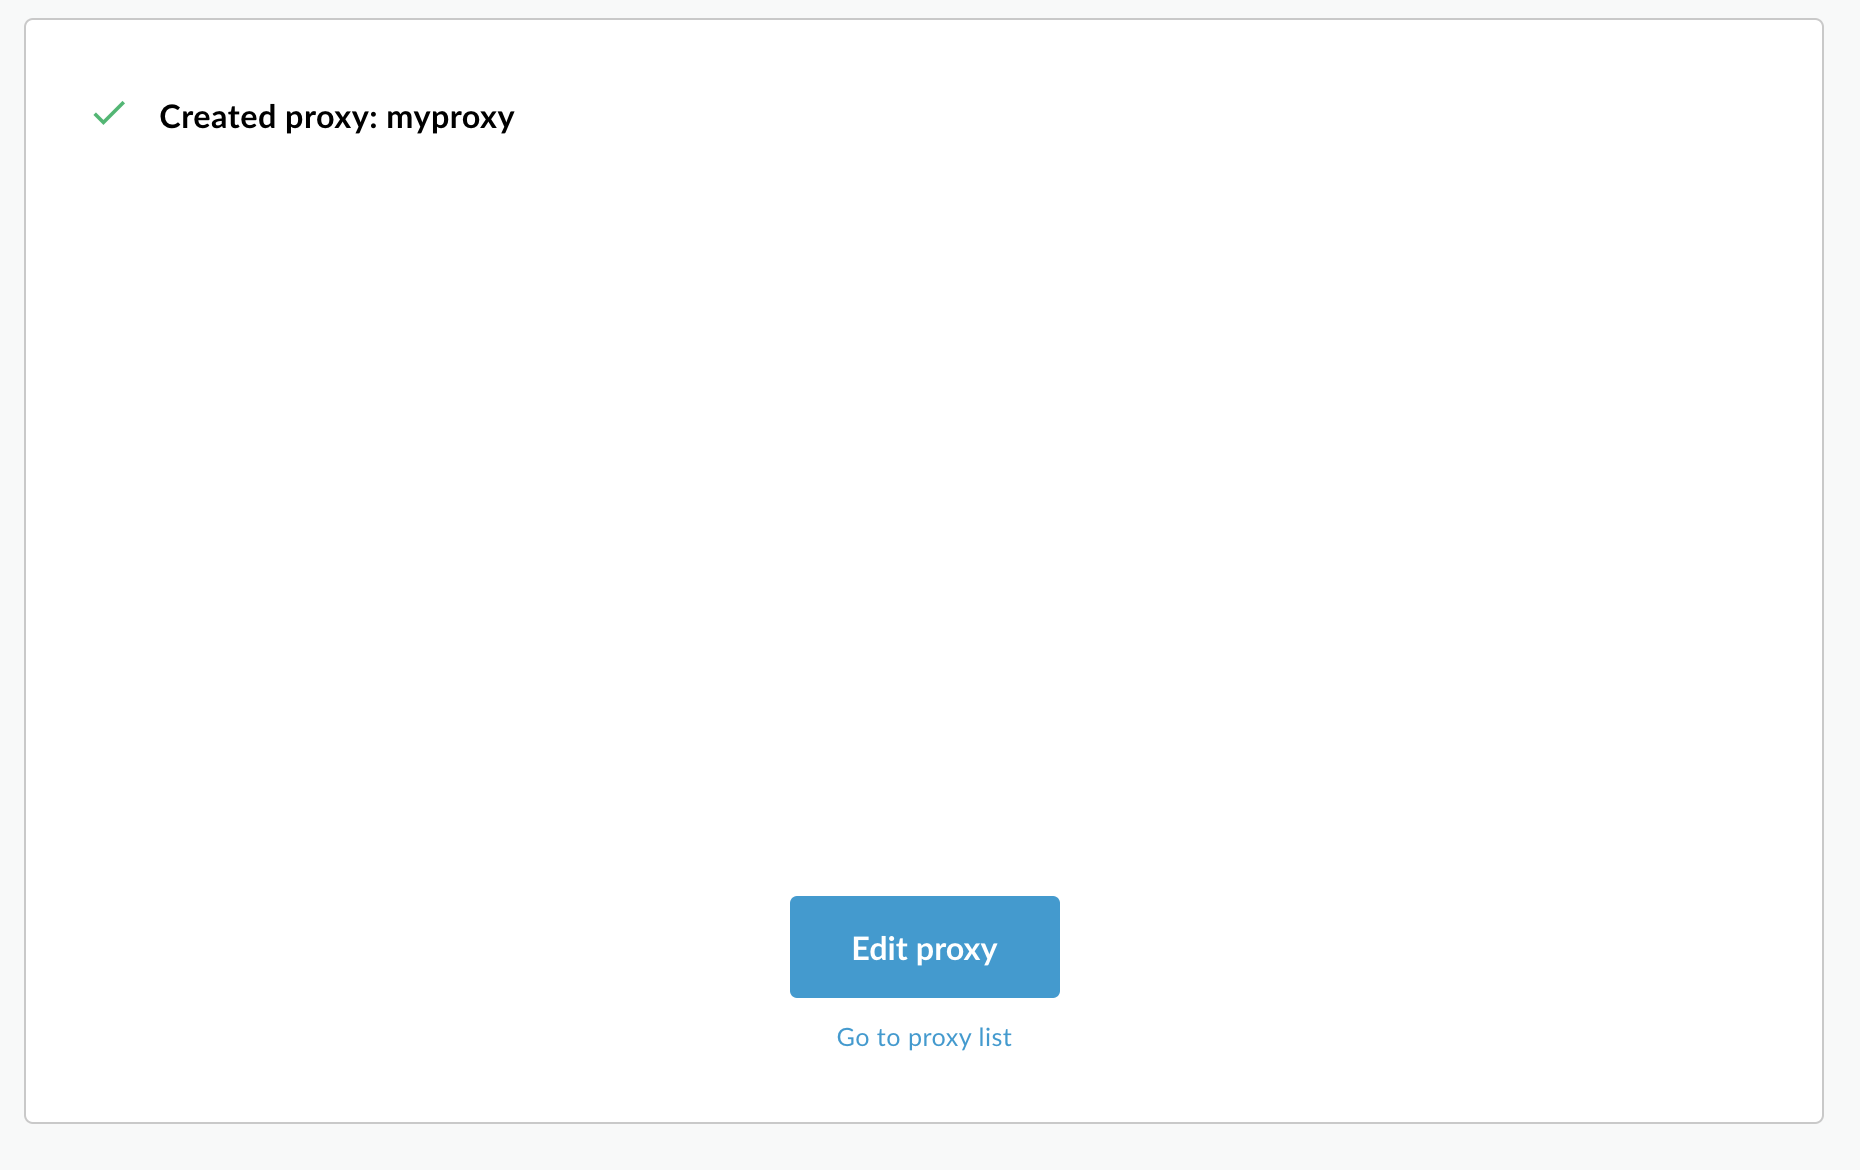
- 프록시 목록으로 이동을 클릭합니다.
Apigee는 API 프록시 목록을 표시하는 프록시 뷰를 표시합니다. 새 프록시는 배포되었음을 의미하는 녹색 상태 표시기와 함께 표시됩니다.
2. API 프록시 호출
프록시가 배포되었다고 UI에 나타나는 경우 원하는 cURL 또는 REST 클라이언트를 사용하여 프록시를 호출할 수 있습니다. 예를 들면 다음과 같습니다.
DOMAIN환경 변수가 프로젝트 및 조직 설정 - 3단계: 환경 그룹 만들기에서 환경 그룹의 호스트 이름에 사용한 도메인 이름으로 설정되었는지 확인합니다.echo $DOMAIN
-
다음 명령어를 사용하여 Apigee 인그레스 게이트웨이의 외부 IP 주소와 포트를 찾습니다.
kubectl get svc -n apigee -l app=apigee-ingressgateway
다음과 비슷한 결과가 출력됩니다.
NAME                                        TYPE           CLUSTER-IP    EXTERNAL-IP     PORT(S)                                      AGE
apigee-ingressgateway-prod-hybrid-37a39bd   LoadBalancer   192.0.2.123   233.252.0.123   15021:32049/TCP,80:31624/TCP,443:30723/TCP   16h
- 외부 IP 및 포트를 변수로 내보냅니다.
export INGRESS_IP_ADDRESS=EXTERNAL_IP_ADDRESS
export INGRESS_PORT=PORT_NUMBER - API 프록시를 호출합니다.
curl  -H Host:$DOMAIN --resolve \
  $DOMAIN:$INGRESS_PORT:$INGRESS_IP_ADDRESS  \
  https://$DOMAIN:$INGRESS_PORT/myproxy -k
예를 들면 다음과 같습니다.
curl -H Host:example.com --resolve example.com:443:233.252.0.123 https://example.com:443/myproxy -k
API 프록시 빌드 및 배포에 대한 자세한 내용은 첫 번째 프록시 빌드 개요를 참조하세요.