本頁內容適用於 Apigee 和 Apigee Hybrid。
查看
Apigee Edge 說明文件。

接著,請建立 API Proxy。
將游標移至工作區中的 apiproxies 資料夾上方,然後按一下
 。
。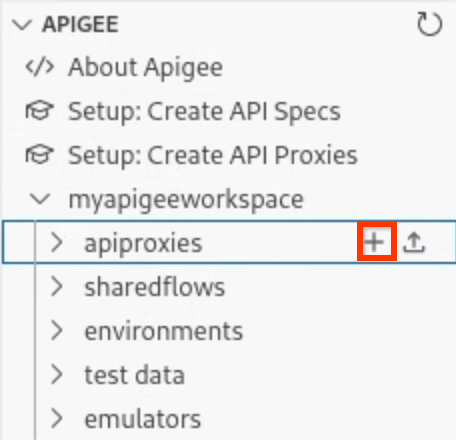
「建立 API Proxy」精靈隨即開啟。
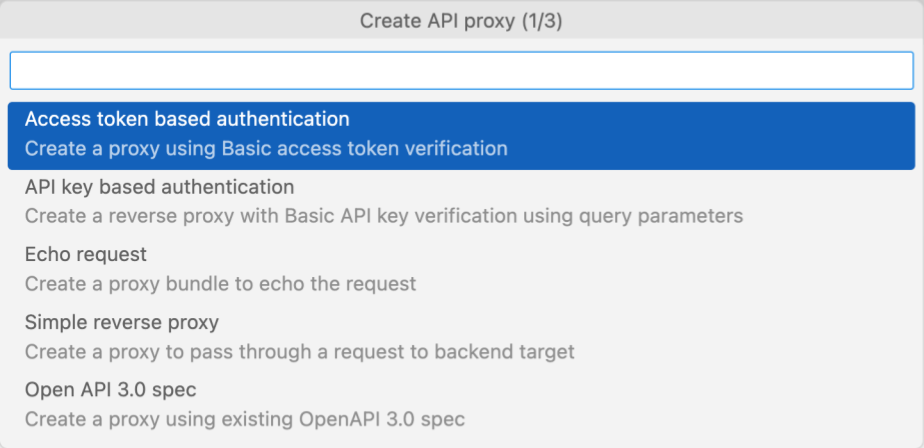
按一下「API key based authentication」(以 API 金鑰為準的驗證)。
在下一組提示中輸入下列值。每輸入一項後,請按下 Enter 鍵確認並繼續。
欄位 值 說明 API proxy namehelloworld 用於識別 API Proxy 的名稱。 API proxy base pathhelloworld 用於向 API 發出要求的網址部分。Apigee 會使用這個網址比對連入要求,並將要求轉送至適當的 API Proxy。 Backend target URLhttps://mocktarget.apigee.net Apigee 在對 API Proxy 發出要求時叫用的目標網址。 mocktarget服務會託管在 Apigee,並傳回簡單的資料。系統會建立 API Proxy。
展開 helloworld 資料夾,即可查看 API 代理套件的內容。
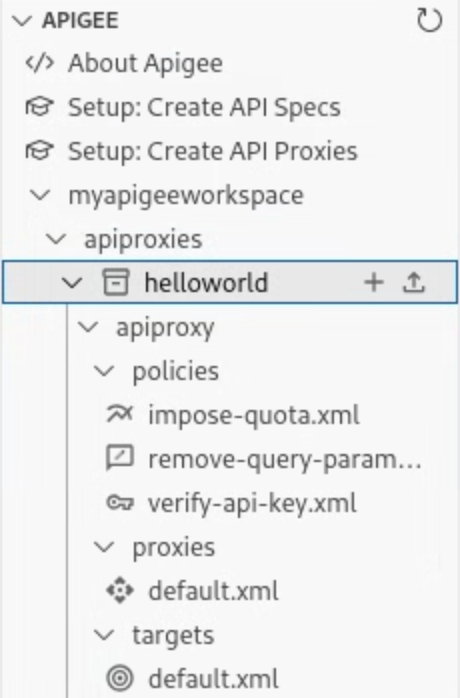
系統會根據您在精靈中的選取項目,將預設 API Proxy 和目標端點,以及一組用於管理 API 金鑰驗證的政策,新增至 API Proxy 設定。
在下一個步驟中,您將設定及部署包含 helloworld API Proxy 的環境。
1 2 (NEXT) Step 3: Configure and deploy an environment 4 5 6 7 8