This page applies to Apigee and Apigee hybrid.
View
Apigee Edge documentation.

Create an Apigee workspace for developing your APIs.
To access Apigee in Cloud Code, launch VS Code and click the
 Cloud Code icon in the Activity bar, then select the Apigee section.
Click Local Development and then the Create Apigee workspace icon in that folder (
 ). Alternatively, you can select View > Command Palette to open the Command palette and select Cloud Code: Open Apigee workspace.
Select the workspace type that matches your preferred development style. You can choose between a single-repository workspace or a multi-repository workspace.
Enter myapigeeworkspace at the prompt and press Enter.
Navigate to the directory where you want to save the Apigee workspace. If you are using source control management, select a location in your source control repository.
Click Select workspace folder.
The Apigee workspace is created, stored in the specified local directory, and shown in the Apigee section:
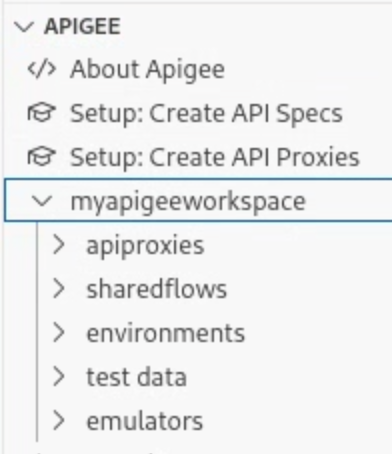
As shown, a set of folders is created for you to develop API proxies and shared flows, configure deployment environments, and build test resources.
1 (NEXT) Step 2: Create an API proxy 3 4 5 6 7 8