このページは Apigee と Apigee ハイブリッドに適用されます。
Apigee Edge のドキュメントを表示する。

次に、API プロキシを作成します。
ワークスペースの apiproxies フォルダにカーソルを合わせて、
 をクリックします。
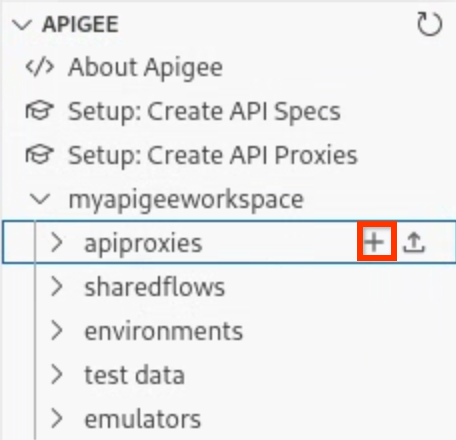
[Create API proxy] ウィザードが開きます。
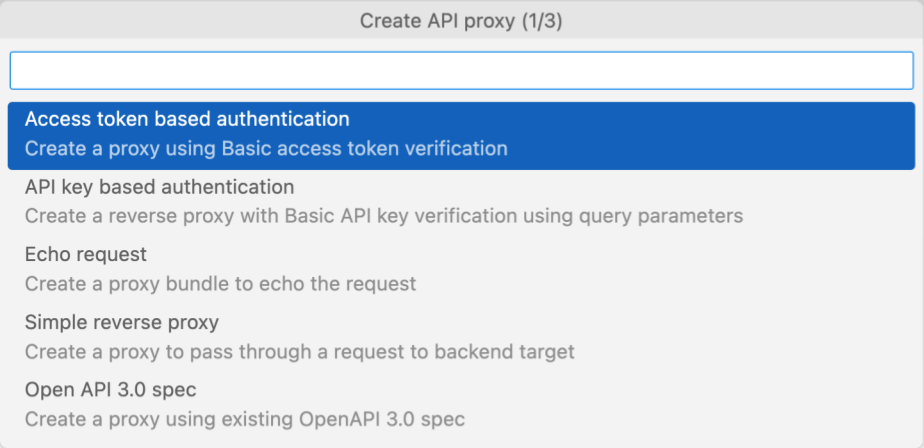
[API key based authentication] をクリックします。
次の一連のプロンプトに対しては、以下の値を入力します。入力ごとに Enter キーを押して確定しながら続行します。
フィールド 値 説明 API proxy namehelloworld API プロキシの識別に使用される名前。 API proxy base pathhelloworld API にリクエストを送信するために使用される URL の一部。Apigee では、URL を使用して受信リクエストを照合し、適切な API プロキシに転送します。 Backend target URLhttps://mocktarget.apigee.net API プロキシへのリクエストで Apigee が呼び出すターゲット URL。 mocktargetサービスは Apigee でホストされ、単純なデータを返します。API プロキシが作成されます。
helloworld フォルダを開き、API プロキシ バンドルの内容を表示します。
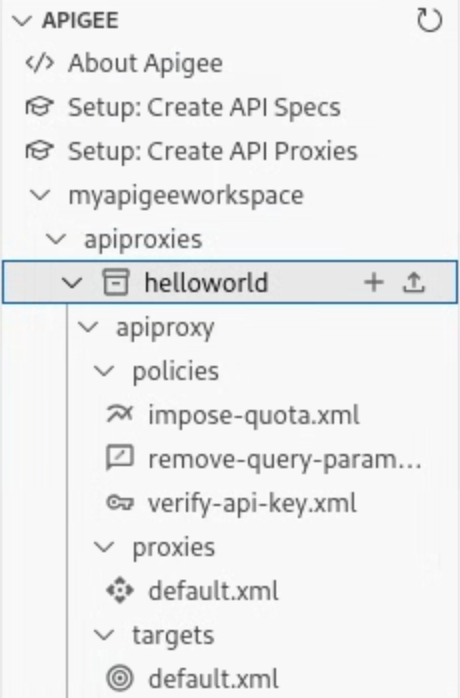
デフォルトの API プロキシとターゲット エンドポイント、および API キーベースの認証を管理するための一連のポリシーが、ウィザードでの選択内容に基づいて API プロキシ構成に追加されます。
次のステップでは、helloworld API プロキシを含む環境を構成してデプロイします。
1 2 (次へ)ステップ 3: 環境を構成してデプロイする 4 5 6 7 8