이 페이지는 Apigee 및 Apigee Hybrid에 적용됩니다.
Apigee Edge 문서 보기

그런 다음 API 프록시를 만듭니다.
작업공간의 apiproxies 폴더 위에 커서를 놓고
 를 클릭합니다.
API 프록시 만들기 마법사가 열립니다.
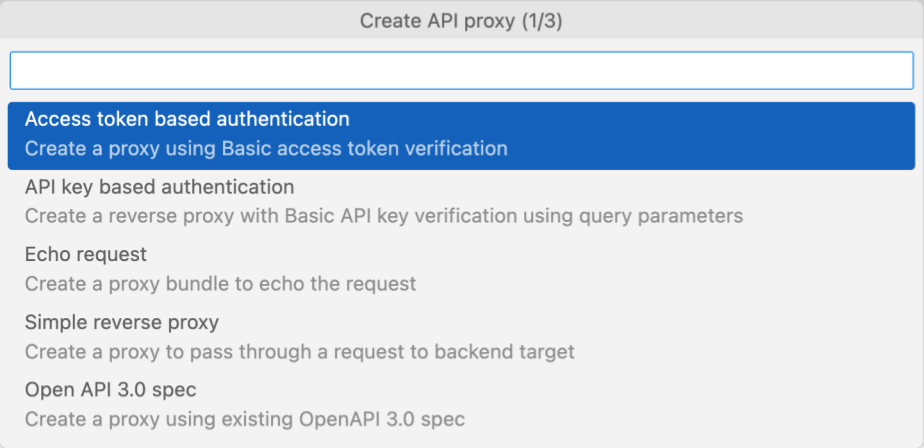
API 키 기반 인증을 클릭합니다.
다음 프롬프트에 대해 다음 값을 입력합니다. 각 항목을 입력한 후 Enter 키를 눌러 확인하고 계속 진행합니다.
필드 값 설명 API proxy namehelloworld API 프록시를 식별하는 데 사용되는 이름입니다. API proxy base pathhelloworld API에 요청을 보내는 데 사용되는 URL의 일부입니다. Apigee는 URL을 사용하여 수신 요청을 적절한 API 프록시로 일치시키며 라우팅합니다. Backend target URLhttps://mocktarget.apigee.net Apigee가 API 프록시에 대한 요청에서 호출하는 대상 URL입니다. mocktarget서비스는 Apigee에서 호스팅되며 간단한 데이터를 반환합니다.API 프록시가 생성됩니다.
helloworld 폴더를 펼쳐 API 프록시 번들의 콘텐츠를 확인합니다.

기본 API 프록시 및 대상 엔드포인트와 API 키 기반 인증을 관리하기 위한 정책은 마법사를 사용하여 선택한 사항에 따라 API 프록시 구성에 추가됩니다.
다음 단계에서는 helloworld API 프록시가 포함된 환경을 구성하고 배포합니다.
1 2 (다음) 3단계: 환경 구성 및 배포 4 5 6 7 8