このページの内容は Apigee を対象としています。Apigee ハイブリッドは対象としていません。
Apigee Edge のドキュメントを表示する。

デベロッパーが API プロキシにアクセスして使用できるようにするには、API プロキシをデプロイする必要があります。
Cloud コンソールの Apigee
- Google Cloud コンソールで、[Apigee] > [プロキシ開発] > [API プロキシ] ページに移動します。
- ページ上部のプルダウンから、API プロキシを作成した Google Cloud プロジェクトが選択されていることを確認します。
- プロキシリストで [myproxy] を選択します。
- [Deploy] をクリックして [Deploy] ダイアログを表示し、次の情報を入力します。
- Revision: デプロイするプロキシのリビジョン番号を選択します。このチュートリアルをゼロから行っている場合、選択できるリビジョンは 1 つだけです。
- Environment: プロキシをデプロイする環境を選択します。「環境」は、Apigee 組織内の API プロキシのランタイム実行コンテキストです。環境にアクセスできるようにするには、その環境に API プロキシをデプロイする必要があります。
- Service account(省略可): プロキシのサービス アカウント。サービス アカウントは、デプロイされたプロキシの ID を表し、プロキシが持つ権限を決定します。これは高度な機能であり、このチュートリアルでは無視してかまいません。
- [Deploy] をクリックします。
プロキシがデプロイされると、[Deployments] セクションの [Status] 列には、API プロキシのリビジョンがデプロイされていることを示す緑色のアイコンが表示されます。そのステータス アイコンにカーソルを合わせると、デプロイの詳細が表示されます。
従来の Apigee UI
- ブラウザで Apigee UI を開きます。
- Apigee UI で、[Develop] > [API Proxies] を選択します。
「test」環境が選択されていることを確認します。
UI のプロキシリストに新しいプロキシが表示されます。

myproxy プロキシをクリックします。
UI のプロキシ エディタに、このプロキシの API プロキシの [概要] タブが表示されます。
[デプロイメント] の下の [リージョン] 列に「未デプロイ」が表示されます。
- [Revision] 列でプルダウン セレクタを展開し、デプロイするリビジョンを選択します。
プルダウン リストには「1」と「Undeploy」のみが表示されます。

プルダウン リストで、デプロイするリビジョンである「1」を選択します。
デプロイの確認を求めるメッセージが UI に表示されます。
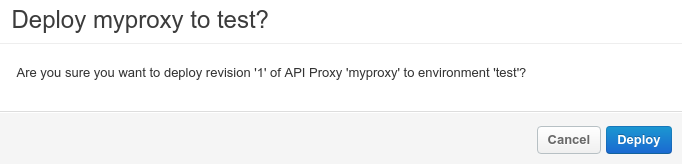
- [デプロイ] をクリックします。
Apigee が新しいプロキシのリビジョン 1 をデプロイするプロセスを開始します。
次のステップでは、先ほどデプロイした API プロキシを呼び出す方法について説明します。
1 2 (次へ) ステップ 3: API プロキシをテストする 4 5