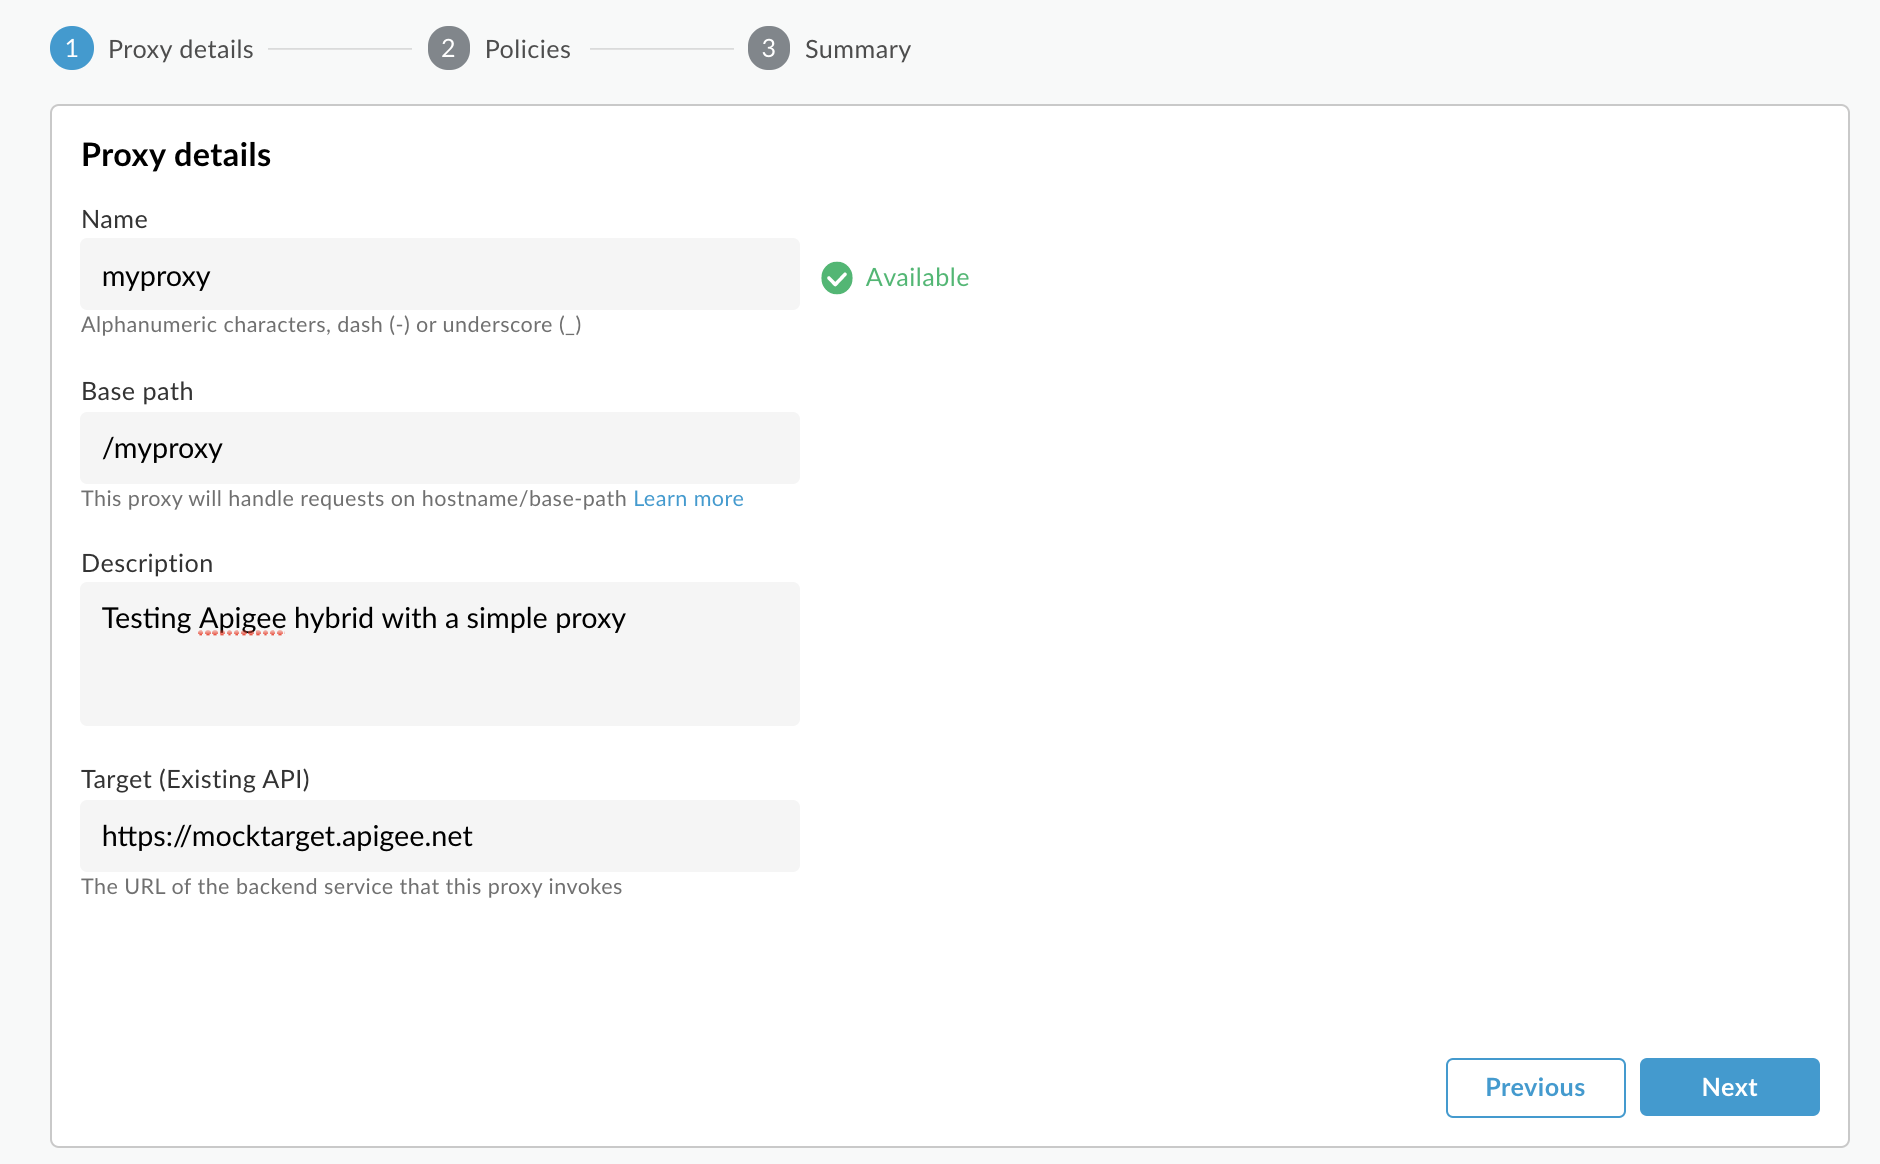
프록시 이름: 'myproxy'를 입력합니다. 이 섹션의 나머지 단계에서는 이를 프록시 ID라고 가정합니다.
프록시 기본 경로: '/myproxy'로 자동 설정됩니다. 프록시 기본 경로는 API에 요청을 수행하는 데 사용되는 URL의 일부입니다. Edge는 URL을 사용하여 수신 요청을 적절한 API 프록시로 일치시키며 라우팅합니다.
(선택사항) 설명: '간단한 프록시로 Apigee 하이브리드 테스트'와 같이 새 API 프록시에 설명을 입력합니다.
대상(기존 API): https://mocktarget.apigee.net을 입력합니다. 이는 Apigee가 API 프록시에 대한 요청에서 호출하는 대상 URL을 정의합니다. mocktarget 서비스는 Apigee에서 호스팅되며 간단한 데이터를 반환합니다. API 키 또는 액세스 토큰이 필요하지 않습니다.
API 프록시의 세부정보는 다음과 같아야 합니다.
다음을 클릭합니다.
정책 화면에서 보안 옵션으로 통과(승인 없음)을 선택합니다.
다음을 클릭합니다.
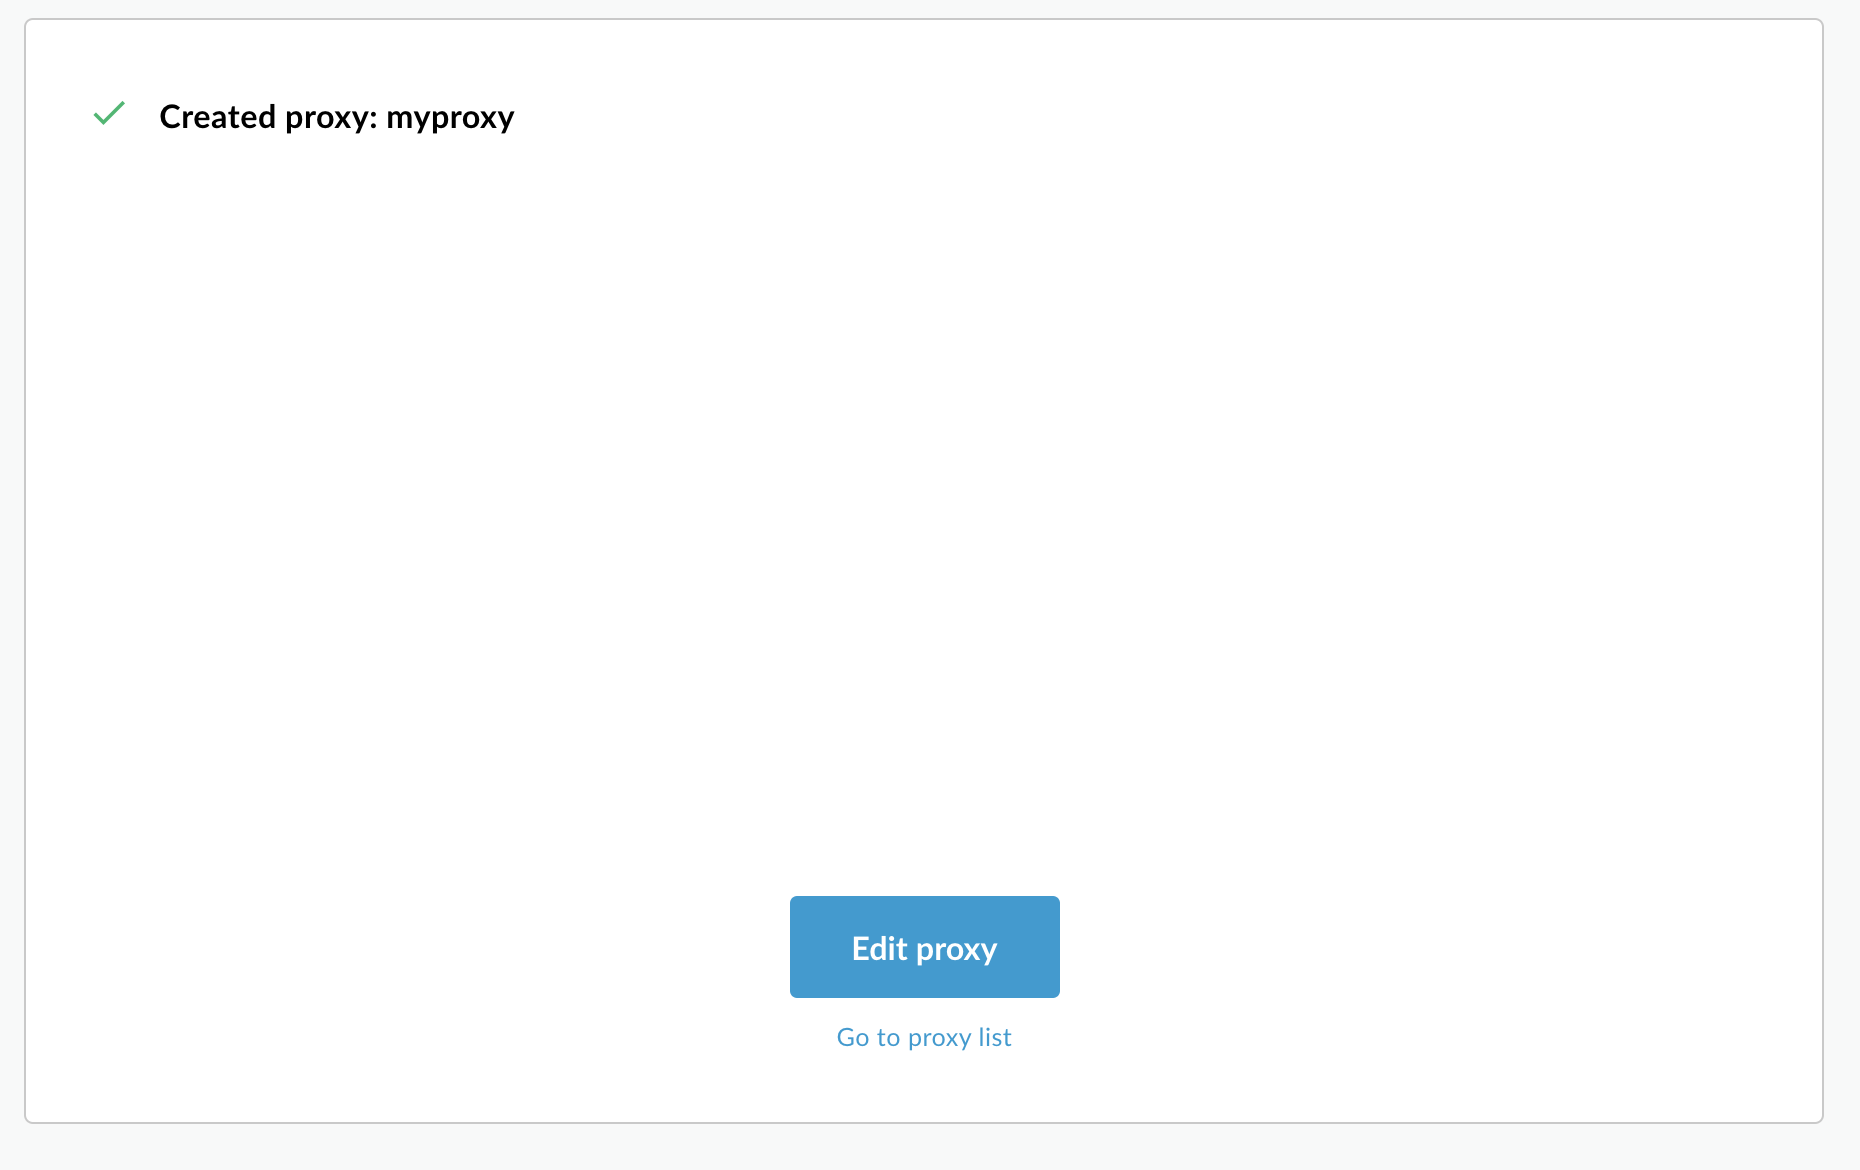
요약 화면에서 프록시를 배포할 환경을 선택하고 생성 및 배포를 클릭합니다.
하이브리드는 프록시를 생성합니다. 이는 프록시 번들이라고도 합니다.
프록시 목록으로 이동을 클릭합니다.
Apigee는 API 프록시 목록을 표시하는 프록시 뷰를 표시합니다. 새 프록시는 배포되었음을 의미하는 녹색 상태 표시기와 함께 표시됩니다.
2. API 프록시 호출
프록시가 배포되었다고 UI에 나타나는 경우 원하는 cURL 또는 REST 클라이언트를 사용하여 프록시를 호출할 수 있습니다.
예를 들면 다음과 같습니다.
다음 명령어를 사용하여 Apigee 인그레스 게이트웨이의 외부 IP 주소와 포트를 찾습니다.
kubectl get svc -n apigee -l app=apigee-ingressgateway
다음과 비슷한 결과가 출력됩니다.
NAME                                        TYPE           CLUSTER-IP    EXTERNAL-IP     PORT(S)                                      AGE
apigee-ingressgateway-prod-hybrid-37a39bd   LoadBalancer   192.0.2.123   233.252.0.123   15021:32049/TCP,80:31624/TCP,443:30723/TCP   16h
[[["이해하기 쉬움","easyToUnderstand","thumb-up"],["문제가 해결됨","solvedMyProblem","thumb-up"],["기타","otherUp","thumb-up"]],[["이해하기 어려움","hardToUnderstand","thumb-down"],["잘못된 정보 또는 샘플 코드","incorrectInformationOrSampleCode","thumb-down"],["필요한 정보/샘플이 없음","missingTheInformationSamplesINeed","thumb-down"],["번역 문제","translationIssue","thumb-down"],["기타","otherDown","thumb-down"]],["최종 업데이트: 2025-09-05(UTC)"],[[["\u003cp\u003eThis documentation version (1.8) is end-of-life and users should upgrade to a newer version for continued support.\u003c/p\u003e\n"],["\u003cp\u003eYou can create a new API proxy using the Apigee UI's API Proxy Wizard by configuring settings like the proxy name, base path, and target API.\u003c/p\u003e\n"],["\u003cp\u003eThe newly created API proxy can be tested by calling it with cURL or another REST client once it has been deployed.\u003c/p\u003e\n"],["\u003cp\u003eAfter setting up an environment group, you can use the command line to find the external IP and port of the Apigee ingress gateway to target requests.\u003c/p\u003e\n"]]],[],null,["# Step 10: Deploy an API proxy\n\n| You are currently viewing version 1.8 of the Apigee hybrid documentation. **This version is end of life.** You should upgrade to a newer version. For more information, see [Supported versions](/apigee/docs/hybrid/supported-platforms#supported-versions).\n\nNow that you've configured and the Apigee UI, and installed and configured the\nruntime, you're ready to see how it all works together.\n\n1. Create a new API proxy using the Apigee UI\n---------------------------------------------\n\nThis section describes how to create a new API proxy in the UI by using the API Proxy Wizard.\n\n**To create a simple API proxy using the API Proxy Wizard:**\n\n1. Open [Apigee UI](https://apigee.google.com) in a browser.\n2. Select your organization from the dropdown menu in the upper left corner.\n3. Select **Develop \\\u003e API Proxies** in the main view.\n4. Click **Create New**.The API Proxy Wizard starts.\n5. Select **Reverse proxy** (most common).\n\n The **Proxy details** view is displayed.\n6. Configure your proxy with the following settings:\n - **Proxy Name:** Enter \"myproxy\". The remaining steps in this section assume that this is your proxy's ID.\n - **Proxy Base Path:** Automatically set to \"/myproxy\". The **Proxy Base\n Path** is part of the URL used to make requests to your API. Edge uses the URL to match and route incoming requests to the proper API proxy.\n - (Optional)**Description:** Enter a description for your new API proxy, such as \"Testing Apigee hybrid with a simple proxy\".\n - **Target (Existing API):** Enter \"https://mocktarget.apigee.net\". This defines the target URL that Apigee invokes on a request to the API proxy. The mocktarget service is hosted at Apigee and returns simple data. It requires no API key or access token.\n\n Your API proxy's details should look like the following:\n\n7. Click **Next**.\n8. On the **Policies** screen, select **Pass through (no authorization)** as the security option.\n9. Click **Next**.\n10. On the **Summary** screen, select an environment to deploy your proxy to and click **Create and Deploy** .\n\n Hybrid generates the proxy (sometimes referred to as *the proxy bundle*):\n\n11. Click **Go to proxy list** .\n\n Apigee displays the **Proxies** view, which displays a list of API proxies. Your\n new proxy should display with a green status indicator, meaning that it has been deployed.\n\n2. Call the API proxy\n---------------------\n\nWhen the UI indicates your proxy is deployed, you can try calling it using cURL or the REST\nclient of your choice.\nFor example:\n\n1. Make sure your `DOMAIN` environment variable is set to the domain name you used for the hostname for your environment group in [Project and org\n setup - Step 3: Create an environment group](/apigee/docs/hybrid/v1.8/precog-add-environment). \n\n ```\n echo $DOMAIN\n ```\n2. Find the external IP address and port of the Apigee ingress gateway with the following command:\n\n ```\n kubectl get svc -n apigee -l app=apigee-ingressgateway\n ```\n\n\n Your output should look something like: \n\n ```\n NAME TYPE CLUSTER-IP EXTERNAL-IP PORT(S) AGE\n apigee-ingressgateway-prod-hybrid-37a39bd LoadBalancer 192.0.2.123 233.252.0.123 15021:32049/TCP,80:31624/TCP,443:30723/TCP 16h\n ```\n3. Export your external IP and port to variables: \n\n export INGRESS_IP_ADDRESS=EXTERNAL_IP_ADDRESS\n export INGRESS_PORT=\u003cvar translate=\"no\"\u003ePORT_NUMBER\u003c/var\u003e\n\n4. Call the API proxy: \n\n ```\n curl -H Host:$DOMAIN --resolve \\\n $DOMAIN:$INGRESS_PORT:$INGRESS_IP_ADDRESS \\\n https://$DOMAIN:$INGRESS_PORT/myproxy -k\n ```\n\n\n For example: \n\n ```\n curl -H Host:example.com --resolve example.com:443:233.252.0.123 https://example.com:443/myproxy -k\n ```\n\n\nTo learn more about building and deploying API proxies, see [Build your first proxy overview](/apigee/docs/api-platform/get-started/get-started).\n| **Congratulations!**\n|\n| You've successfully installed Apigee hybrid. To learn more about building and deploying\n| API proxies, see [Introduction to API proxy building](/apigee/docs/api-platform/fundamentals/build-simple-api-proxy).\n\n*[Google Cloud]: Google Cloud"]]