Ahora que has configurado Google Cloud y la interfaz de usuario de Apigee, y has instalado y configurado el tiempo de ejecución, puedes ver cómo funciona todo en conjunto.
1. Crear un proxy de API con la interfaz de usuario de Apigee
En esta sección se describe cómo crear un proxy de API en la interfaz de usuario mediante el asistente de proxy de API.
Apigee en la consola de Cloud
Para crear un proxy de API con Apigee en la consola de Cloud, sigue estos pasos:
- Abre la interfaz de Apigee en la consola de Cloud en un navegador.
- Selecciona tu organización en el menú desplegable de la esquina superior izquierda.
- En la vista principal, selecciona Desarrollo de proxies > Proxies de API.
- Haz clic en Crear.Se iniciará el asistente para proxies de API.
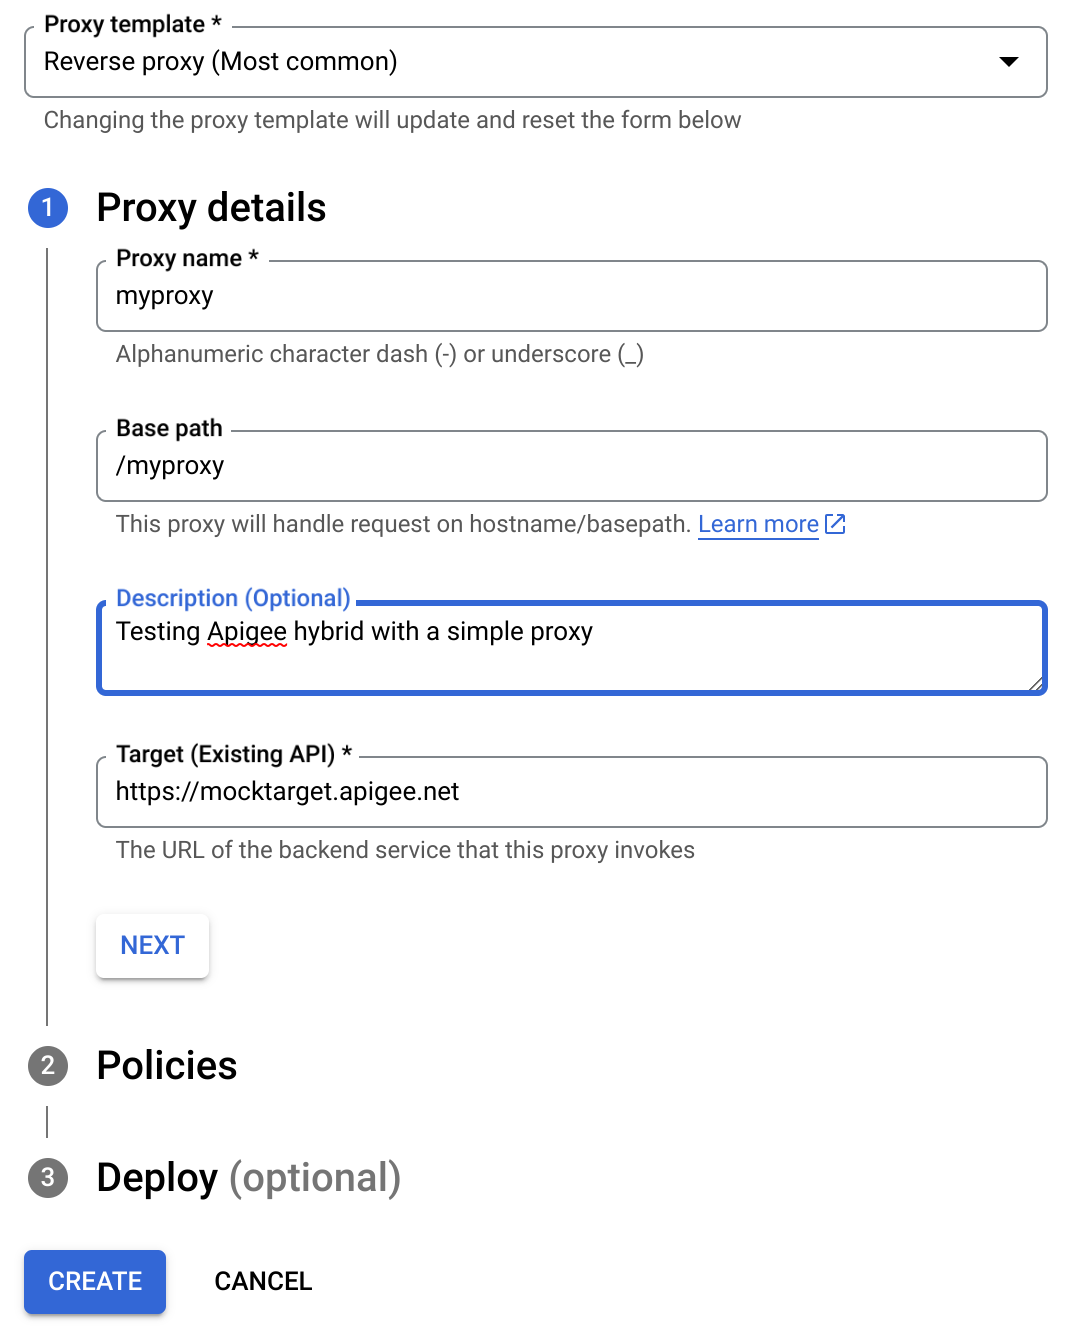
- Selecciona Proxy inverso (la opción más habitual).
Se muestra la vista Detalles del proxy.
- Configura tu proxy con los siguientes ajustes:
- Nombre del proxy: introduce myproxy. En los pasos restantes de esta sección se da por hecho que este es el ID de tu proxy.
- Ruta base: se define automáticamente como / seguido del nombre del proxy, que en este ejemplo es /myproxy. La ruta base forma parte de la URL que se usa para enviar solicitudes a tu API. Edge usa la URL para hacer coincidir y enrutar las solicitudes entrantes al proxy de API adecuado.
- (Opcional) Descripción: escribe una descripción para tu nuevo proxy de API, como "Prueba de Apigee hybrid con un proxy sencillo".
- Destino (API actual): introduce "https://mocktarget.apigee.net". Define la URL de destino que invoca Apigee en una solicitud al proxy de API. El servicio mocktarget está alojado en Apigee y devuelve datos sencillos. No requiere ninguna clave de API ni token de acceso.
Los detalles de tu proxy de API deberían ser similares a los siguientes:
- Haz clic en Siguiente.
- En la pantalla Políticas, selecciona Transferencia (sin autorización) como opción de seguridad.
- Haz clic en Siguiente.
- En Desplegar (opcional), puede seleccionar uno o varios entornos en los que desplegar su proxy en el campo Entornos de despliegue. Si prefieres no implementar el proxy en este momento, deja el campo Entornos de implementación vacío. Puedes implementar el proxy más adelante.
- Haz clic en Crear. Apigee genera el proxy (a veces denominado paquete de proxy).
Apigee muestra la vista Resumen del proxy. Si has elegido implementar el proxy, en la sección Implementaciones se muestra el número de Revisión, que es 1 cuando lo implementas por primera vez. En la columna Estado se muestran los entornos en los que se ha implementado el proxy con un indicador de estado verde.
Debajo, en la sección Puntos finales, se muestra lo siguiente:
- Puntos finales de proxy: la ruta base que has definido para el proxy, que en este ejemplo es
/myproxy. - Endpoints de destino: la ruta base que has definido para el destino, que en este ejemplo es
https://mocktarget.apigee.net.
Apigee Classic
Para crear un proxy de APIs con Apigee Classic, sigue estos pasos:
- Abre la interfaz de Apigee en un navegador.
- Selecciona tu organización en el menú desplegable de la esquina superior izquierda.
- Selecciona Desarrollar > Proxies de API en la vista principal.
- Haz clic en Crear nuevo.Se iniciará el asistente para proxies de API.
- Selecciona Proxy inverso (la opción más habitual).
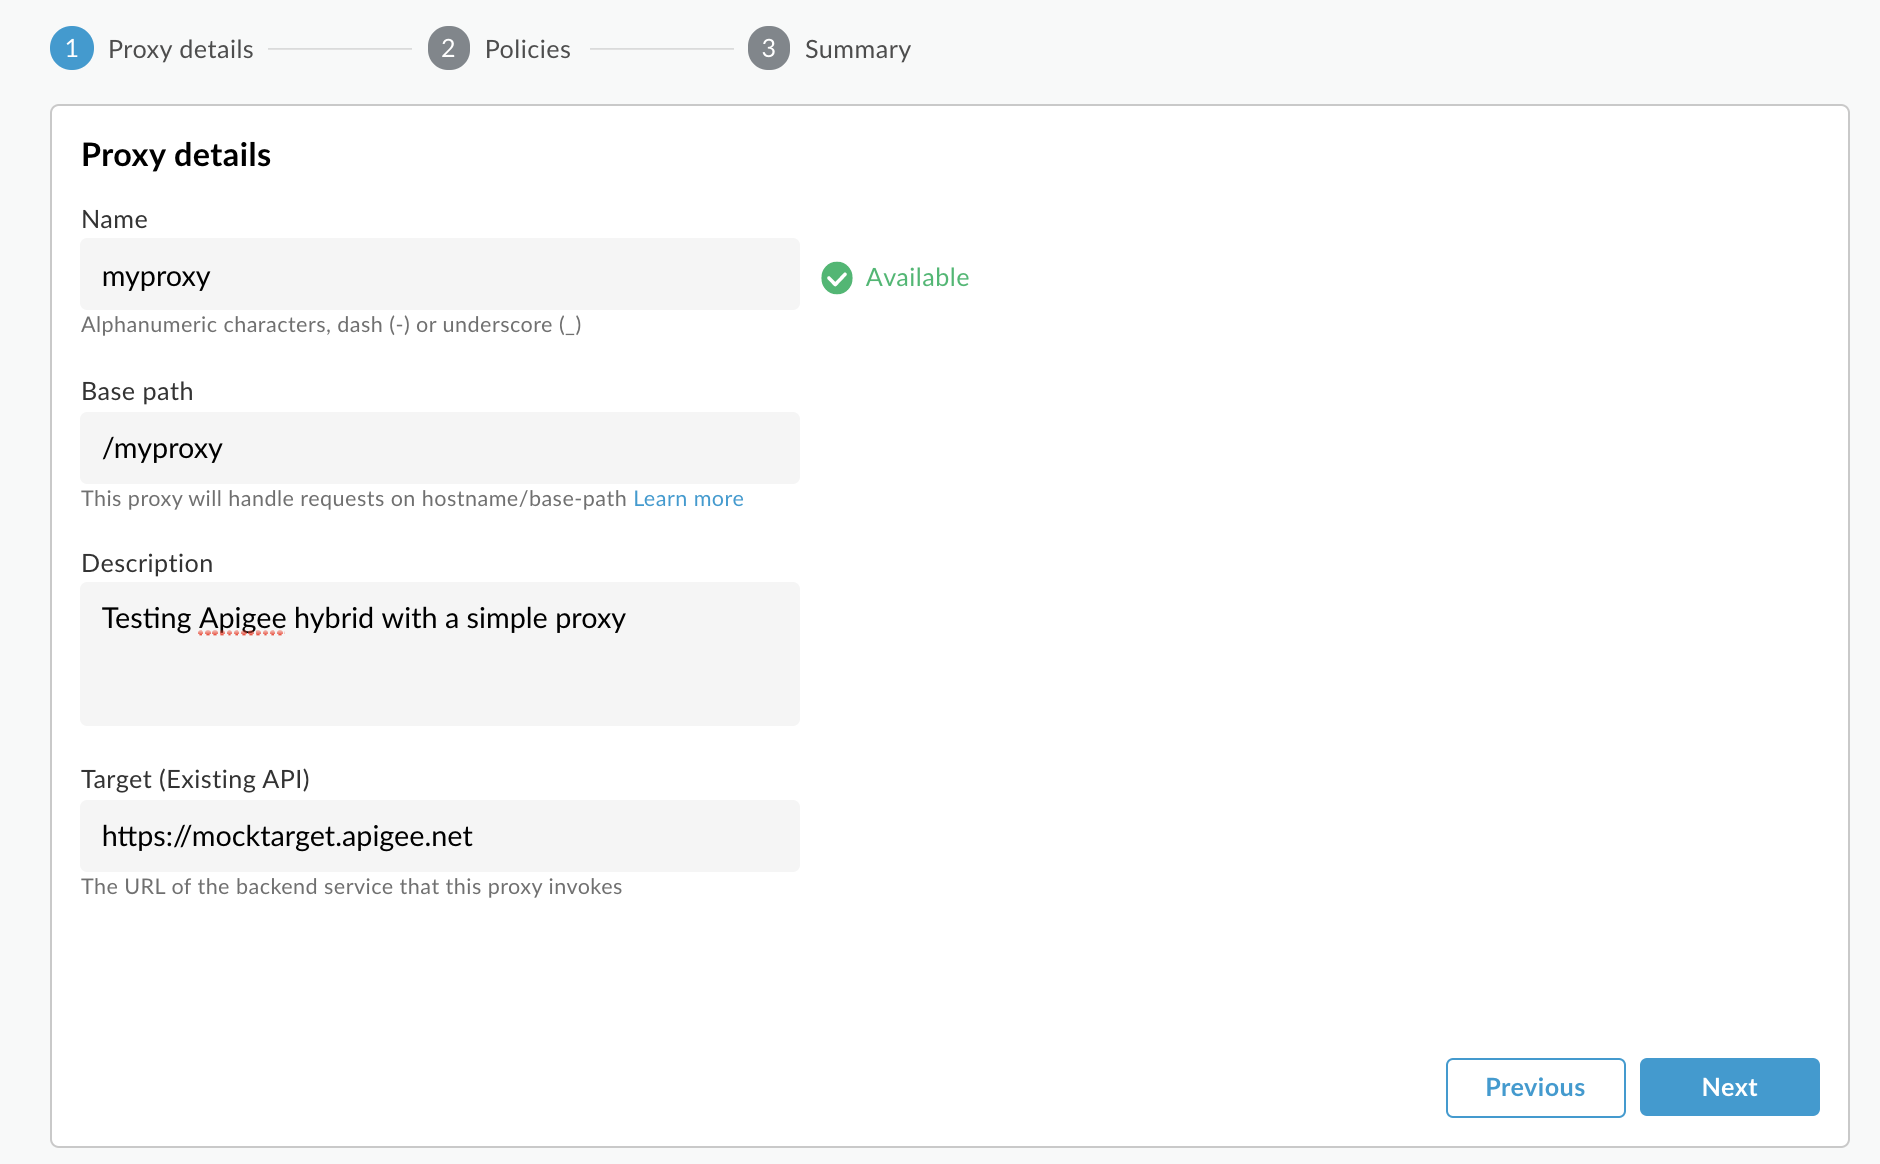
Se muestra la vista Detalles del proxy.
- Configura tu proxy con los siguientes ajustes:
- Nombre del proxy: escribe "myproxy". En los pasos restantes de esta sección se da por supuesto que este es el ID de tu proxy.
- Ruta base del proxy: se define automáticamente como "/myproxy". La ruta base del proxy forma parte de la URL que se usa para enviar solicitudes a tu API. Edge usa la URL para hacer coincidir y enrutar las solicitudes entrantes al proxy de API adecuado.
- (Opcional) Descripción: escribe una descripción para tu nuevo proxy de API, como "Prueba de Apigee hybrid con un proxy sencillo".
- Destino (API actual): introduce "https://mocktarget.apigee.net". Define la URL de destino que invoca Apigee en una solicitud al proxy de API. El servicio mocktarget está alojado en Apigee y devuelve datos sencillos. No requiere ninguna clave de API ni token de acceso.
Los detalles de tu proxy de API deberían ser similares a los siguientes:
- Haz clic en Siguiente.
- En la pantalla Políticas, selecciona Transferencia (sin autorización) como opción de seguridad.
- Haz clic en Siguiente.
- En la pantalla Resumen, selecciona un entorno en el que implementar tu proxy y haz clic en Crear e implementar.
Hybrid genera el proxy (a veces denominado paquete de proxy):
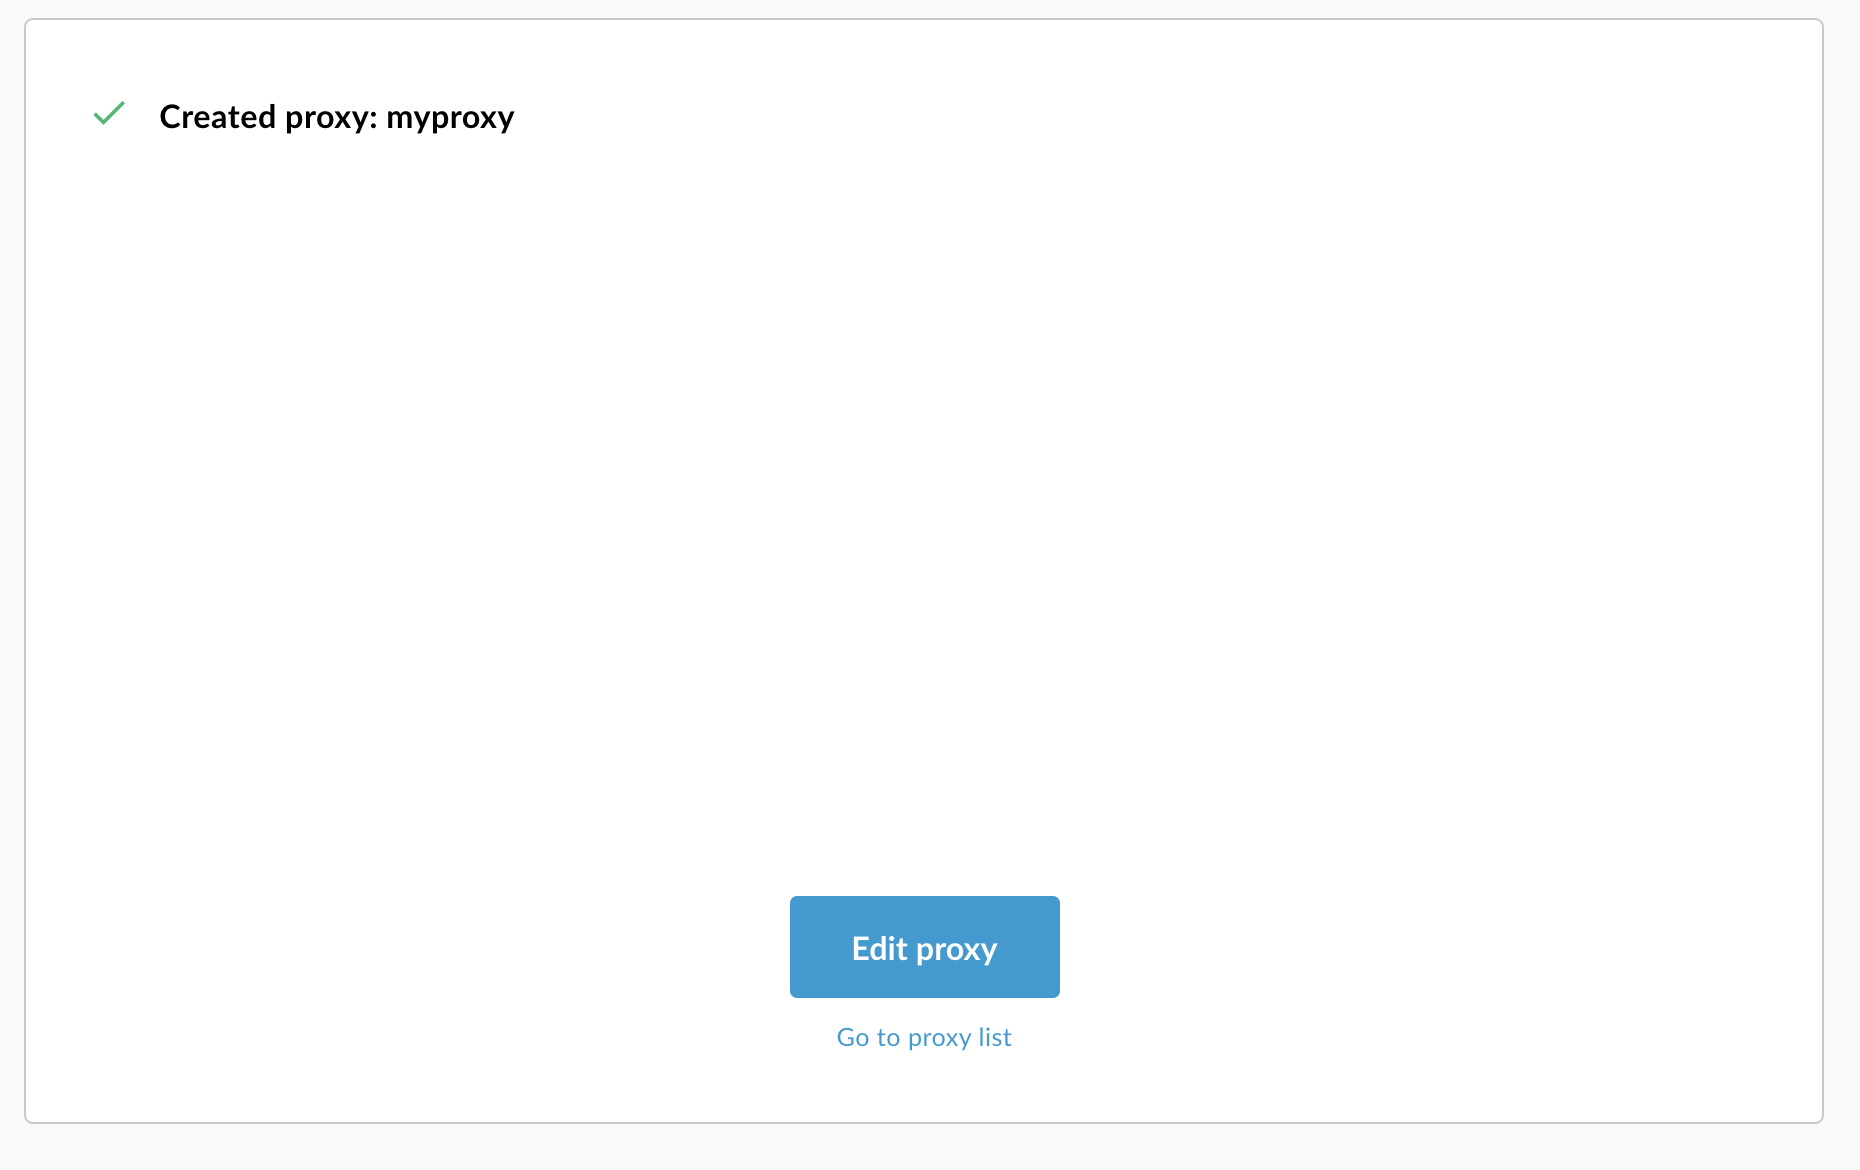
- Haz clic en Ir a la lista de proxies.
Apigee muestra la vista Proxies, que contiene una lista de proxies de APIs. El nuevo proxy debería mostrarse con un indicador de estado verde, lo que significa que se ha implementado.
2. Llamar al proxy de API
Cuando la interfaz de usuario indique que tu proxy se ha desplegado, puedes probar a llamarlo con cURL o con el cliente REST que elijas. Por ejemplo:
- Asegúrate de que la variable de entorno
DOMAINesté definida con el nombre de dominio que has usado para el nombre de host de tu grupo de entornos en Configuración del proyecto y de la organización - Paso 3: Crear un grupo de entornos.echo $DOMAIN
-
Busca la dirección IP externa y el puerto de la pasarela de entrada de Apigee con el siguiente comando:
kubectl get svc -n apigee -l app=apigee-ingressgateway
La salida debería tener un aspecto similar a este:
NAME                                        TYPE           CLUSTER-IP    EXTERNAL-IP     PORT(S)                                      AGE
apigee-ingressgateway-prod-hybrid-37a39bd   LoadBalancer   192.0.2.123   233.252.0.123   15021:32049/TCP,80:31624/TCP,443:30723/TCP   16h
- Exporta tu IP y puerto externos a variables:
export INGRESS_IP_ADDRESS=EXTERNAL_IP_ADDRESS
export INGRESS_PORT=PORT_NUMBER - Llama al proxy de API:
curl  -H Host:$DOMAIN --resolve \
  $DOMAIN:$INGRESS_PORT:$INGRESS_IP_ADDRESS  \
  https://$DOMAIN:$INGRESS_PORT/myproxy -k
Por ejemplo:
curl -H Host:example.com --resolve example.com:443:233.252.0.123 https://example.com:443/myproxy -k
Para obtener más información sobre cómo crear y desplegar proxies de APIs, consulta el artículo Crear tu primer proxy.