Questa pagina si applica ad Apigee e Apigee hybrid.
Visualizza la documentazione di
Apigee Edge.

Per testare l'API helloworld di cui è stato eseguito il deployment, fai clic sulla scheda Terminale
in Apigee in Cloud Code e inserisci la seguente chiamata curl:
curl 0:8998/helloworld
Viene visualizzato il seguente messaggio di errore:

Poiché hai attivato l'autenticazione basata su chiave API durante la creazione del proxy API, devi passare una chiave API utilizzando il parametro di query apikey quando chiami l'API.
Per ottenere una chiave API, devi creare un bundle di test e configurare le seguenti risorse di test:
Prodotto API utilizzato per raggruppare l'API e renderla disponibile agli sviluppatori.
Sviluppatore che creerà un'app per accedere all'API.
App per sviluppatori che consentirà l'accesso all'API utilizzando una chiave API.
Creare ed esportare risorse di test
- Crea un bundle di test:
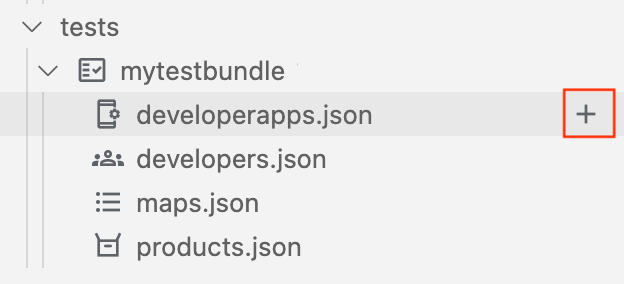
- Posiziona il cursore sulla cartella dati di test e fai clic su
 .
.
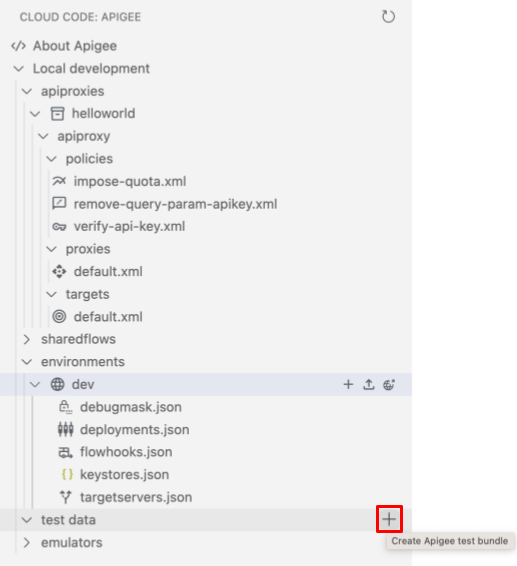
Viene visualizzata la procedura guidata Crea bundle di test.
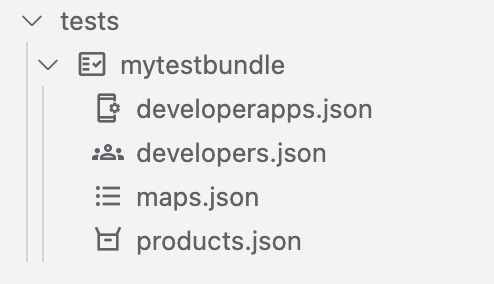
- Inserisci mytestbundle come nome del pacchetto di test e premi Invio.
Il pacchetto di test viene creato.
- Espandi la cartella mytestbundle per visualizzarne i contenuti.
- Posiziona il cursore sulla cartella dati di test e fai clic su
- Configura la risorsa di test del prodotto API:
- Posiziona il cursore sul file products.json e fai clic su .
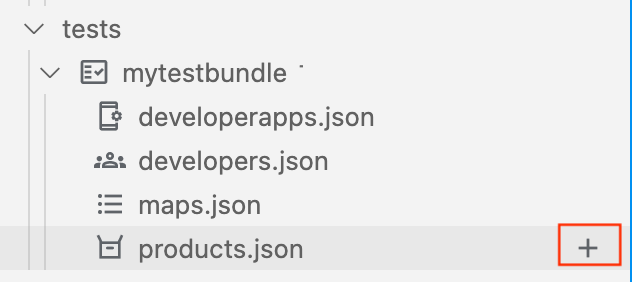
Si apre la procedura guidata Crea prodotto API.

- Inserisci myproduct come nome del prodotto API e premi Invio per confermare e procedere.
- Inserisci myproduct per la descrizione del prodotto API e premi Invio per confermare e procedere.
- Seleziona helloworld per aggiungere il proxy API al prodotto API e fai clic su Ok.
Il file
products.jsonviene aperto nell'editor con il nuovo prodotto API configurato:[ { "attributes": [ { "name": "sample_attribute_0", "value": "sample_attribute_value_0" } ], "scopes": [], "environments": [], "apiResources": [ "/", "/*", "/**" ], "quota": "100", "quotaInterval": "1", "quotaTimeUnit": "minute", "name": "myproduct", "displayName": "myproduct", "proxies": [ "helloworld" ] } ]
- Posiziona il cursore sul file products.json e fai clic su
- Configura la risorsa di test per sviluppatori:
- Posiziona il cursore sul file developers.json e fai clic su .
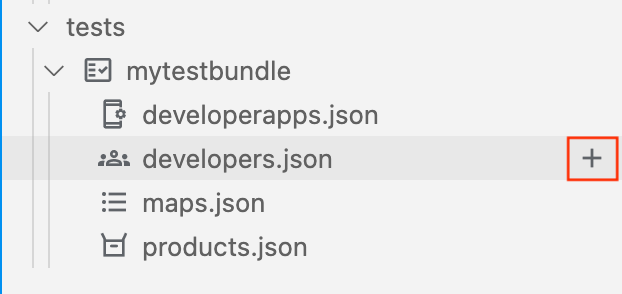
Si apre la procedura guidata Crea sviluppatore.

- Inserisci i seguenti valori nei prompt e premi Invio per confermare e procedere:
- Email dello sviluppatore: ahamilton@example.com
- Nome utente: ahamilton
- Nome: Alex
- Cognome: Hamilton
Il file
developers.jsonviene aperto nell'editor con il nuovo sviluppatore configurato:[ { "attributes": [ { "name": "sample_attribute_0", "value": "sample_attribute_value_0" } ], "email": "ahamilton@example.com", "userName": "ahamilton", "firstName": "Alex", "lastName": "Hamilton" } ]
- Posiziona il cursore sul file developers.json e fai clic su
- Configura la risorsa di test dell'app per sviluppatori:
- Posiziona il cursore sul file developerapps.json e fai clic su .
Si apre la procedura guidata Crea app per sviluppatori.

- Seleziona ahamilton@example.com come proprietario dell'app.
- Inserisci i seguenti valori nella serie successiva di prompt e premi Invio per confermare e procedere:
- Nome app: myapp
- Descrizione: myapp
- URL di callback: lascia vuoto
- Seleziona myproduct per aggiungerlo all'app e fai clic su Ok.
- Seleziona Mai per il valore di scadenza.
Il file
developerapps.jsonviene aperto nell'editor con la nuova app configurata:[ { "attributes": [ { "name": "sample_attribute_0", "value": "sample_attribute_value_0" } ], "developerEmail": "ahamilton@example.com", "name": "myapp", "displayName": "myapp", "callbackUrl": "", "apiProducts": [ "myproduct" ], "expiryType": "never" } ]
- Posiziona il cursore sul file developerapps.json e fai clic su
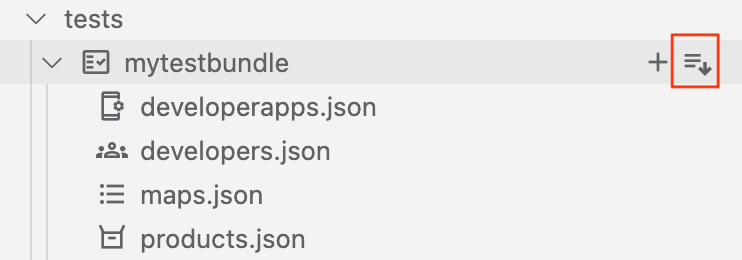
- Esporta le risorse di test nell'emulatore Apigee.
Posiziona il cursore sul pacchetto di test mytestbundle e fai clic su
 .
.
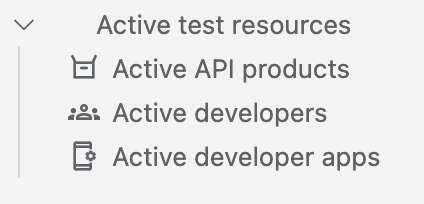
Le risorse di test attive vengono visualizzate nella sezione Emulatore Apigee, come mostrato nella figura seguente.
Ottenere la chiave API
Ottieni le credenziali della chiave API per la tua app per sviluppatori:
- Nella sezione emulatori, in Dati di test attivi, fai clic su App per sviluppatori attive.
Il file di configurazione delle app per sviluppatori attive viene aperto nell'editor. Il file contiene le credenziali per
myproduct, come evidenziato nella figura seguente.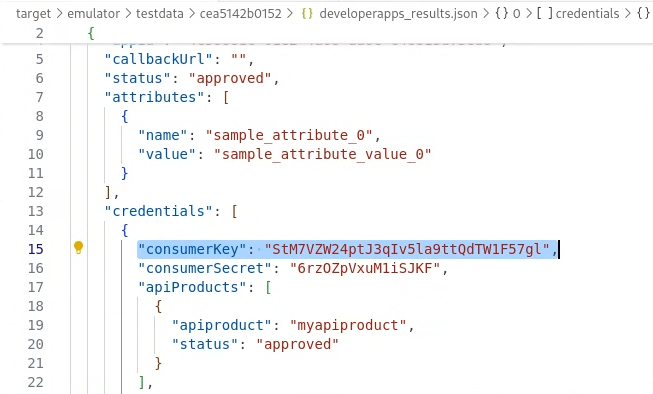
- Copia il valore
consumerKey(senza virgolette) per il prodotto APImyproduct.
Testare l'API
Testa l'API con la chiave API:
- Passa la chiave API nella chiamata curl utilizzando il parametro di query
apikey, come segue:curl 0:8998/helloworld?apikey=API_KEY
Viene restituita la seguente risposta:
Hello, Guest!
Complimenti! Hai eseguito correttamente un'API nel tuo ambiente locale.
Nel passaggio successivo, imparerai a modificare l'endpoint di destinazione.
1 2 3 4 (NEXT) Step 5: Change the target endpoint 6 7 8