Esta página se aplica a Apigee y Apigee Hybrid.
Consulta la documentación de
Apigee Edge.

Para probar la API de helloworld implementada, haz clic en la pestaña Terminal en Apigee en Cloud Code y, luego, ingresa la siguiente llamada curl:
curl 0:8998/helloworld
Se muestra el siguiente mensaje de error:

Dado que habilitaste la autenticación basada en claves de API cuando creaste el proxy de API, debes pasar una clave de API con el parámetro de búsqueda apikey cuando llames a la API.
Para obtener una clave de API, debes crear un paquete de prueba y configurar los siguientes recursos de prueba:
Producto de API que se usa para agrupar la API y hacer que esté disponible para los desarrolladores
Desarrollador que creará una app para acceder a la API
App de desarrollador que habilitará el acceso a la API mediante una clave de API
Compila y exporta recursos de prueba
- Crea un paquete de prueba:
- Coloca el cursor sobre la carpeta test data y haz clic en
 .
.
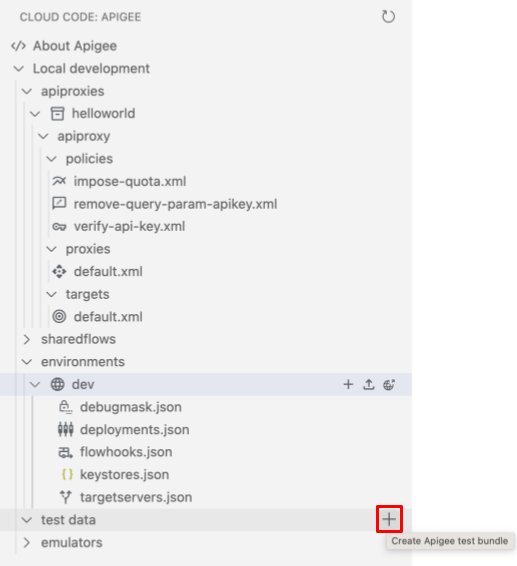
Se abrirá el asistente para crear un paquete de prueba.
- Ingresa mytestbundle para el nombre del paquete de prueba y presiona Intro.
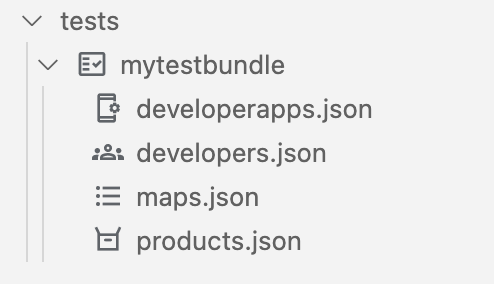
Se creó el paquete de prueba.
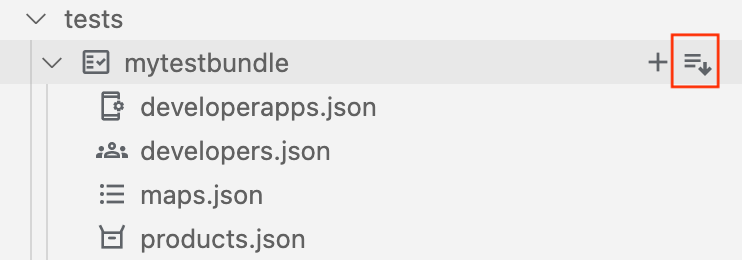
- Expande la carpeta mytestbundle para ver su contenido.
- Coloca el cursor sobre la carpeta test data y haz clic en
- Configura el recurso de prueba del producto de la API:
- Coloca el cursor sobre el archivo products.json y haz clic en .

Se abrirá el asistente Crear producto de API.

- Ingrese myproduct para el nombre del producto de la API y presione Intro para confirmar y continuar.
- Ingrese myproduct para la descripción del producto de la API y presione Intro para confirmar y continuar.
- Selecciona helloworld para agregar el proxy de API al producto de API y haz clic en Aceptar.
El archivo
products.jsonse abre en el editor con el nuevo producto de API configurado:[ { "attributes": [ { "name": "sample_attribute_0", "value": "sample_attribute_value_0" } ], "scopes": [], "environments": [], "apiResources": [ "/", "/*", "/**" ], "quota": "100", "quotaInterval": "1", "quotaTimeUnit": "minute", "name": "myproduct", "displayName": "myproduct", "proxies": [ "helloworld" ] } ]
- Coloca el cursor sobre el archivo products.json y haz clic en
- Configura el recurso de prueba para desarrolladores:
- Coloca el cursor sobre el archivo developers.json y haz clic en .
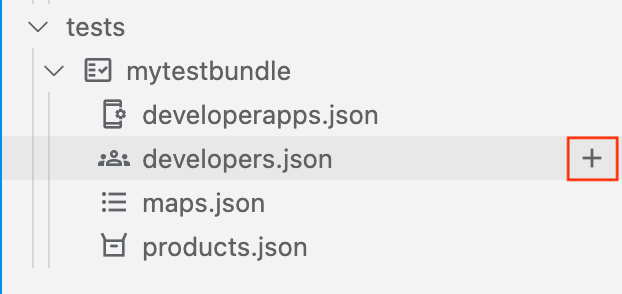
Se abrirá el asistente Crear desarrollador.

- Ingresa los siguientes valores en los mensajes y presiona Intro para confirmar y continuar:
- Correo electrónico del desarrollador: ahamilton@example.com
- Nombre de usuario: ahamilton
- Nombre: Alex
- Apellido: Hamilton
El archivo
developers.jsonse abre en el editor con el nuevo desarrollador configurado:[ { "attributes": [ { "name": "sample_attribute_0", "value": "sample_attribute_value_0" } ], "email": "ahamilton@example.com", "userName": "ahamilton", "firstName": "Alex", "lastName": "Hamilton" } ]
- Coloca el cursor sobre el archivo developers.json y haz clic en
- Configura el recurso de prueba de la app para desarrolladores:
- Coloca el cursor sobre el archivo developerapps.json y haz clic en .
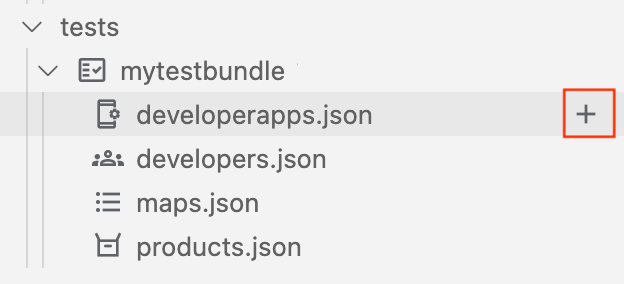
Se abrirá el asistente para crear una app de desarrollador.

- Selecciona ahamilton@example.com como el propietario de la app.
- Ingresa los siguientes valores en el siguiente conjunto de mensajes y presiona Intro para confirmar y continuar:
- Nombre de la aplicación: myapp
- Descripción: myapp
- URL de devolución de llamada: dejar en blanco
- Selecciona myproduct para agregarlo a la app y haz clic en OK.
- Selecciona nunca para el valor de vencimiento.
El archivo
developerapps.jsonse abre en el editor con la nueva app configurada:[ { "attributes": [ { "name": "sample_attribute_0", "value": "sample_attribute_value_0" } ], "developerEmail": "ahamilton@example.com", "name": "myapp", "displayName": "myapp", "callbackUrl": "", "apiProducts": [ "myproduct" ], "expiryType": "never" } ]
- Coloca el cursor sobre el archivo developerapps.json y haz clic en
- Exporta los recursos de prueba al emulador de Apigee.
Coloca el cursor sobre el paquete de prueba mytestbundle y haz clic en
 .
.
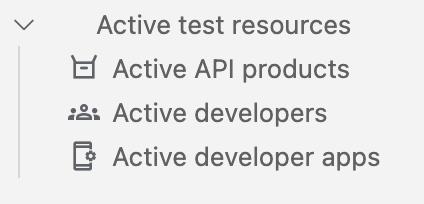
Los recursos de prueba activos aparecen en la sección Emuladores de Apigee, como se muestra en la siguiente figura.
Cómo obtener la clave de API
Obtén las credenciales de la clave de API para tu app de desarrollador:
- En la sección emulators, en Active test data, haz clic en Active developer apps.
El archivo de configuración de apps activo para desarrolladores se abre en el editor. El archivo contiene credenciales para
myproduct, como se destaca en la siguiente figura.
- Copia el valor de
consumerKey(sin comillas) para el producto de APImyproduct.
Probar su API
Prueba tu API con la clave de API:
- Pasa la clave de API en tu llamada a curl mediante el parámetro de búsqueda
apikeyde la siguiente manera:curl 0:8998/helloworld?apikey=API_KEY
Se muestra la siguiente respuesta:
Hello, Guest!
¡Felicitaciones! Ejecutaste una API en tu entorno local de forma correcta.
En el siguiente paso, aprenderás cómo cambiar el extremo de destino.
1 2 3 4 (SIGUIENTE) Paso 5: Cambia el extremo de destino 6 7 8