Halaman ini berlaku untuk Apigee dan Apigee Hybrid.
Lihat dokumentasi
Apigee Edge.

Pada langkah ini, Anda akan membuat proxy API sederhana yang memanggil layanan target tiruan.
Apigee di Konsol Cloud
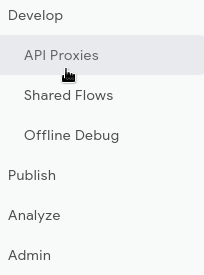
Di konsol Google Cloud , buka halaman Proxy development > API proxies.
- Pastikan nama organisasi Anda dipilih dari pemilih project di panel Google Cloud. Nama organisasi sama dengan nama project Google Cloud .
- Klik + Create.
- Di panel Create a proxy, di bagian Proxy template, pilih Reverse proxy (Most common). Reverse proxy hanya merutekan traffic masuk ke layanan backend.
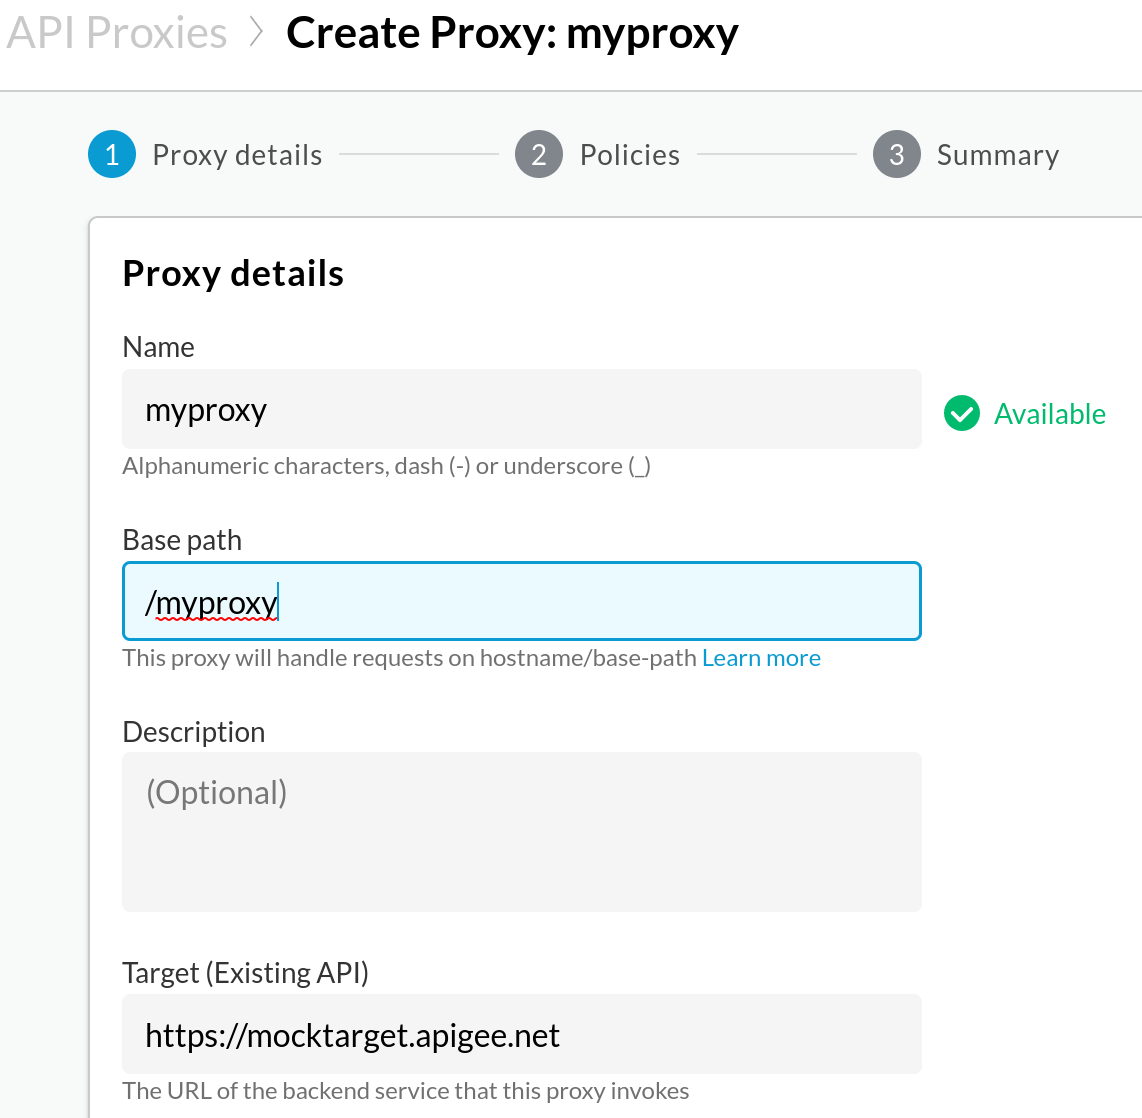
- Di bagian Detail proxy, masukkan informasi berikut:
- Nama proxy: Masukkan
myproxy. Langkah-langkah yang tersisa di bagian ini mengasumsikan bahwa ini adalah nama proxy Anda. - Jalur Dasar: Otomatis ditetapkan ke nilai yang Anda masukkan untuk
Proxy name. Jalur Dasar adalah bagian dari URL yang digunakan untuk membuat permintaan ke API Anda. Apigee menggunakan URL untuk mencocokkan dan merutekan permintaan masuk ke proxy API yang tepat. - Deskripsi (Opsional): Masukkan deskripsi untuk proxy API baru Anda, seperti "Menguji Apigee dengan proxy sederhana".
- Target (API yang Ada): Masukkan
https://mocktarget.apigee.net. Ini menentukan URL target yang dipanggil Apigee pada permintaan ke proxy API. Layanan mocktarget dihosting di Apigee dan menampilkan data sederhana. Tidak memerlukan kunci API atau token akses. - Ruang (Opsional): Jika organisasi Anda mengaktifkan Apigee Spaces, Anda dapat mengaitkan proxy API dengan Ruang yang dipilih dari daftar opsi yang tersedia. Untuk mengetahui informasi selengkapnya, lihat Ringkasan Ruang Apigee.
- Klik Berikutnya.
- Nama proxy: Masukkan
- Di bagian Deploy (opsional), jangan ubah kolom Deployment environments. Dalam contoh ini, Anda hanya membuat proxy tanpa men-deploy-nya pada tahap ini. Anda juga dapat mengabaikan kolom Service Account. Biarkan kosong.
- Klik Buat.
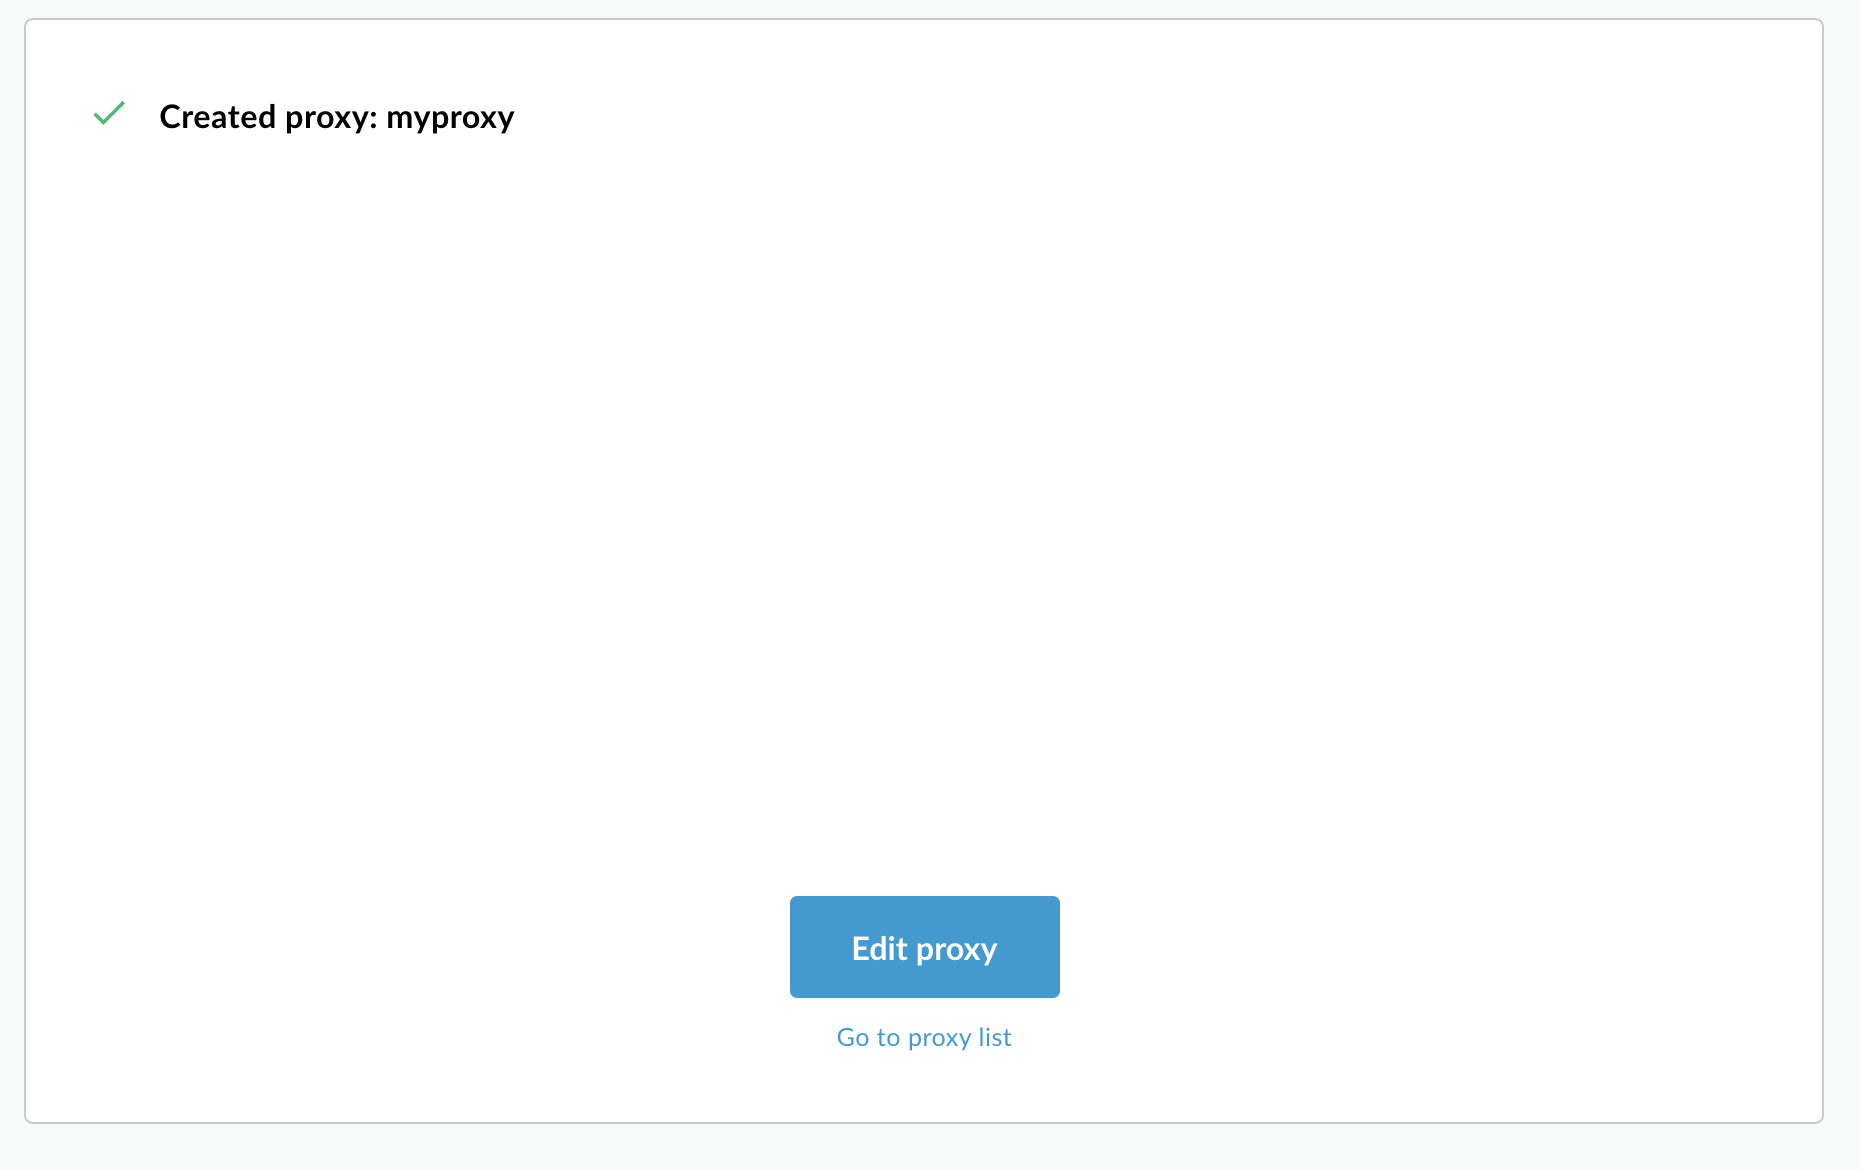
Apigee akan membuat proxy baru dan menampilkan ringkasan detail proxy di panel Proxy summary.

Bagian Deployments kosong karena proxy belum di-deploy.
- Di bagian Revisi pada bagian Ringkasan endpoint, klik Lihat.
Panel tampilan endpoint menampilkan:
- Endpoint proxy: Basepath yang Anda tetapkan untuk proxy, yang dalam contoh ini adalah
/myproxy. - Target endpoint: Basepath yang Anda tetapkan untuk target, yang dalam contoh ini adalah
https://mocktarget.apigee.net.
- Endpoint proxy: Basepath yang Anda tetapkan untuk proxy, yang dalam contoh ini adalah
- Klik Tutup untuk kembali ke halaman ringkasan Proxy.
Apigee Klasik
Untuk membuat proxy API sederhana di UI Apigee klasik:
- Buka Apigee UI di browser.
- Klik Develop > API Proxies di tampilan utama UI.
Dari menu drop-down Select Environment, pilih lingkungan tempat Anda ingin membuat proxy API baru.
UI Apigee menampilkan daftar proxy API untuk lingkungan tersebut. Jika Anda belum membuat proxy, daftar akan kosong.
- Klik Buat Baru.

Wizard Create Proxy akan dimulai:
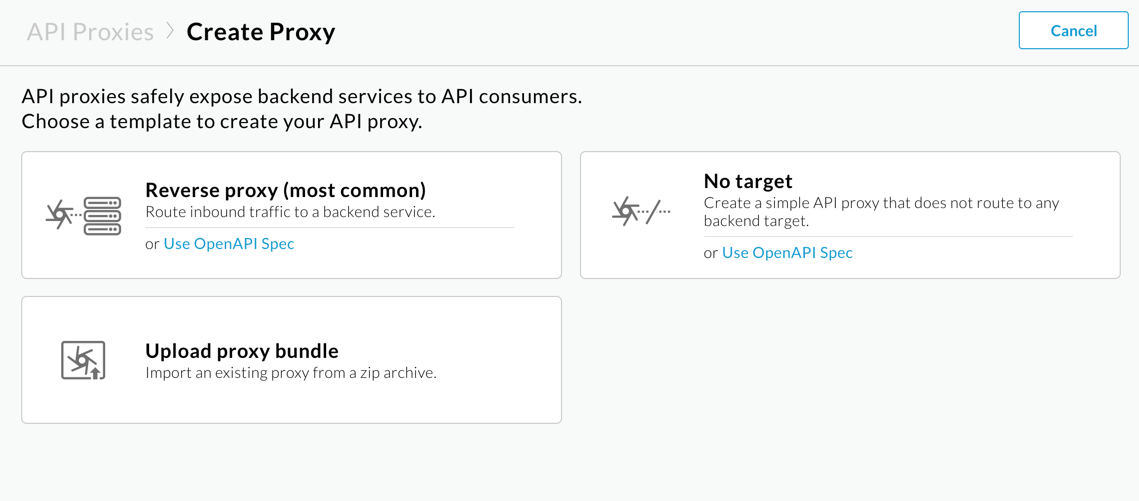
- Pilih Reverse proxy (paling umum).
Tampilan Proxy details akan ditampilkan.
- Konfigurasi proxy Anda dengan setelan berikut:
- Nama Proxy: Masukkan
myproxy. Langkah-langkah yang tersisa di bagian ini mengasumsikan bahwa ini adalah ID proxy Anda. - Proxy Base Path: Otomatis disetel ke
/myproxy. Jalur Dasar Proxy adalah bagian dari URL yang digunakan untuk membuat permintaan ke API Anda. Apigee menggunakan URL untuk mencocokkan dan merutekan permintaan masuk ke proxy API yang tepat. - Deskripsi (Opsional): Masukkan deskripsi untuk proxy API baru Anda, seperti Menguji Apigee dengan proxy sederhana.
- Target (API yang Ada): Masukkan
https://mocktarget.apigee.net. Ini menentukan URL target yang dipanggil Apigee pada permintaan ke proxy API. Layanan mocktarget dihosting di Apigee dan menampilkan data sederhana. Tidak memerlukan kunci API atau token akses.
Detail proxy API Anda akan terlihat seperti berikut:
- Nama Proxy: Masukkan
- Klik Berikutnya.
- Di layar Kebijakan umum, pilih Teruskan (tanpa otorisasi) sebagai opsi keamanan.
- Klik Berikutnya.
- Di layar Ringkasan, klik Buat. (Biarkan
Optional Deployment tidak dipilih.)
Apigee membuat proxy (terkadang disebut sebagai paket proxy):
- Klik Go to proxy list.
Apigee menampilkan tampilan Proxies, yang menampilkan daftar proxy API. Proxy baru memiliki indikator status berwarna abu-abu, yang berarti proxy tersebut belum di-deploy.
Selanjutnya, Anda akan men-deploy proxy API. Proxy harus di-deploy sebelum dapat digunakan oleh klien.
1 (BERIKUTNYA) Langkah 2: Deploy proxy API 3 4 5