Cette page s'applique à Apigee et à Apigee hybrid.
Consultez la documentation d'
Apigee Edge.

Au cours de cette étape, vous allez créer un proxy d'API simple qui appelle un service cible fictif.
Apigee dans la console Cloud
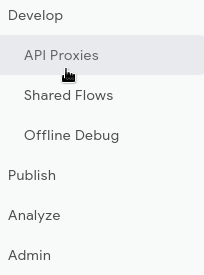
Dans la console Google Cloud , accédez à la page Développement de proxys > Proxys d'API.
- Assurez-vous que le nom de votre organisation est sélectionné dans le sélecteur de projet du volet Google Cloud. Le nom de l'organisation est identique à celui de votre projet Google Cloud .
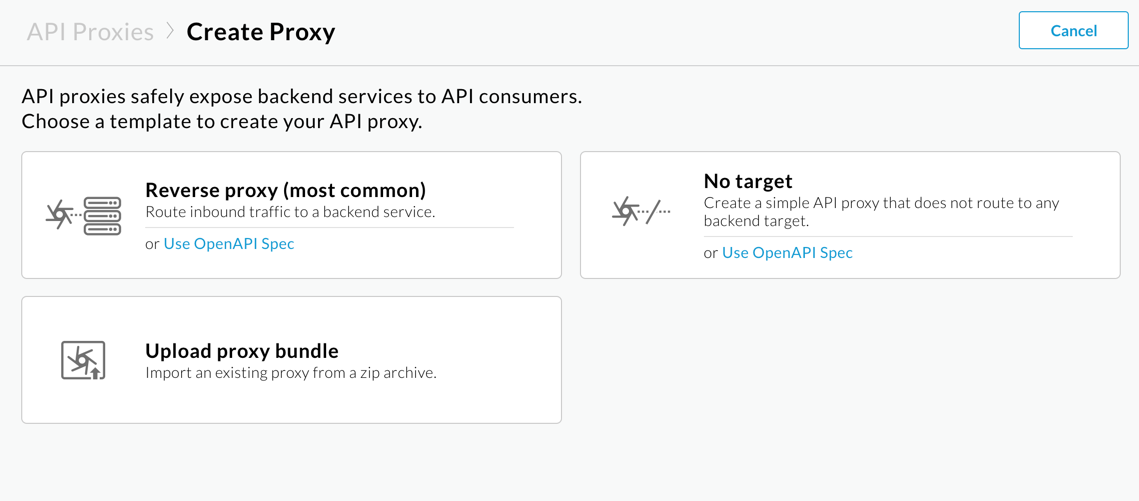
- Cliquez sur + Créer.
- Dans le volet Créer un proxy, sous Modèle de proxy, sélectionnez Proxy inverse (le plus courant). Un proxy inverse achemine simplement le trafic entrant vers un service de backend.
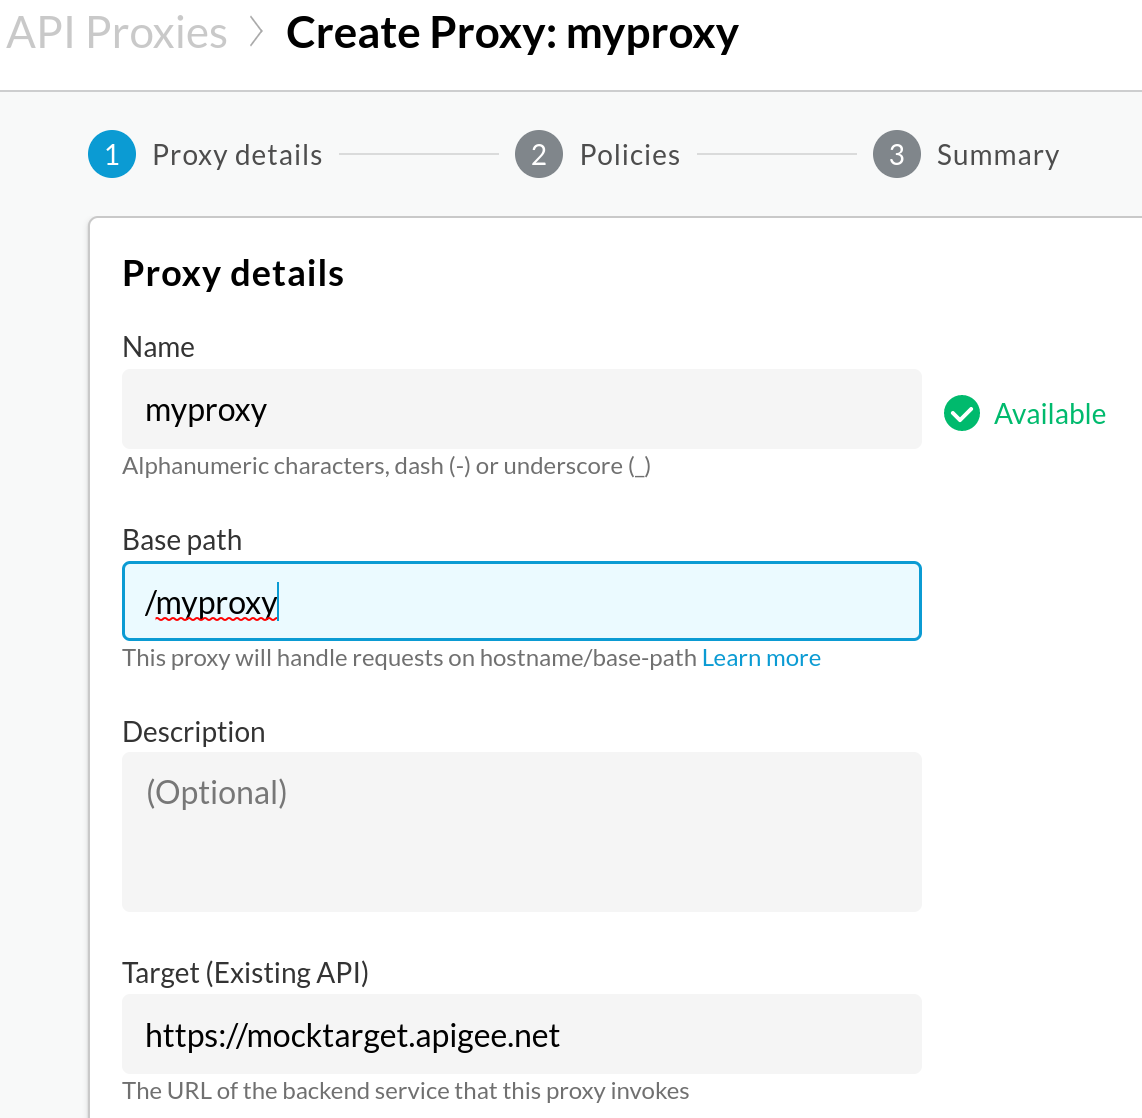
- Sous Détails du proxy, saisissez les informations suivantes :
- Nom du proxy : saisissez
myproxy. Dans les étapes suivantes de cette section, nous partons du principe qu'il s'agit du nom de votre proxy. - Chemin de base : défini automatiquement sur la valeur que vous saisissez pour
Proxy name. Le chemin de base fait partie de l'URL utilisée pour envoyer des requêtes à votre API. Apigee utilise l'URL pour mettre en correspondance et acheminer les requêtes entrantes vers le proxy d'API approprié. - Description (facultatif) : saisissez une description pour votre nouveau proxy d'API, par exemple "Test Apigee avec un proxy simple".
- Cible (API existante) : saisissez
https://mocktarget.apigee.net. Cela définit l'URL cible qu'Apigee appelle pour une requête adressée au proxy d'API. Le service "mocktarget" est hébergé sur Apigee et renvoie des données simples. Il ne nécessite aucune clé d'API ni jeton d'accès. - Space (facultatif) : si Apigee Spaces est activé pour votre organisation, vous pouvez associer le proxy d'API à un Space sélectionné dans la liste des options disponibles. Pour en savoir plus, consultez la présentation d'Apigee Spaces.
- Cliquez sur Suivant.
- Nom du proxy : saisissez
- Sous Déployer (facultatif); laissez le champ Environnements de déploiement inchangé. Dans cet exemple, vous créez simplement le proxy sans le déployer à ce stade. Vous pouvez également ignorer le champ Compte de service. Laissez-le vide.
- Cliquez sur Créer.
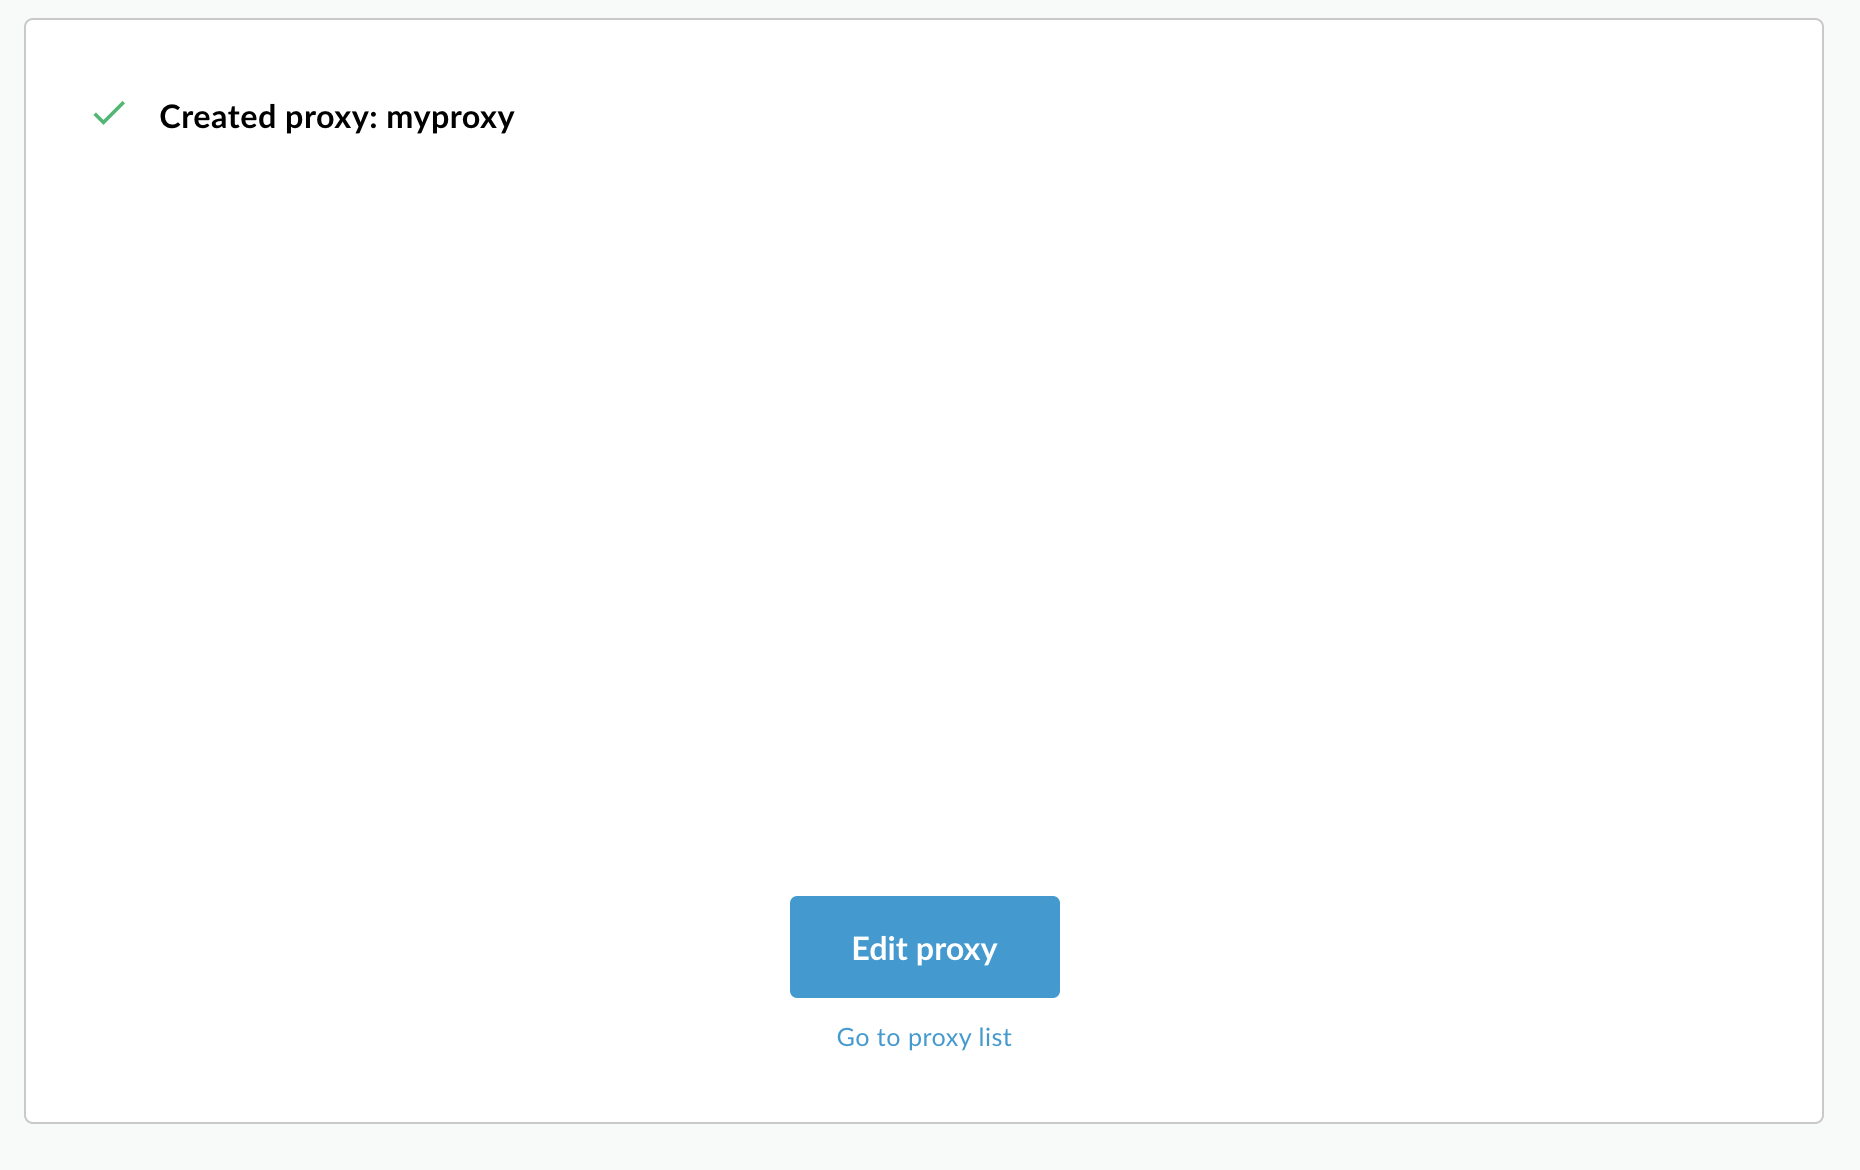
Apigee crée le proxy et affiche un résumé des détails du proxy dans la vue Récapitulatif du proxy.

La section Déploiements est vide, car le proxy n'a pas encore été déployé.
- Dans la section Révisions sous Récapitulatif des points de terminaison, cliquez sur Afficher.
Le volet de vue des points de terminaison affiche :
- Points de terminaison du proxy : le chemin de base que vous avez défini pour le proxy, soit dans cet exemple
/myproxy. - Points de terminaison cibles : le chemin de base que vous avez défini pour la cible, soit dans cet exemple
https://mocktarget.apigee.net.
- Points de terminaison du proxy : le chemin de base que vous avez défini pour le proxy, soit dans cet exemple
- Cliquez sur Fermer pour revenir à la page récapitulative du proxy.
Apigee classique
Pour créer un proxy d'API simple dans l'interface utilisateur classique d'Apigee :
- Ouvrez l'interface utilisateur Apigee dans un navigateur.
- Dans la vue principale de l'interface utilisateur, cliquez sur Développer > Proxys d'API.
Dans la liste déroulante Select Environment (Sélectionner un environnement), sélectionnez l'environnement dans lequel vous souhaitez créer un proxy d'API.
L'interface utilisateur Apigee affiche la liste des proxys d'API pour cet environnement. Si vous n'avez pas encore créé de proxy, la liste est vide.
- Cliquez sur Créer.

L'assistant de création de proxy démarre.
- Sélectionnez Proxy inverse (solution la plus courante).
La vue Informations sur le proxy s'affiche.
- Configurez votre proxy avec les paramètres suivants :
- Nom du proxy : saisissez
myproxy. Dans les étapes suivantes de cette section, nous partons du principe qu'il s'agit de l'ID de votre proxy. - Chemin de base du proxy : défini automatiquement sur
/myproxy. Le chemin de base du proxy fait partie de l'URL utilisée pour envoyer des requêtes à votre API. Apigee utilise l'URL pour mettre en correspondance et acheminer les requêtes entrantes vers le proxy d'API approprié. - Description (facultatif) : saisissez une description pour votre nouveau proxy d'API, par exemple Test Apigee avec un proxy simple.
- Cible (API existante) : saisissez
https://mocktarget.apigee.net. Cela définit l'URL cible qu'Apigee appelle pour une requête adressée au proxy d'API. Le service "mocktarget" est hébergé sur Apigee et renvoie des données simples. Il ne nécessite aucune clé d'API ni jeton d'accès.
Les détails de votre proxy API doivent se présenter comme suit :
- Nom du proxy : saisissez
- Cliquez sur Suivant.
- Sur l'écran Règles courantes, sélectionnez l'option de sécurité Direct (sans autorisation).
- Cliquez sur Suivant.
- Sur l'écran Résumé, cliquez sur Créer. (Laissez l'option Déploiement facultatif non sélectionnée.)
Apigee génère le proxy (parfois appelé package de proxy) :
- Cliquez sur Accéder à la liste des proxys.
Apigee affiche la vue Proxy, qui affiche une liste de proxys d'API. Le nouveau proxy affiche un indicateur d'état gris, ce qui signifie qu'il n'a pas encore été déployé.
Vous allez ensuite déployer le proxy d'API. Un proxy doit être déployé avant de pouvoir être utilisé par un client.
1 (SUIVANT) Étape 2 : Déployez le proxy d'API 3 4 5