Questa pagina si applica ad Apigee e Apigee hybrid.
Visualizza la documentazione di
Apigee Edge.

Utilizza la UI o l'API Apigee per modificare un proxy API. La modifica di un proxy API può includere la configurazione di criteri, la configurazione di endpoint proxy, endpoint di destinazione e endpoint di integrazione, l'aggiunta o la rimozione di hook di flusso e il deployment del proxy.
Quando modifichi un proxy API, puoi decidere cosa fare con le modifiche risultanti:
- Salva le modifiche sul server, ma non creare una nuova revisione. Esegui questa operazione quando non
vuoi eseguire il deployment delle modifiche salvate, ma vuoi solo assicurarti che non vadano perse se termini la
sessione.
OR
- Crea una nuova revisione del proxy API e implementala nel cluster. Non puoi eseguire il deployment delle modifiche a un proxy API senza crearne una nuova revisione.
Apigee nella console Cloud
Per modificare un proxy API e salvare le modifiche utilizzando la console Apigee Cloud:
Nella console Google Cloud , vai alla pagina Sviluppo proxy > Proxy API.
Seleziona il proxy da modificare dall'elenco dei proxy. L'interfaccia utente mostra la scheda Panoramica per quel proxy nella console Google Cloud .
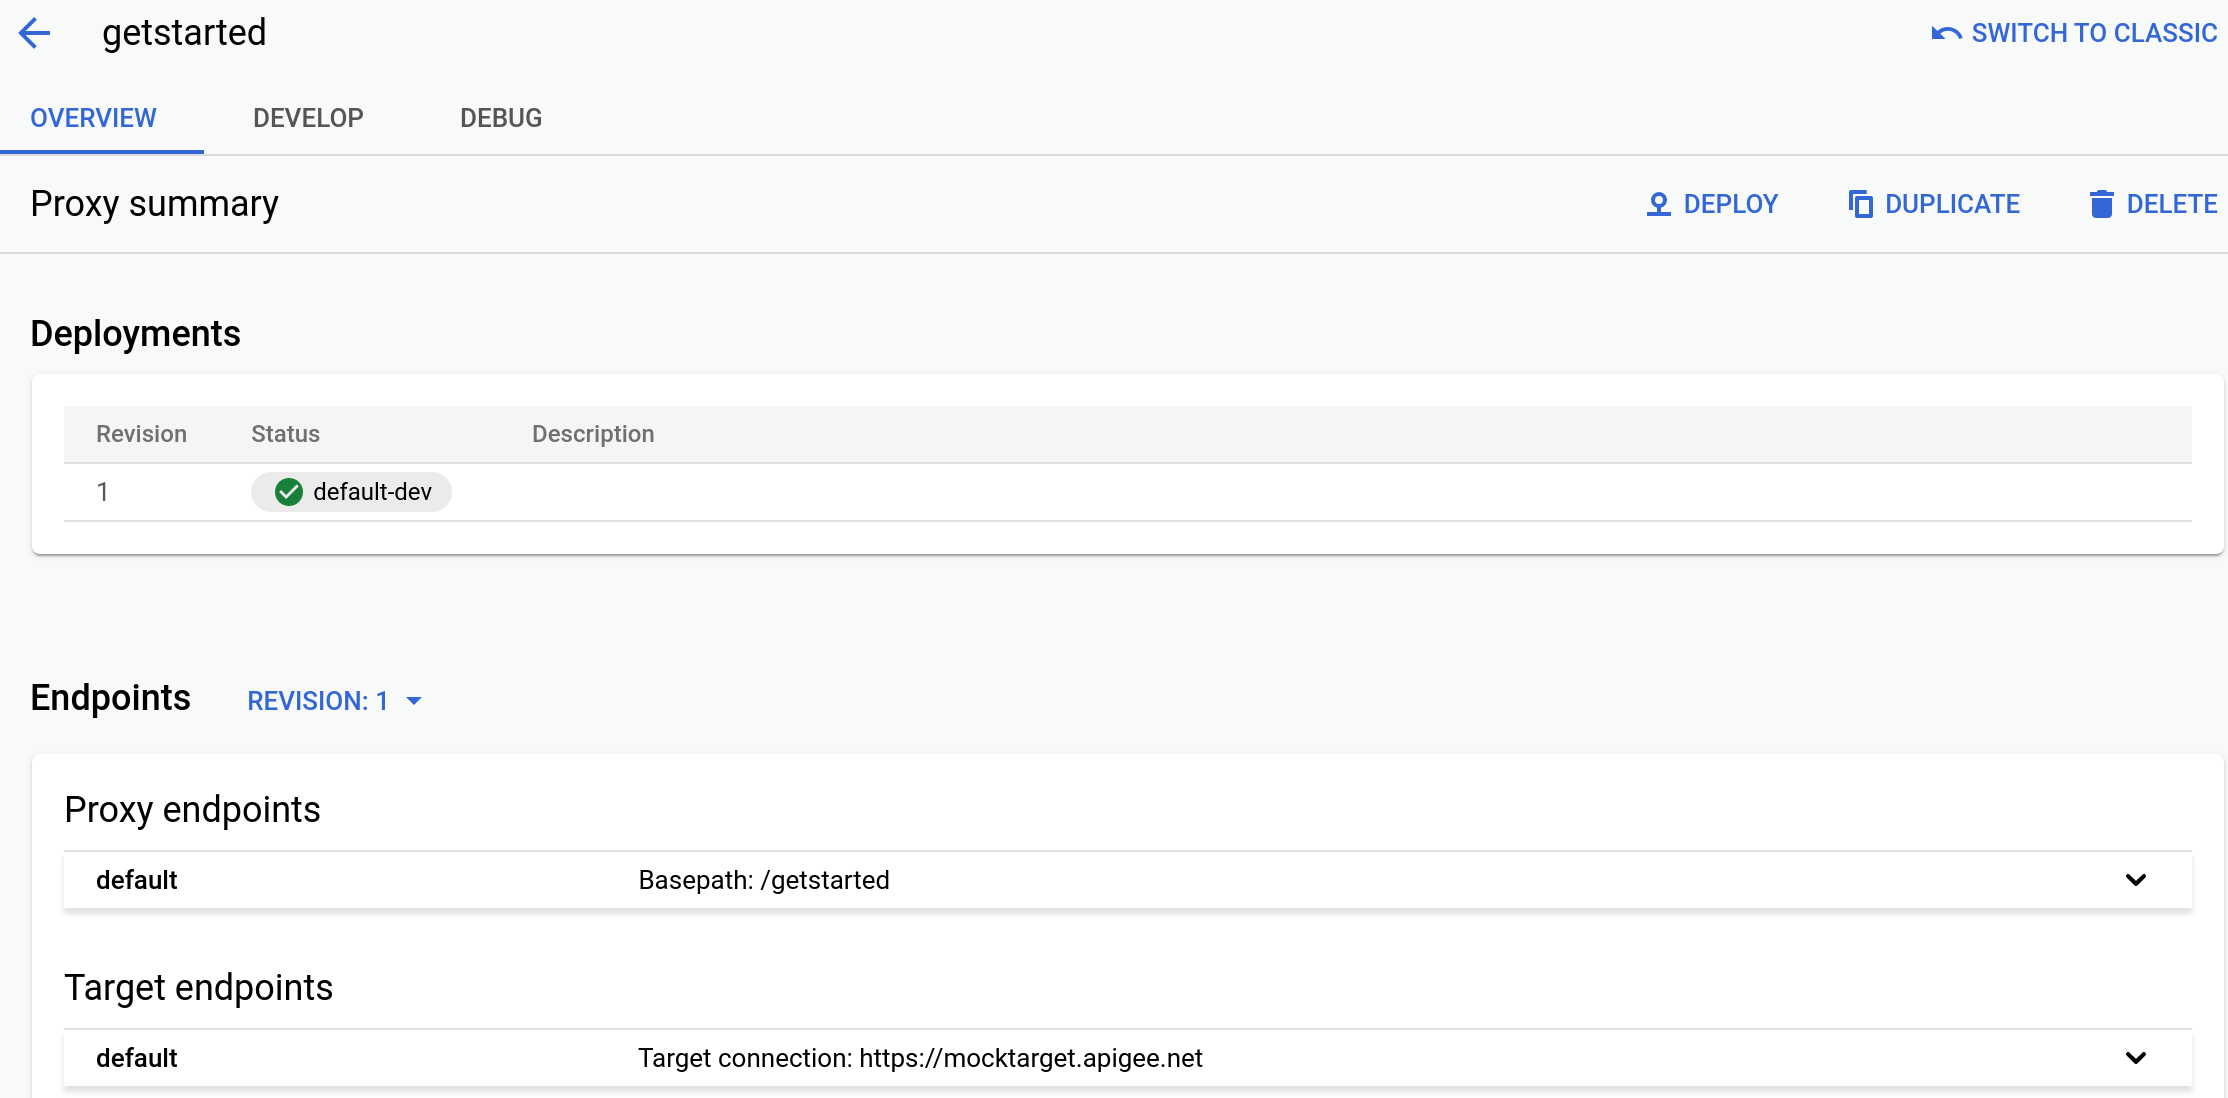
- Fai clic sulla scheda Sviluppo per apportare le modifiche al proxy.
Ad esempio, per aggiungere un criterio, fai clic sull'icona + accanto a Criteri, seleziona il criterio da aggiungere, inserisci un nome e un nome visualizzato facoltativo, fai clic su Crea e configura il criterio nell'interfaccia.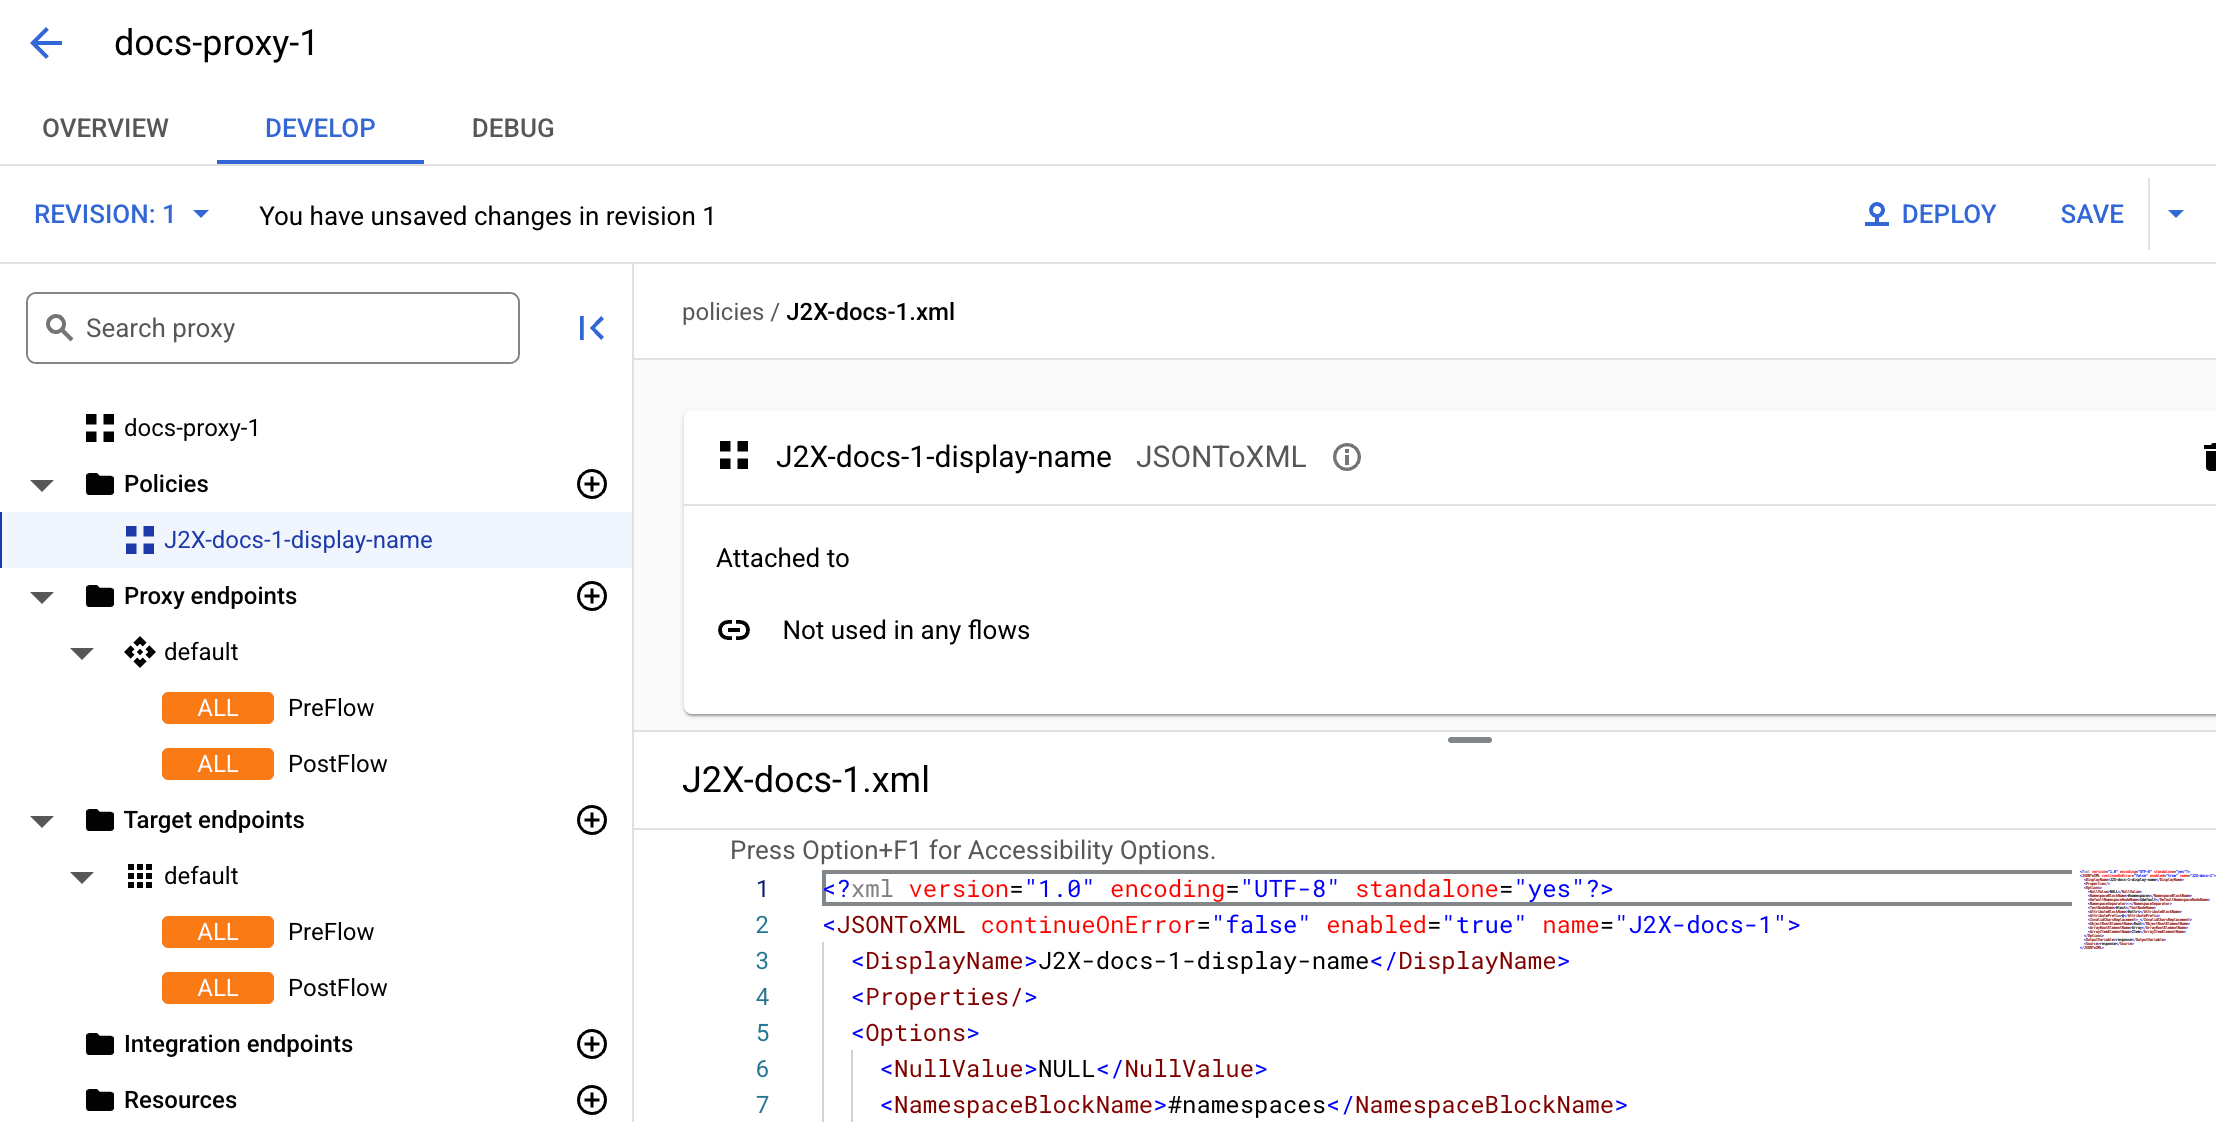
- Al termine delle modifiche, puoi
eseguire una delle seguenti operazioni:
- Per salvare le modifiche senza creare una nuova revisione, fai clic sul pulsante Salva. (Ti consigliamo di farlo periodicamente per assicurarti che le modifiche non vadano perse se termini la sessione).
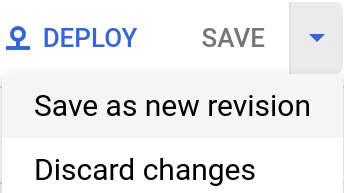
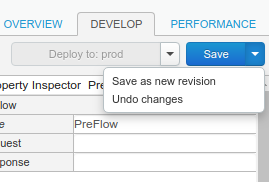
- Per salvare le modifiche come nuova revisione (quando ti prepari per il deployment e il test),
fai clic sul menu a discesa accanto
al pulsante Salva e seleziona Salva come nuova revisione:
La UI di Apigee salva le modifiche e genera una nuova revisione del proxy. Non esegue il deployment del nuovo bundle nel runtime. Devi farlo esplicitamente, come descritto in Deployment di un proxy API.
Apigee classico
Per modificare un proxy API e salvare le modifiche utilizzando l'editor proxy classico:
- Accedi alla UI Apigee.
- Fai clic su Proxy API nella visualizzazione principale.
In alternativa, puoi selezionare Sviluppa > Proxy API nel menu di navigazione a sinistra.
Seleziona l'ambiente che contiene il proxy che vuoi modificare.
L'UI di Apigee mostra un elenco di proxy API per l'ambiente selezionato:

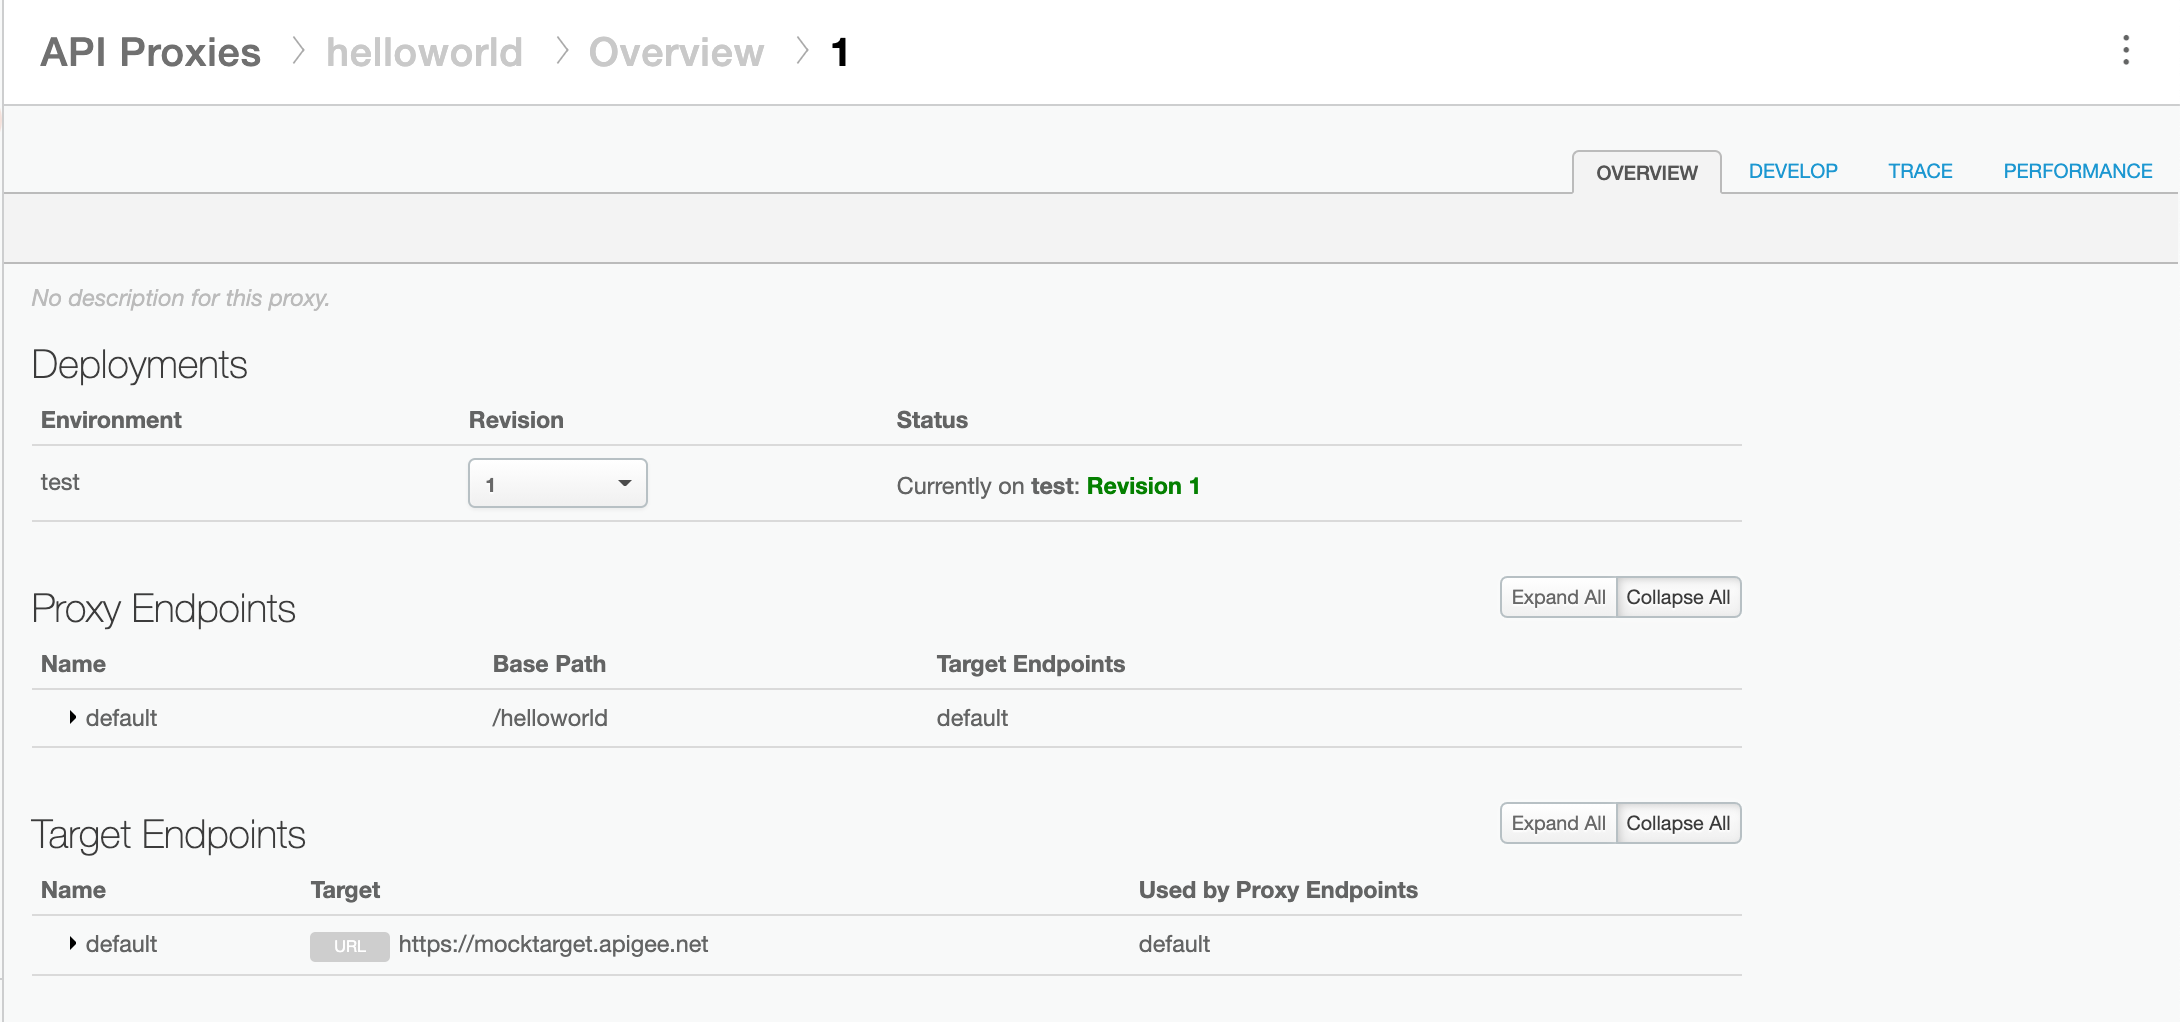
- Fai clic sul proxy che vuoi modificare. L'interfaccia utente mostra la scheda Panoramica per
il proxy nell'editor proxy:
- Fai clic sulla scheda Sviluppa in alto a destra nella visualizzazione.
- Utilizza l'editor proxy per apportare le modifiche al proxy. Al termine delle modifiche, puoi
eseguire una delle seguenti operazioni:
- Salva le modifiche, ma non creare una nuova revisione (la più comune; dovresti farlo periodicamente per assicurarti che le modifiche non vadano perse se termini la sessione).
- Salva le modifiche come nuova revisione (quando ti prepari per il deployment e il test).
- Per salvare senza creare una nuova revisione, fai clic su Salva
in alto a destra dell'interfaccia utente:

La UI di Apigee salva le modifiche in modo che tu possa uscire dalla pagina e riprendere a lavorare in un secondo momento.
- Per salvare le modifiche come nuova revisione, fai clic sulla freccia menu a discesa accanto a
Salva e seleziona Salva come nuova revisione:
La UI di Apigee salva le modifiche e genera un nuovo bundle proxy. Non esegue il deployment del nuovo bundle nel runtime. Devi farlo esplicitamente, come descritto in Deployment di un proxy API.
L'interfaccia utente mostra il messaggio Nuova revisione salvata:
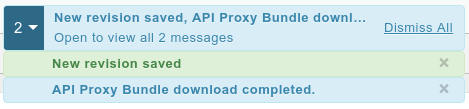
Dopo aver creato una nuova revisione, in genere la esegui il deployment nel cluster, come descritto in Deployment di un proxy API.
API Apigee
Modifica un proxy API per creare una revisione nella tua organizzazione Apigee inviando una richiesta POST
alla seguente risorsa:
https://apigee.googleapis.com/v1/organizations/$ORG/apis
Devi definire il nome del proxy API utilizzando il parametro di query name. Limita
i caratteri utilizzati nel nome ai seguenti: A-Za-z0-9._\-$ %
(Facoltativo) Puoi importare un pacchetto di configurazione del proxy API seguendo questi passaggi:
- Imposta il parametro di query
actionsuimport - Imposta l'intestazione
Content-typesumultipart/form-data - Trasmetti il nome del pacchetto di configurazione del proxy API sul file system locale
L'esempio seguente mostra come modificare un proxy API importando un bundle di configurazione del proxy API (helloworld-config.zip) nel file system locale utilizzando l'API.
export TOKEN=$(gcloud auth print-access-token)
export ORG=ORGANIZATION_NAME
curl "https://apigee.googleapis.com/v1/organizations/$ORG/apis?name=helloworld&action=import" \
  -X POST \
  -H "Authorization: Bearer $TOKEN" \
  -H "Content-type: multipart/form-data" \
  -F "file=@helloworld-config.zip"
Dove $TOKEN è impostato sul tuo token di accesso OAuth 2.0, come descritto in
Ottenere un token di accesso OAuth 2.0. Per informazioni sulle opzioni curl utilizzate in questo esempio, consulta la sezione
Utilizzare curl. Per una descrizione delle variabili di ambiente che puoi utilizzare, consulta
Impostazione
delle variabili di ambiente per le richieste API Apigee.
Di seguito è riportato un esempio dell'output della risposta:
{
  "basepaths": [
    "/helloworld"
  ],
  "configurationVersion": {
    "majorVersion": 4
  },
  "createdAt": "1559145292799",
  "displayName": "helloworld",
  "entityMetaDataAsProperties": {
    "bundle_type": "zip",
    "subType": "Proxy",
    "lastModifiedAt": "1559145292799",
    "createdAt": "1559145292799"
  },
  "lastModifiedAt": "1559145292799",
  "name": "helloworld",
  "policies": [
    "verify-api-key",
    "remove-query-param-apikey",
    "OAuth-v20-1"
  ],
  "proxies": [
    "default"
  ],
  "proxyEndpoints": [
    "default"
  ],
  "resourceFiles": {},
  "targetEndpoints": [
    "default"
  ],
  "targets": [
    "default"
  ],
  "type": "Application",
  "revision": "1",
  "description": "Hello world"
}
Per saperne di più sulla modifica di un proxy API, consulta il metodo apis.create
nell'API Apigee. Per visualizzare tutti i metodi disponibili per i proxy API, consulta l'API proxy API.