This page applies to Apigee and Apigee hybrid.
View
Apigee Edge documentation.

Configure and deploy an environment that includes the helloworld API proxy.
- Create an environment:
- Position your cursor over the environments folder and click
 .
.
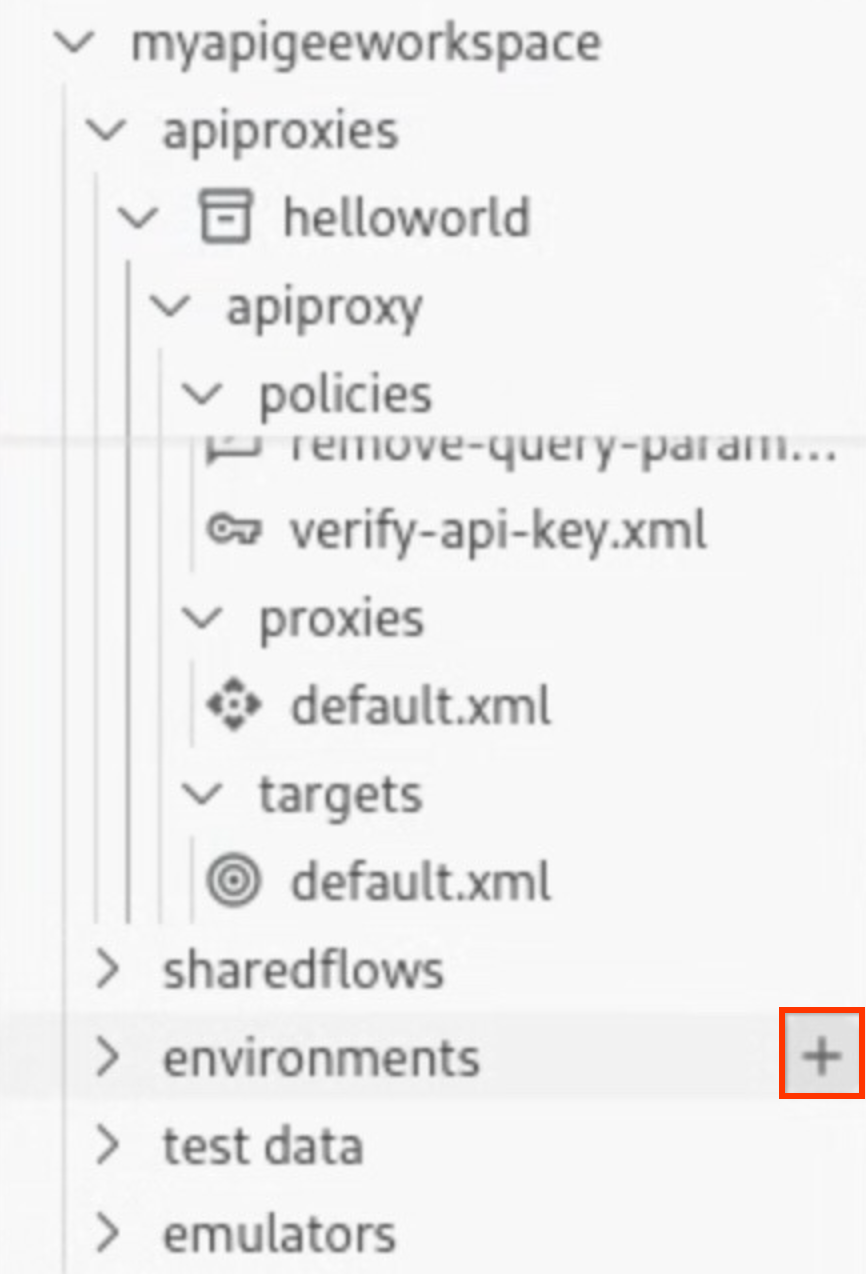
The Create environment wizard opens.
- Enter dev for the environment name and press Enter.
The environment is created.
- Expand the dev environment folder to view its contents.
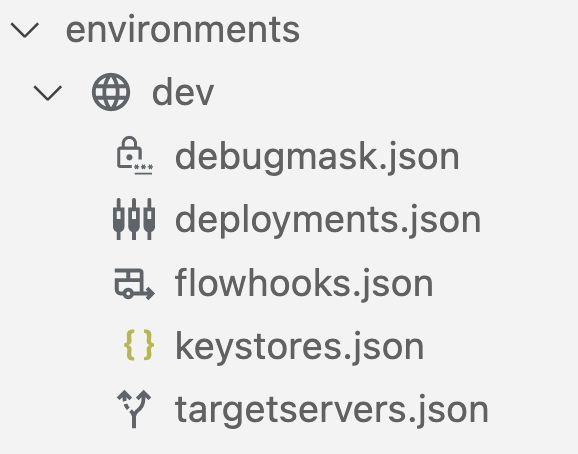
When you create an environment, a set of configuration files are included by default in the
devenvironment folder for configuring your deployment and any required debug masks, flow hooks, or target servers.
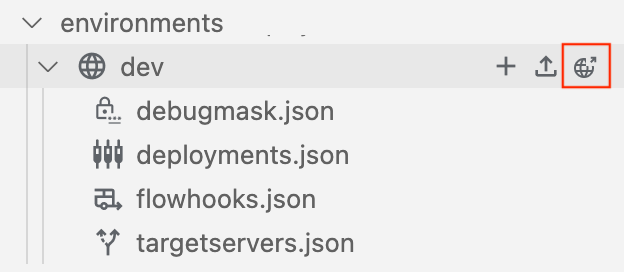
- Position your cursor over the environments folder and click
- Configure the deployment details for the
helloworldAPI proxy in the environment:- Position your cursor over the deployments.json file and click
 .
.

The Deployments wizard opens.
- Select the helloworld API proxy to add it to the deployment and click OK.
The
deployments.jsonfile is opened in the editor. The file has been updated to include thehelloworldAPI proxy in theproxiesdeployment array:{ "proxies": [ { "name": "helloworld" } ], "sharedflows": [] }
- Position your cursor over the deployments.json file and click
- Deploy the dev environment:
- Position your cursor over the dev environment folder in the Apigee section and click
 .
.
The
devenvironment is deployed and the Output tab shows a success message.The
helloworlddeployed application information is displayed in the emulators section: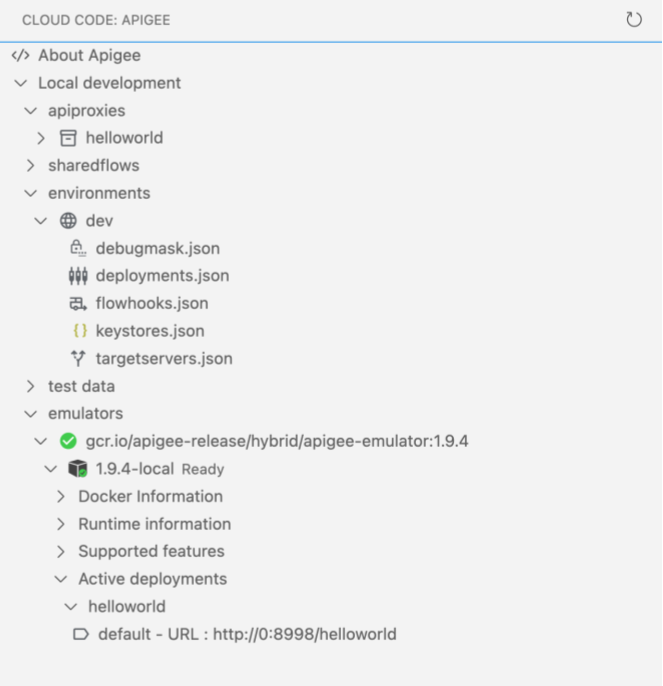
- Position your cursor over the dev environment folder in the Apigee section and click
Congratulations! You've deployed your first API proxy application. In the next step, you'll test the API proxy using curl.
1 2 3 (NEXT) Step 4: Test your API 5 6 7 8