Halaman ini berlaku untuk Apigee dan Apigee Hybrid.
Lihat dokumentasi
Apigee Edge.

Gunakan UI atau API Apigee untuk mengedit proxy API. Pengeditan proxy API dapat mencakup konfigurasi kebijakan, konfigurasi endpoint proxy, endpoint target, dan endpoint integrasi, penambahan atau penghapusan flow hook, dan deployment proxy.
Saat mengedit proxy API, Anda dapat memutuskan tindakan yang akan dilakukan terhadap perubahan yang dihasilkan:
- Simpan perubahan Anda di server, tetapi jangan membuat revisi baru. Anda melakukan tindakan ini jika Anda tidak ingin men-deploy perubahan yang disimpan, tetapi hanya ingin memastikan bahwa perubahan tersebut tidak hilang jika Anda mengakhiri sesi.
ATAU
- Buat revisi proxy API baru dan deploy ke cluster. Anda tidak dapat men-deploy perubahan pada proxy API tanpa membuat revisi barunya.
Apigee di Konsol Cloud
Untuk mengedit proxy API dan menyimpan perubahan menggunakan konsol Apigee Cloud:
Di konsol Google Cloud , buka halaman Proxy development > API proxies.
Pilih proxy yang ingin Anda edit dari daftar proxy. UI menampilkan tab Overview untuk proxy tersebut di konsol Google Cloud .
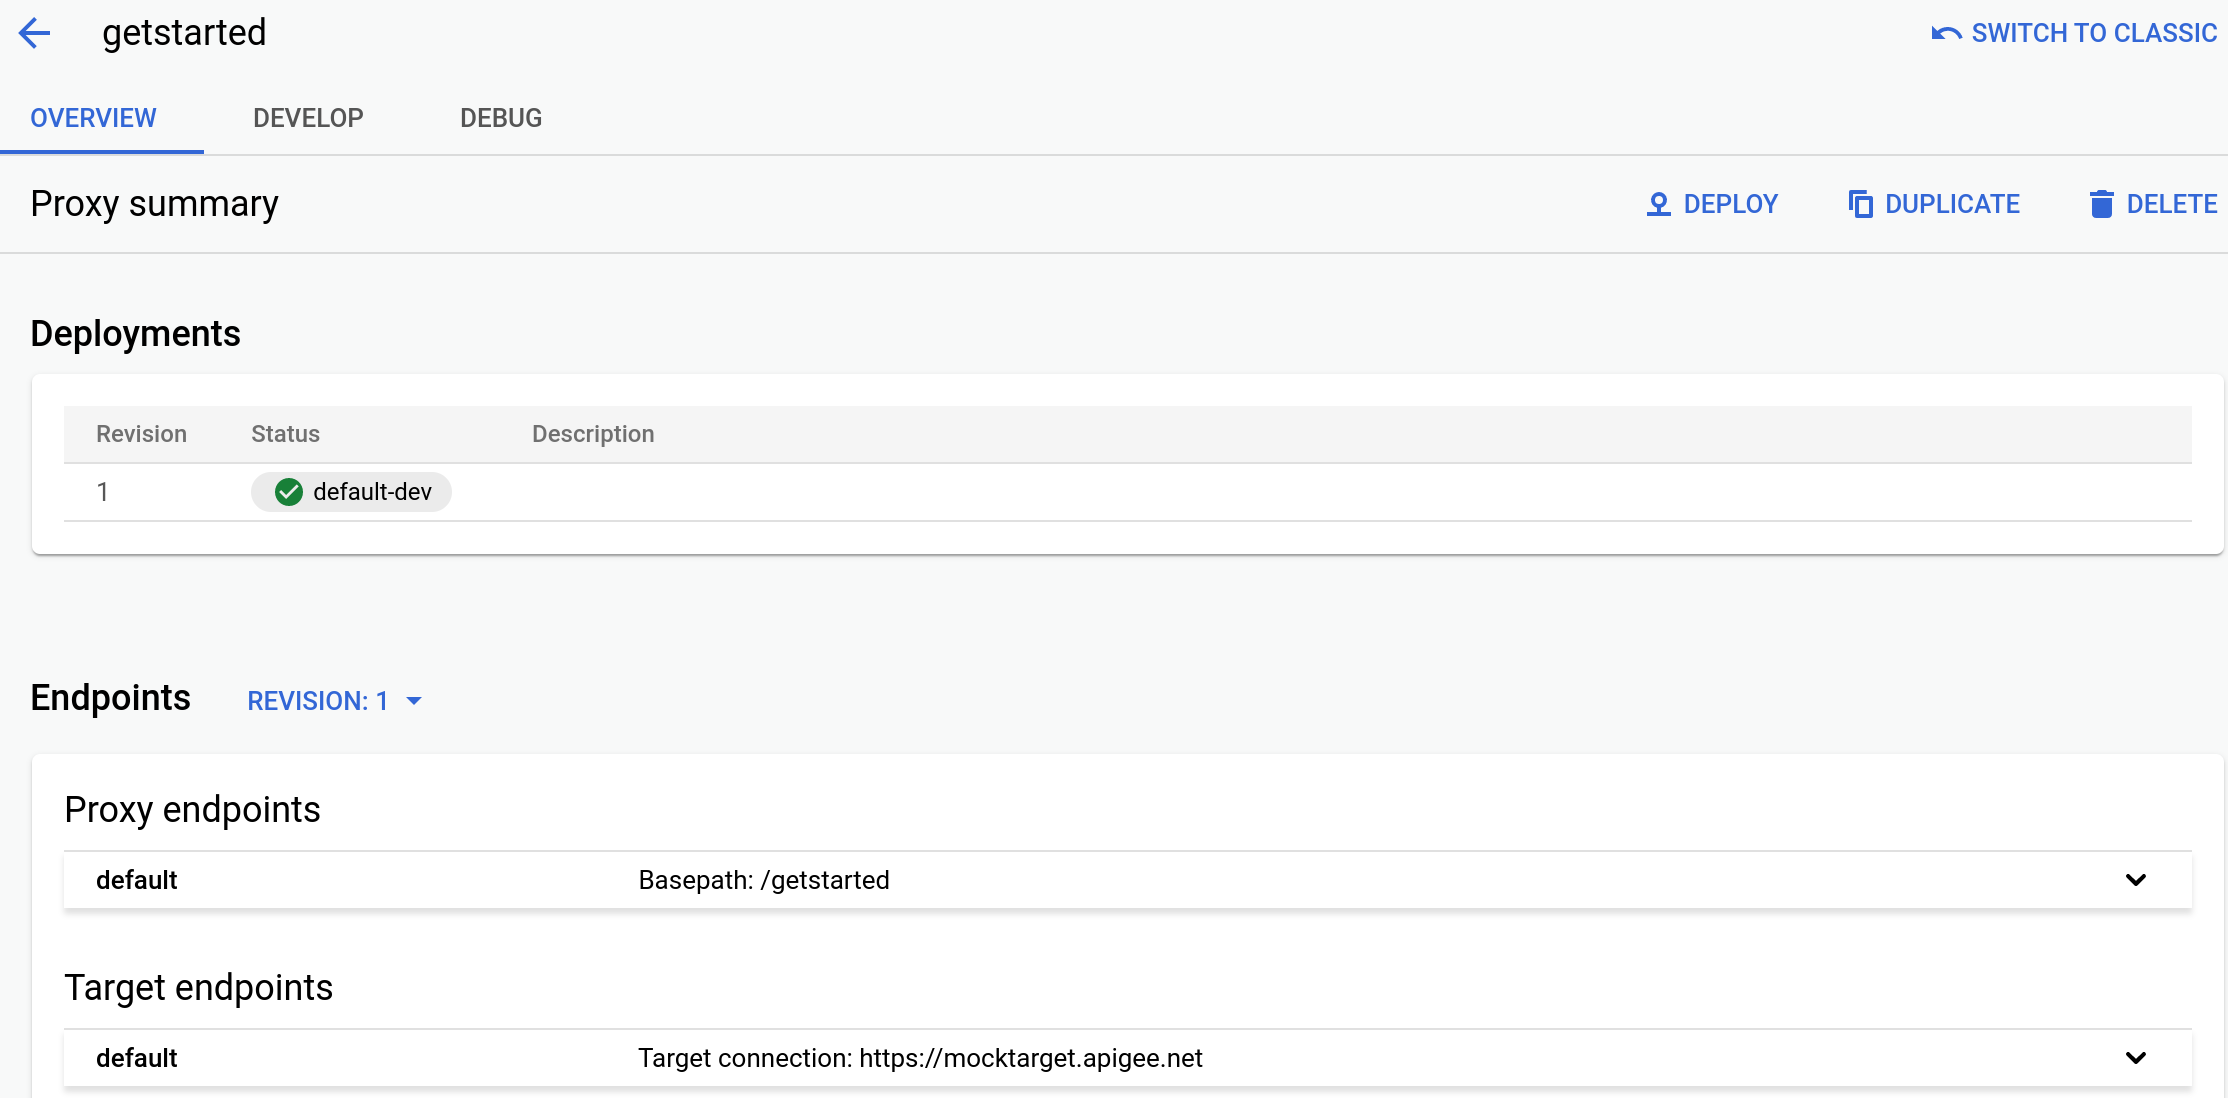
- Klik tab Develop untuk melakukan perubahan pada proxy.
Misalnya, untuk menambahkan kebijakan, klik ikon + di samping Kebijakan, pilih kebijakan yang akan ditambahkan, masukkan nama dan nama tampilan opsional, klik Buat, dan konfigurasi kebijakan di antarmuka.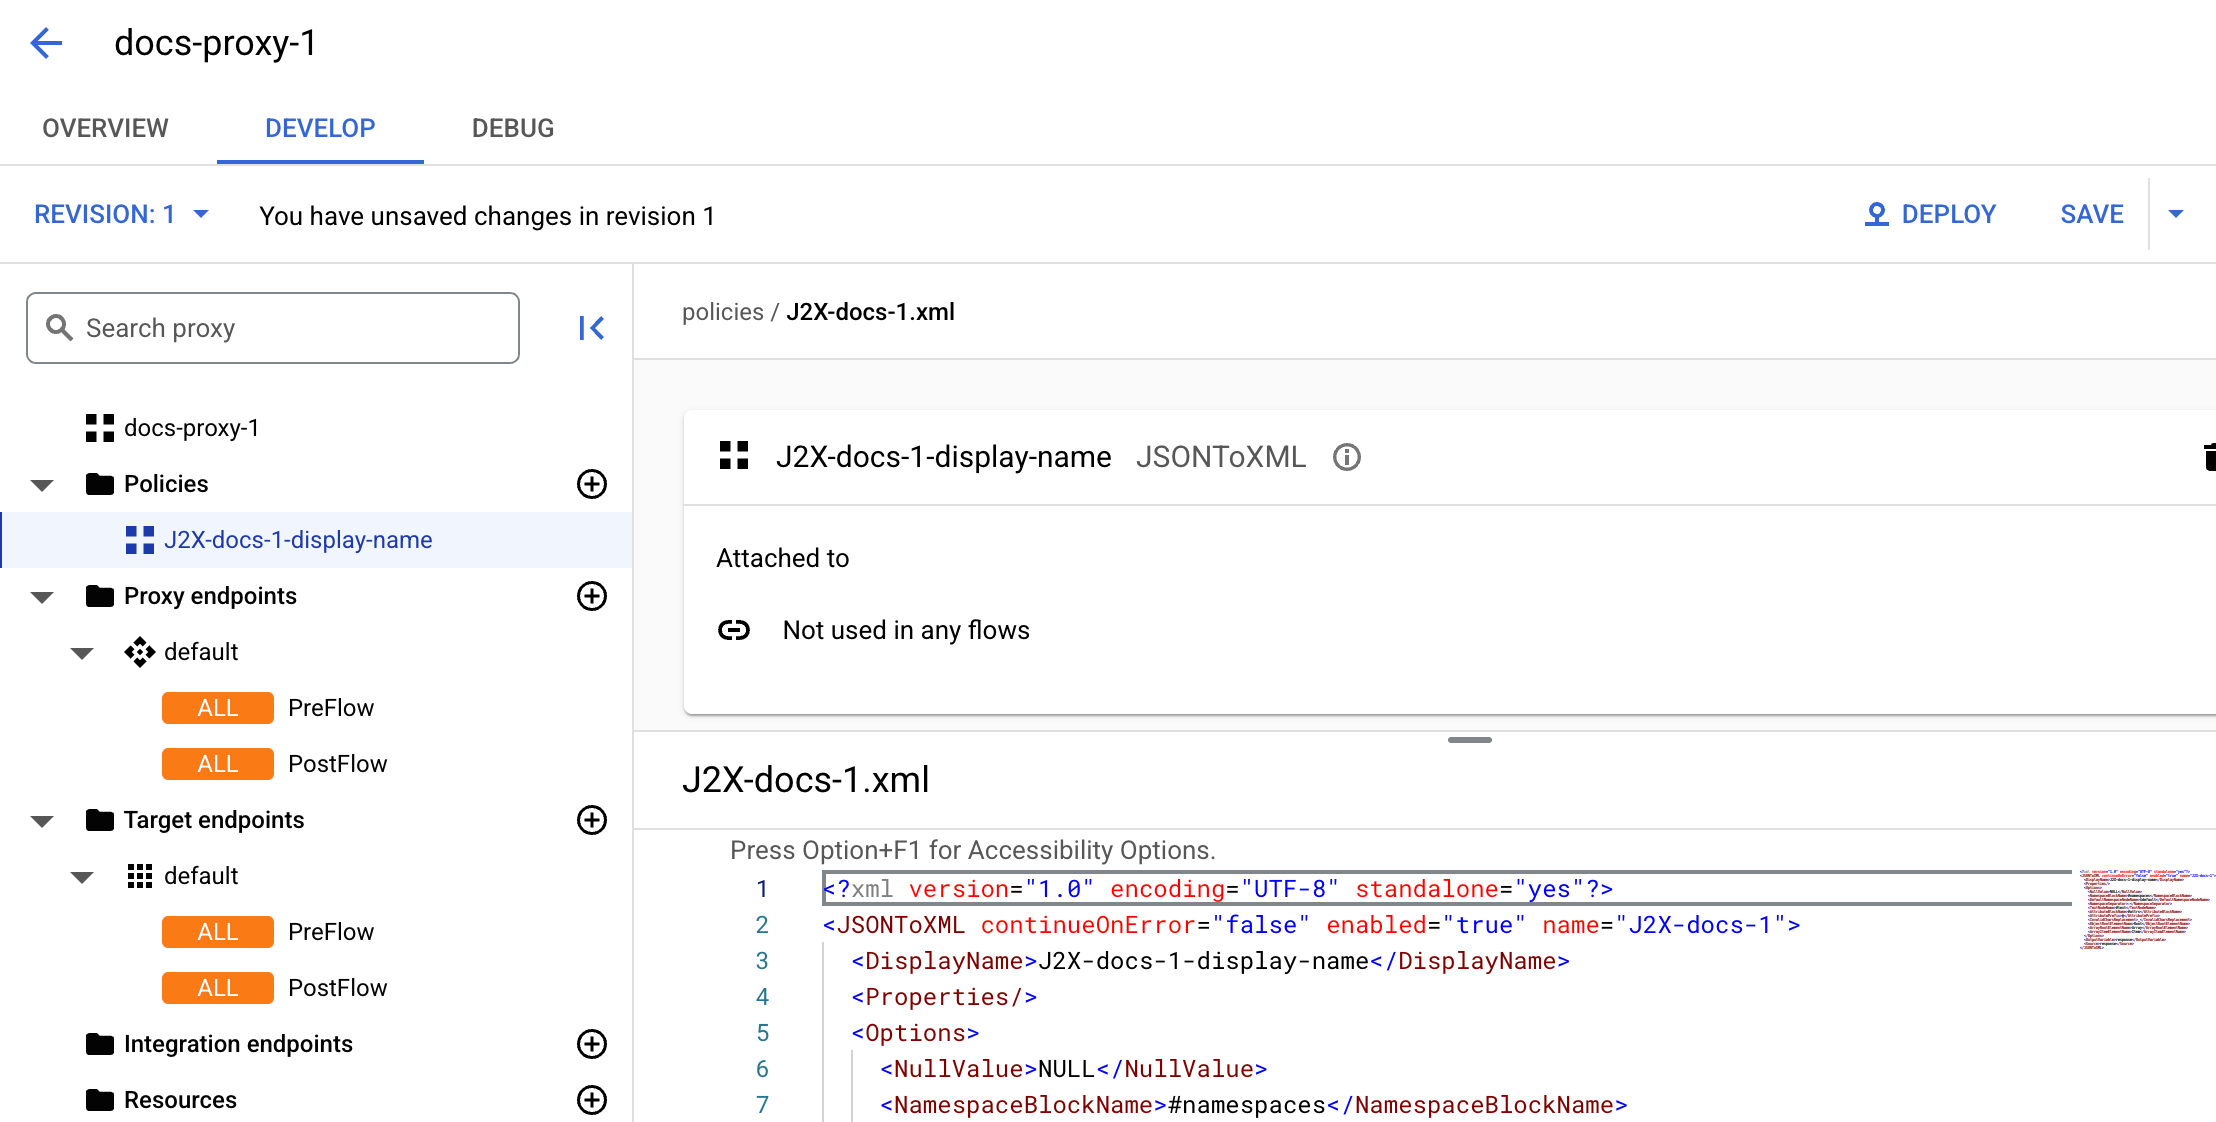
- Setelah selesai melakukan perubahan, Anda
dapat melakukan salah satu hal berikut:
- Untuk menyimpan perubahan Anda, tetapi tidak membuat revisi baru, klik tombol Simpan. (Anda harus melakukannya secara berkala untuk memastikan perubahan Anda tidak hilang jika Anda mengakhiri sesi).
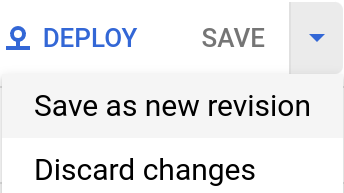
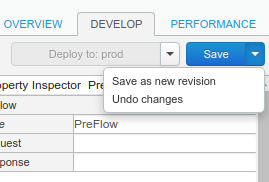
- Untuk menyimpan perubahan sebagai revisi baru (saat Anda bersiap untuk men-deploy dan menguji),
klik menu drop-down di samping
tombol Simpan, lalu pilih Simpan sebagai revisi baru:
UI Apigee menyimpan perubahan Anda dan membuat revisi baru proxy untuk Anda. Bundle tidak di-deploy ke runtime; Anda harus melakukannya secara eksplisit, seperti yang dijelaskan dalam Men-deploy proxy API.
Apigee Klasik
Untuk mengedit proxy API dan menyimpan perubahan menggunakan Editor Proxy klasik:
- Login ke UI Apigee.
- Klik API Proxies di tampilan utama.
Atau, Anda dapat memilih Develop > API Proxies di menu navigasi sebelah kiri.
Pilih lingkungan yang berisi proxy yang ingin Anda edit.
UI Apigee menampilkan daftar proxy API untuk lingkungan yang dipilih:

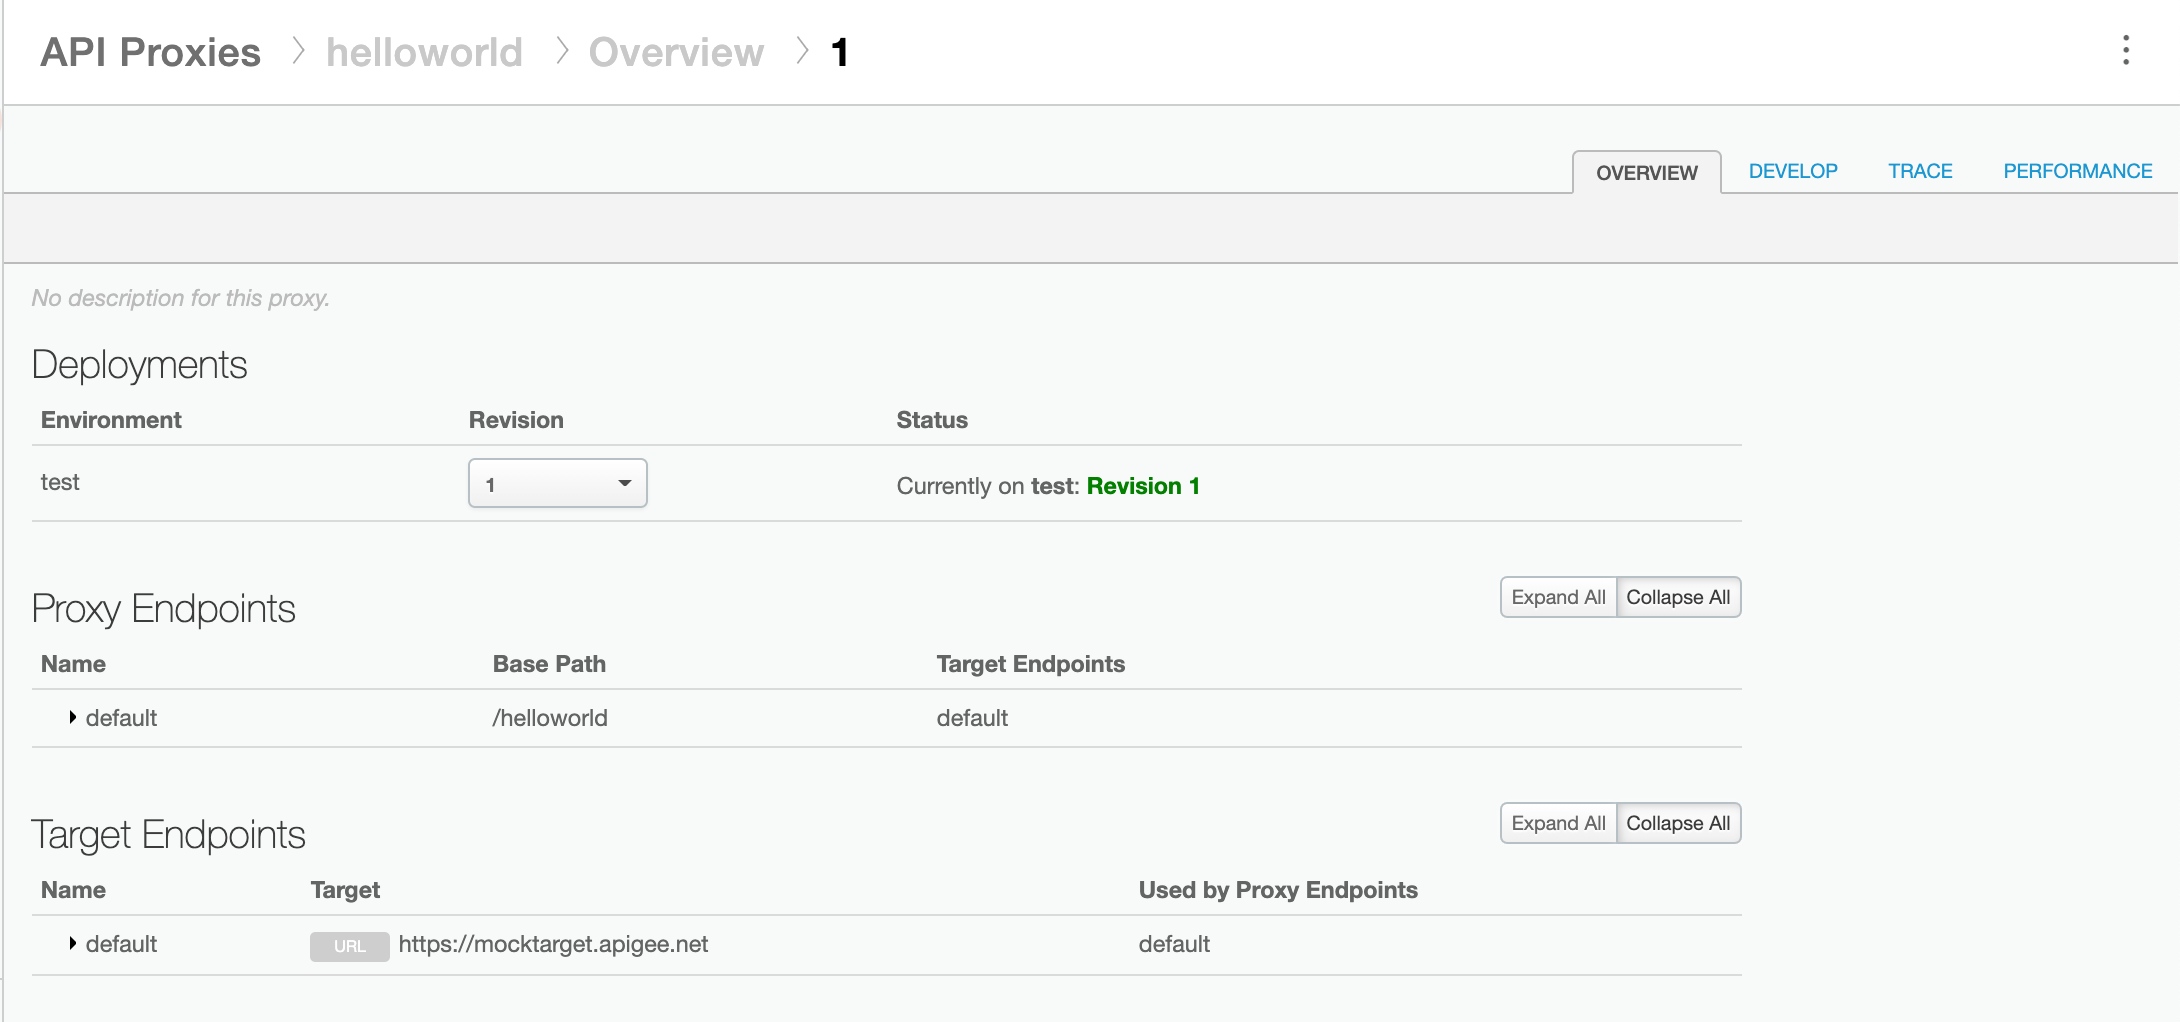
- Klik proxy yang ingin Anda edit. UI menampilkan tab Ringkasan untuk
proxy tersebut di Editor Proxy:
- Klik tab Develop di kanan atas tampilan.
- Gunakan editor proxy untuk membuat perubahan pada proxy. Setelah selesai melakukan perubahan, Anda
dapat melakukan salah satu hal berikut:
- Simpan perubahan Anda, tetapi jangan membuat revisi baru (paling umum; Anda harus melakukannya secara berkala untuk memastikan perubahan Anda tidak hilang jika Anda mengakhiri sesi).
- Simpan perubahan Anda sebagai revisi baru (saat Anda bersiap untuk men-deploy dan menguji).
- Untuk menyimpan tetapi tidak membuat revisi baru, klik Simpan
di kanan atas UI:

UI Apigee menyimpan perubahan Anda sehingga Anda dapat keluar dari halaman dan melanjutkan pekerjaan nanti.
- Untuk menyimpan perubahan sebagai revisi baru, klik panah drop-down di samping
Simpan, lalu pilih Simpan sebagai revisi baru:
UI Apigee akan menyimpan perubahan Anda dan membuat paket proxy baru untuk Anda. Bundle baru tidak di-deploy ke runtime; Anda harus melakukannya secara eksplisit, seperti yang dijelaskan dalam Men-deploy proxy API.
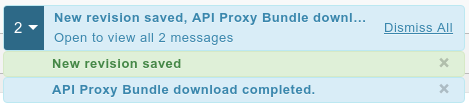
UI menampilkan pesan Revisi baru disimpan:
Setelah membuat revisi baru, Anda biasanya men-deploy-nya ke cluster, seperti yang dijelaskan dalam Men-deploy proxy API.
Apigee API
Edit proxy API untuk membuat revisi di organisasi Apigee Anda dengan mengeluarkan permintaan POST
ke resource berikut:
https://apigee.googleapis.com/v1/organizations/$ORG/apis
Anda harus menentukan nama proxy API menggunakan parameter kueri name. Batasi
karakter yang digunakan dalam nama hanya untuk karakter berikut: A-Za-z0-9._\-$ %
Secara opsional, Anda dapat mengimpor paket konfigurasi proxy API dengan melakukan langkah-langkah berikut:
- Tetapkan parameter kueri
actionkeimport - Tetapkan header
Content-typekemultipart/form-data - Teruskan nama paket konfigurasi proxy API di sistem file lokal Anda
Contoh berikut menunjukkan cara mengedit proxy API dengan mengimpor paket konfigurasi proxy API (helloworld-config.zip) di sistem file lokal menggunakan API.
export TOKEN=$(gcloud auth print-access-token)
export ORG=ORGANIZATION_NAME
curl "https://apigee.googleapis.com/v1/organizations/$ORG/apis?name=helloworld&action=import" \
  -X POST \
  -H "Authorization: Bearer $TOKEN" \
  -H "Content-type: multipart/form-data" \
  -F "file=@helloworld-config.zip"
Dengan $TOKEN ditetapkan ke token akses OAuth 2.0 Anda, seperti yang dijelaskan dalam
Mendapatkan token akses OAuth 2.0. Untuk mengetahui informasi tentang opsi curl yang digunakan dalam contoh ini, lihat
Menggunakan curl. Untuk mengetahui deskripsi variabel lingkungan yang dapat Anda gunakan, lihat
Menetapkan
variabel lingkungan untuk permintaan API Apigee.
Berikut adalah contoh output respons:
{
  "basepaths": [
    "/helloworld"
  ],
  "configurationVersion": {
    "majorVersion": 4
  },
  "createdAt": "1559145292799",
  "displayName": "helloworld",
  "entityMetaDataAsProperties": {
    "bundle_type": "zip",
    "subType": "Proxy",
    "lastModifiedAt": "1559145292799",
    "createdAt": "1559145292799"
  },
  "lastModifiedAt": "1559145292799",
  "name": "helloworld",
  "policies": [
    "verify-api-key",
    "remove-query-param-apikey",
    "OAuth-v20-1"
  ],
  "proxies": [
    "default"
  ],
  "proxyEndpoints": [
    "default"
  ],
  "resourceFiles": {},
  "targetEndpoints": [
    "default"
  ],
  "targets": [
    "default"
  ],
  "type": "Application",
  "revision": "1",
  "description": "Hello world"
}
Untuk mengetahui informasi selengkapnya tentang cara mengedit proxy API, lihat metode apis.create
di Apigee API. Untuk melihat semua metode yang tersedia untuk proxy API, lihat API proxy API.