Esta página se aplica a Apigee y Apigee Hybrid.
Consulta la documentación de
Apigee Edge.

Crea un proxy en la IU de Apigee o mediante la API, como se describe en las siguientes secciones.
Campos principales del proxy de API
Sigue estos lineamientos cuando crees un proxy de API:
| Campo | Descripción |
|---|---|
| Nombre del proxy de API | Es el nombre que se muestra para tu API. Especifica caracteres alfanuméricos, guiones (-) o guiones bajos (_). |
| Ruta de acceso base del proxy de API | Fragmento de URI que aparece después de la dirección http://[host] o https://[host] del tu proxy de API. Apigee usa el URI de la ruta base para hacer coincidir los mensajes de solicitud entrantes y enrutarlos al proxy de API adecuado.
Use comodines en las rutas base Usa uno o más comodines en las rutas base del proxy de API para preparar a los proxies de API para el futuro.
Permitimos la especificación de un solo carácter comodín |
| Descripción | (Opcional). Es una descripción del proxy de API. |
| URL de destino o de backend | Es la URL (incluidos HTTP o HTTPS) del servicio de backend que invoca este proxy de API. |
| Espacio | (Opcional) Si tu organización tiene habilitados los espacios de Apigee, puedes asociar el proxy de API a un espacio. Para obtener más información, consulta la Descripción general de Apigee Spaces. |
Pasos para crear un proxy de API
Para crear un proxy de API con la IU o las APIs, haz lo siguiente:
Apigee en la consola de Cloud
Para crear un proxy simple en Apigee en la consola de Cloud, haz lo siguiente:
En la Google Cloud consola, ve a la página Desarrollo de proxy > Proxies de API.
- En el panel Proxies de API, haz clic en + Crear.
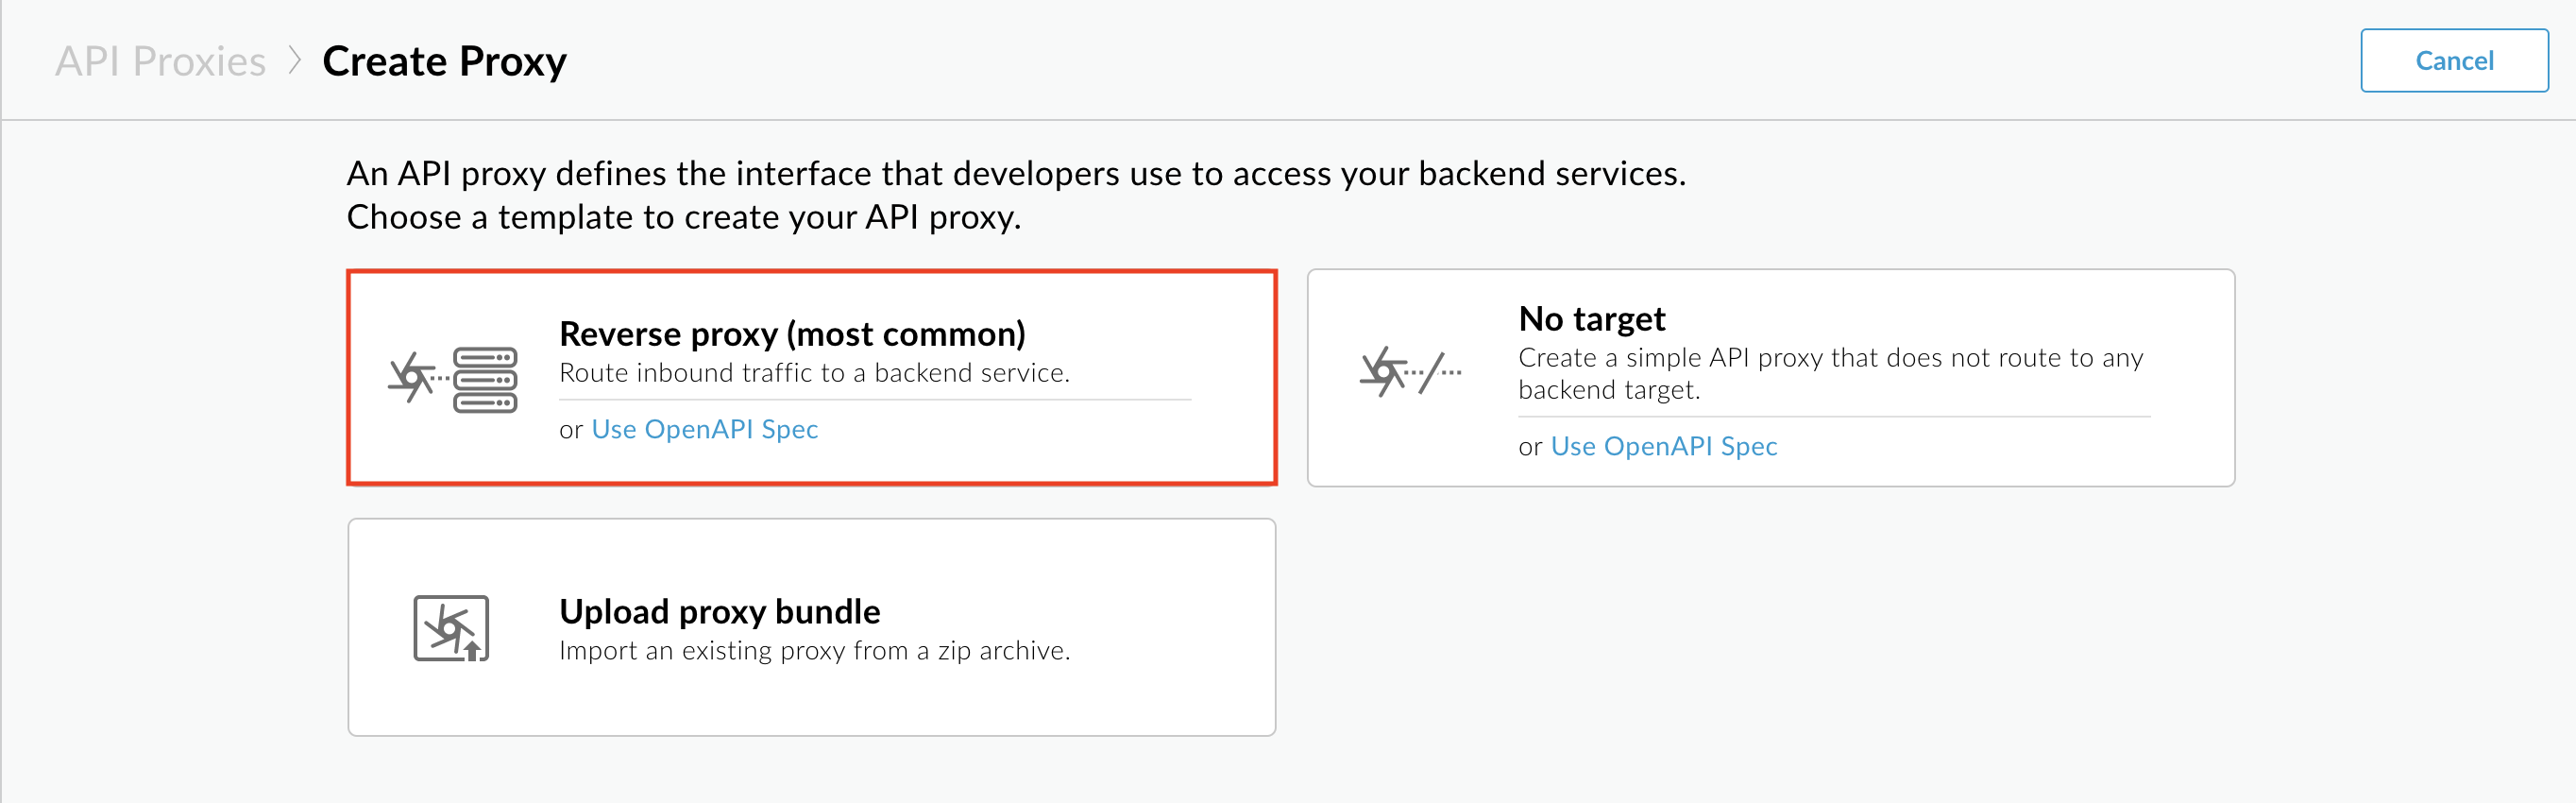
- En el panel Crear un proxy, en Plantilla de proxy, selecciona Proxy inverso (más común).
- En Detalles del proxy, ingresa lo siguiente:
- Nombre del proxy: Ingresa un nombre para el proxy, como
myproxy. - Ruta base: Se establece de forma automática en el valor que ingresas para
Proxy name. La ruta base es parte de la URL que se usa para realizar solicitudes a la API. Edge usa la URL para hacer coincidir solicitudes entrantes y enrutarlas al proxy de API adecuado. - Descripción (Opcional): Ingresa una descripción para tu nuevo proxy de API, como "Prueba de Apigee con un proxy simple".
- Destino (API existente): Ingresa
https://mocktarget.apigee.net. Esto define la URL de destino que Apigee invoca en una solicitud al proxy de API. El servicio de destino ficticio se aloja en Apigee y muestra datos simples. No requiere una clave de API ni un token de acceso. - Espacio (opcional): Si tu organización tiene habilitados los espacios de Apigee, puedes asociar el proxy de API con un espacio seleccionado en la lista de opciones disponibles. Para obtener más información, consulta la Descripción general de Apigee Spaces.
- Haz clic en Siguiente.
- Nombre del proxy: Ingresa un nombre para el proxy, como
- Implementa (opcional):
- Entornos de implementación: Opcional. Usa las casillas de verificación a fin de seleccionar uno o más entornos para implementar tu proxy. Si prefieres no implementar el proxy en este punto, deja vacío el campo Entornos de implementación. Siempre puedes implementar el proxy más adelante.
- Cuenta de servicio: (opcional) Conecta una cuenta de servicio a tu implementación para permitir que tu proxy acceda a los servicios de Google Cloud , como se especifica en el rol y los permisos de la cuenta de servicio.
- Haz clic en Crear.
Apigee crea el nuevo proxy y muestra un resumen de los detalles del proxy en la vista Resumen del proxy.
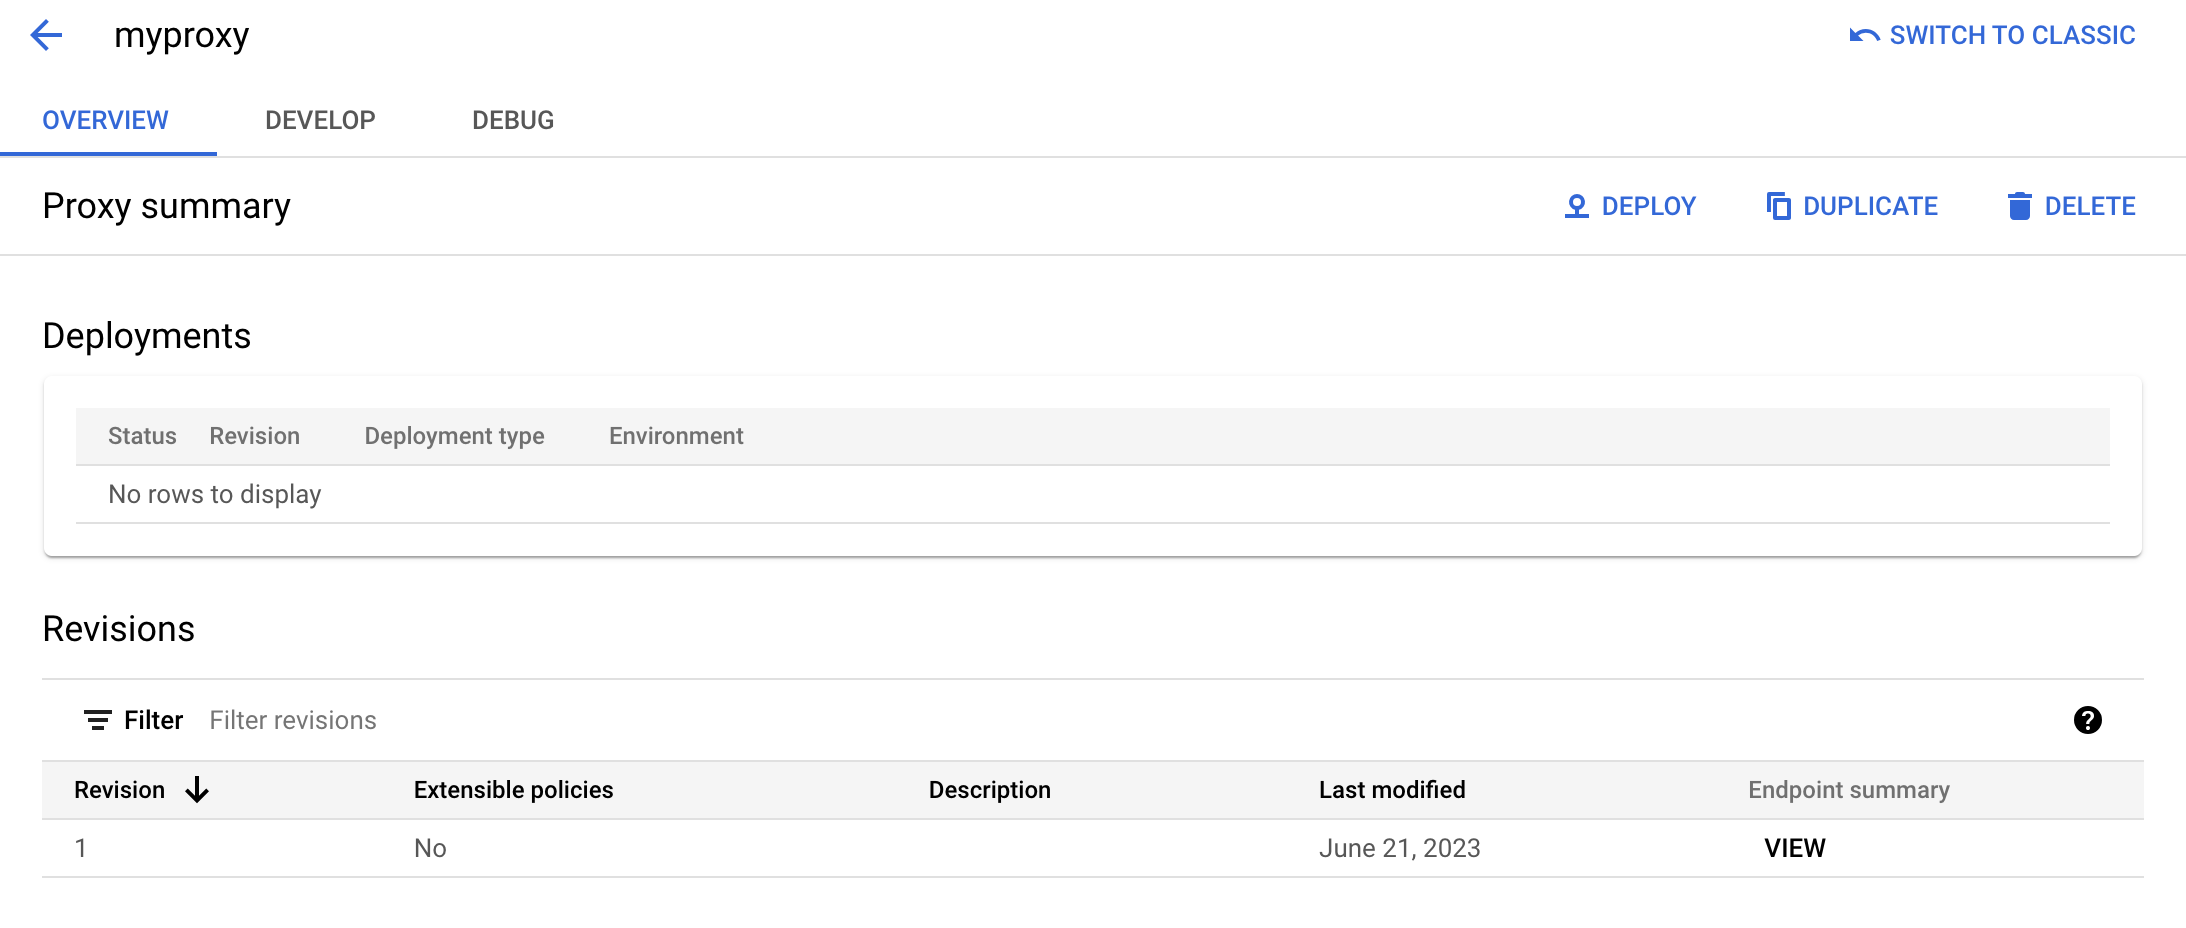
Si eliges implementar el proxy, con la sección Implementaciones puedes ver el número de Revisión, que es 1 cuando se implementa por primera vez. En la columna Estado, se muestran los entornos en los que se implementa el proxy con un indicador de estado verde.
Apigee clásico
Para crear un proxy de API simple en la IU clásica de Apigee, haz lo siguiente:
- Accede a la IU de Apigee.
- Haz clic en Proxies de API en la vista principal.
- En la lista desplegable Entorno, selecciona el entorno en el que deseas crear un proxy de API nuevo.
En la IU híbrida, se muestra una lista de los proxies de API para ese entorno. Si aún no has creado ningún proxy, la lista estará vacía.
- Haz clic en Crear nuevo.
Se inicia el asistente de creación de proxy.
- Haz clic en Proxy inverso (más común).
Se muestra la página Detalles del proxy.
- Configura tu proxy con los siguientes ajustes:
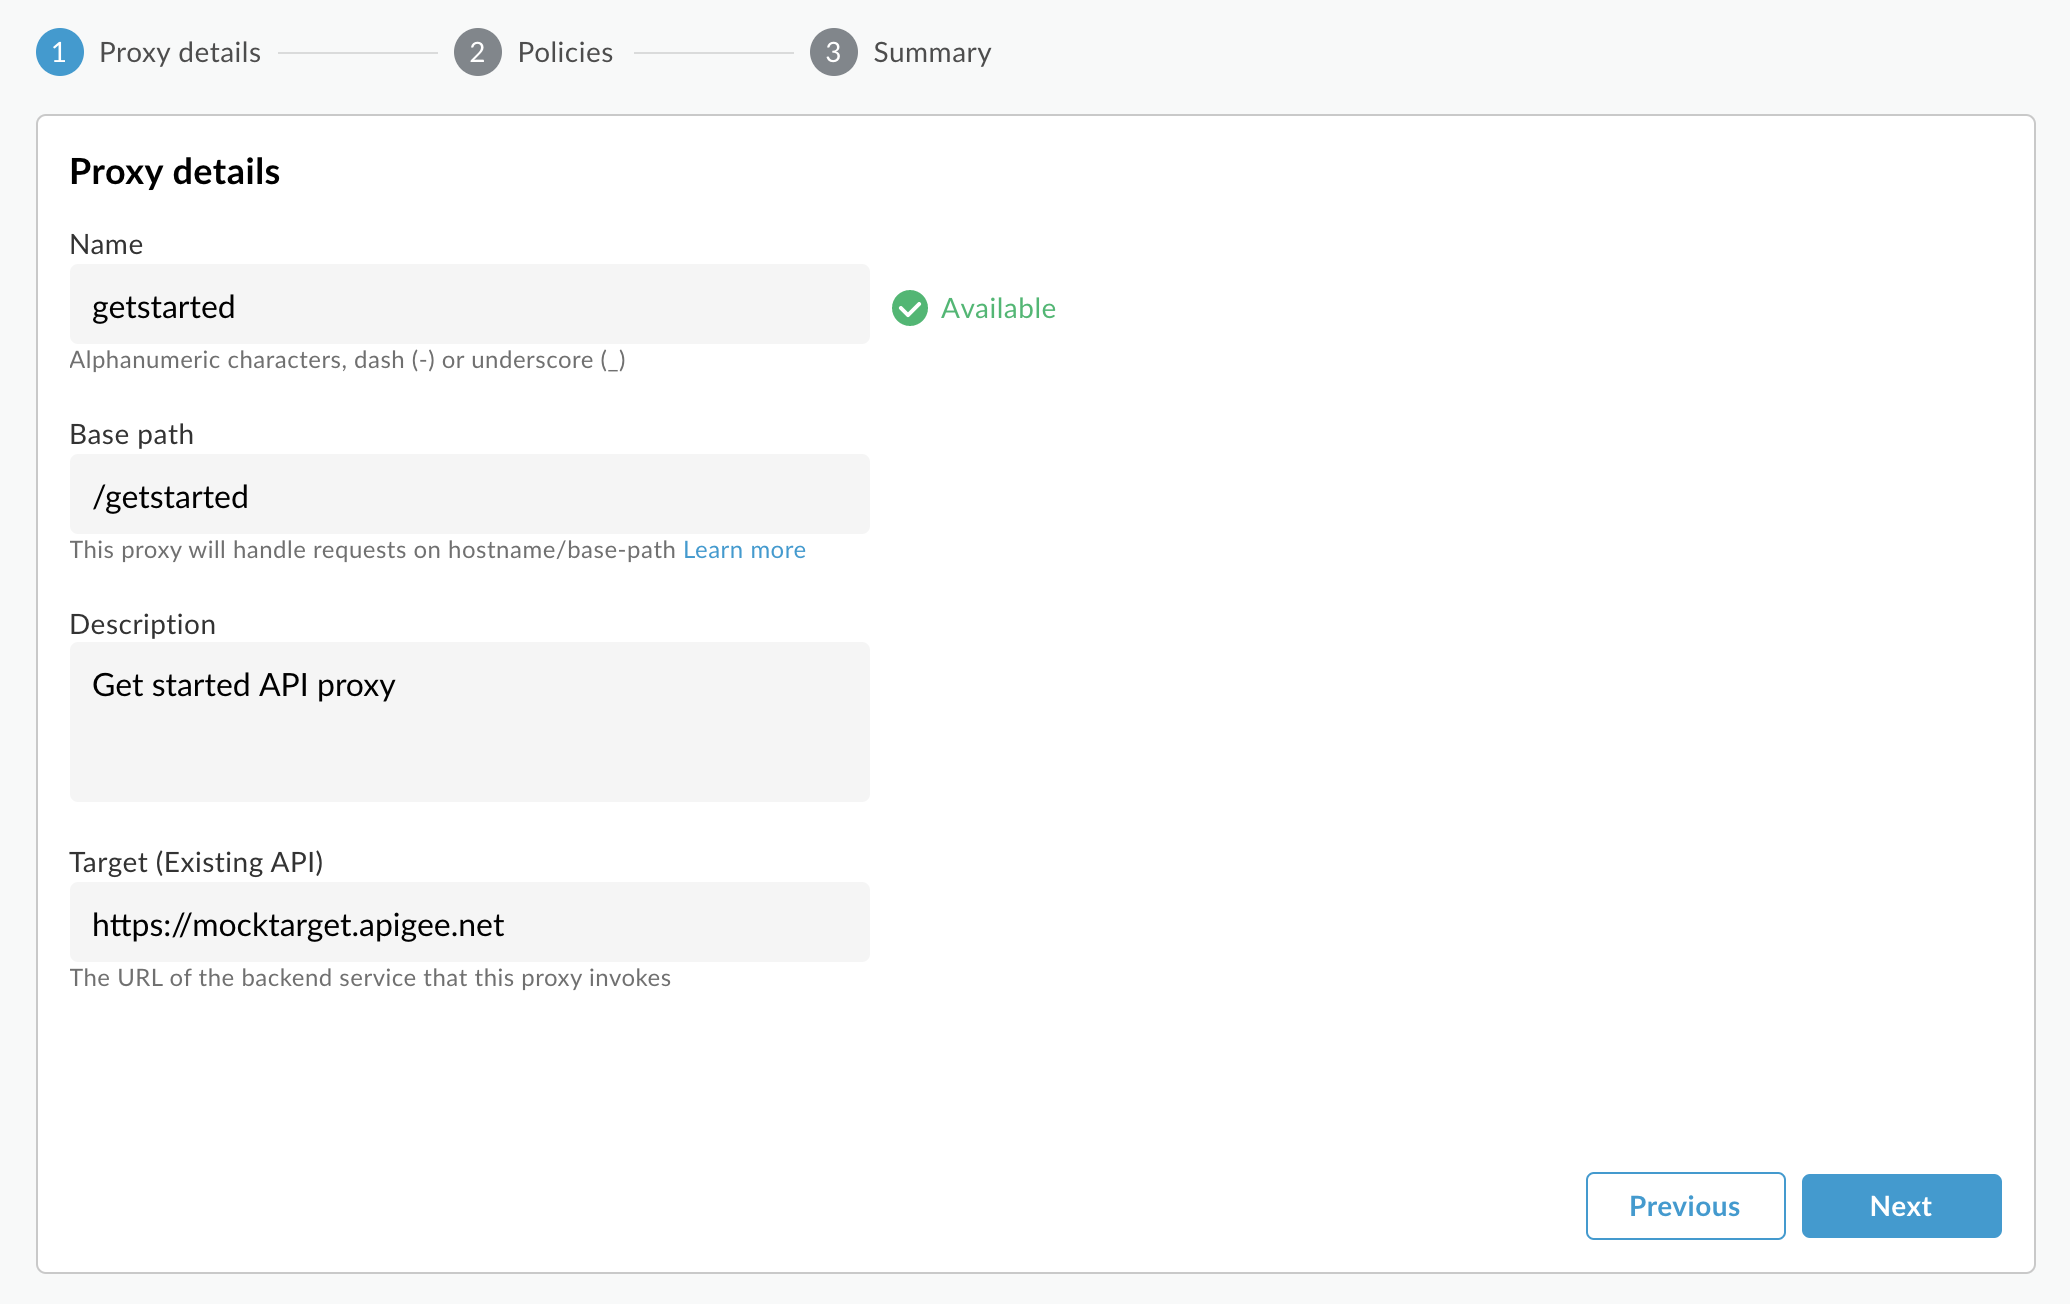
- Nombre: Ingresa
getstarted. Si ya existe un proxy con este nombre, elige uno diferente. - Ruta base: Configura este parámetro como
/getstarted. La ruta base es parte de la URL que se usa para realizar solicitudes a la API. Edge usa la URL para hacer coincidir solicitudes entrantes y enrutarlas al proxy de API adecuado. - Descripción (opcional): Ingresa una descripción para el nuevo proxy de API, como
Get started API proxy. - Destino (API existente): Ingresa
https://mocktarget.apigee.net. Esto define la URL de destino que Apigee invoca en una solicitud al proxy de API. El servicio de destino ficticio se aloja en Apigee y muestra datos simples. No requiere una clave de API ni un token de acceso.
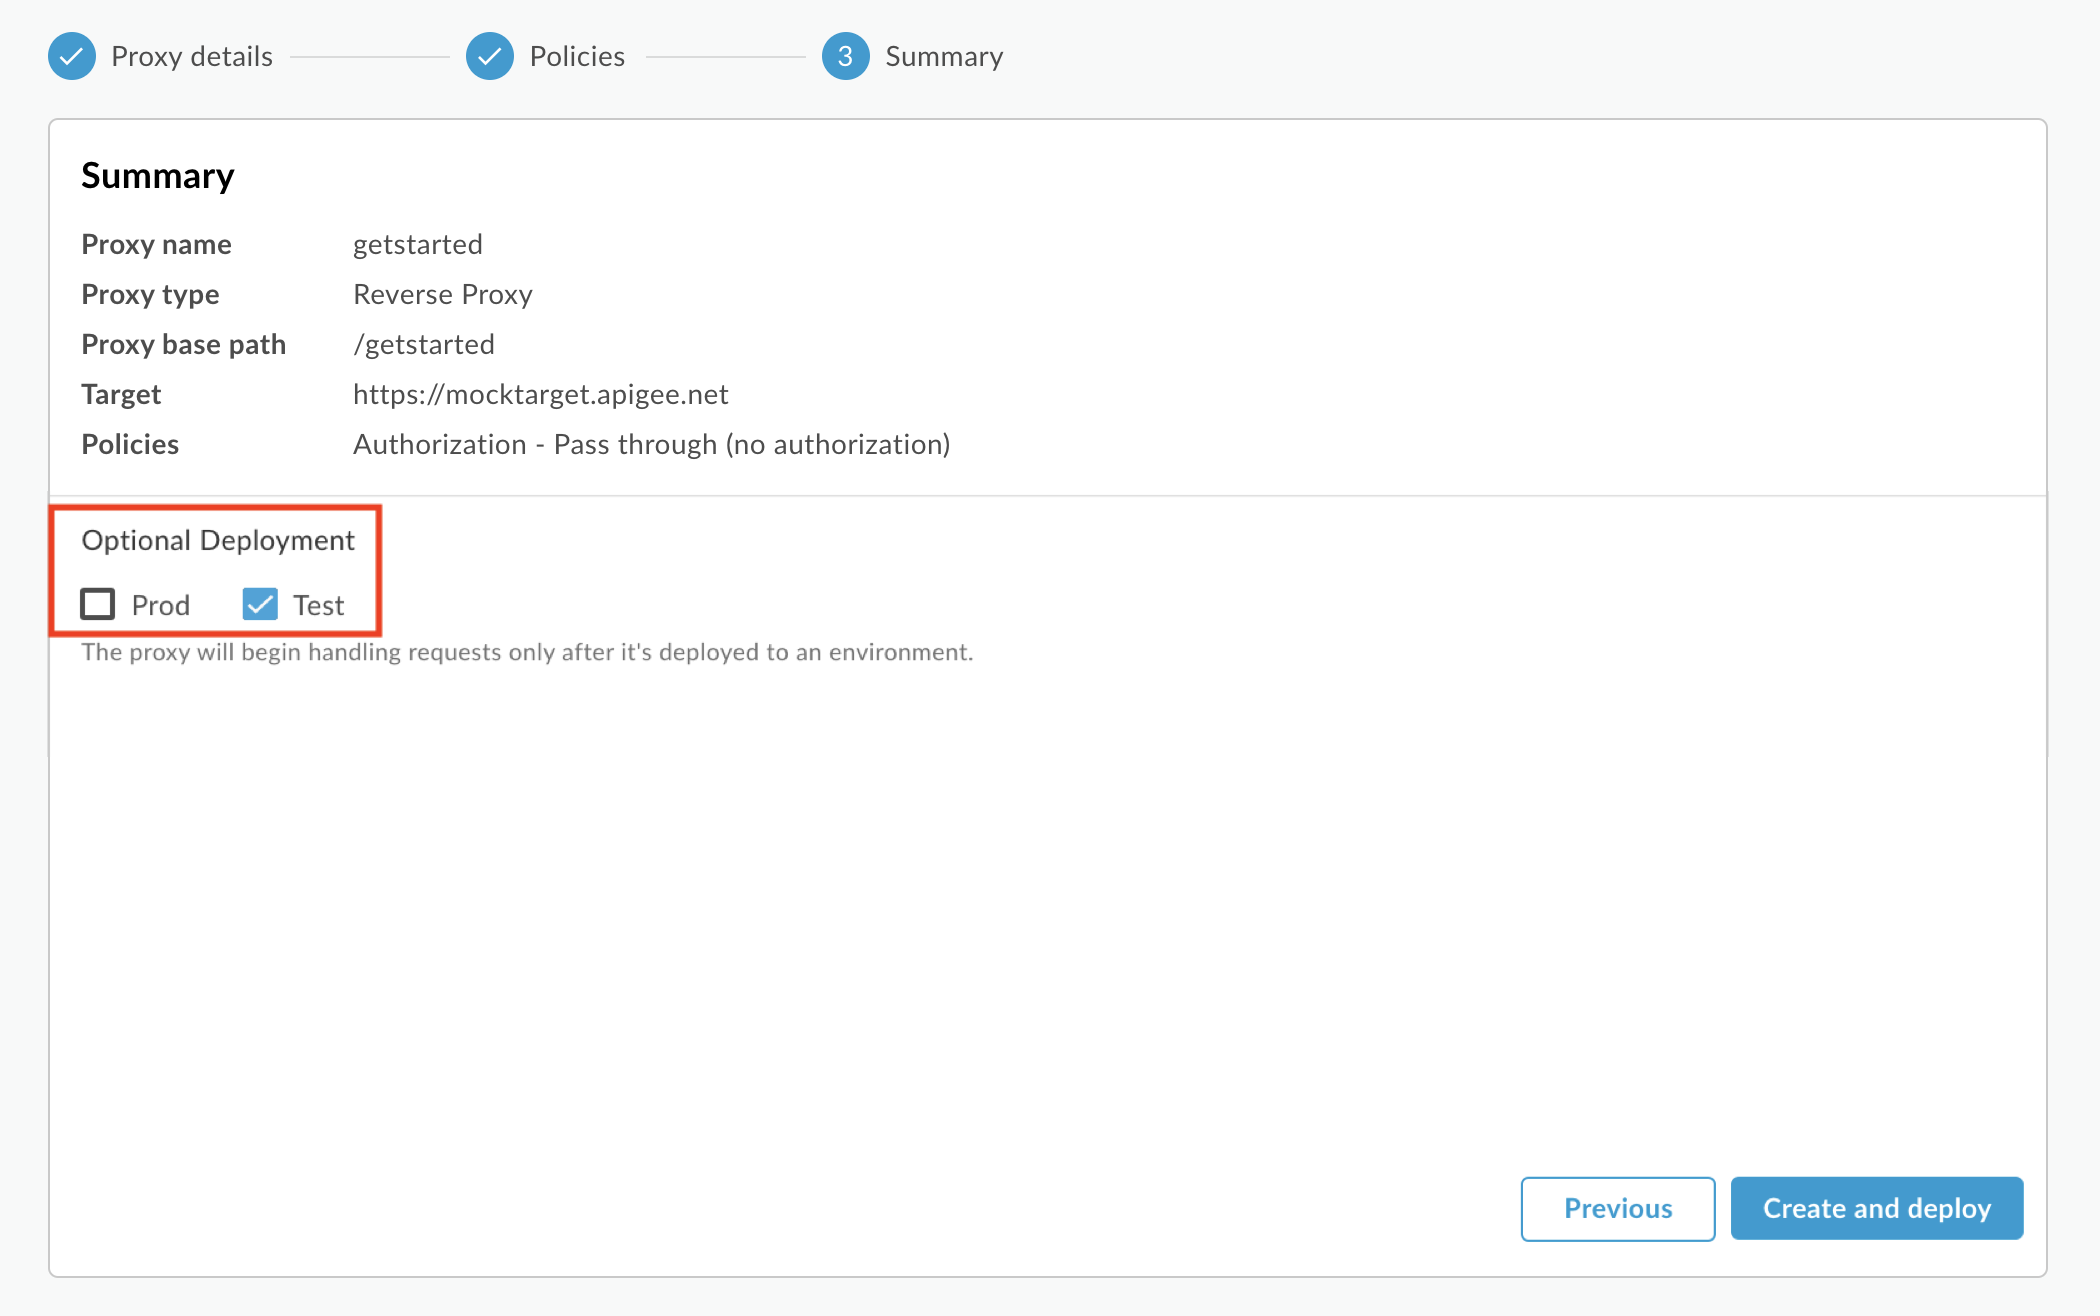
Los detalles de tu proxy de API deben tener el siguiente aspecto:
- Nombre: Ingresa
- Haz clic en Siguiente.
- En la vista Políticas comunes, en Seguridad: autorización, selecciona Pasar (sin autorización).
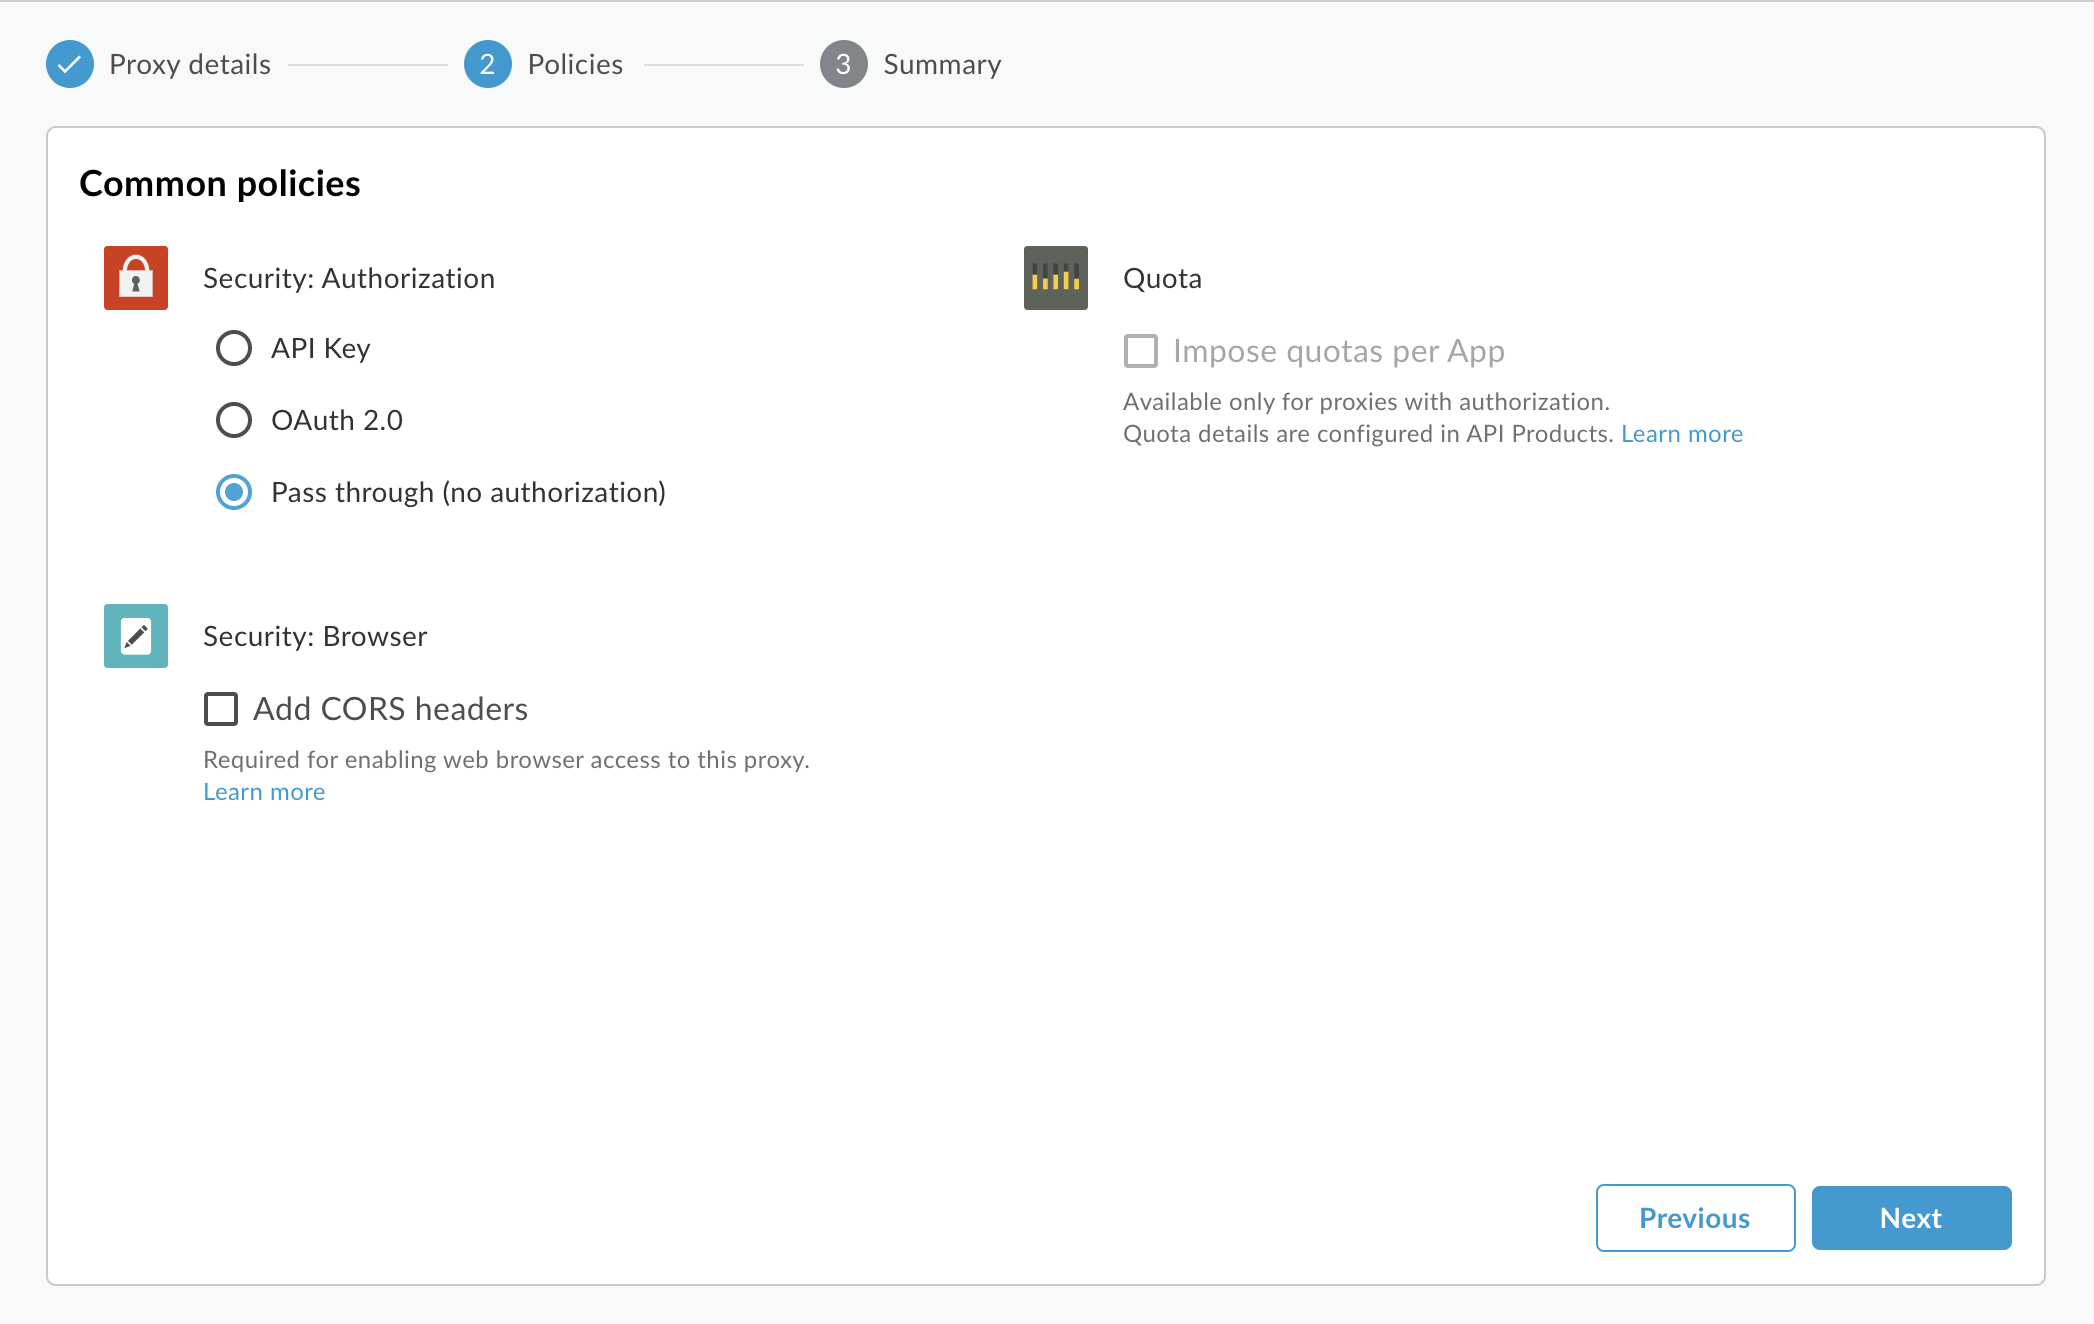
- Haz clic en Siguiente.
- En la página Resumen, selecciona los entornos de implementación, si lo deseas, y haz clic en Crea e implementa.
Tu proxy de API nuevo se crea y se implementa en el entorno seleccionado.
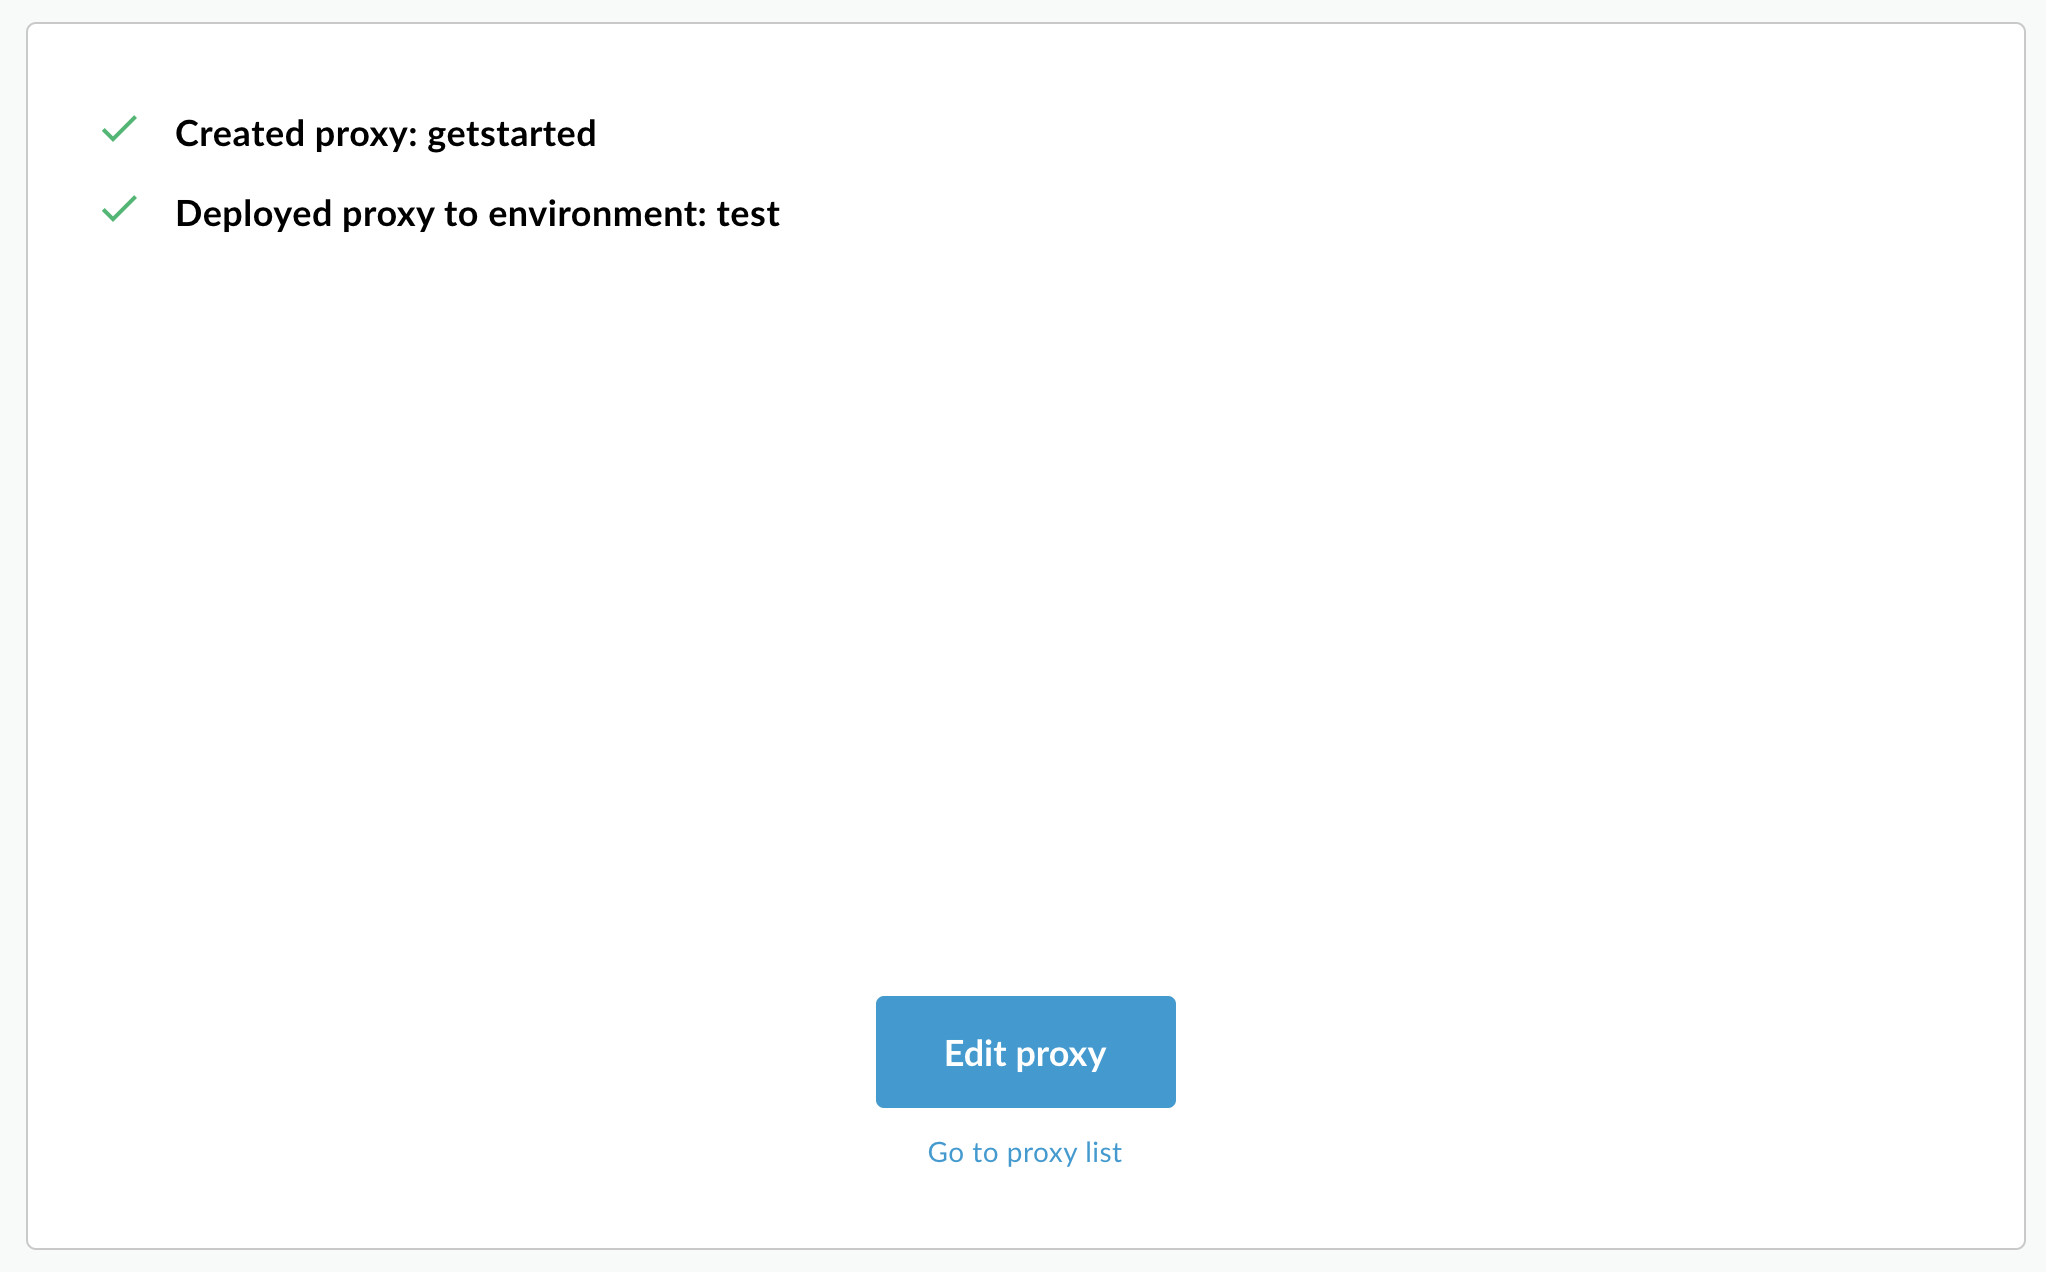
- Haz clic en Editar proxy para mostrar la pestaña Descripción general en el Editor de proxies.

En la lista de proxies de API, el estado de implementación del proxy de API getstarted es verde para el entorno test.

API de Apigee
Crea un proxy de API en tu organización de Apigee mediante el envío de una solicitud POST al siguiente recurso:
https://apigee.googleapis.com/v1/organizations/$ORG/apis
Debes definir el nombre del proxy de API mediante el parámetro de búsqueda name. Restringe los caracteres que se usan en el nombre a lo siguiente: A-Za-z0-9._\-$ %
De manera opcional, puedes importar un paquete de configuración de proxy de API mediante los siguientes pasos:
- Establece el parámetro de consulta
actionenimport. - Configura el encabezado
Content-typecomomultipart/form-data. - Pasa el nombre del paquete de configuración del proxy de API a tu sistema de archivos local.
En el siguiente ejemplo, se muestra cómo crear un proxy de API mediante la importación de un paquete de configuración de proxy de API (helloworld-config.zip) en tu sistema de archivos local mediante la API.
curl "https://apigee.googleapis.com/v1/organizations/$ORG/apis?name=helloworld&action=import" \
  -X POST \
  -H "Authorization: Bearer $TOKEN" \
  -H "Content-type: multipart/form-data" \
  -F "file=@helloworld-config.zip"
En el ejemplo anterior, $TOKEN está configurado como tu token de acceso de OAuth 2.0, como se describe en Obtén un token de acceso de OAuth 2.0. Para obtener información sobre las opciones de curl que se usan en este ejemplo, consulta Usa curl. Para obtener una descripción de las variables de entorno que puedes usar, consulta Configura variables de entorno para solicitudes a la API de Apigee.
A continuación, se proporciona un ejemplo del resultado de la respuesta:
{
  "basepaths": [
    "/helloworld"
  ],
  "configurationVersion": {
    "majorVersion": 4
  },
  "createdAt": "1559145292799",
  "displayName": "helloworld",
  "entityMetaDataAsProperties": {
    "bundle_type": "zip",
    "subType": "Proxy",
    "lastModifiedAt": "1559145292799",
    "createdAt": "1559145292799"
  },
  "lastModifiedAt": "1559145292799",
  "name": "helloworld",
  "policies": [
    "verify-api-key",
    "remove-query-param-apikey",
    "OAuth-v20-1"
  ],
  "proxies": [
    "default"
  ],
  "proxyEndpoints": [
    "default"
  ],
  "resourceFiles": {},
  "targetEndpoints": [
    "default"
  ],
  "targets": [
    "default"
  ],
  "type": "Application",
  "revision": "1",
  "description": "Hello world"
}
Para obtener más información sobre cómo crear un proxy de API, consulta el método apis.create
en la API de Apigee. Si deseas ver todos los métodos disponibles para los proxies de API, consulta la API de proxies de API.
Próximos pasos
Después de crear un proxy de API simple, por lo general, se realiza una de las siguientes acciones:
- Agrega políticas, seguridad y otras funciones de la plataforma de Apigee, como se describe en Comprende las API y los proxies de API.
- Impleméntalo en tu clúster, como se describe en Implementa un proxy de API.