You can use custom themes to customize the appearance of your embedded Looker dashboards, Looks, and Explores. Use custom themes to customize font family, text color, background color, button color, tile color, and other visual elements.
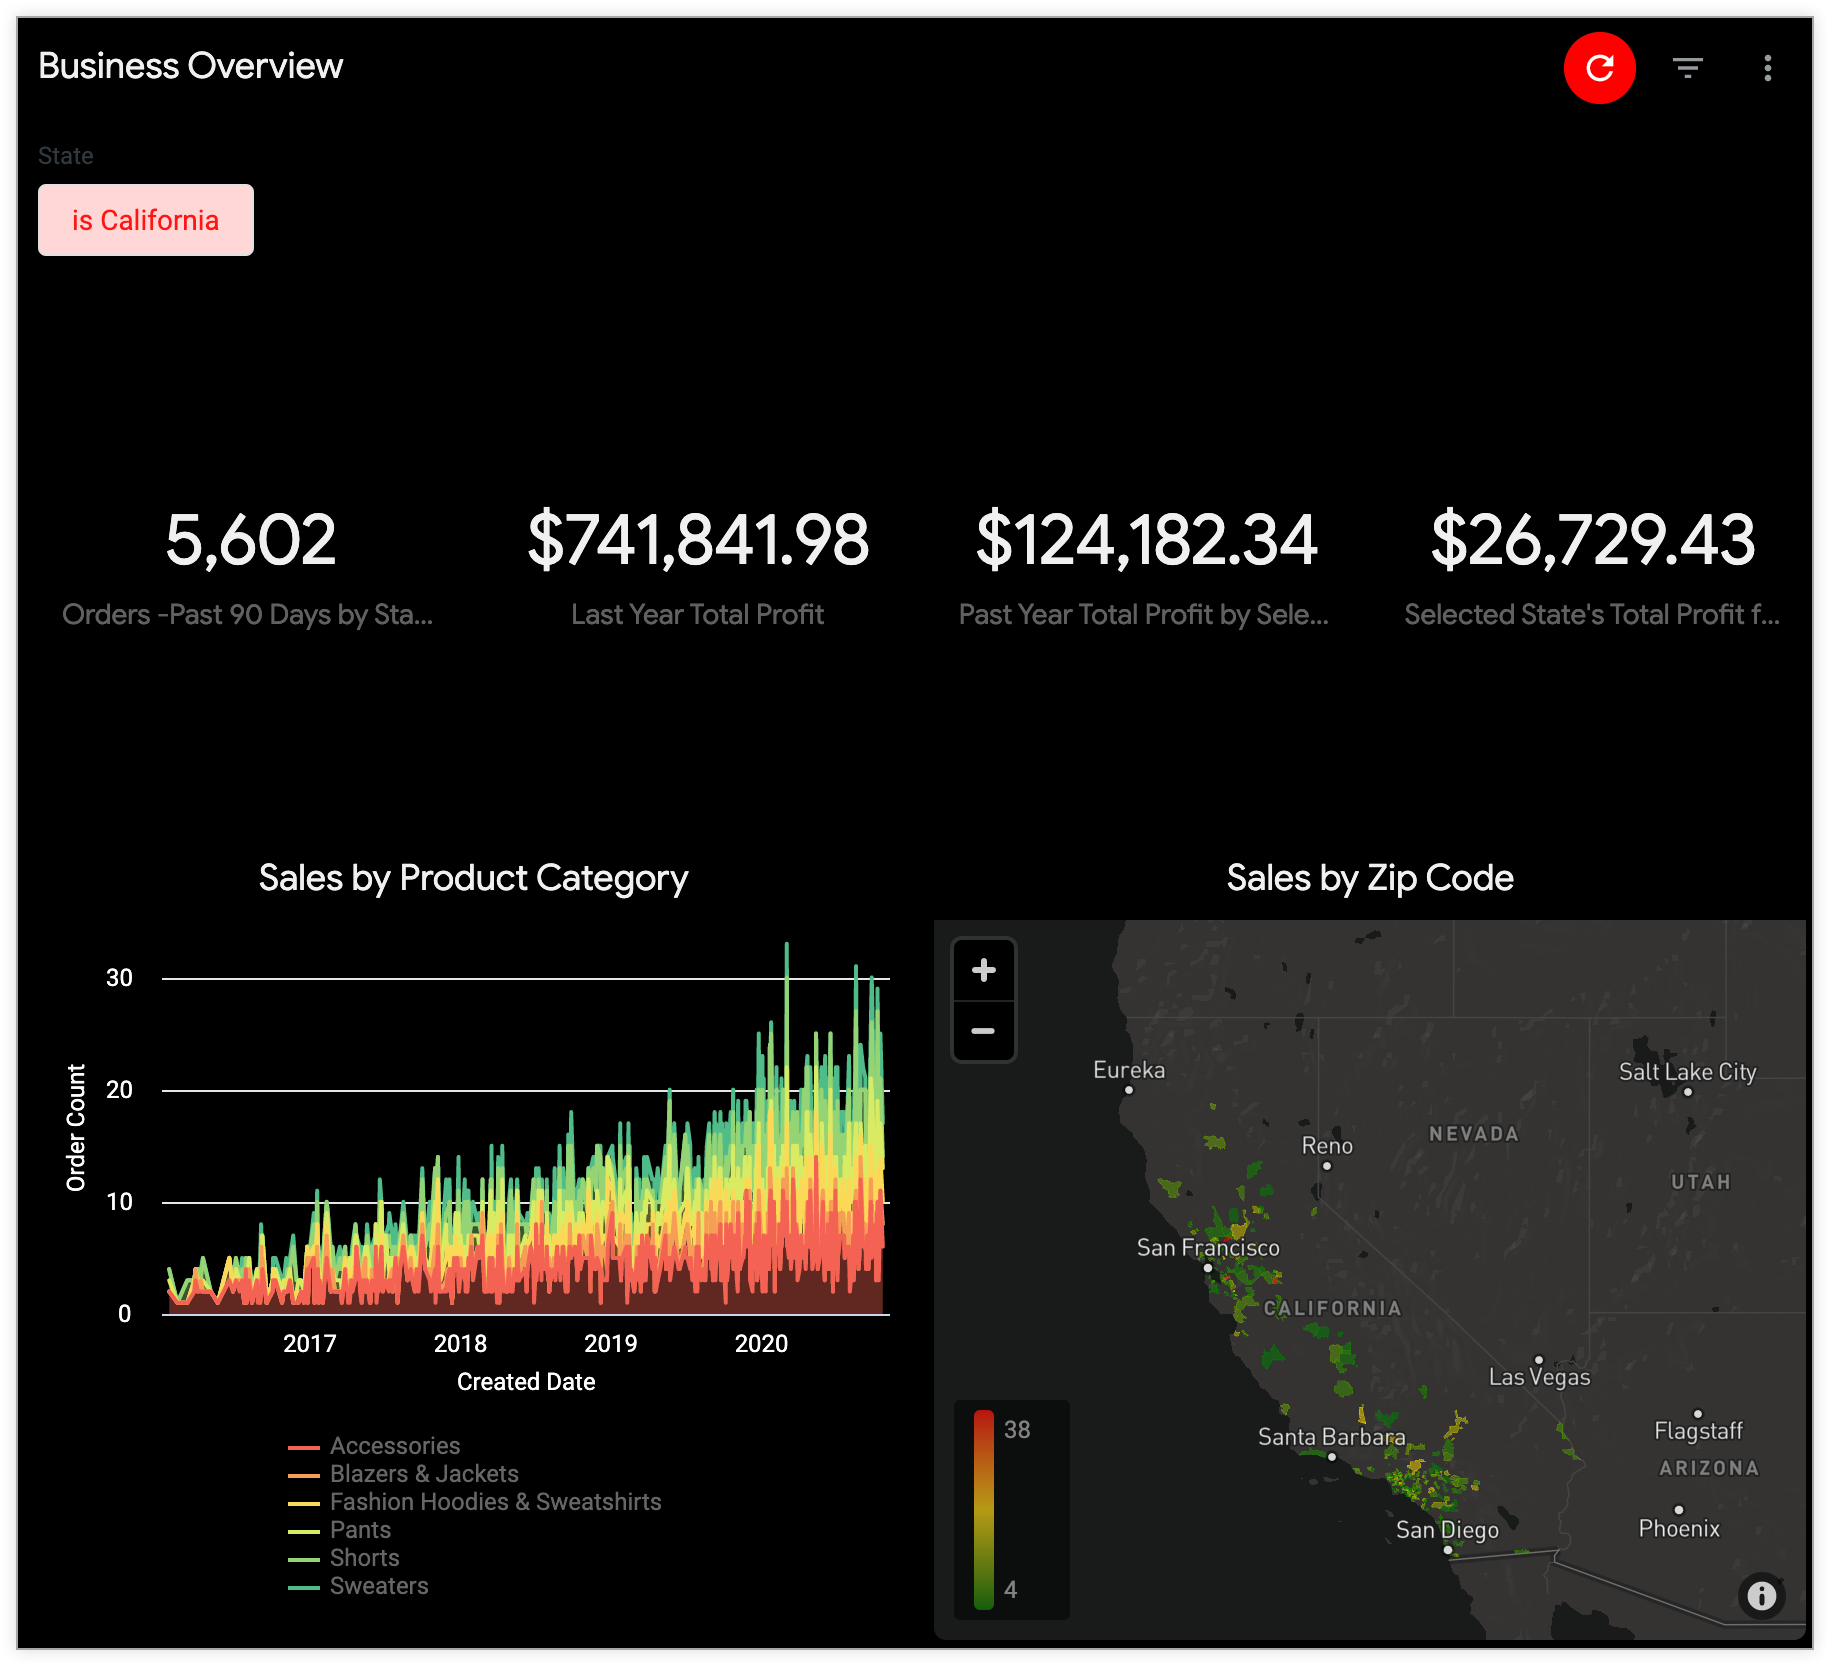
For example, you can select a dark theme to change the appearance of your embedded dashboard.
Setting a default theme for embedded dashboards, Looks, and Explores
To specify the default theme for the embedded dashboards, Looks, and Explores on your instance, navigate to the Themes page in the Platform section of the Admin panel, select the Embed tab, click a theme's three-dot menu, and select Set as Default.
The default theme is used for embedded dashboards, Looks, and Explores on your Looker instance, unless you specify different settings for an individual dashboard, Look, or Explore.
Applying a theme to specific embedded dashboards and Explores
If you want an embedded dashboard, Look, or Explore to use a theme other than the default theme, you can specify a different theme in the URL of the embedded dashboard, Look, or Explore. To do this, add the parameter theme= with the name of the theme to the end of the embed URL. For example, if you have a theme called "Red" that you want to apply to a dashboard, add theme=Red at the end of your embed dashboard URL:
https://example.looker.com/embed/dashboards/246?theme=Red
For an Explore, add theme=Red at the end of your embed Explore URL:
https://example.looker.com/embed/explore/model_name/explore_name?theme=Red
The theme element in the URL is not case-sensitive, so you can use either theme=Red or theme=red.
For more information
- For information about creating a custom theme for embedded dashboards, Looks, and Explores, see the Themes for embedded dashboards, Looks, and Explores documentation page.
- For information about applying custom elements of a theme, see the Using the _theme URL argument to apply individual dashboard theme elements section of the Themes for embedded dashboards, Looks, and Explores documentation page.
- For information about using the API to apply and manage custom themes for embedded dashboards, Looks, and Explores, see the Theme method documentation.