One simple example of how UI components can enhance an embedded application is to use them to create tabbed navigation for dashboards:
The following example adds tabbed dashboards to a basic TypeScript extension that was built using Looker's extension framework.
To work through this example, make sure your setup meets the requirements and then use these steps:
- Build a basic TypeScript extension.
- Create the file
src/Dashboards.tsxto connect and store dashboards. - Create the file
src/Tabs.tsxto store theTabscomponent. - Replace the HelloWorld reference in
src/App.tsx. - Update the
manifest.lkmlfile with embed entitlement. - Publish the extension to your Looker instance.
Requirements
You will need a few elements before you start:
- You must have access to a Looker instance with the Extension Framework enabled.
- You must have
developpermission. - You should have several user-defined dashboards within Looker to place within the UI tabs.
- Whether you're building in the extension framework or in your own standalone React application, it is important to authenticate with Looker's API and have access to the Looker SDK object. Read about Looker API authentication or our extension framework for more information.
- This example uses the Looker Embed SDK. To allow the Embed SDK to run against your instance,
http://localhost:8080must be included in the Embedded Domain Allowlist inside the Embed page of the Admin panel. Make sure that you have installed the Looker Components NPM package. Information on installing and using the components package can be found in the README document, available on both GitHub and NPM:
Step 1: Build a basic TypeScript extension
To build an extension, follow the instructions on the Introduction to building a Looker extension documentation page. To make the extension a TypeScript extension, use the following modifications:
- If you use the
create-looker-extensiontool to create the extension template, choose React for the framework and TypeScript for the language. - If you clone the Git repository to create the extension template, navigate to the
extension-examples/react/TypeScript/helloworld-tsdirectory in the second step.
Step 2: Create the file src/Dashboards.tsx to connect and store dashboards
Inside the src directory of your new extension, create a Dashboards.tsx file. This file will connect and store the dashboards that you've built inside Looker.
Inside the file, paste the following code. This code creates a reusable dashboard component.
There is one location in the code of an instance URL, https://mycompany.looker.com. Change this to your Looker instance URL.
import React, { useCallback } from "react";
import { LookerEmbedSDK } from "@looker/embed-sdk";
import styled from "styled-components";

export const EmbeddedDashboard = (props: { id: number | string }) => {
 const [dashboard, setDashboard] = React.useState();
 const setupDashboard = (dashboard: any) => {
   setDashboard(dashboard);
 };
 const embedCtrRef = useCallback((el) => {
   const hostUrl = "https://mycompany.looker.com";
   if (el && hostUrl) {
     el.innerHTML = "";
     LookerEmbedSDK.init(hostUrl);
     LookerEmbedSDK.createDashboardWithId(props.id)
       .withNext()
       .appendTo(el)
       .build()
       .connect()
       .then(setupDashboard)
       .catch((error) => {
         console.error("Connection error", error);
       });
   }
 }, []);
 return <EmbedContainer ref={embedCtrRef}></EmbedContainer>;
};

export const EmbedContainer = styled.div`
 width: 100%;
 height: 95vh;
 & > iframe {
   width: 100%;
   height: 100%;
 }
`;
In the previous code example, the following things are happening:
The import statements are bringing in the needed dependencies.
import React, { useCallback } from "react";
import { LookerEmbedSDK } from "@looker/embed-sdk";
import styled from "styled-components";
The next code block creates an
EmbeddedDashboardobject, which is anEmbedContainerobject that contains a dashboard iframe. This component is reusable; you can use it for any dashboard by passing a differentidproperty. The iframe is generated from the Looker Embed SDK by using the dashboard ID that is passed to it. Be sure to updatehttps://mycompany.looker.com/to your Looker instance URL.export const EmbeddedDashboard = (props: { id: number | string }) => { const [dashboard, setDashboard] = React.useState(); const setupDashboard = (dashboard: any) => { setDashboard(dashboard); }; const embedCtrRef = useCallback((el) => { const hostUrl = "https://mycompany.looker.com/"; if (el && hostUrl) { el.innerHTML = ""; LookerEmbedSDK.init(hostUrl); LookerEmbedSDK.createDashboardWithId(props.id) .withNext() .appendTo(el) .build() .connect() .then(setupDashboard) .catch((error) => { console.error("Connection error", error); }); } }, []); return <EmbedContainer ref={embedCtrRef}></EmbedContainer>; };The final block styles the EmbedContainer.
  export const EmbedContainer = styled.div`
    width: 100%;
    height: 95vh;
    & > iframe {
      width: 100%;
      height: 100%;
    }
`;
Step 3: Create the file src/Tabs.tsx to store the Tabs component
Inside the src directory of your new extension, create a Tabs.tsx file. This file stores the Tabs component and references the Looker dashboard ID for each dashboard.
Inside that file, paste the following code (the section following this one explains what the code is doing):
import React from "react";
import { ComponentsProvider, Tabs2, Tab2 } from "@looker/components";
import { EmbeddedDashboard } from "./Dashboards";
export const Tabs = () => (
<ComponentsProvider>
<Tabs2>
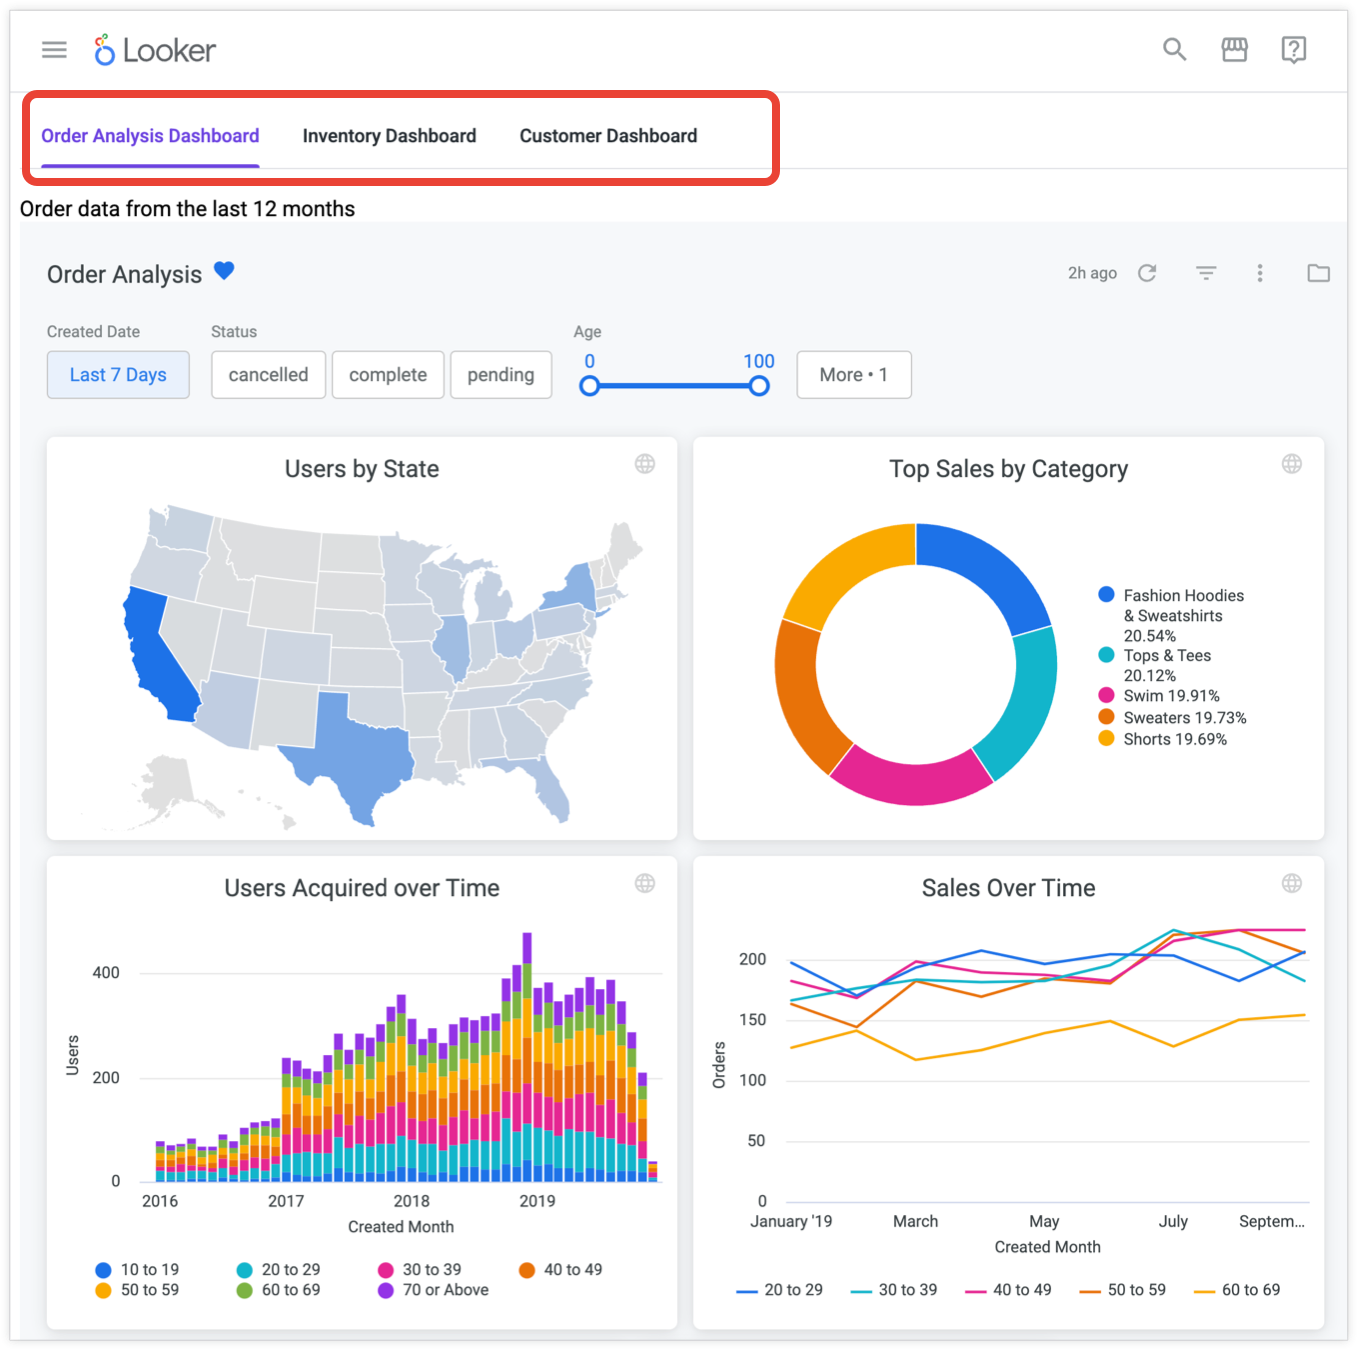
<Tab2 id="5" label="Order Analysis Dashboard">
Order data from the last 12 months
<EmbeddedDashboard1 id={5} />
</Tab2>
<Tab2 id="2" label="Inventory Dashboard">
Current global inventory
<EmbeddedDashboard2 id={2} />
</Tab2>
<Tab2 id="7" label="Customer Dashboard">
Anonymized customer data
<EmbeddedDashboard3 id={7} />
</Tab2>
</Tabs2>
</ComponentsProvider>
)
In the previous code example, the following things are happening:
The import statements are bringing in the needed dependencies and components, as well as the
EmbeddedDashboardobjects that were created in theDashboards.tsxfile.import React from "react"; import { ComponentsProvider, Tabs2, Tab2 } from "@looker/components"; import { EmbeddedDashboard } from "./Dashboard";The export statement makes the
Tabsobject available to be imported into other components.export const Tabs = () => (The
ComponentsProviderwraps around individual components to help with theming.<ComponentsProvider> </ComponentsProvider>The
Tabs2component and its child component,Tab2, create three tabs and link them to the Looker dashboards.<Tabs2> <Tab2 id="5" label="Order Analysis Dashboard"> Order data from the last 12 months <EmbeddedDashboard id={5} /> </Tab2> <Tab2 id="2" label="Inventory Dashboard"> Current global inventory <EmbeddedDashboard id={2} /> </Tab2> <Tab2 id="7" label="Customer Dashboard"> Anonymized customer data <EmbeddedDashboard id={7} /> </Tab2> </Tabs2>- The
idproperty ofTab2accepts a unique tab ID. Update the ID as necessary for your environment. - The
labelproperty accepts the label that will appear on each tab. Update the ID as appropriate for the dashboard that you're using. - A string that is placed inside the Tab2 tags will appear at the top of the content area for that tab. Update or remove the string as needed.
- The
EmbeddedDashboardobjects are placed within the tab. Theiridproperties accept the ID of the dashboard that is to be embedded inside that tab. When you're building your own tabbed dashboard, replace this value with the ID for the dashboard that you want to use. You can find the numeric dashboard ID in the URL afterdashboards/. For example, if the URL ishttps://example.looker.com/dashboards/61?Recording+Date=10+weeks&Country=US, then the dashboard ID would be61.
- The
Step 4: Replace the HelloWorld reference in src/App.tsx
Navigate to your App.tsx file in the src directory. Remove the HelloWorld import statement:
import { HelloWorld } from './HelloWorld'
and replace it with:
import { Tabs } from './Tabs'
Additionally, in the src/App.tsx file, replace <HelloWorld/> with <Tabs/>.
Optionally, you can also delete the HelloWorld.tsx file from this directory since you will no longer be using it.
Step 5: Update the manifest.lkml file with embed entitlement
Add the following entitlement to the entitlements section of the manifest.lkml file in your LookML project:
use_embeds: yes
The manifest.lkml file should look like this:
application: name {
  label: "label"
  url: "http://localhost:8080/bundle.js"
  # file: "bundle.js
  entitlements: {
    core_api_methods: ["me"] #Add more entitlements here as you develop new functionality
    use_embeds: yes
  }
}
Now you can navigate to your extension, which appears in the Applications folder in the left navigation panel. If you've started your local development server with yarn develop, you can see the embedded, tabbed dashboards.
Step 6: Publish the extension to your Looker instance
To show the extension to other Looker users, publish the extension to your Looker instance by following these steps:
- With your development server running, navigate to
localhost:8080/bundle.js. - Save the content of the browser window locally on your computer as a
.jsfile. - Make sure you are in development mode, and then drag and drop the
.jsfile into your extension project. Save your changes. - In the
manifest.lkmlfile, comment out the lineurl: "http://localhost:8080/bundle.js". - In the
manifest.lkmlfile, uncomment the line# file: "bundle.js"and make sure the filename matches the filename of the.jsfile you uploaded to your project. Save your changes. - Commit and deploy your changes.
Once your changes are deployed, you will no longer need to start your local development server to see the extension, and users on your Looker instance should be able to see the extension if they navigate to it inside the Applications folder in the main navigation panel.