In the Vertex AI Vector Search quickstart, learn how to create an index out of a sample dataset from a fictitious ecommerce clothing site. For the purpose of this quickstart, the embeddings have already been created. This quickstart is intended to be a way to get started creating and deploying an index in under 30 minutes.
Prerequisites
This tutorial requires a Google Cloud project that is linked with a billing account. To create a new project, see Set up a project and a development environment. You need to create a project and set up your billing account.
Choose the runtime environment
This tutorial can be run on either Colab or Vertex AI Workbench.
- Colab: Open this tutorial in Colab
- Vertex AI Workbench: Open this tutorial in Vertex AI Workbench. If this is the first time you're using Vertex AI Workbench in your Google Cloud project, go to the Vertex AI Workbench section of the Google Cloud console and click Enable to enable the Notebooks API.
To view this notebook in GitHub, see GitHub.
Cost to complete this quickstart
To complete this tutorial costs roughly a few US dollars. The pricing of the Google Cloud services used in this tutorial are available in the following pages:
You can also use the pricing calculator to generate a cost estimate based on your projected usage.
Setup
Before you get started with Vertex AI, you need to set up the following:
- Install the Vertex AI SDK for Python
- Set environment variables
- Authenticate (Colab only)
- Set IAM permissions
- Enable APIs
Install the Vertex AI SDK for Python
Vertex AI and Cloud Storage APIs can be accessed multiple ways, including REST API and Vertex AI SDK for Python. In this tutorial, the Vertex AI SDK for Python is used.
!pip install --upgrade --user google-cloud-aiplatform>=1.29.0 google-cloud-storage
To use the newly installed packages in this Jupyter runtime, you need to restart the runtime, as shown in the following code snippet.
# Restart kernel after installs so that your environment can access the new packages
import IPython

app = IPython.Application.instance()
app.kernel.do_shutdown(True)
Environment variables
Set the environment variables. If asked, replace your-project-id
with your project ID and run the cell.
# get project ID
PROJECT_ID = ! gcloud config get-value project
PROJECT_ID = PROJECT_ID[0]
LOCATION = "us-central1"
if PROJECT_ID == "(unset)":
    print(f"Please set the project ID manually below")
# define project information
if PROJECT_ID == "(unset)":
  PROJECT_ID = "[your-project-id]"

# generate a unique id for this session
from datetime import datetime
UID = datetime.now().strftime("%m%d%H%M")
Authentication (Colab only)
If you are running this notebook on Colab, you need to run the following cell authentication. This step is not required if you are using Vertex AI Workbench as it is pre-authenticated.
import sys

# if it's Colab runtime, authenticate the user with Google Cloud
if 'google.colab' in sys.modules:
    from google.colab import auth
    auth.authenticate_user()
Set IAM permissions
You need to add access permissions to the default service account for using the services.
- Go to the IAM page in the Google Cloud console.
- Look for the principal for default compute service account.
It should look like:
compute@developer.gserviceaccount.com - Click the edit button and grant the default compute service account with the following roles: Vertex AI User and Storage Admin and Service Usage Admin.
Enable APIs
Run the following command to enable APIs for Compute Engine, Vertex AI, and Cloud Storage with this Google Cloud project.
! gcloud services enable compute.googleapis.com aiplatform.googleapis.com storage.googleapis.com --project {PROJECT_ID}
Prepare the sample data
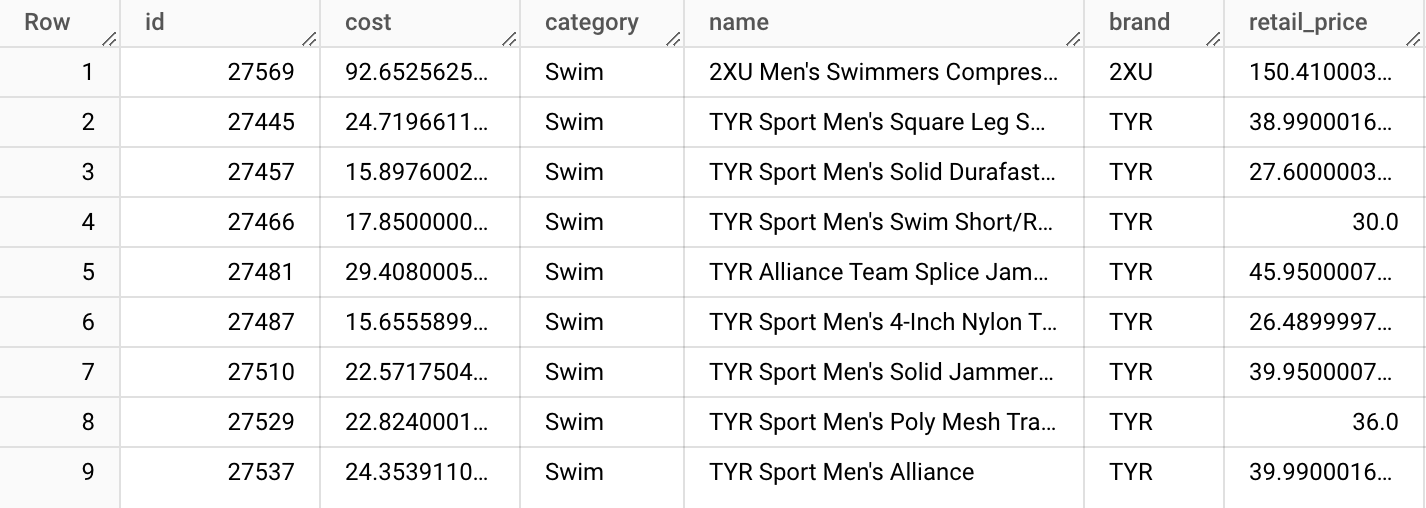
In this tutorial, we use the TheLook dataset that has a products table with about 5,000 rows of synthetic product data for a fictitious ecommerce clothing site.
From this table, we have prepared the product-embs.json file.

This file is in JSONL format and each row has ID for the product ID, name for the product name, and embedding for the embedding of the product name in 768 dimensions which was generated previously with Vertex AI embeddings for text.
The text embeddings represent the meaning of the clothing product names. In this tutorial, we use Vector Search for completing a semantic search of the items. This sample code can be used as a basis for other quick recommendation systems where you can quickly find "other products similar to this one".
To learn more about how to create the embeddings from the data on a BigQuery table and store them in a JSON file, see Getting Started with Text Embeddings + Vertex AI Vector Search.
Prepare the data on Cloud Storage
For building an index with Vertex AI, place the embedding file in a Cloud Storage bucket. The following code completes two tasks:
- Creates a Cloud Storage bucket.
- Copies the example file to your Cloud Storage bucket.
BUCKET_URI = f"gs://{PROJECT_ID}-vs-quickstart-{UID}"
! gcloud storage buckets create $BUCKET_URI --location=$LOCATION --project=$PROJECT_ID
! gcloud storage cp "gs://github-repo/data/vs-quickstart/product-embs.json" $BUCKET_URI
For using Vector Search to run queries, you also need to copy the embedding file to local directory:
! gcloud storage cp "gs://github-repo/data/vs-quickstart/product-embs.json" . # for query tests
Build and deploy a Vector Search index
Learn how to create an index, create an index endpoint, and then deploy your index to the endpoint.
Create an index
Now it's time to load the embeddings to Vector Search.
The APIs are available under the aiplatform package of the SDK.
# init the aiplatform package
from google.cloud import aiplatform
aiplatform.init(project=PROJECT_ID, location=LOCATION)
Create a MatchingEngineIndex
with its create_tree_ah_index function (Matching Engine is the previous name of Vector Search).
# create Index
my_index = aiplatform.MatchingEngineIndex.create_tree_ah_index(
    display_name = f"vs-quickstart-index-{UID}",
    contents_delta_uri = BUCKET_URI,
    dimensions = 768,
    approximate_neighbors_count = 100,
)
The MatchingEngineIndex.create_tree_ah_index() method builds an index.
This takes under 10 minutes if the dataset is small, otherwise about 60
minutes or more depending on the size of the dataset. You can check status of
the index creation on the Vector Search Google Cloud console
The parameters for creating index:
contents_delta_uri: the URI of Cloud Storage directory where you stored the embedding JSON filesdimensions: dimension size of each embedding. In this case, it is 768 as you are using the embeddings from the text embeddings API.approximate_neighbors_count: how many similar items you want to retrieve in typical cases
To learn more about creating the index and the available parameters, see Create and manage your index
Create index endpoint and deploy the index
To use the index, you need to create an index endpoint. It works as a server instance accepting query requests for your index.
## create `IndexEndpoint`
my_index_endpoint = aiplatform.MatchingEngineIndexEndpoint.create(
    display_name = f"vs-quickstart-index-endpoint-{UID}",
    public_endpoint_enabled = True
)
With the index endpoint, deploy the index by specifying a unique deployed index ID.
DEPLOYED_INDEX_ID = f"vs_quickstart_deployed_{UID}"
# deploy the Index to the Index Endpoint
my_index_endpoint.deploy_index(
    index = my_index, deployed_index_id = DEPLOYED_INDEX_ID
)
If it is the first time deploying this index to an index endpoint, it can take around 30 minutes to automatically build and initiate the backend. To see the status of the index deployment, in the Vertex AI section of the Google Cloud console, go to the Deploy and Use section. Select Indexes.
Run a query with Vector Search
In the following code, it finds an embedding for a specified product name, and finds similar product names with the Vector Search.
Get an embedding to run a query
First, load the embedding JSON file to build a dict of product names and embeddings.
import json

# build dicts for product names and embs
product_names = {}
product_embs = {}
with open('product-embs.json') as f:
    for l in f.readlines():
        p = json.loads(l)
        id = p['id']
        product_names[id] = p['name']
        product_embs[id] = p['embedding']
With the product_embs dictionary, you can specify a product ID to get an embedding for it.
 # Get the embedding for ID 6523 "cloudveil women's excursion short"
 # You can also try with other IDs such as 12711, 18090, 19536 and 11863
query_emb = product_embs['6523']
Run a query
Pass the embedding to Endpoint.find_neighbors() method to find similar product names.
# run query
response = my_index_endpoint.find_neighbors(
    deployed_index_id = DEPLOYED_INDEX_ID,
    queries = [query_emb],
    num_neighbors = 10
)

# show the results
for idx, neighbor in enumerate(response[0]):
    print(f"{neighbor.distance:.2f} {product_names[neighbor.id]}")
The find_neighbors() method only takes milliseconds to fetch the similar items
even when you have billions of items on the index, thanks to the
ScaNN algorithm.
Vector Search also supports autoscaling which can automatically resize
the number of nodes based on the demands of your workloads.
Cleaning up
In case you are using your own Cloud project, not a temporary project on Qwiklabs, make sure to delete all of the indexes, index endpoints, and Cloud Storage buckets after finishing this tutorial. Otherwise, you might incur unexpected costs from the remaining resources.
If you used Workbench, you might also need to delete the notebooks from the console.
# wait for a confirmation
input("Press Enter to delete Index Endpoint, Index and Cloud Storage bucket:")

# delete Index Endpoint
my_index_endpoint.undeploy_all()
my_index_endpoint.delete(force = True)

# delete Index
my_index.delete()

# delete Cloud Storage bucket
! gcloud storage rm {BUCKET_URI} --recursive
Utilities
It can take some time to create or deploy indexes, and in that time you might lose connection with the Colab runtime. If you lose connection, instead of creating or deploying your new index again, you can check the Vector Search Google Cloud console and use the existing ones to continue.
Get an existing index
To get an index object that already exists, replace the following your-index-id
with the index ID and run the cell. You can get the index ID by checking the
Vector Search Google Cloud console. In the Vertex AI section
of the Google Cloud console, go to
the Deploy and Use section. Select Indexes.
my_index_id = "[your-index-id]"
my_index = aiplatform.MatchingEngineIndex(my_index_id)
Get an existing index endpoint
To get an index endpoint object that already exists, replace the following
your-index-endpoint-id with the index endpoint ID and run the cell.
You can get the index endpoint by checking the Vector Search Google Cloud console.
In the Vertex AI section of the Google Cloud console, go to
the Deploy and Use section. Select Index Endpoints.
my_index_endpoint_id = "[your-index-endpoint-id]"
my_index_endpoint = aiplatform.MatchingEngineIndexEndpoint(my_index_endpoint_id)