Save a notebook to GitHub
This page describes how you can save your Vertex AI Workbench instance's
notebook files to GitHub by using the jupyterlab-git extension. You might
do this to create a backup of the notebook or to make the notebook
available to others.
In Vertex AI Workbench instances, you can use the jupyterlab-git
extension to help you with version control. To learn more, see
jupyterlab-git
on GitHub.
Create a GitHub repository
If you don't already have a GitHub repository, you must create one.
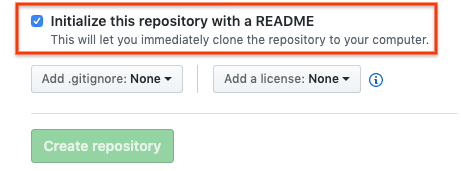
When you create your GitHub repository make sure that your GitHub repository can be cloned by selecting the Initialize this repository with a README checkbox.
Clone your GitHub repository in your Vertex AI Workbench instance
To clone your GitHub repository in your Vertex AI Workbench instance, complete the following steps:
In your GitHub repository, click the Code button, and then click the Local tab.
Copy the HTTPS URL.
In the Google Cloud console, go to the Instances page.
Click Open JupyterLab to open your Vertex AI Workbench instance.
In the JupyterLab File Browser, select the folder where you want to clone the GitHub repository. For example, the home folder.

In JupyterLab, select Git > Clone a Repository.
In the Clone a repo dialog, paste the HTTPS URL for your GitHub repository.

If prompted, enter your credentials.
If you use a GitHub username and password, enter your GitHub username and password.
If you use two-factor authentication with GitHub, create and use a personal access token.
Click Clone.
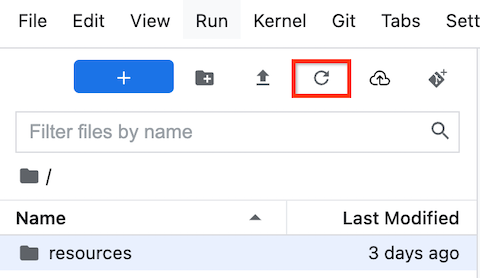
Your Vertex AI Workbench instance shows your repository as a new folder. If you don't see your cloned GitHub repository as a folder, click the Refresh File List button.
Configure your instance with your GitHub user information
In JupyterLab, open the folder where your repository is located.
Select Git > Open Git Repository in Terminal to open a Git terminal window.
In the Git terminal window, enter the following commands to configure your Git username and email:
git config --global user.name "USERNAME"
git config --global user.email "EMAIL_ADDRESS"
Replace the following:
USERNAME: your GitHub usernameEMAIL_ADDRESS: your GitHub account email address
If your GitHub account requires SSH authentication, complete the following steps to connect your account:
From your Git terminal in your Vertex AI Workbench instance, follow GitHub's instructions for generating a new SSH key.
Follow the instructions for adding that SSH key to your GitHub account.
Close the Git terminal window.
Add your committed files to your GitHub repository
In JupyterLab, open the folder where your repository is located.
Select the Git tab. Your new notebook is listed in the Untracked grouping.
To add the new notebook as a file for your GitHub repository, right-click the new notebook and select Track. On the Git tab, your notebook is now added to the Staged grouping.
To commit your new notebook to your GitHub repository, on the Git tab, in the Summary field, add a commit comment, and then click Commit.
Select Git > Push to Remote.
If you use a GitHub username and password, when prompted, enter your GitHub username and password.
If you use two-factor authentication with GitHub, enter your GitHub username and personal access token.
After the
git pushcommand completes, your committed files are in your GitHub repository.