The Vertex AI Pipelines Template Gallery contains Google-authored pipeline templates and components, which you can use to create pipeline runs or embed in your own pipelines.
Create a pipeline run from the Template Gallery
Use the following instructions to create a pipeline run from a Google-authored template from the Template Gallery. Alternatively, you can create your own custom pipeline template and then create a pipeline run based on it. For more information about creating and using a custom pipeline template, see Create, upload, and use a pipeline template.
Console
Use the following instructions to create a pipeline run from the Template Gallery:
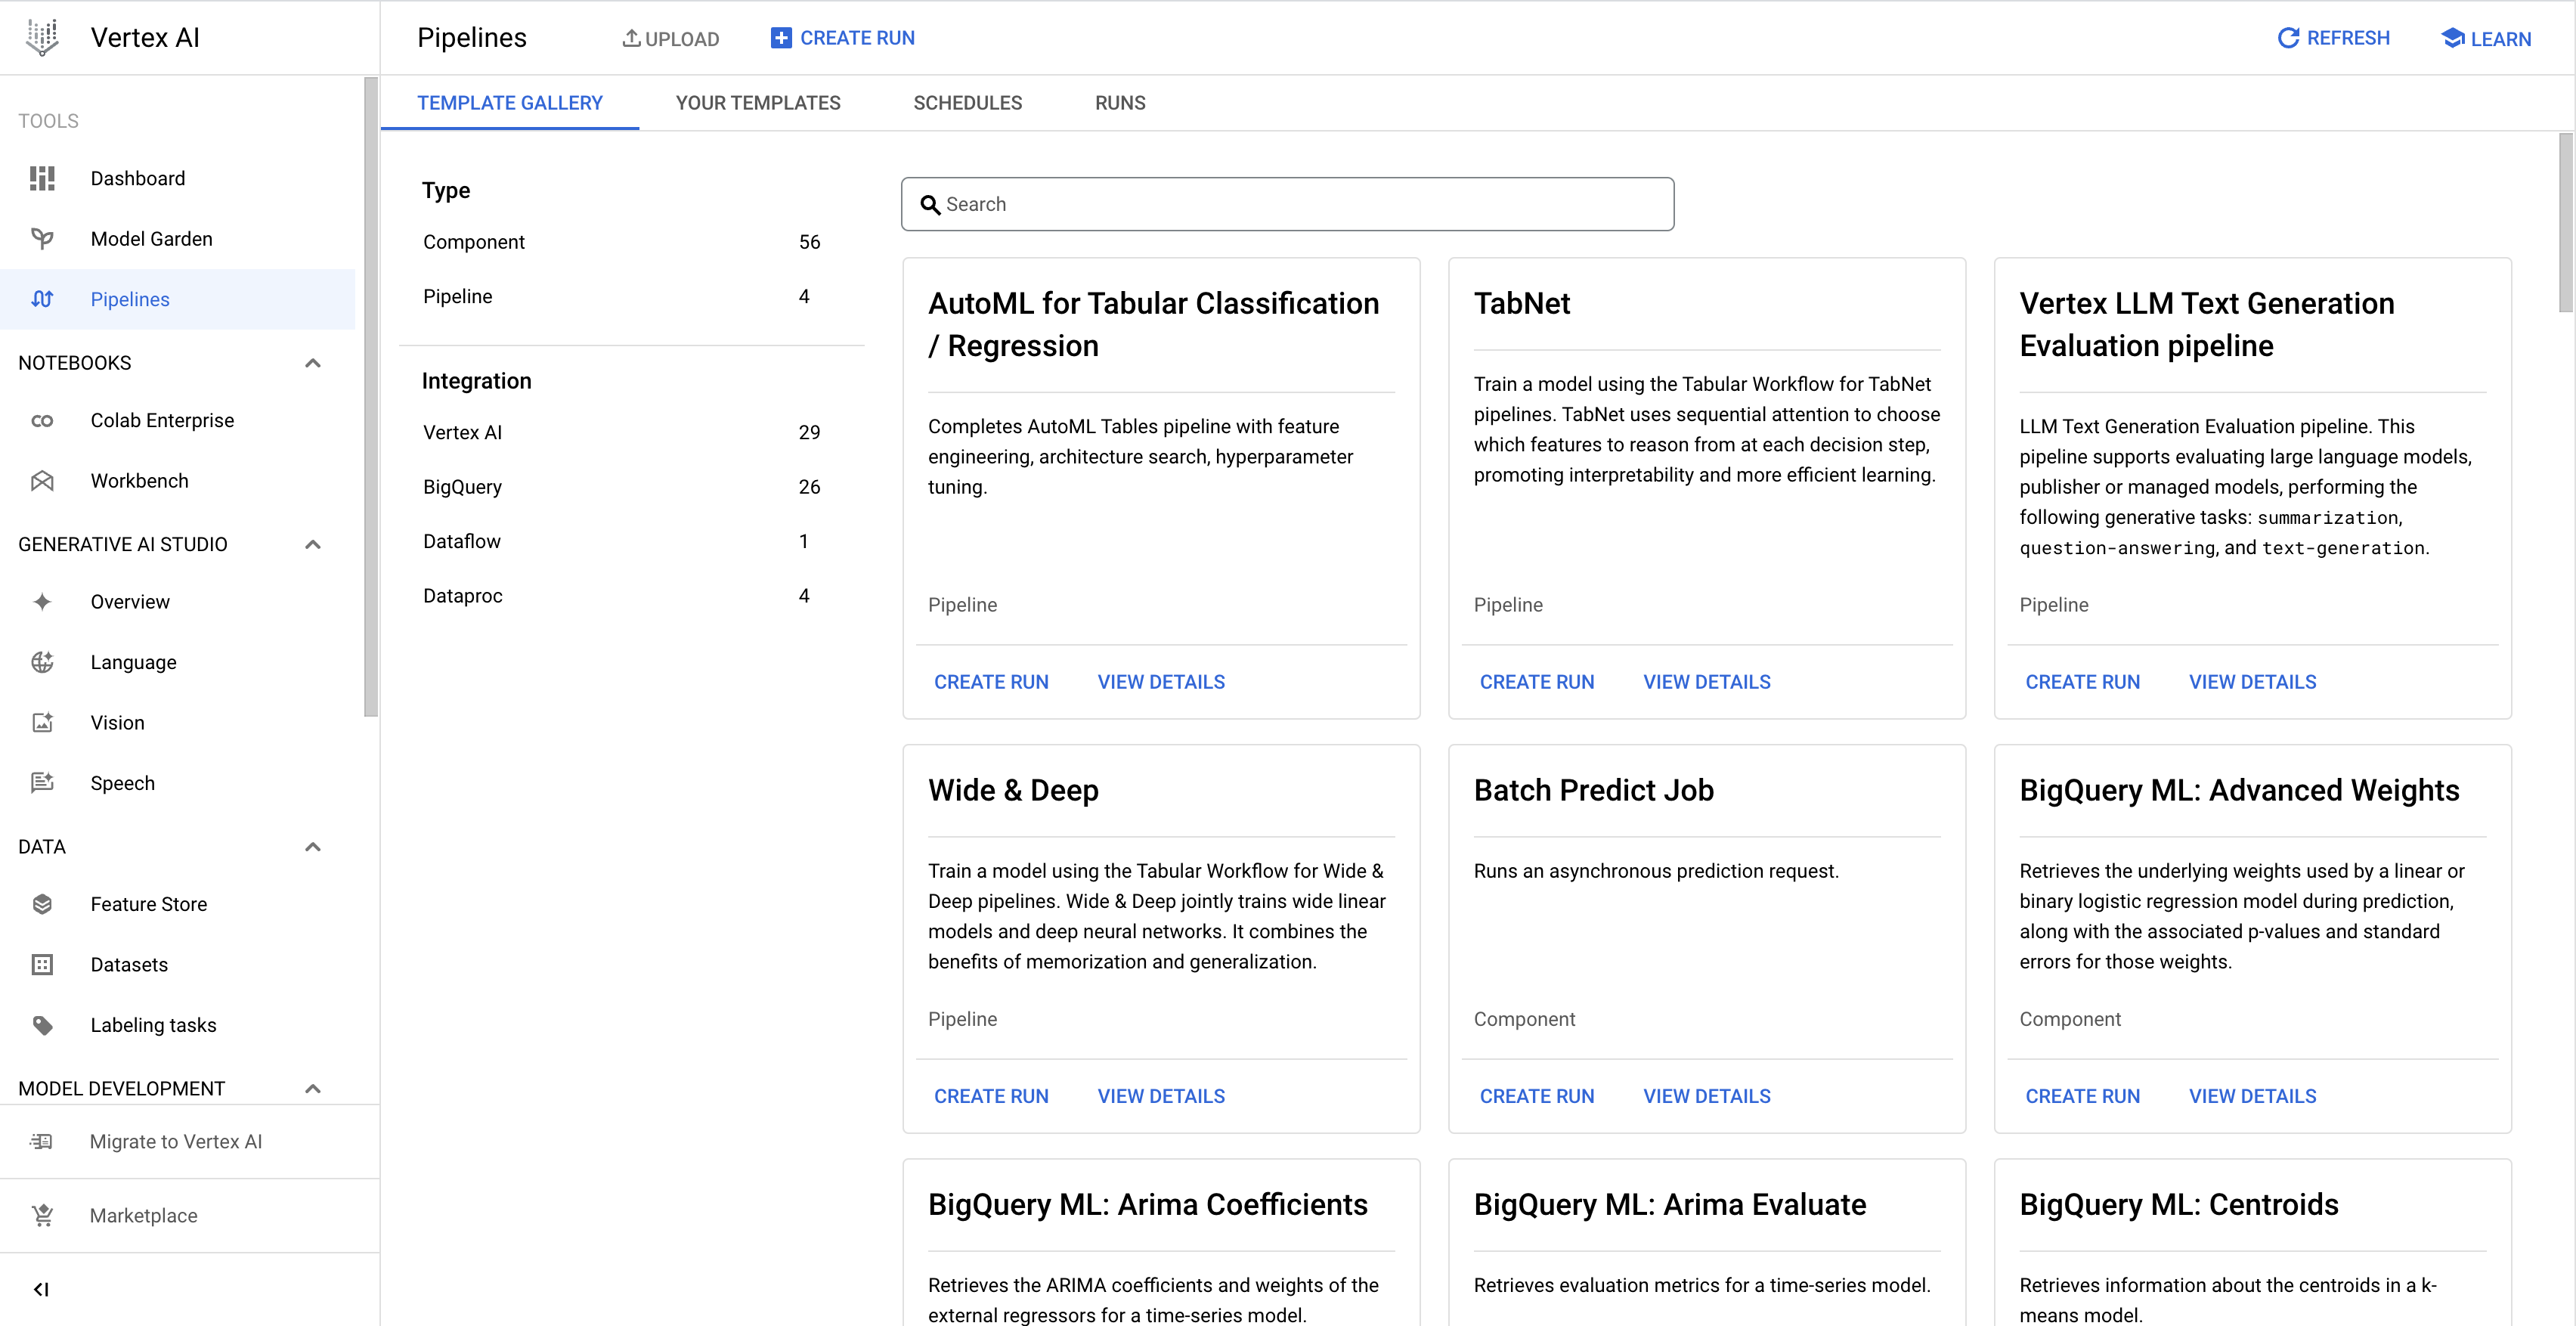
In the Google Cloud console, in the Vertex AI section, go to the Template Gallery tab on the Pipelines page.
Optional: To filter the list of pipeline templates, in the left pane, select the filter criteria. For example, to show only pipeline templates, select Templates under Type.
On the card corresponding to the template that you want to use, click Create run to open the Create pipeline run page.
In the Run details section, do the following:
Optional: Modify the default Run name that uniquely identifies the pipeline run.
Optional: To schedule recurring pipeline runs, specify the Run schedule, as follows:
Select Recurring.
Under Start time, specify when the schedule becomes active.
To schedule the first run to occur immediately after schedule creation, select Immediately.
To schedule the first run to occur at a specific time and date, select On.
In the Frequency field, specify the frequency to schedule and execute the pipeline runs, using a cron schedule expression based on unix-cron.
Under Ends, specify when the schedule ends.
To indicate that the schedule creates pipeline runs indefinitely, select Never.
To indicate that the schedule ends on a specific date and time, select On, and specify the end date and time for the schedule.
Optional: To specify that the pipeline run uses a custom service account, a customer-managed encryption key (CMEK), or a peered VPC network, click Advanced options, and then follow these instructions:
To specify a service account, select a service account from the Service account drop-down list.
If you don't specify a service account, Vertex AI Pipelines runs your pipeline using the default Compute Engine service account.
Learn more about configuring a service account for use with Vertex AI Pipelines.
To use a CMEK, select Use a customer-managed encryption key. The Select a customer-managed key drop-down list appears. In the Select a customer-managed key drop-down list, select the key that you want to use.
To use a peered VPC network in this pipeline run, enter the VPC network name in the Peered VPC network box.
Click Continue.
In the Runtime configuration section, configure the pipeline run, as follows:
Under Cloud storage location, click Browse to select the Cloud Storage bucket for storing the pipeline output artifacts, and then click Select.
Optional: To configure the failure policy and the cache for the pipeline run, click Advanced options, and then use the following instructions:
Under Failure policy, specify the failure policy for the entire pipeline. Learn more about pipeline failure policies.
To configure the pipeline to continue scheduling tasks after one task fails, select Run all steps to completion. This option is selected, by default.
To configure the pipeline to fail after one task fails, select Fail this run as soon as one step fails.
Under Caching configuration, specify the cache configuration for the entire pipeline.
To use the task-level cache configuration for task in the pipeline, select Do not override task-level cache configuration.
To turn on caching for all the tasks in the pipeline and override any task-level cache configuration, select Enable read from cache for all steps (fastest).
To turn off caching for all the tasks in the pipeline and override any task-level cache configuration, select Disable read from cache for all steps (fastest).
Optional: If your pipeline has parameters, under Pipeline parameters, specify your pipeline run parameters.
To create your pipeline run, click Submit.