Una vez que se haya completado el entrenamiento de tu modelo de clasificación de imágenes de AutoML, usa laGoogle Cloud consola para crear un endpoint y desplegar tu modelo en él. Una vez que tu modelo se haya desplegado en este nuevo endpoint, envíale una imagen para que prediga la etiqueta.
Este tutorial tiene varias páginas:
Crea un conjunto de datos de clasificación de imágenes e importa imágenes.
Desplegar un modelo en un endpoint y enviar una predicción.
En cada página se da por hecho que ya has seguido las instrucciones de las páginas anteriores del tutorial.
Desplegar un modelo en un endpoint
Accede a tu modelo entrenado para desplegarlo en un punto final nuevo o disponible desde la página Modelos:
En la Google Cloud consola, en la sección Vertex AI, ve a la página Entrenamiento.
Selecciona el modelo de AutoML entrenado. De esta forma, se te dirigirá a la pestaña Evaluar, donde podrás ver las métricas de rendimiento del modelo.
Elige la pestaña Implementar y probar.
Haz clic en Implementar en endpoint.
Elige Crear endpoint, asigna el nombre
hello_automl_imageal endpoint y haz clic en Continuar.En Configuración del modelo, acepta el Reparto del tráfico de 100%, introduce 1 en Número de nodos de cálculo y, a continuación, haz clic en Hecho.
Haz clic en Implementar para implementar el modelo en el nuevo punto final.
Se tardan varios minutos en crear el endpoint y desplegar el modelo de AutoML en el nuevo endpoint.
Enviar una predicción a tu modelo
Una vez que finalice el proceso de creación del endpoint, podrá enviar una solicitud de anotación (predicción) de una sola imagen en la consola Google Cloud .
Ve a la sección "Test your model" (Prueba tu modelo) de la misma pestaña Deploy & test (Implementar y probar) que usaste para crear un endpoint en el paso anterior (Models > your_model > Deploy & test [Modelos > your_model > Implementar y probar]).
Haz clic en Subir imagen y elige una imagen guardada localmente para hacer una predicción y ver la etiqueta predicha.
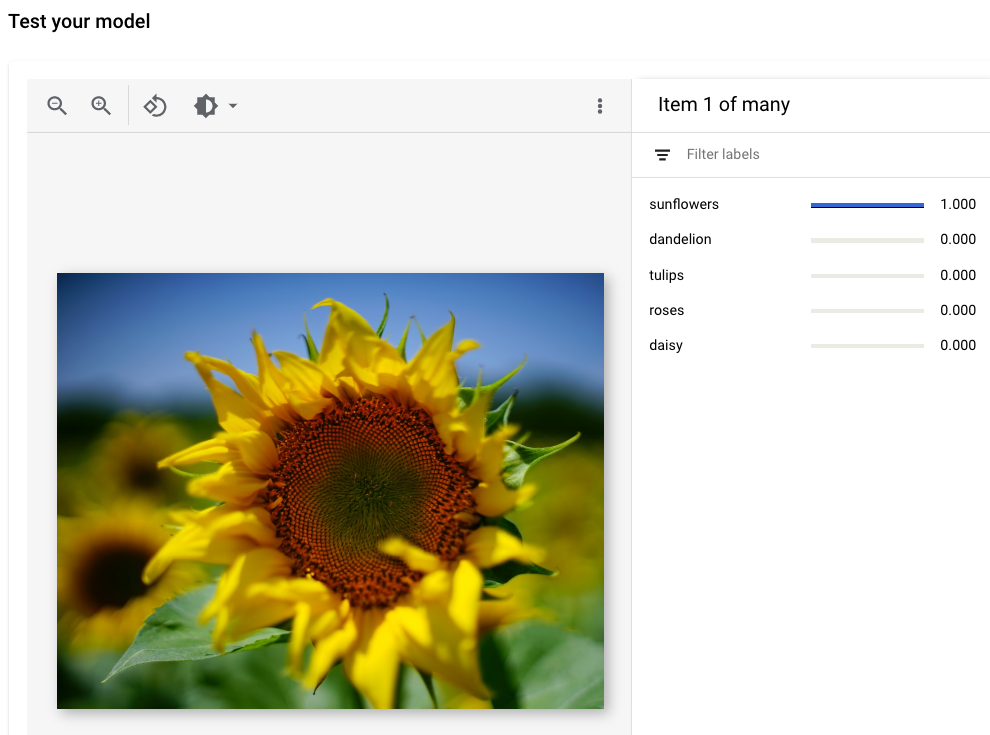
Crédito de la imagen: Siming Ye, Unsplash (se muestra en la vista de la interfaz de usuario).
Siguientes pasos
Sigue las instrucciones de la última página del tutorial para eliminar los recursos que has creado.