画像データについては、ラベル付きデータをインポートできます。またはラベルなしデータをインポートし、 Google Cloud コンソールを使用してラベルを追加することもできます。既存のラベル付きデータセットに対して、ラベルを削除または新しいラベルを追加することもできます。
データをインポートする方法については、トレーニングの概要ページで、扱うデータのタイプと目的のデータを準備するページをご覧ください。データのタイプと目的に応じて、それぞれのデータセットの作成ページに進みます。
データセットを作成してラベルなしデータをインポートすると、[ブラウズ] モードになります。

ラベルを追加する方法
ラベルを付ける手順を説明します。
データセットにインポートしたばかりの画像には、もちろんラベルは付いていません。
分類
[ブラウズ] モードで、ラベルのない画像を含むデータセットを選択すると、アップロードされている画像が表示されます。
- [新しいラベルを追加] をクリックし、新しいラベルを入力します。
- [完了] をクリックします。
追加するラベルごとに手順を繰り返します。 - ラベルを付ける画像を選択します。
ラベルのリストが表示されます。 - 画像に関連付けるラベルを選択します。
- [保存] をクリックします。
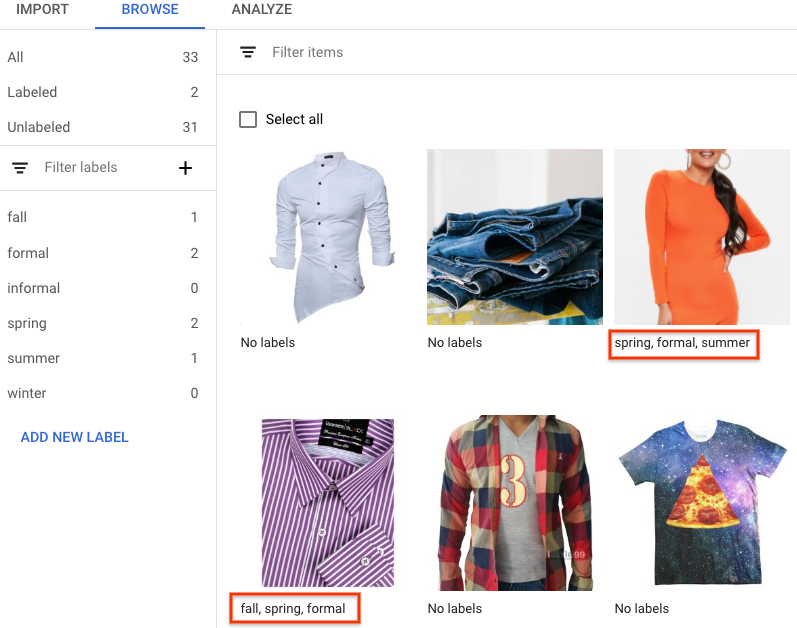
分類
[ブラウズ] モードで、ラベルのない画像を含むデータセットを選択すると、アップロードされている画像が表示されます。
- [新しいラベルを追加] をクリックし、新しいラベルを入力します。
- [完了] をクリックします。
追加するラベルごとに手順を繰り返します。 - ラベルを付ける画像を選択します。
ラベルのリストが表示されます。 - 画像に関連付けるラベルを選択します。
- [保存] をクリックします。
- 各画像に適用されたラベルは [参照] タブで確認できます。
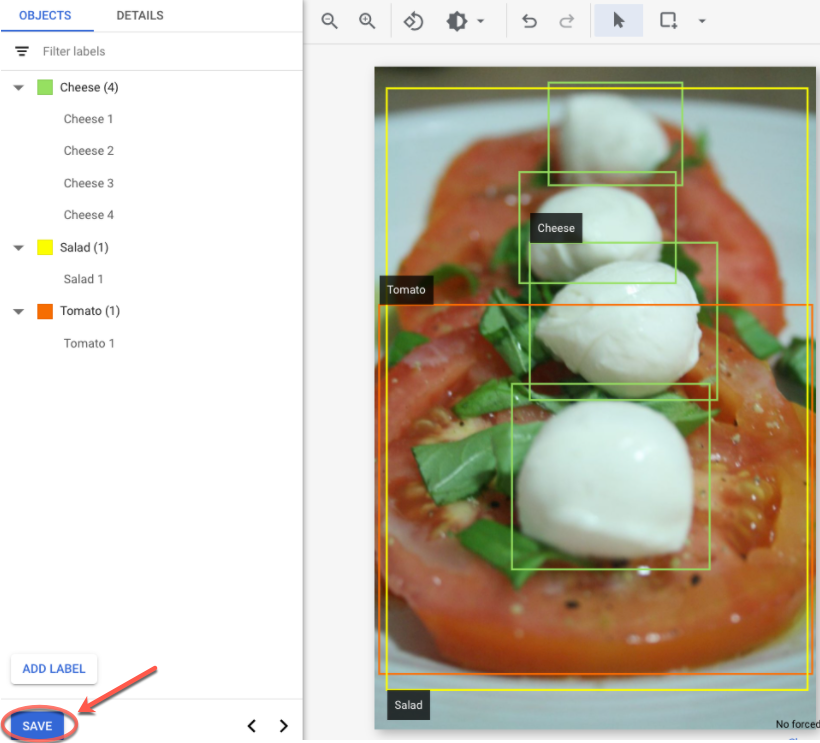
オブジェクト検出
[ブラウズ] モードで、ラベルのない画像を含むデータセットを選択すると、アップロードされている画像が表示されます。
- [新しいラベルを追加] をクリックし、新しいラベルを入力します。
- [完了] をクリックします。
追加するラベルごとに手順を繰り返します。 - ラベルを付ける画像を選択します。
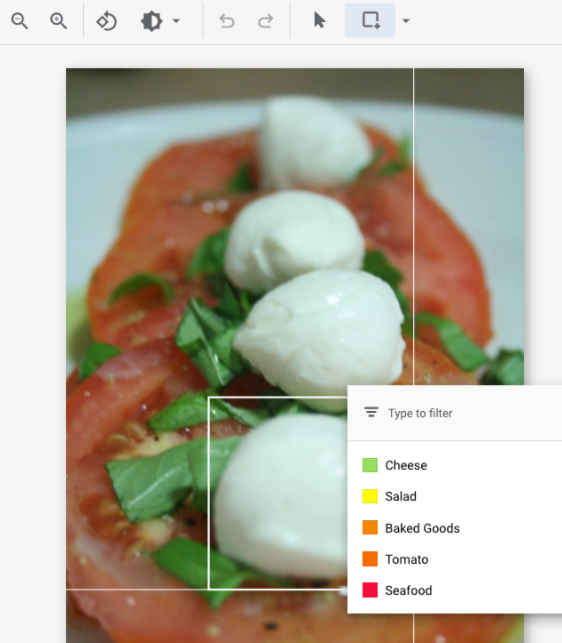
- ラベル オブジェクトのリストが表示されます(存在する場合)。
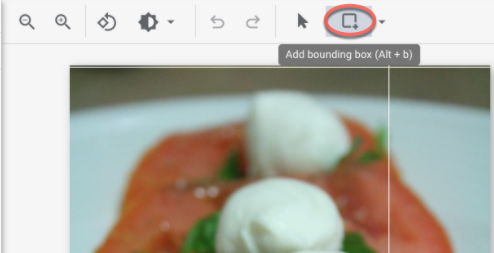
- [アノテーションの追加] ウィンドウで、[境界ボックスを追加] ボタンを選択して、画像にオブジェクト境界ボックスを追加します。
- 境界ボックスを描画すると、オブジェクトに適用できるラベルのリストが表示されます。適切なラベルを選択します。
- すべてのラベルと境界ボックスを追加したら、[保存] をクリックして画像のアノテーションを更新します。