This page explains how to connect Google Distributed Cloud (GDC) air-gapped to your organization's existing identity provider (IdP). An IdP is a system that centrally manages and secures user identities, providing authentication services. Connecting to an existing IdP lets users access GDC using their organization's credentials, without needing to create or manage separate accounts within GDC. This process ensures a seamless and secure login experience. Since an IdP is a global resource, users can access GDC through the same IdP regardless of the zone they work in.
This page is for audiences within the platform administrator group, such as IT admins or security engineers, who want to connect to an IdP. For more information, see Audiences for GDC air-gapped documentation.
You can connect to an existing identity provider using one of the following:
Before you begin
Before you connect to an existing identity provider, ensure that the initial setup is complete and you have the necessary permissions.
Initial identity provider connection setup
A member of your organization's infrastructure operator group must configure the initial IdP connection before users can access GDC clusters or dashboards.
They can do so by opening a ticket in the ticketing system and providing the following information about the identity provider:
- Number of servers and their types.
- Amount of block storage in TB.
- Amount of object storage in TB.
- Mandatory parameters for OIDC:
- clientID: the ID of the client application that makes authentication requests to the OpenID provider.
- clientSecret: the secret known only to the application and the OpenID provider.
- issuerURL: the URL that authorization requests for the OpenID provider are sent to.
- scopes: additional scopes to send to the OpenID provider.
- userclaim: the JSON web token (JWT) claim to use as the username.
- certificateAuthorityData: a base64-encoded string of the PEM-encoded certificate for the OIDC provider.
- Mandatory parameters for SAML providers:
- idpCertificateDataList: the IdP certificates to verify the SAML response. These certificates must be standard base64 encoded and PEM formatted. Only a maximum of two certificates are supported to facilitate IdP certificate rotation.
- idpEntityID: the SAML entity ID for the SAML provider, specified in
a URI format. Example:
https://www.idp.com/saml. - idpSingleSignOnURI: the URI to the SSO endpoint of the SAML
provider. Example:
https://www.idp.com/saml/sso.
- Username or group of usernames for the initial administrators.
Required permissions
To get the permissions that you need to connect an existing identity provider, do the following:
- Ask your Organization IAM Admin to grant you the IdP Federation Admin
(
idp-federation-admin) role. - Make sure that the initial admin you specify when connecting the identity
provider has the Organization IAM Admin (
organization-iam-admin) role.
Connect to an existing identity provider
To connect the identity provider, you must have a single client ID and secret from your identity provider. You can either connect to an existing OIDC or a SAML provider.
Connect to an existing OIDC provider
To connect to an existing OIDC provider, complete the following steps:
Console
- Sign in to the GDC console. The following example shows the
console after signing into an organization called
org-1: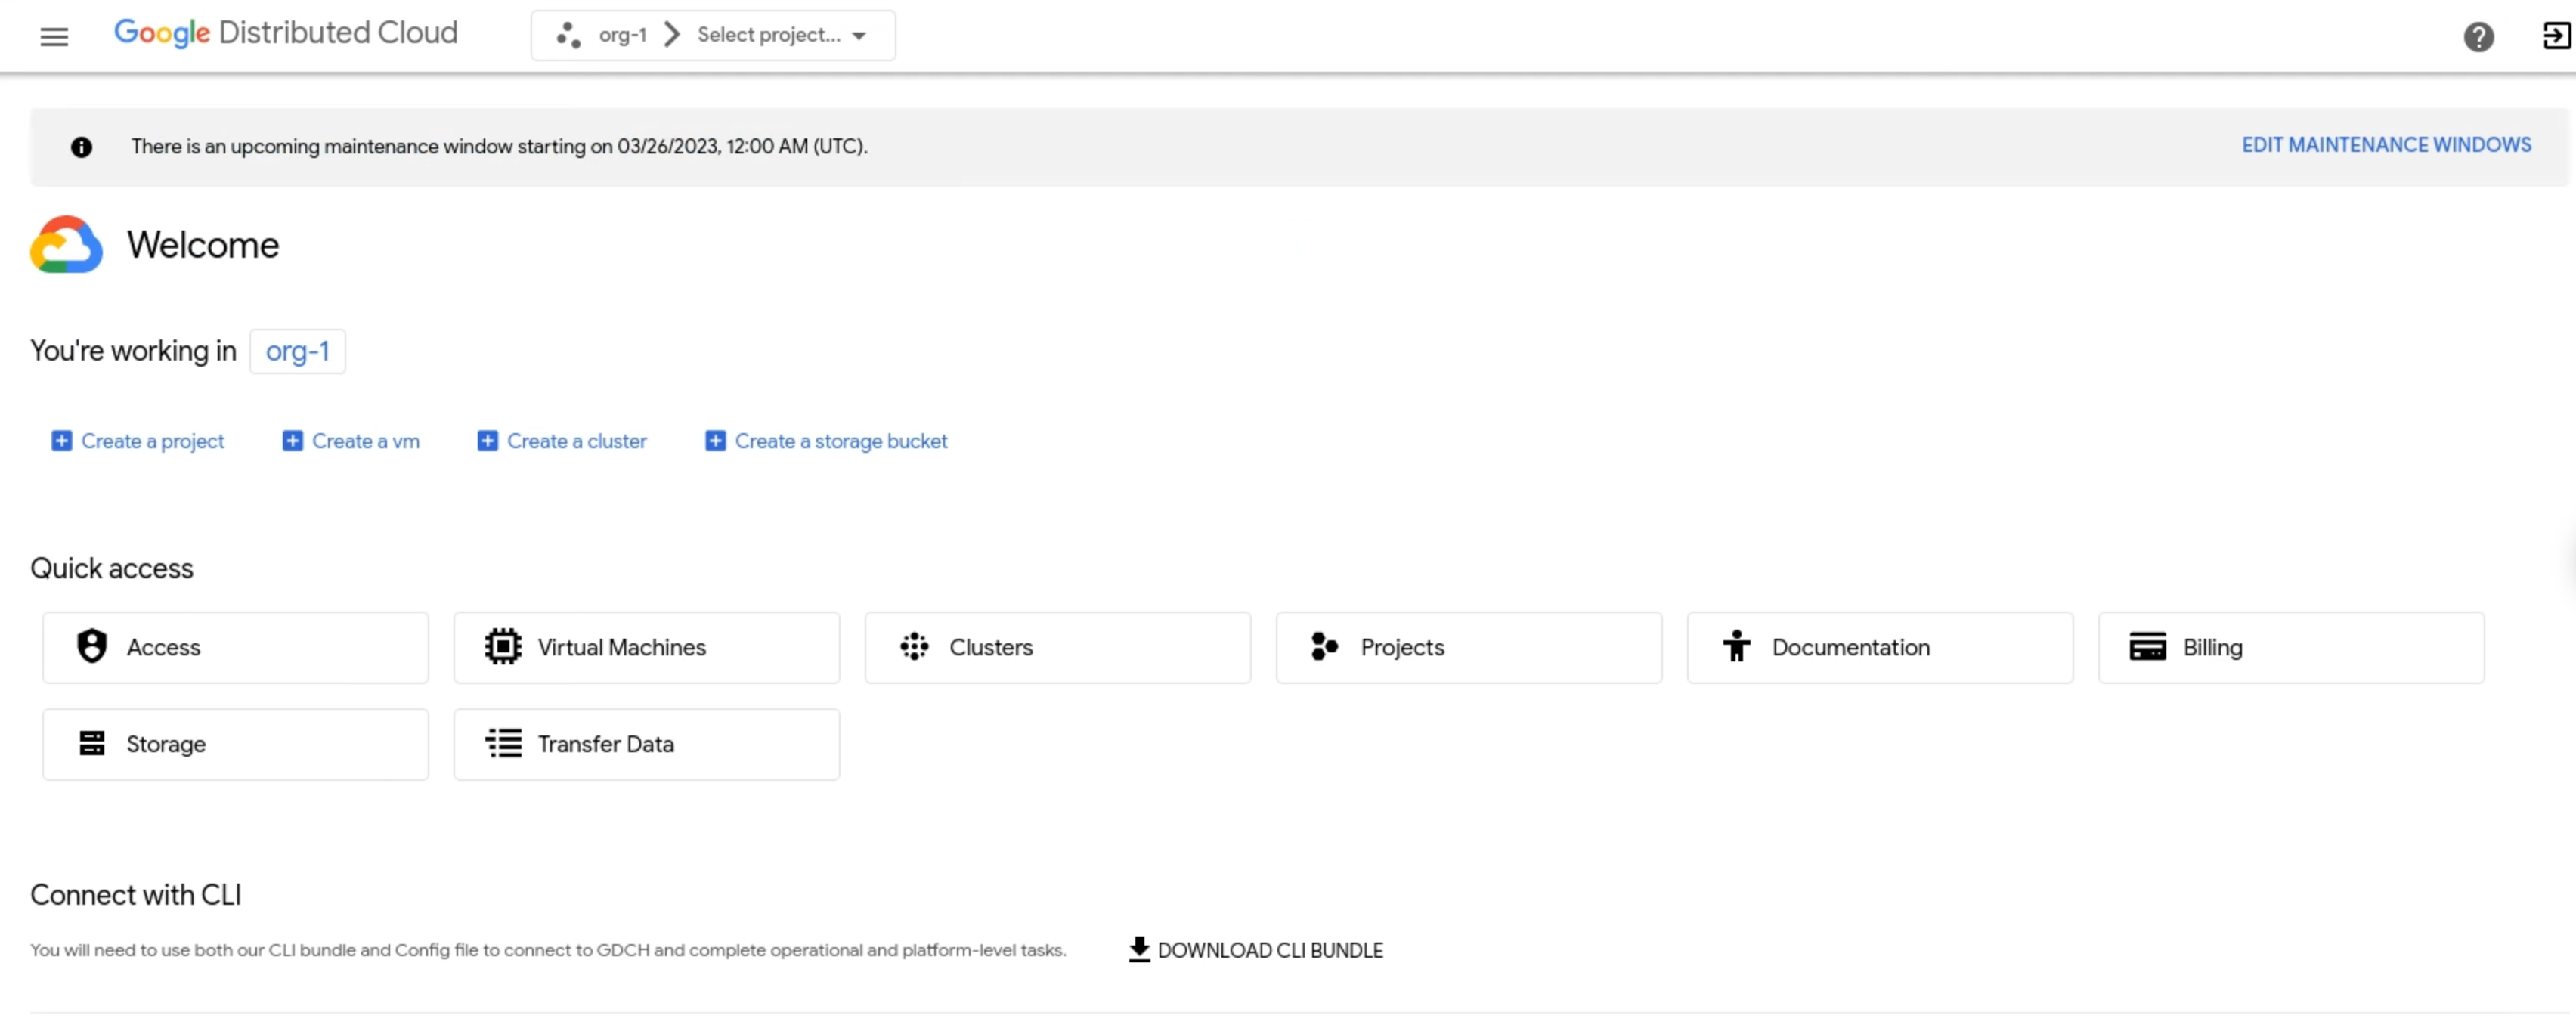
- In the navigation menu, click Identity and Access > Identity.
- Click Add Identity Provider.
In the Configure identity provider section, complete the following steps:
- In the Identity provider drop-down menu, select Open ID Connect (OIDC).
- Enter an Identity provider name.
- In the Issuer URI field, enter the URL where authorization requests are sent to your identity provider. The Kubernetes API server uses this URL to discover public keys for verifying tokens. The URL must use HTTPS.
- In the Client ID field, enter the ID for the client application that makes authentication requests to the identity provider.
- In the Client Secret field, enter the client secret, which is a shared secret between your identity provider and Distributed Cloud.
Optional: In the Identity provider prefix field, enter a prefix. The prefix is added to the beginning of user claims and group claims. Prefixes are used to distinguish between different identity provider configurations. For example, if you set a prefix of
myidp, a user claim might bemyid-pusername@example.comand a group claim might bemyid-pgroup@example.com. The prefix must also be included when assigning role-based access control (RBAC) permissions to groups.Optional: In the Encryption section, select Enable encryption tokens.
To enable encryption tokens, ask your Organization IAM Admin to grant you the IdP Federation Admin (
idp-federation-admin) role.- In the Key ID field, enter your key ID. The key ID identifies the public key of a JSON web encryption (JWE) token. Your OIDC provider sets up and provisions a key ID.
- In the Decryption key field, enter the decryption key in PEM format. The decryption key is an asymmetric key used to decrypt tokens. Your OIDC provider sets up and provisions a decryption key.
Click Next.
In the Configure attributes section, complete the following steps:
- In the Certificate authority for OIDC provider field, enter
a base64-encoded PEM-encoded certificate for the identity provider.
For more information, see
Privacy-Enhanced Mail
on Wikipedia.
- To create the string, encode the certificate, including
headers, into
base64. - Include the resulting string as a single line.
Example:
LS0tLS1CRUdJTiBDRVJUSUZJQ0FURS0tLS0tC...k1JSUN2RENDQWFT==
- To create the string, encode the certificate, including
headers, into
- In the Group Claim field, enter the name of the claim in the identity provider token that holds the user's group information.
- In the User Claim field, enter the claim to identify each
user. The default claim for many providers is
sub. You can choose other claims, such asemailorname, depending on the identity provider. Claims other thanemailare prefixed with the issuer URL to prevent naming clashes. - Optional: In the Custom attributes section, click Add Pair and enter key-value pairs for additional claims about a user, such as their department or profile picture URL.
- If your identity provider requires additional scopes, in the Scopes field, enter the comma-separated scopes to send to the identity provider.
- In the Extra parameters section, enter any additional
key-value pairs (comma-separated) required by your identity provider.
If you are authorizing a group, pass in
resource=token-groups-claim. - Click Next.
- In the Certificate authority for OIDC provider field, enter
a base64-encoded PEM-encoded certificate for the identity provider.
For more information, see
Privacy-Enhanced Mail
on Wikipedia.
In the Specify initial admins section, complete the following steps:
- Choose whether to add individual users or groups as initial administrators.
- In the Username or group alias field, enter the user or
group email address to access the organization. If you are the
administrator, enter your email address, for example
kiran@example.com. The prefix is added before the username, such asmyidp-kiran@example.com. - Click Next.
Review your selections and click Setup.
The new identity provider profile is available in the Identity profiles list.
API
To connect your identity provider to your organization, create the global
IdentityProviderConfig custom resource.
Create an
IdentityProviderConfigcustom resource YAML file, such aspa-idp-oidc.yaml:apiVersion: iam.global.gdc.goog/v1 kind: IdentityProviderConfig metadata: name: pa-idp-oidc namespace: platform spec: oidc: certificateAuthorityData: "IDP_BASE64_ENCODED_CERTIFICATE" clientID: IDP_CLIENT_ID clientSecret: IDP_CLIENT_SECRET groupPrefix: IDP_GROUP_PREFIX groupsClaim: IDP_GROUP_CLAIM issuerURI: IDP_ISSUER_URI scopes: openid email profile userClaim: IDP_USER_CLAIM userPrefix: IDP_USER_PREFIXReplace the following variables:
IDP_BASE64_ENCODED_CERTIFICATE: the base64-encoded certificate for the IdP.IDP_CLIENT_ID: the client ID for the IdP.IDP_CLIENT_SECRET: the client secret for the IdP.IDP_GROUP_PREFIX: the prefix for groups in the IdP.IDP_GROUP_CLAIM: the name of the claim in the IdP token that groups information.IDP_ISSUER_URI: the issuer URI for the IdP.IDP_USER_CLAIM: the name of the claim in the IdP token for the user.IDP_USER_PREFIX: the prefix for the user IdP.
Apply the
IdentityProviderConfigcustom resource to the global API server:kubectl --kubeconfig GLOBAL_API_SERVER_KUBECONFIG apply -f pa-idp-oidc.yamlReplace the
GLOBAL_API_SERVER_KUBECONFIGvariable with the path to the kubeconfig file for the global API server.
Connect to an existing SAML provider
To connect to an existing SAML provider, complete the following steps:
Console
- Sign in to the GDC console. The following example shows the
console after signing into an organization called
org-1: - In the navigation menu, click Identity and Access > Identity.
- Click Add Identity Provider.
In the Configure identity provider section, complete the following steps:
- In the Identity provider drop-down menu, select Security Assertion Markup Language (SAML).
- Enter an Identity provider name.
- In the Identity ID field, enter the ID for the client application that makes authentication requests to the identity provider.
- In the SSO URI field, enter the URL to the single sign-on endpoint
of the provider. For example:
https://www.idp.com/saml/sso. In the Identity provider prefix field, enter a prefix. The prefix is added to the beginning of user and group claims. Prefixes distinguish between different identity provider configurations. For example: If you set a prefix of
myidp, a user claim might show asmyidp-username@example.comand a group claim might show asmyidp-group@example.com. You must also include the prefix when assigning RBAC permissions to groups.For enhanced security, configure your SAML provider to issue assertions with a lifespan of 5 to 10 minutes. This setting is configurable within your SAML provider's settings.
Optional: In the SAML Assertions section, select Enable encryption SAML assertions.
To enable encrypted SAML assertions, ask your Organization IAM Admin to grant you the IdP Federation Admin (
idp-federation-admin) role.- In the Encryption assertion certificate field, enter your encryption certificate in PEM format. You obtain your encryption certificate from your SAML provider.
- In the Encryption assertion key field, enter your private key. You receive your decryption key after generating the SAML provider.
Optional: In the SAML Signed Requests section, select Enable signed SAML requests.
- In the Signing certificate field, enter your signing certificate in the PEM file format. Your SAML provider issues a signing certificate.
- In the Signing key field, enter your signing key in the PEM file format. Your SAML provider sets up and produces you a signing key.
Click Next.
In the Configure attributes page, complete the following steps:
- In the IDP certificate field, enter
a base64-encoded PEM-encoded certificate for the identity provider.
For more information, see
Privacy-Enhanced Mail
on Wikipedia.
- To create the string, encode the certificate, including
headers, into
base64. - Include the resulting string in as a single line. For example:
LS0tLS1CRUdJTiBDRVJUSUZJQ0FURS0tLS0tC...k1JSUN2RENDQWFT==.
- To create the string, encode the certificate, including
headers, into
- Enter any additional certificates in the Additional IDP certificate field.
- In the User attribute field, enter the attribute to identify each
user. The default attribute for many providers is
sub. You can choose other attributes, such asemailorname, depending on the identity provider. Attributes other thanemailare prefixed with the issuer URL to prevent naming clashes. - In the Group attribute field, enter the name of the attribute in the identity provider token that holds the user's group information.
- Optional: In the Attribute mapping section, click Add Pair and enter key-value pairs for additional attributes about a user, such as their department or profile picture URL.
- Click Next.
- In the IDP certificate field, enter
a base64-encoded PEM-encoded certificate for the identity provider.
For more information, see
Privacy-Enhanced Mail
on Wikipedia.
In the Specify initial admins section, complete the following steps:
- Choose whether to add individual users or groups as initial administrators.
- In the Username or group alias field, enter the user or
group email address to access the organization. If you are the
administrator, enter your email address, for example
kiran@example.com. The prefix is added before the username, such asmyidp-kiran@example.com. - Click Next.
In the Review page, check all the values of each identity configuration before continuing.
Click Back to return to the previous pages and make necessary corrections.
Click Setup.
The new identity provider profile is available in the Identity profiles list.
API
To connect your identity provider to your organization, create the global
IdentityProviderConfig custom resource.
Create an
IdentityProviderConfigcustom resource YAML file, such aspa-idp-saml.yaml:apiVersion: iam.global.gdc.goog/v1 kind: IdentityProviderConfig metadata: name: pa-idp-saml namespace: platform spec: saml: groupPrefix: IDP_GROUP_PREFIX groupsAttribute: IDP_GROUP_ATTRIBUTE idpCertificateDataList: - "IDP_BASE64_ENCODED_CERTIFICATE" idpEntityID: IDP_SAML_ENTITY_ID idpSingleSignOnURI: IDP_SAML_SSO_URI userAttribute: IDP_USER_ATTRIBUTE userPrefix: IDP_USER_PREFIXReplace the following variables:
IDP_GROUP_PREFIX: the prefix for groups in the IdP.IDP_GROUP_ATTRIBUTE: the attribute for groups in the IdP.IDP_BASE64_ENCODED_CERTIFICATE: the base64-encoded certificate for the IdP.IDP_SAML_ENTITY_ID: the URL or URI for uniquely identifying the IdP.IDP_SAML_SSO_URI: the issuer URI for the IdP.IDP_USER_ATTRIBUTE: the attribute for the IdP user, such as an email.IDP_USER_PREFIX: the name of the claim in the IdP token for the user.
Apply the
IdentityProviderConfigcustom resource to the global API server:kubectl --kubeconfig GLOBAL_API_SERVER_KUBECONFIG apply -f pa-idp-saml.yamlReplace the
GLOBAL_API_SERVER_KUBECONFIGvariable with the path to the kubeconfig file for the global API server.
Delete an existing identity provider
Delete an existing identity provider using the GDC console:
- Sign in to the GDC console.
- In the project selector, select the organization in which you want to delete the identity provider.
- In the navigation menu, click Identity and Access > Identity.
Check the box next to the name of one or more identity providers.
A message appears with the number of identity providers you selected and a Delete button.
Click Delete.