The Google Cloud console provides an interface for inserting, editing, and deleting data in a Spanner table.
Find a table
To get started, select to view a Spanner table in the Google Cloud console.
Go to the Spanner page in the Google Cloud console.
Click the name of an instance. The instance overview page is displayed.
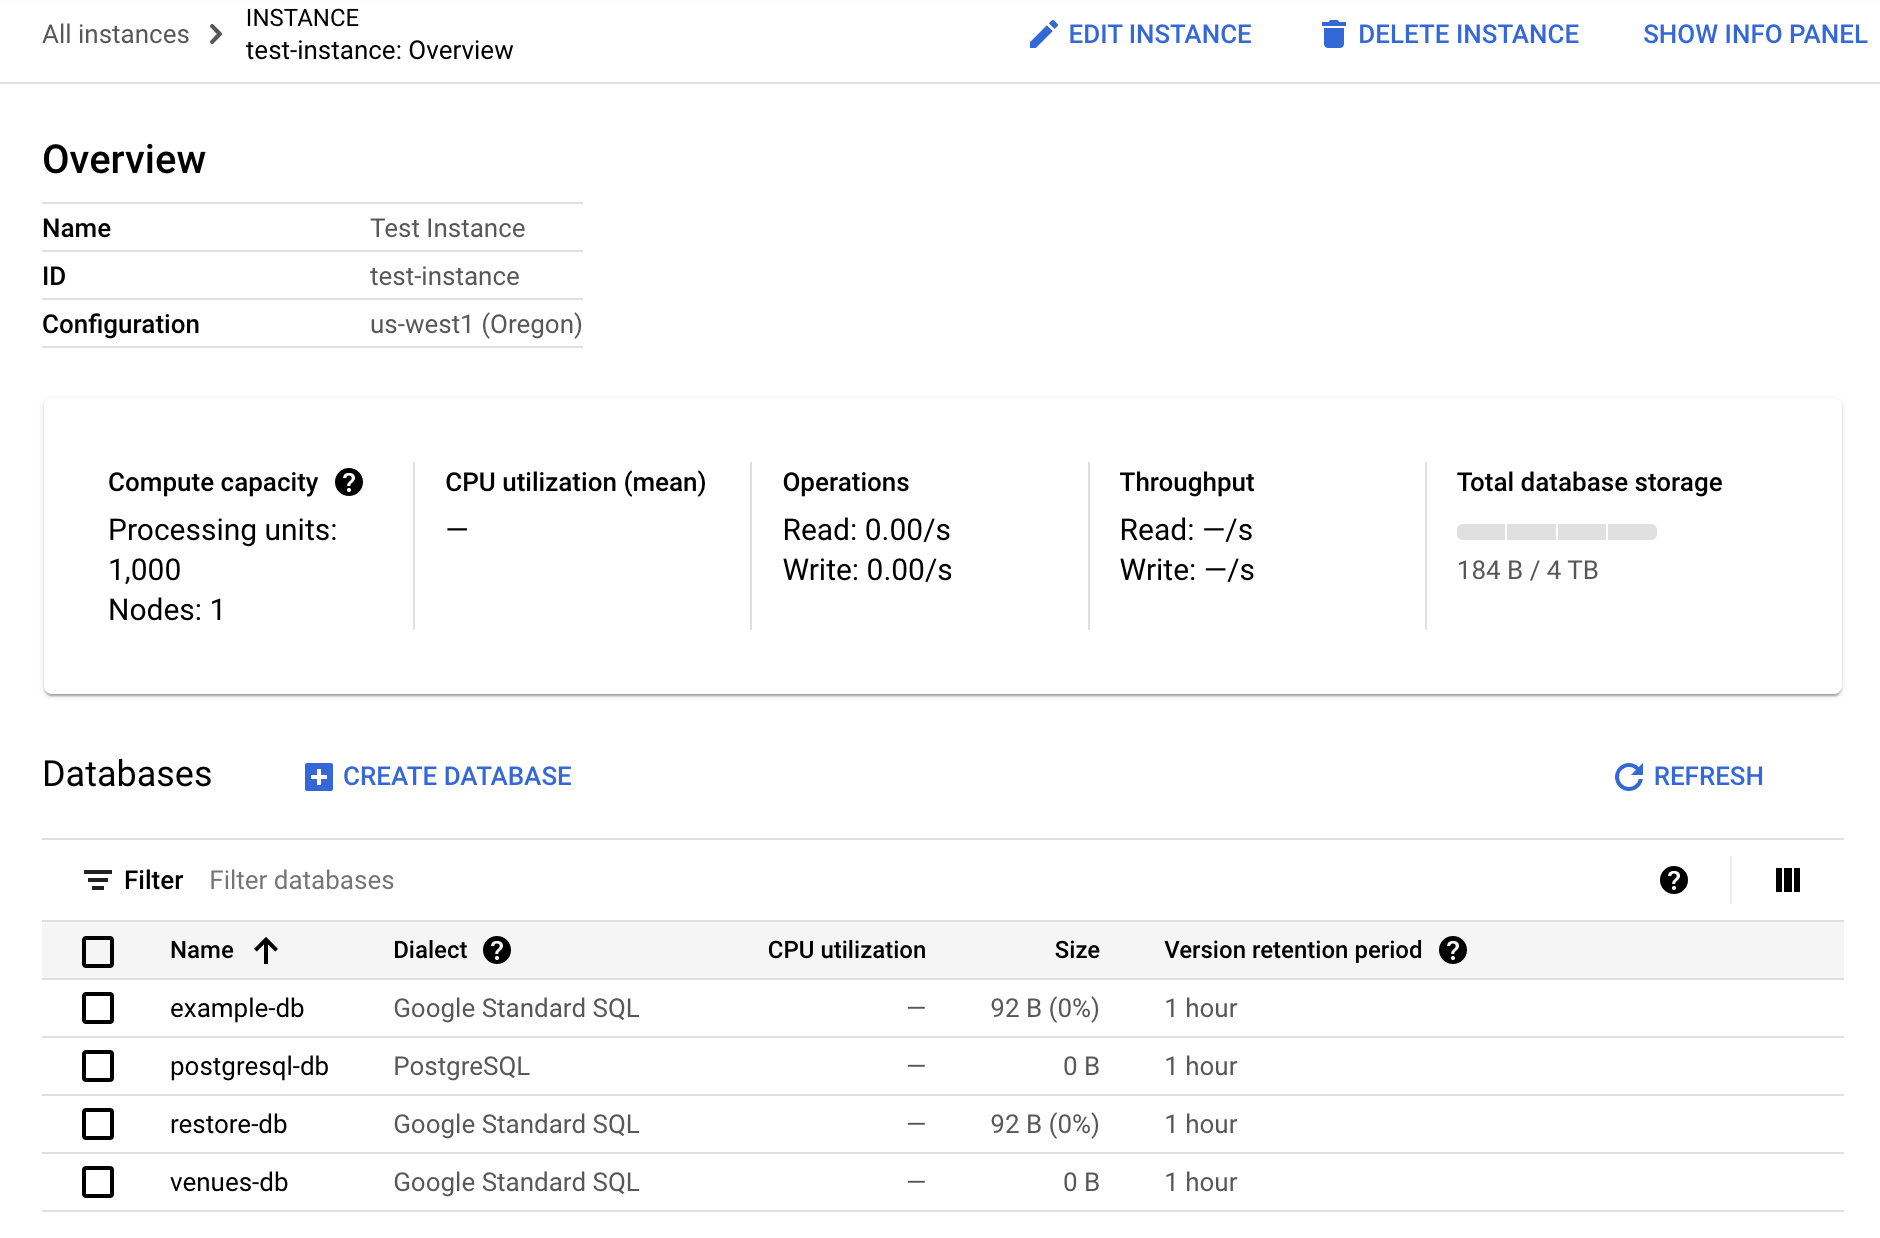
Under the Databases list on this page, click the name of a database.
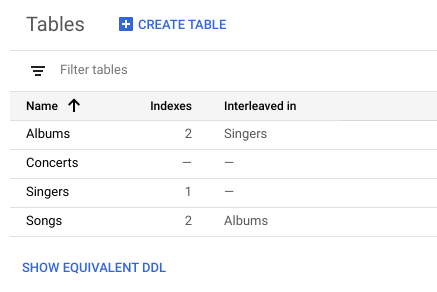
Under Tables, click the name of a table.
In the left pane of the Google Cloud console, click Data.
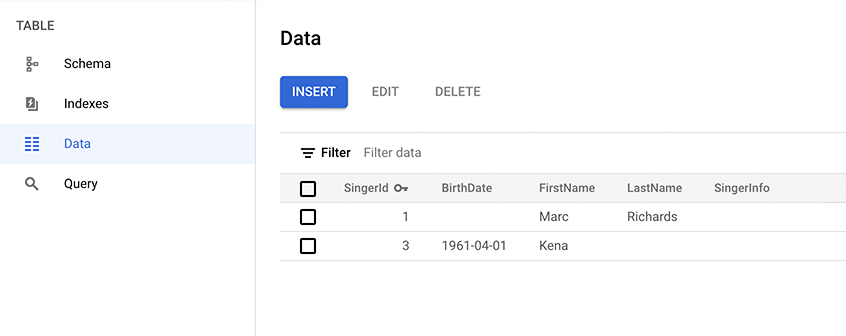
Insert data
On the table's Data page, click Insert.
The Google Cloud console displays the table's Spanner Studio page with a new query tab containing template
INSERTandSELECTstatements that you edit to insert a row in the table and view the result of that insertion.Edit the
INSERTstatement to the values you want, and edit theSELECTstatement'sWHEREclause to match the primary key value of the row you are inserting.See INSERT statement and Literals for information about the syntax Spanner supports.
Click Run.
Spanner runs the statements.
Edit data
On the table's Data page, select the row you want to edit, then click Edit.
The Google Cloud console displays the table's Spanner Studio page with a new query tab containing template
UPDATEandSELECTstatements that you edit to update the row in the table and view the result of that update. Note that theWHEREclauses of both statements denote the row you selected to edit.Edit the
UPDATEstatement to reflect the updates you want to make.See UPDATE statement and Literals for information about the syntax Spanner supports.
Click Run.
Spanner runs the statements.
Delete data
On the table's Data page, select one or more rows that you want to delete, then click Delete.
Need help finding a row? Type its primary key into the filter box.
In the dialog that appears after you click Delete, click CONFIRM.
The Google Cloud console displays the data from your table, which no longer contains the deleted rows.
For an interactive example of inserting and modifying data in a Spanner table, see the Quickstart using the console.