With an integration, end-user interactions are handled for you. You just need to build an agent, optionally implement a webhook, and configure the integration.
This guide shows you how to use the Dialogflow CX Messenger integration to provide a simple text chat user interface for your agent.
Before you begin
If you don't plan on using an integration, you can skip this quickstart.
You should do the following before reading this guide:
- Read flow basics.
- Perform setup steps.
- Perform steps in the Build an agent using flows quickstart guide. Steps below continue working on the same agent. If you no longer have that agent, you can download the agent and restore it.
Setup
To set up unauthenticated access to your Dialogflow CX Messenger agent:
- Go to the Dialogflow CX console.
- Choose your Google Cloud project.
- Select your agent.
- Select the Manage tab.
- Click Integrations in the left sidebar menu.
- Click Connect on Dialogflow CX Messenger.
- A configuration dialog opens.
- If the integration was previously setup for this agent, you will see embeddable HTML code. Regardless of whether you want what authenticated or unauthenticated, click the Disable... button at the bottom of the dialog, so you can reconfigure the settings in the next step.
- Select an Environment.
- Select Unauthenticated API.
- Select a style.
- Optionally restrict domain access.
- Click Enable the unauthenticated API.
- The dialog will show the embeddable HTML code that can be embedded on your website. Copy this code.
- Click Done.
Embed
Paste the embed code you copied above in a webpage on your website.
The <script> and <df-messenger> HTML elements
should be in the <body> element of your page.
If you are using an authenticated integration,
set the oauth-client-id attribute for <df-messenger>
to your Oauth client id. And if you want to use end-users' identities for tool
authentication,
set the access-token-name attribute with any name you like.
Then use Bearer Token with value $session.params.ACCESS_TOKEN_NAME
for tool authentication.
Update any other attributes that require updating.
To allow for responsive layouts,
also add the following to your <head> element:
<meta name="viewport" content="width=device-width, initial-scale=1">
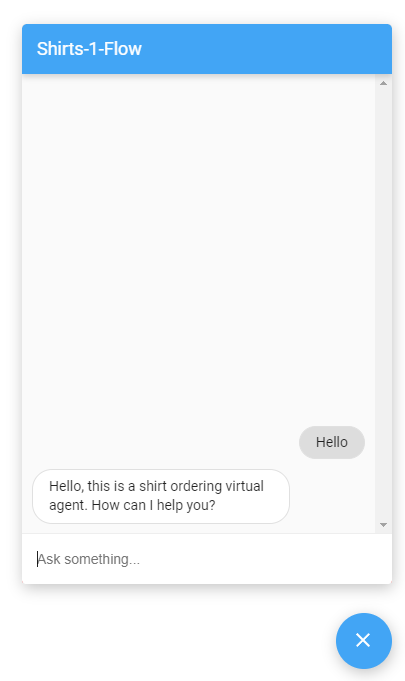
Once embedded, you can interact with your agent through the webpage by clicking the chat icon in the lower right corner.
Customize
You can customize the appearance and behavior of this user interface in many ways. See the Dialogflow CX Messenger documentation for more information.