Cloud Composer 3 | Cloud Composer 2 | Cloud Composer 1
このページでは、DataflowTemplateOperator を使用して Cloud Composer から Dataflow パイプラインを起動する方法について説明します。Cloud Storage Text to BigQuery パイプラインは、Cloud Storage に保存されているテキスト ファイルをアップロードし、ユーザーが指定する JavaScript ユーザー定義関数(UDF)を使用してそれらのファイルを変換し、結果を BigQuery に出力するバッチ パイプラインです。

概要
ワークフローを開始する前に、次のエンティティを作成します。
location、average_temperature、month、必要に応じてinches_of_rain、is_current、latest_measurementの情報の列を保持する空のデータセットから作成した空の BigQuery テーブル。.txtファイルのデータを BigQuery テーブルのスキーマの正しい形式に正規化する JSON ファイル。JSON オブジェクトにはBigQuery Schemaの配列があり、各オブジェクトには列名、入力のタイプ、必須フィールドについての該当の有無が示されます。BigQuery テーブルに一括アップロードするデータを保持する入力
.txtファイル。.txtファイルの各行をテーブルの関連変数に変換する、JavaScript で記述されたユーザー定義関数。これらのファイルの場所を指定する Airflow DAG ファイル。
次に、
.txtファイル、.jsUDF ファイル、.jsonスキーマ ファイルを Cloud Storage バケットにアップロードします。DAG も Cloud Composer 環境にアップロードします。DAG をアップロードすると、Airflow がタスクを実行します。このタスクは、ユーザー定義関数を
.txtファイルに適用し、JSON スキーマに従ってフォーマットする Dataflow パイプラインを起動します。最後に、作成しておいた BigQuery テーブルにデータがアップロードされます。
準備
- このガイドを読む前に、JavaScript を理解して、ユーザー定義関数を作成できる必要があります。
- このガイドでは、Cloud Composer 環境がすでに存在することを前提としています。環境を作成するには、環境を作成するをご覧ください。このガイドでは、任意のバージョンの Cloud Composer を使用できます。
-
Enable the Cloud Composer, Dataflow, Cloud Storage, BigQuery APIs.
Roles required to enable APIs
To enable APIs, you need the Service Usage Admin IAM role (
roles/serviceusage.serviceUsageAdmin), which contains theserviceusage.services.enablepermission. Learn how to grant roles.
スキーマ定義を持つ空の BigQuery テーブルを作成する
スキーマ定義を持つ BigQuery テーブルを作成します。このチュートリアルの後の部分で、このスキーマ定義を使用します。この BigQuery テーブルは、バッチ アップロードの結果を保持します。
スキーマ定義を含む空のテーブルを作成するには:
コンソール
Google Cloud コンソールで [BigQuery] ページに移動します。
ナビゲーション パネルの [リソース] セクションで、プロジェクトを展開します。
詳細パネルで [データセットを作成] をクリックします。
![[データセットを作成] ボタンをクリックする](https://cloud.google.com/static/composer/docs/images/createDatasetComposerTutorial.png?hl=ja)
[データセットを作成] ページの [データセット ID] セクションで、データセットに
average_weatherという名前を付けます。他のすべてのフィールドはデフォルト状態のままにします。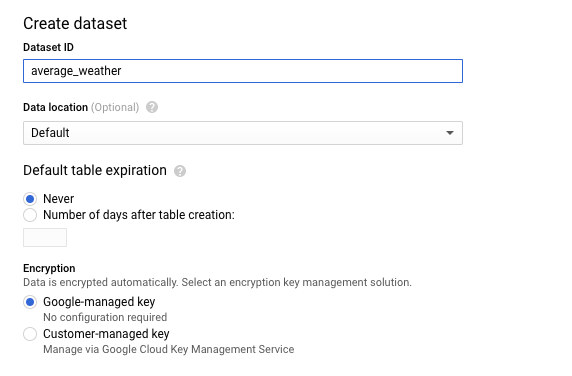
[データセットを作成] をクリックします。
ナビゲーション パネルに戻り、[リソース] セクションでプロジェクトを展開します。次に、
average_weatherデータセットをクリックします。詳細パネルで「テーブルを作成」をクリックします。
![[テーブルを作成] をクリックする](https://cloud.google.com/static/composer/docs/images/createTable.png?hl=ja)
[テーブルを作成] ページの [ソース] セクションで、[空のテーブル] を選択します。
[テーブルの作成] ページの [送信先] セクションで、次の操作を行います。
[データセット名] で、
average_weatherデータセットを選択します。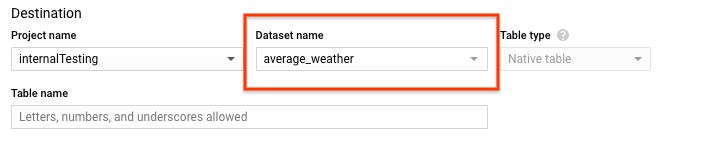
[テーブル名] フィールドに「
average_weather」という名前を入力します。[Table type] が [Native table] に設定されていることを確認します。
[スキーマ] セクションにスキーマ定義を入力します。代わりに、次のいずれかの方法を使用できます。
[テキストとして編集] を有効にしてテーブル スキーマを JSON 配列として入力することで、スキーマ情報を手動入力します。次のフィールドに入力します。
[ { "name": "location", "type": "GEOGRAPHY", "mode": "REQUIRED" }, { "name": "average_temperature", "type": "INTEGER", "mode": "REQUIRED" }, { "name": "month", "type": "STRING", "mode": "REQUIRED" }, { "name": "inches_of_rain", "type": "NUMERIC" }, { "name": "is_current", "type": "BOOLEAN" }, { "name": "latest_measurement", "type": "DATE" } ][フィールドを追加] を使用して、スキーマを手動で入力します。
![[フィールドを追加] をクリックしてフィールドを入力する](https://cloud.google.com/static/composer/docs/images/schema-fields.png?hl=ja)
[パーティションとクラスタの設定] はデフォルト値(
No partitioning)のままにします。[詳細オプション] セクションの [暗号化] は、デフォルト値(
Google-owned and managed key)のままにします。[テーブルを作成] をクリックします。
bq
bq mk コマンドを使用して、空のデータセットとこのデータセット内にテーブルを作成します。
次のコマンドを実行して、世界の平均的な天気情報のデータセットを作成します。
bq --location=LOCATION mk \
    --dataset PROJECT_ID:average_weather
以下を置き換えます。
LOCATION: 環境が配置されているリージョン。PROJECT_ID: プロジェクト ID
次のコマンドを実行して、このデータセットにスキーマ定義を持つ空のテーブルを作成します。
bq mk --table \
PROJECT_ID:average_weather.average_weather \
location:GEOGRAPHY,average_temperature:INTEGER,month:STRING,inches_of_rain:NUMERIC,is_current:BOOLEAN,latest_measurement:DATE
Python
このコードを dataflowtemplateoperator_create_dataset_and_table_helper.py として保存し、プロジェクトとロケーションを反映するようにコードに含まれる変数を更新してから、次のコマンドで実行します。
python dataflowtemplateoperator_create_dataset_and_table_helper.py
Python
Cloud Composer に対する認証を行うには、アプリケーションのデフォルト認証情報を設定します。詳細については、ローカル開発環境の認証の設定をご覧ください。
Cloud Storage バケットを作成する
ワークフローに必要なすべてのファイルを保持するバケットを作成します。このガイドで後ほど作成する DAG は、このストレージ バケットにアップロードしたファイルを参照します。新しいストレージ バケットを作成するには:
コンソール
Google Cloud コンソールで Cloud Storage を開きます。
[バケットを作成] をクリックして、バケット作成フォームを開きます。
バケット情報を入力し、[続行] をクリックして各ステップを完了します。
: 実際のプロジェクトのグローバルに一意の名前。このガイドでは、
bucketNameを例として使用します。ロケーション タイプには [リージョン] を選択します。次に、バケットデータが永続的に保存される [ロケーション] を選択します。
データのデフォルトのストレージ クラスとして [標準] を選択します。
[均一] アクセス制御を選択して、オブジェクトにアクセスします。
[完了] をクリックします。
gcloud
gcloud storage buckets create コマンドを使用します。
gcloud storage buckets create gs://bucketName/
以下を置き換えます。
bucketName: このガイドで先ほど作成したバケットの名前。
コードサンプル
C#
Cloud Composer に対する認証を行うには、アプリケーションのデフォルト認証情報を設定します。詳細については、ローカル開発環境の認証の設定をご覧ください。
Go
Cloud Composer に対する認証を行うには、アプリケーションのデフォルト認証情報を設定します。詳細については、ローカル開発環境の認証の設定をご覧ください。
Java
Cloud Composer に対する認証を行うには、アプリケーションのデフォルト認証情報を設定します。詳細については、ローカル開発環境の認証の設定をご覧ください。
Python
Cloud Composer に対する認証を行うには、アプリケーションのデフォルト認証情報を設定します。詳細については、ローカル開発環境の認証の設定をご覧ください。
Ruby
Cloud Composer に対する認証を行うには、アプリケーションのデフォルト認証情報を設定します。詳細については、ローカル開発環境の認証の設定をご覧ください。
出力テーブル用に JSON 形式の BigQuery スキーマを作成する
前の手順で作成した出力テーブルと一致する JSON 形式の BigQuery スキーマ ファイルを作成します。フィールド名、型、モードは、前の手順において BigQuery テーブル スキーマで定義したものと一致する必要があります。このファイルは、.txt ファイルのデータを BigQuery スキーマと互換性のある形式に正規化します。このファイルに jsonSchema.json という名前を付けます。
{
    "BigQuery Schema": [
    {
        "name": "location",
        "type": "GEOGRAPHY",
        "mode": "REQUIRED"
    },
    {
        "name": "average_temperature",
        "type": "INTEGER",
        "mode": "REQUIRED"
    },
    {
        "name": "month",
        "type": "STRING",
        "mode": "REQUIRED"
    },
    {
        "name": "inches_of_rain",
        "type": "NUMERIC"
    },
    {
        "name": "is_current",
        "type": "BOOLEAN"
    },
    {
        "name": "latest_measurement",
        "type": "DATE"
    }]
}
JavaScript ファイルを作成してデータをフォーマットする
このファイルでは、入力ファイル内のテキストの行を変換するロジックを提供する UDF(ユーザー定義関数)を定義します。なお、この関数は、この関数が入力ファイルの各行に対し 1 度実行されるよう、入力ファイルの各行のテキストを関数自体の引数として取得します。このファイルに transformCSVtoJSON.js という名前を付けます。
入力ファイルを作成する
このファイルには、BigQuery テーブルにアップロードする情報が格納されます。このファイルをローカルにコピーし、inputFile.txt という名前を付けます。
POINT(40.7128 74.006),45,'July',null,true,2020-02-16
POINT(41.8781 87.6298),23,'October',13,false,2015-02-13
POINT(48.8566 2.3522),80,'December',null,true,null
POINT(6.5244 3.3792),15,'March',14,true,null
バケットにファイルをアップロードする
先ほど作成した Cloud Storage バケットに次のファイルをアップロードします。
- JSON 形式の BigQuery スキーマ(
.json) - JavaScript ユーザー定義関数(
transformCSVtoJSON.js) 処理するテキストの入力ファイル(
.txt)
コンソール
- Google Cloud コンソールで、Cloud Storage の [バケット] ページに移動します。
バケットのリストで、ご利用のバケットをクリックします。
バケットのオブジェクト タブで、次のいずれかを行います。
デスクトップまたはファイル マネージャーから目的のファイルを Google Cloud コンソールのメインペインにドラッグ&ドロップします。
[ファイルをアップロード] ボタンをクリックして、表示されたダイアログでアップロードするファイルを選択し、[開く] をクリックします。
gcloud
gcloud storage cp コマンドを実行します。
gcloud storage cp OBJECT_LOCATION gs://bucketName
以下を置き換えます。
bucketName: このガイドで先ほど作成したバケットの名前。OBJECT_LOCATIONは、オブジェクトへのローカルパスです。例:Desktop/transformCSVtoJSON.js
コードサンプル
Python
Cloud Composer に対する認証を行うには、アプリケーションのデフォルト認証情報を設定します。詳細については、ローカル開発環境の認証の設定をご覧ください。
Ruby
Cloud Composer に対する認証を行うには、アプリケーションのデフォルト認証情報を設定します。詳細については、ローカル開発環境の認証の設定をご覧ください。
DataflowTemplateOperator を構成する
DAG を実行する前に、次の Airflow 変数を設定します。
| Airflow 変数 | 値 |
|---|---|
project_id
|
プロジェクト ID |
gce_zone
|
Dataflow クラスタを作成する必要がある Compute Engine ゾーン |
bucket_path
|
前の手順で作成した Cloud Storage バケットのロケーション |
次に前の手順で作成したファイルを参照して、Dataflow ワークフローを開始する DAG を作成します。この DAG をコピーして、composer-dataflow-dag.py としてローカルに保存します。
DAG を Cloud Storage にアップロードする
環境のバケット内の /dags フォルダに DAG をアップロードします。アップロードが正常に完了したら、[Cloud Composer 環境] ページの [DAG フォルダ] リンクをクリックすると表示できます。

タスクのステータスを表示する
- Airflow ウェブ インターフェースに移動します。
- DAG ページで、DAG 名(
composerDataflowDAGなど)をクリックします。 - DAG の詳細ページで、[Graph View] をクリックします。
ステータスを確認します。
Failed: タスクの周囲に赤いボックスが表示されます。 タスクにカーソルを合わせて [State: Failed] を探すこともできます。Success: タスクの周囲に緑色のボックスが表示されます。 タスクにカーソルを合わせて [State: Success] を確認することもできます。
数分後、Dataflow と BigQuery で結果を確認できます。
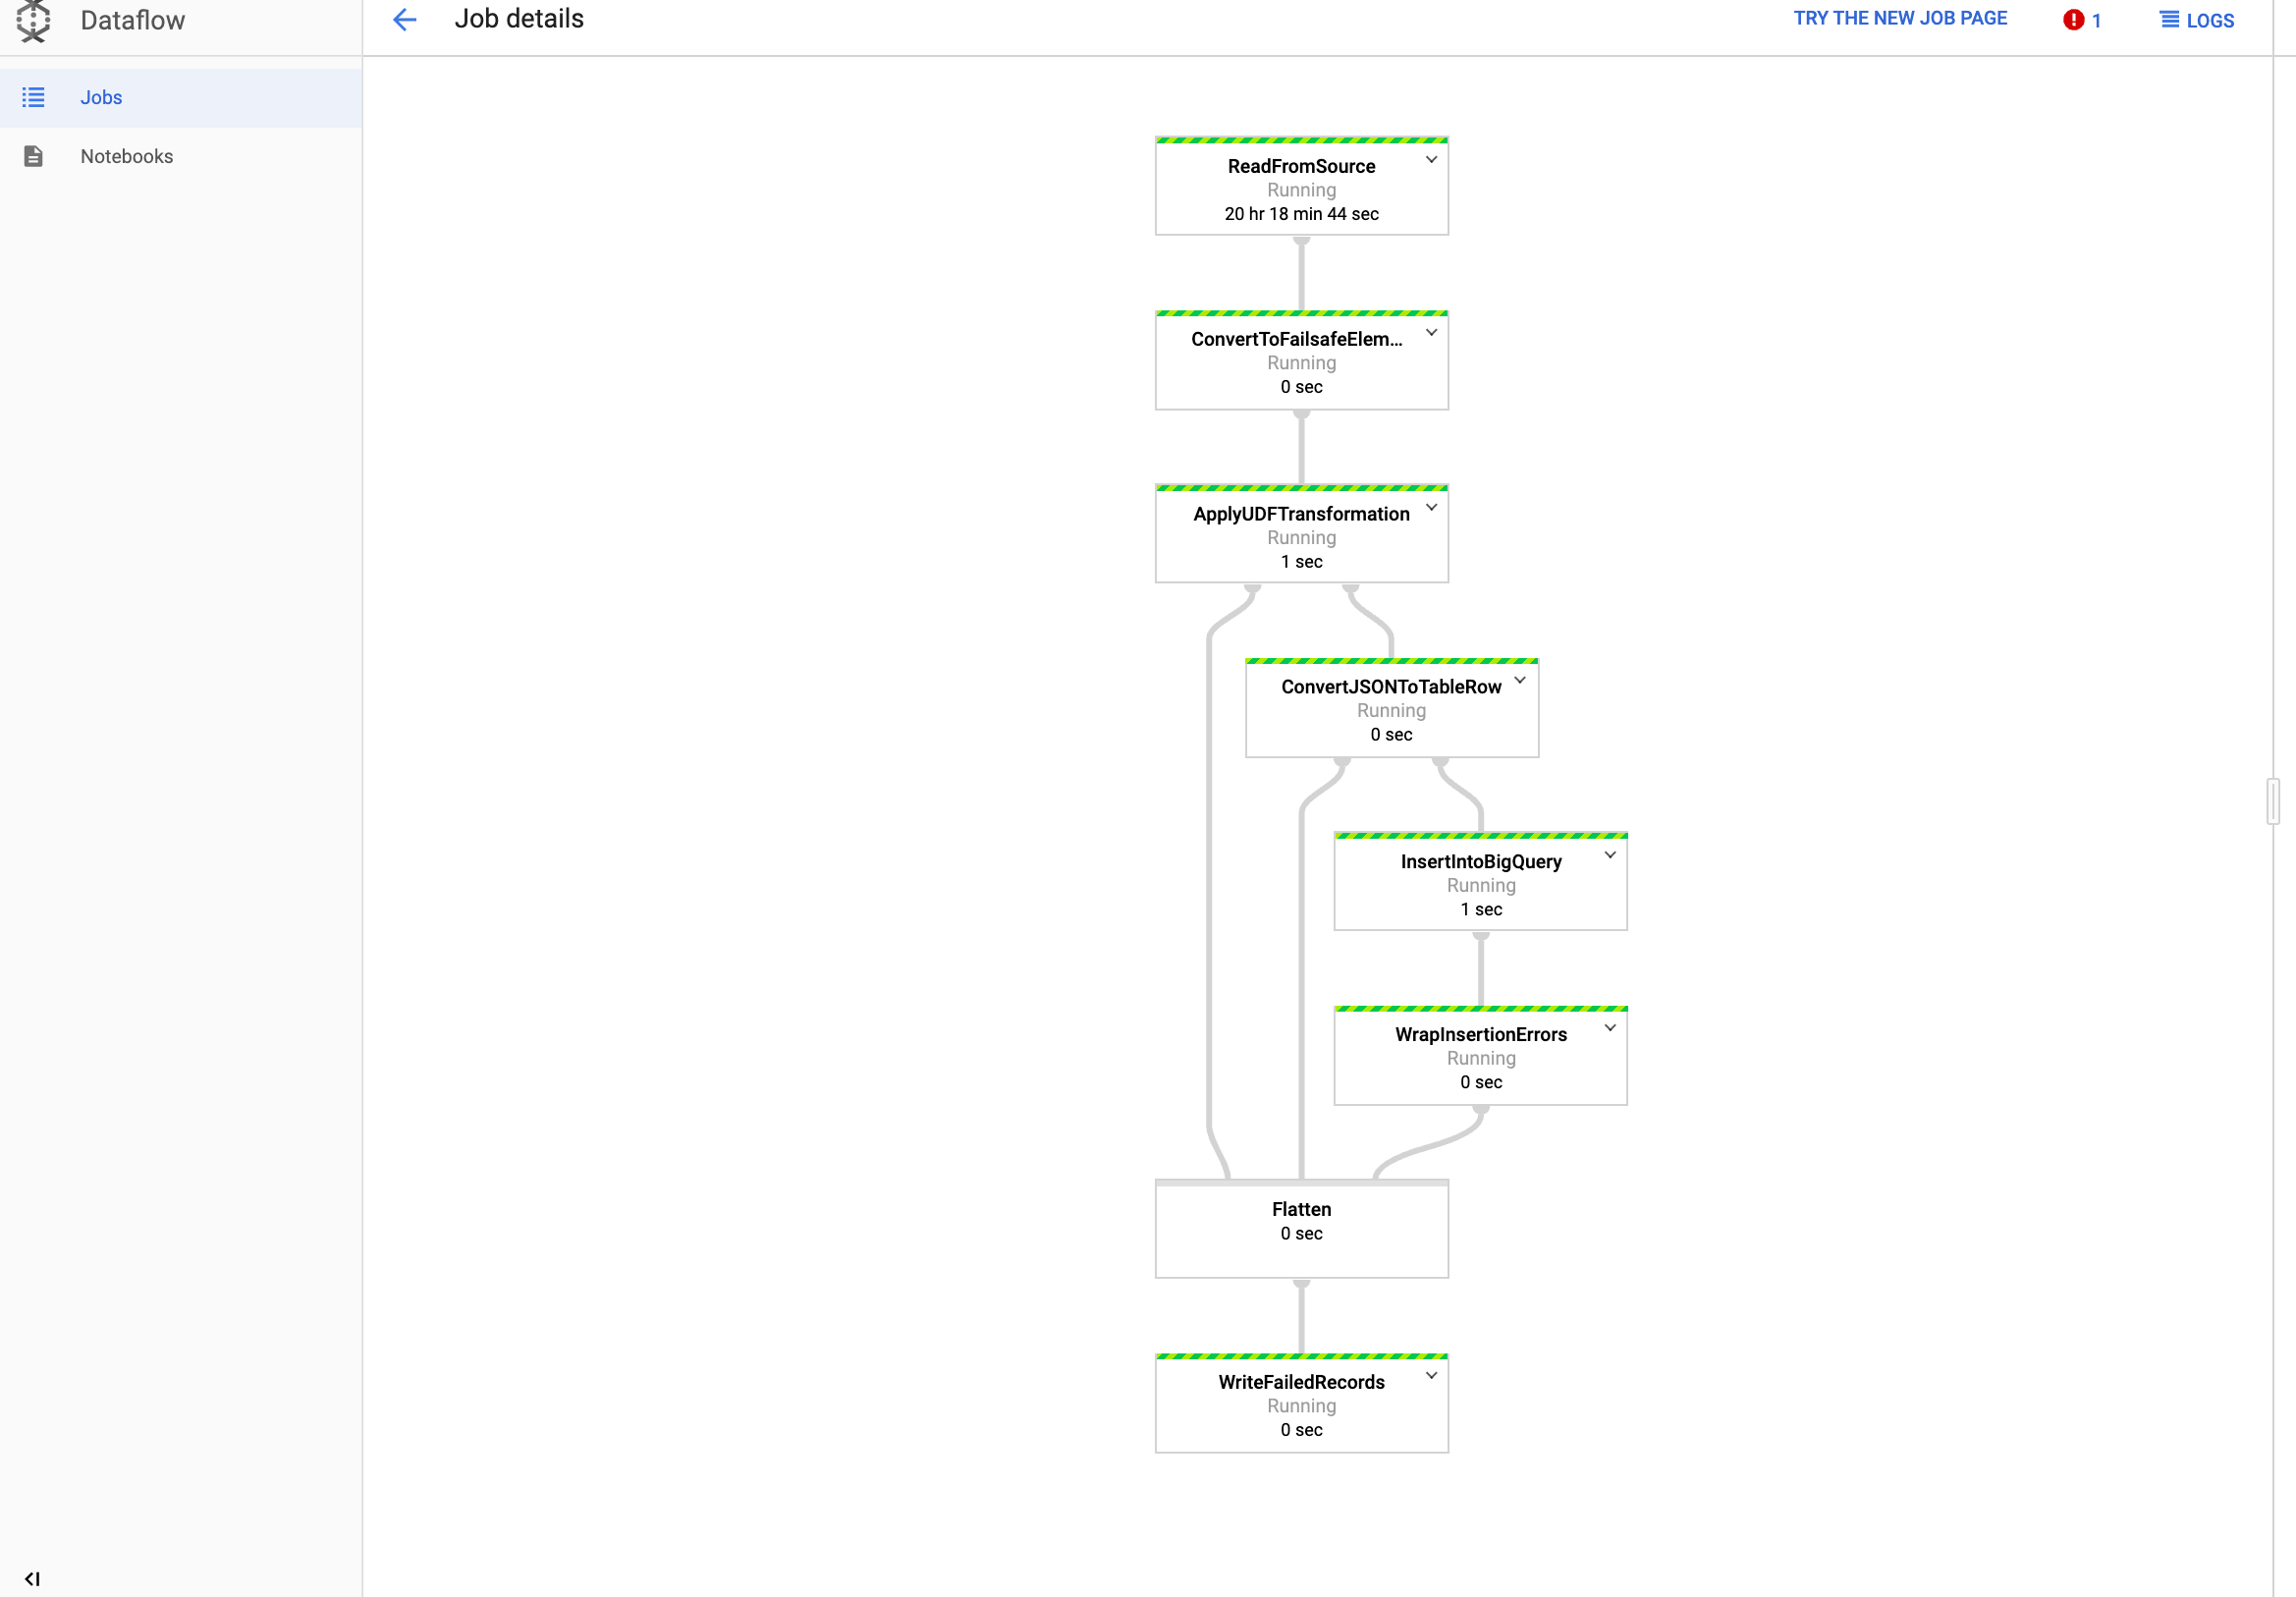
Dataflow でジョブを表示する
Google Cloud コンソールの [Dataflow] ページに移動します。
ジョブには
dataflow_operator_transform_csv_to_bqという名前が付けられ、名前の末尾に次のようにハイフンが付いた一意の ID が付加されます。
名前をクリックすると、ジョブの詳細が表示されます。
BigQuery で結果を表示する
Google Cloud コンソールで BigQuery ページに移動します。
クエリは、標準 SQL を使用して送信できます。次のクエリを使用して、テーブルに追加された行を確認します。
SELECT * FROM projectId.average_weather.average_weather