See the supported connectors for Application Integration.
Use the canvas view
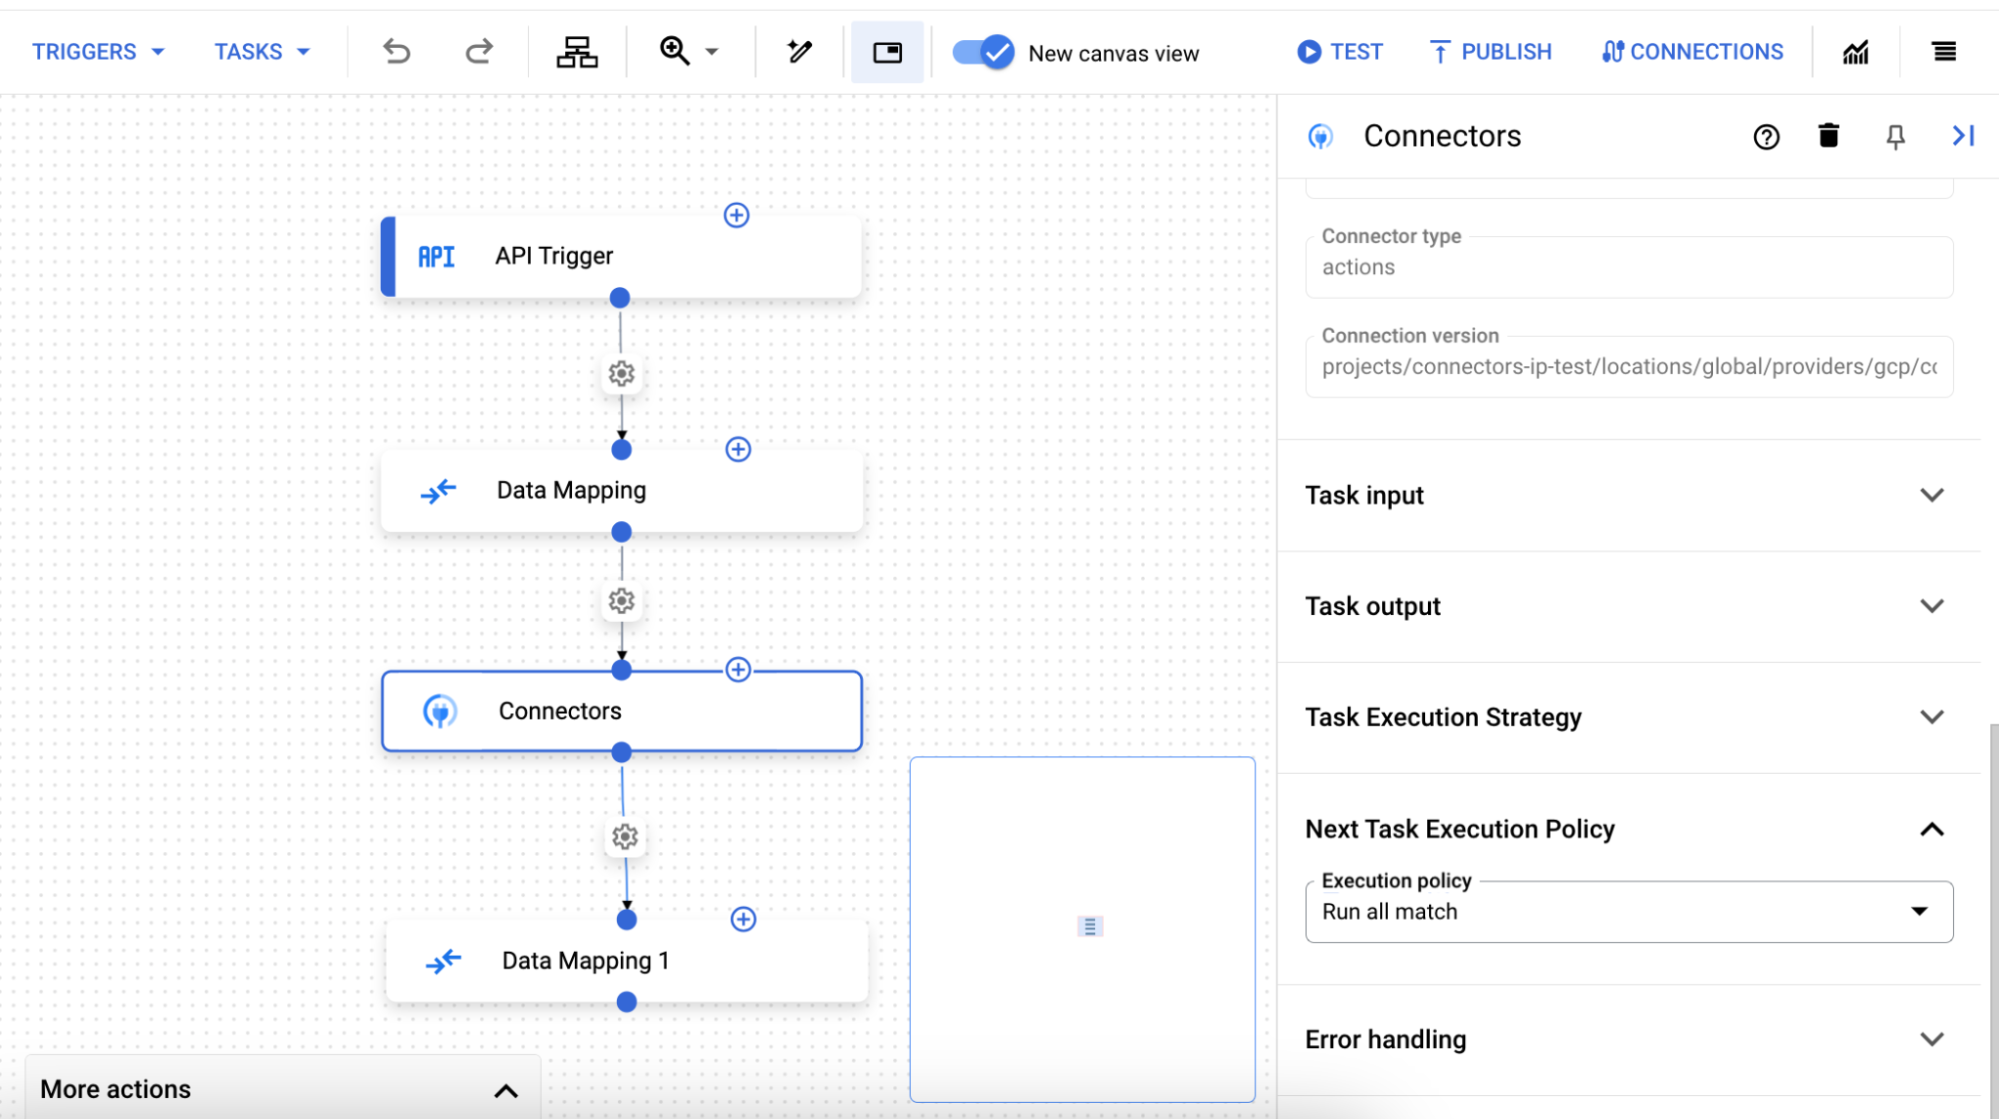
The canvas view provides an intuitive and user-friendly interface for managing your integration workflows.
Benefits
The canvas view offers the following benefits:
- Improved responsiveness of the canvas interaction: With the canvas view, you can smoothly move tasks and triggers, making it easier to create complex workflows.
- Clearer view of your integration: The updated visual design provides a clearer view of your integration.
- Minimap view: With the minimap view, you can see the viewport relative to the graph.
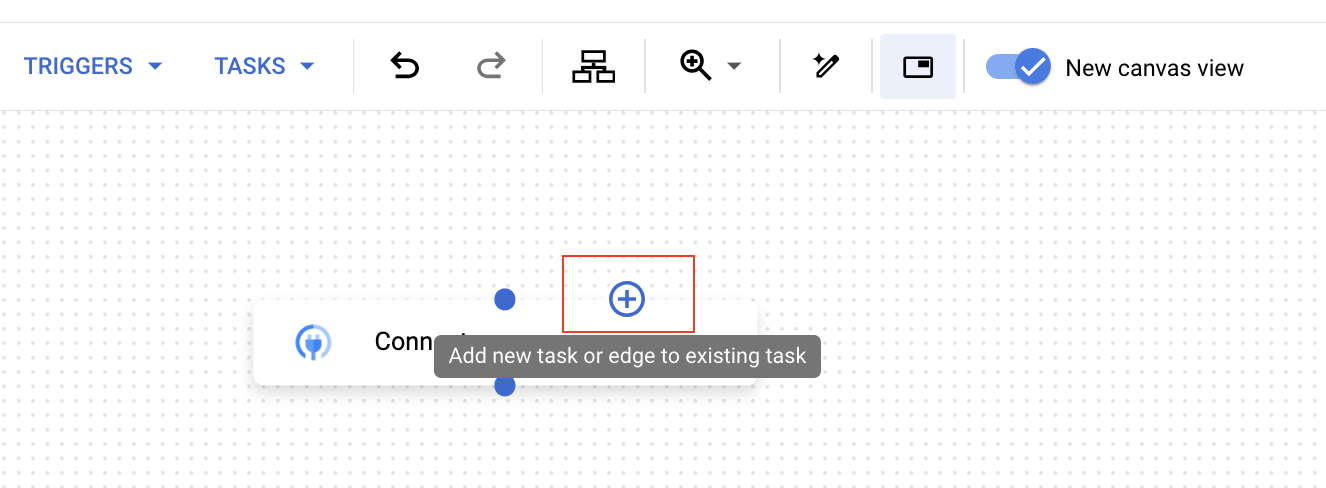
- Easier to build integrations: The canvas view provides an intuitive method to add a new child task with a connecting edge or create a new edge to an existing task in your integration.
- Improved discoverability: In the task configuration pane, you can configure the Execution strategy for this task and the Execution policy for next tasks. For more information about these policies, see Forks and joins.
Use the canvas view
To use the canvas view, follow these steps:
- Open the integration editor.
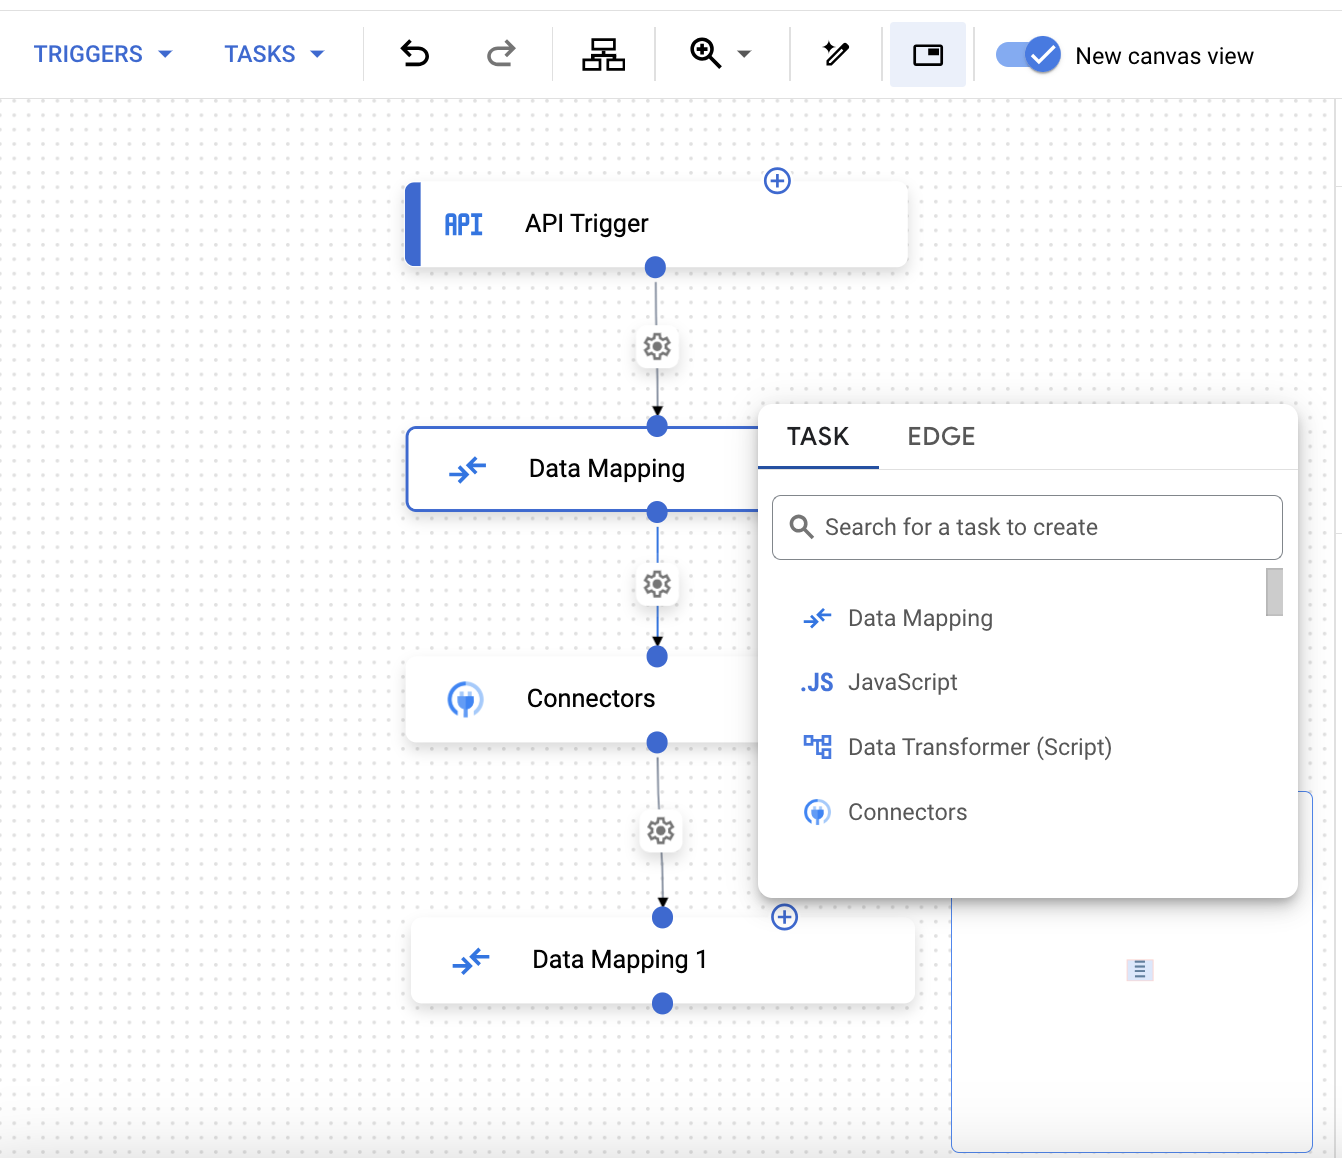
- In the navigation bar, the canvas view will automatically be active. Use the canvas to create your integration workflow.
- To add a task or an edge, click the Add new task or edge to the existing task.
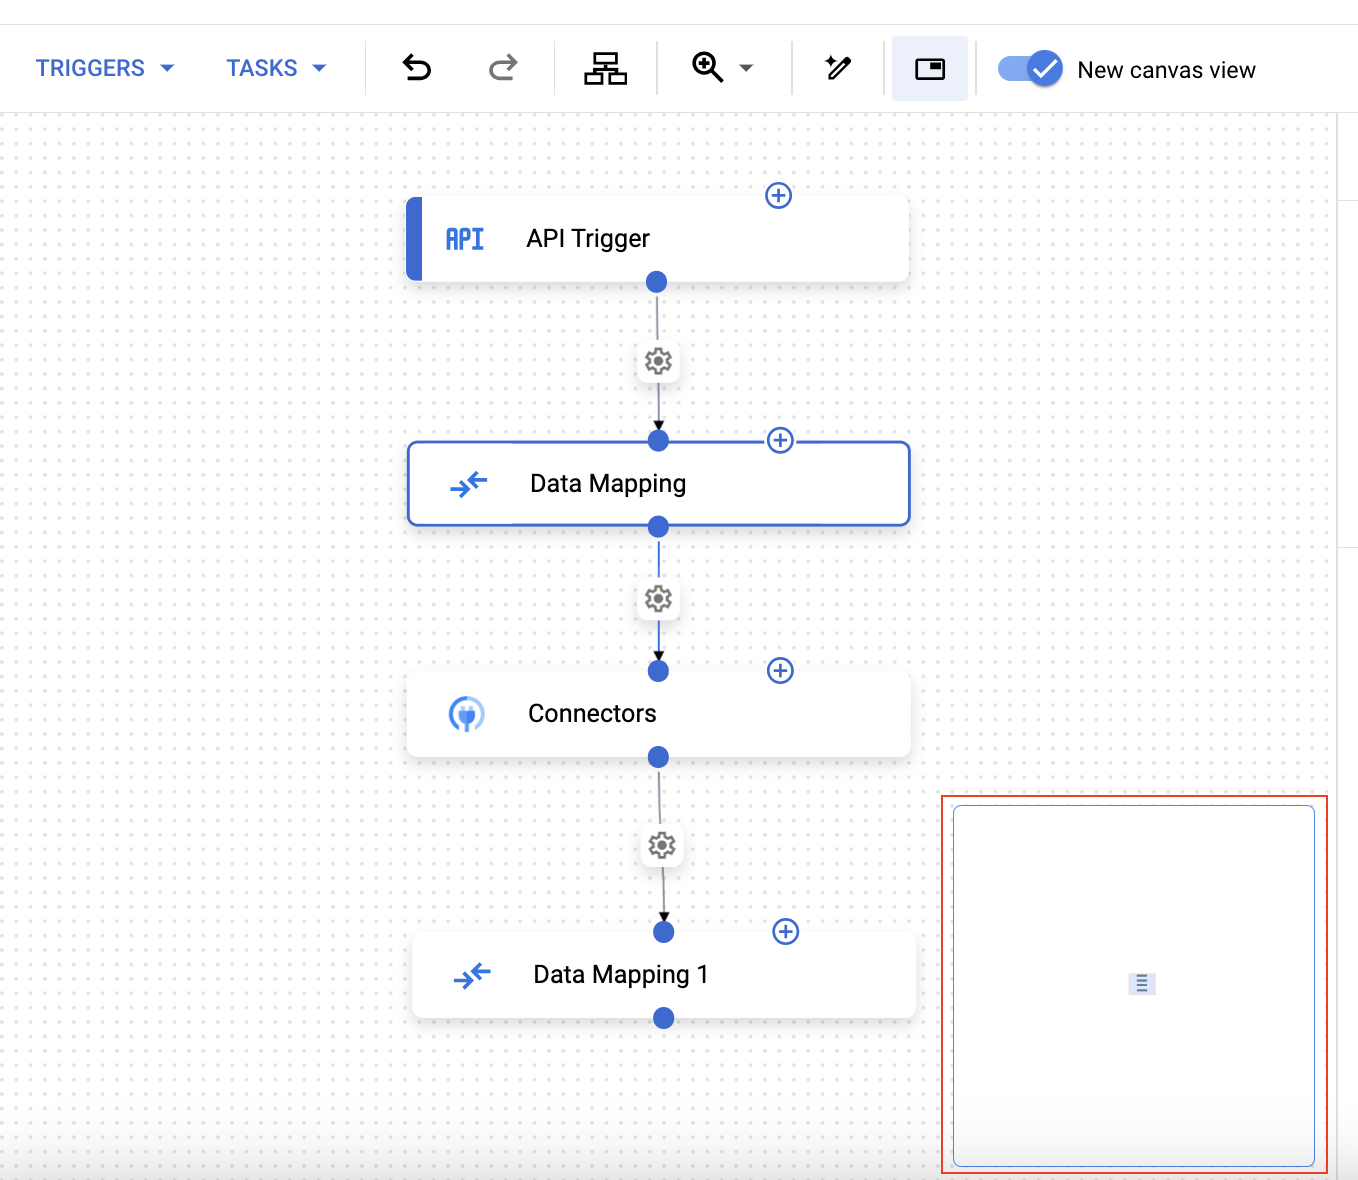
- If you have multiple triggers in an integration, you can use the Minimap view to see the viewport relative to the graph.
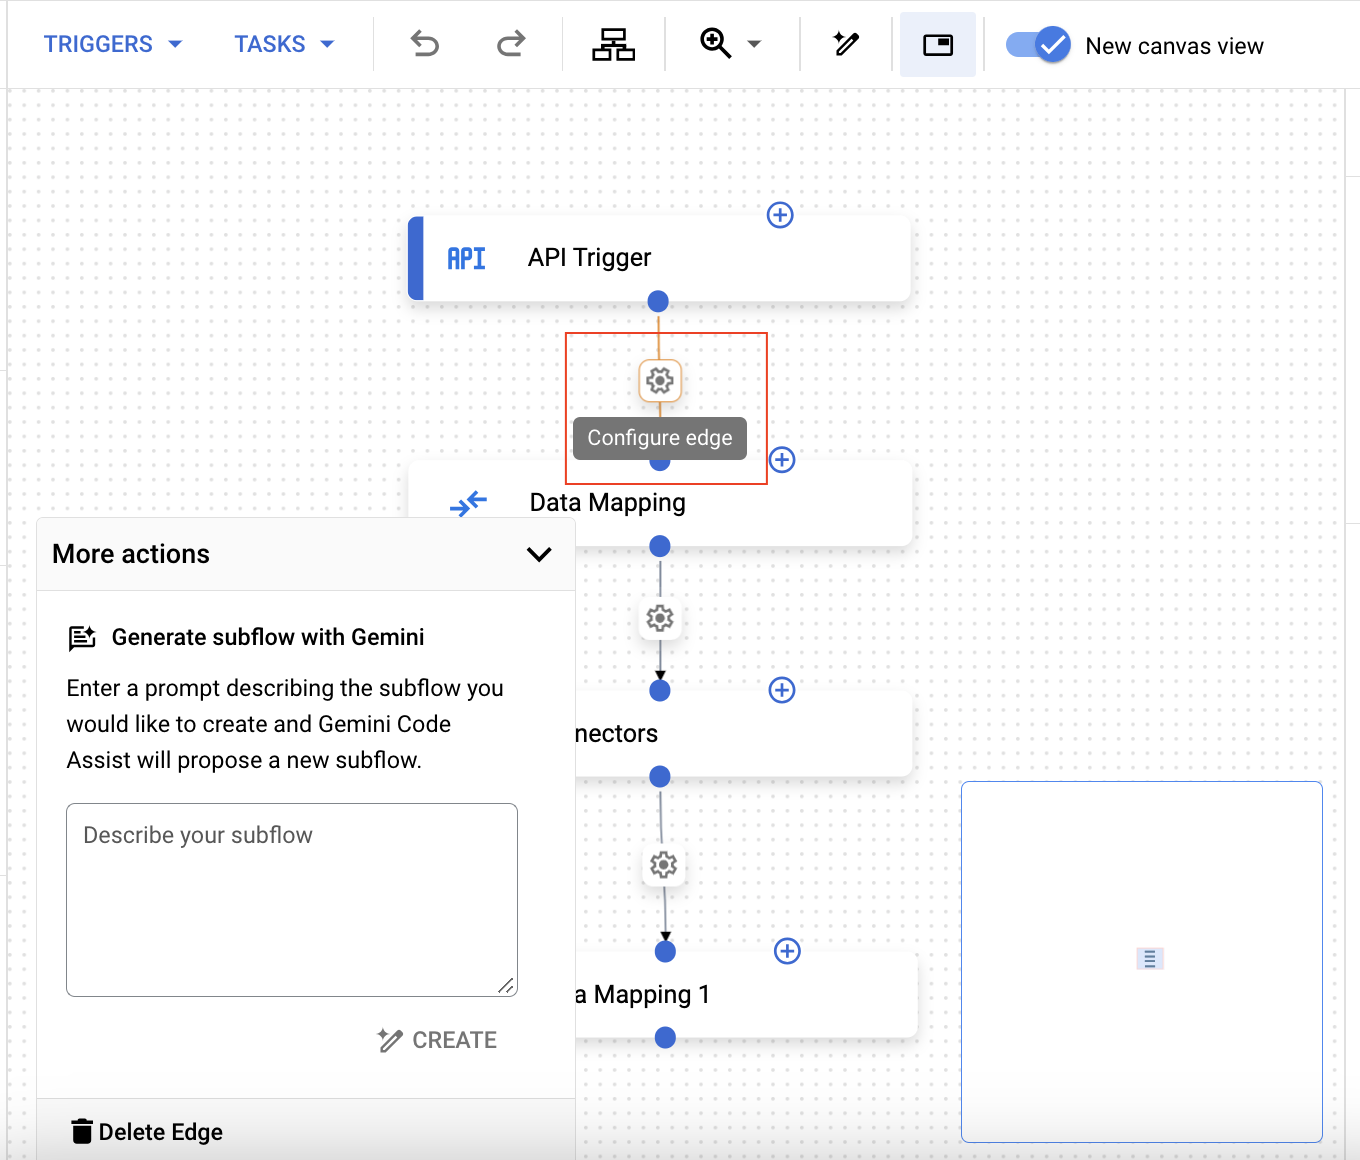
- To configure an edge, click the Configure edge. If you have enabled Gemini, then a pop-up menu, similar to the following image appears prompting you to provide an input.
- To add a fork, click the task and then in the Task configuration pane, expand the Execution policy for next tasks.
- Optionally, to use hotkeys, click a task or a trigger in the canvas view. Then, use hotkeys to update the integration workflow.
Hotkeys
The following hotkeys are available in the canvas view:
| Key | Function |
| Ctrl + C | Copy |
| Ctrl + V | Paste |
| Ctrl + Z | Undo |
| Shift + Ctrl + Z | Redo |
| Delete | Delete selected element |
What's next
- Learn about the Integration editor layout.
- Learn about Application Integration concepts.