Google Cloud for games
Google Cloud for games
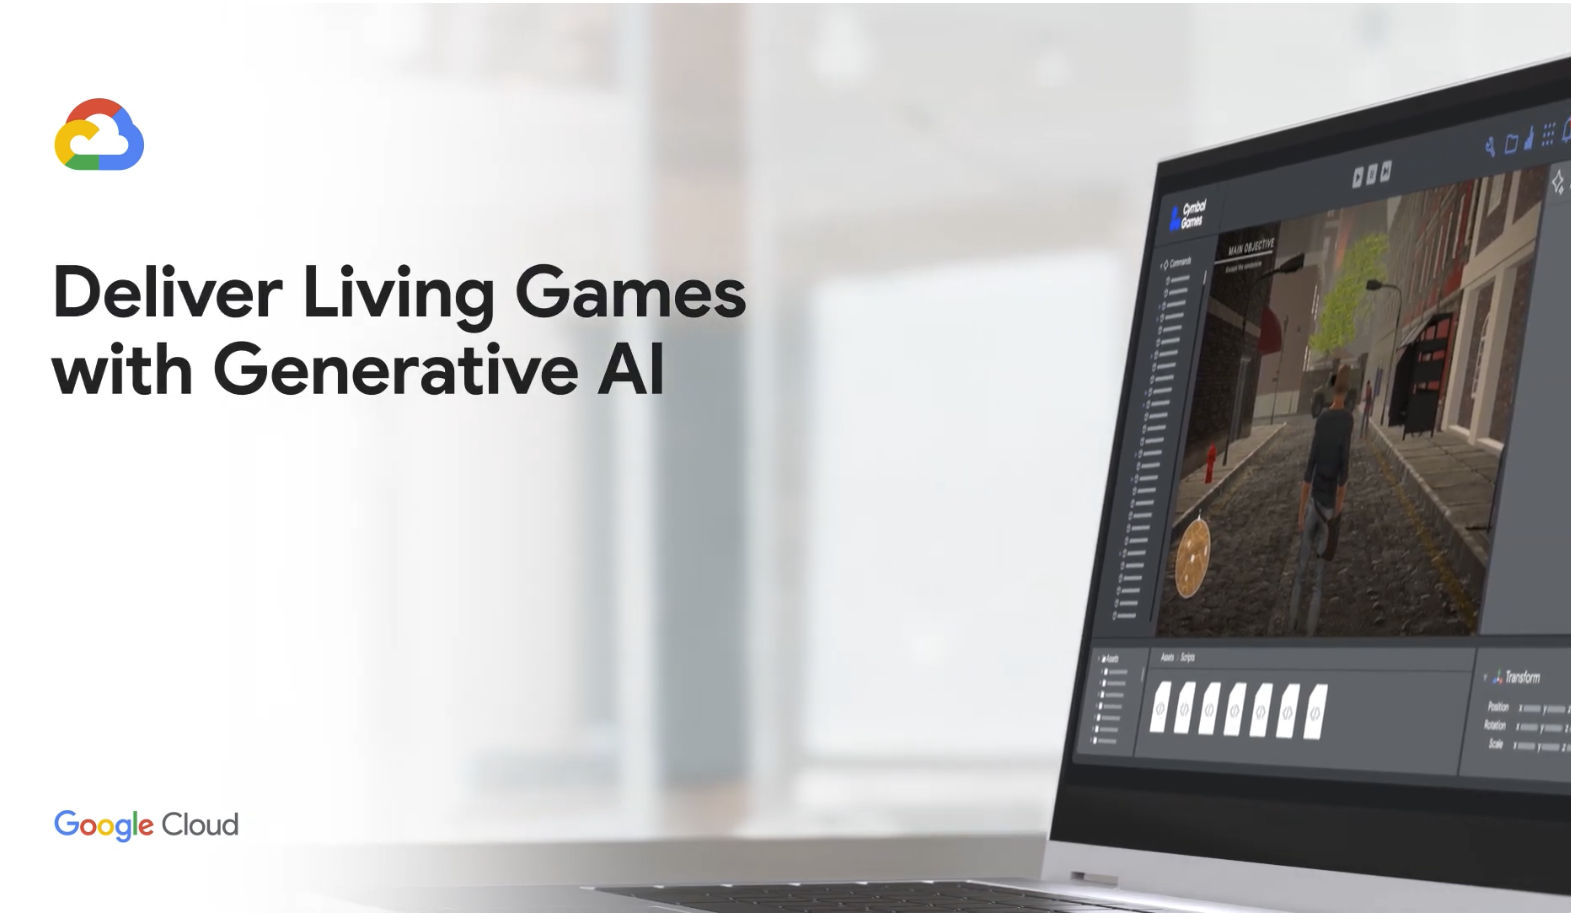
Explore the future of living games with Google Cloud. Deliver exceptional player experiences with AI, creating worlds that come alive to delight players and keep them coming back for more.


Reimagine games with Google Cloud
Reimagine games with Google Cloud
Deliver exceptional player experiences with scalable, reliable infrastructure and AI that enables seamless gameplay and innovative in-game features.

Solution spotlight: Google AI and cloud solutions transform in-game experiences, delivering dynamic, personalized content and real-time performance-enhancing NPC conversations.
Modernizing game servers on GKE, game companies see smooth, low-latency gameplay, significantly reducing the risk of lag and downtime which directly impacts player satisfaction.
Ensure smooth, consistent and performant player data access with Google Cloud’s databases for games, like Cloud Spanner, crucial for engaging experiences and persistent game worlds.
Create new player experiences with Google Cloud’s generative AI for games including dynamic content, personalized gameplay, and innovative features that can captivate and retain players.
Go deeper into solutions for games:
Klang and Google Cloud: A New Era of Online Collaborative Storytelling.
Go deeper into solutions for games:
Transform player experiences
Deliver exceptional player experiences with scalable, reliable infrastructure and AI that enables seamless gameplay and innovative in-game features.
Solution spotlight: Google AI and cloud solutions transform in-game experiences, delivering dynamic, personalized content and real-time performance-enhancing NPC conversations.
Modernizing game servers on GKE, game companies see smooth, low-latency gameplay, significantly reducing the risk of lag and downtime which directly impacts player satisfaction.
Ensure smooth, consistent and performant player data access with Google Cloud’s databases for games, like Cloud Spanner, crucial for engaging experiences and persistent game worlds.
Create new player experiences with Google Cloud’s generative AI for games including dynamic content, personalized gameplay, and innovative features that can captivate and retain players.
Go deeper into solutions for games:
Klang and Google Cloud: A New Era of Online Collaborative Storytelling.
Go deeper into solutions for games:
Accelerate game development
Leverage AI for game development to rapidly iterate on ideas, generate assets quickly, and automate testing.

Solution spotlight: Google AI simplifies and accelerates game development—from concepting and design to code generation and quality assurance.
Train and deploy AI models faster and more efficiently with Google Cloud’s flexible infrastructure or simpler, managed options like Gemini Enterprise Agent Platform.
By streamlining development, games get to market faster with more polished content, keeping players engaged with fresh and innovative experiences, and reducing wait times for highly anticipated titles.
NCV Games is enhancing games for players with AI.
Go deeper into solutions for games:
Drive efficient operations
Use AI-powered agents to automate routine processes, freeing up valuable human resources to focus on more complex and creative tasks.

Solution spotlight: With Google AI and agents, marketing teams quickly create assets at scale and act on insights to deliver the best ROI.
Leverage Google Cloud’s data and analytics platforms to gather and interpret player data to identify trends, understand player behavior, and make informed decisions, optimizing resource allocation and improving overall business strategy.
Go deeper into solutions for games:
Plarium predicts user preferences with Google Cloud.
Go deeper into solutions for games:
Google Cloud AI is uniquely positioned to support living games
Google Cloud AI is uniquely positioned to support living games
Multimodal AI reasoning
Empower teams with state of the art models no matter the data set to improve productivity and outcomes. Like humans, Google AI doesn't just understand words, but also images, videos, and sounds. This technology allows for a much richer understanding of information, leading to better decision-making, more efficient operations, and more personalized player experiences.
Learn more about Gemini →
Robust agent capabilities
Utilize Google Enterprise Agent Platform to build and deploy AI Agents that can act as assistants that handle complex tasks such as managing schedules or developing reports. This can free up employees to focus on more strategic work, automate processes, and ultimately boost productivity and game time-to-market.
For the player, AI agents can learn and adapt to individual habits and preferences, tailoring suggestions to create a more personalized, and satisfying experience.
Learn more about Gemini Enterprise Agent Platform →
Integrated AI platform for games development and player experiences
Google Cloud's flexible, end-to-end AI platform enables our games customers to work with any AI model—Google developed or 3rd party, connect to any data, and accelerate innovation without limitations. Our low code and no code solutions increase adoption of capabilities for agentic experiences, accessible to business users, game and software developers, and AI practitioners.
Learn more about Google AI →
Unified control plane for AI and games workloads
AI Protection manages risk across the entire AI lifecycle. Built-in Model Armor and Sensitive Data Protection help prevent prompt injection and data exfiltration attacks, while cloud-native AI policies ensure a consistent control plane for all your workloads. And with Google Cloud Armor built into Google’s enterprise edge, game servers can be secured without sacrificing latency.
Learn more about AI Protection →
Learn more about Google Cloud Armor →

Powering everlasting love for the game
The game industry's most successful game publishers, developers, and studios build on Google Cloud.


 Nexon: Building a game-optimized content management environment with Vertex AI-based harmful image detectionTo quickly and accurately identify this harmful content, Nexon developed a detection system based on Vertex AI. Vertex AI provides various indicators for selecting and training appropriate models for games, and provides an easy-to-optimize environment to effectively filter out harmful images.Read now
 NACON Is optimizing its competitiveness through in-depth analysis of player expectations using Google Cloud's data and AI solutionsVideo game publisher NACON utilizes an AI-powered analysis platform using Google Cloud solutions to better understand player expectations—optimizing its offering through a better understanding of the market and player expectations.Read now
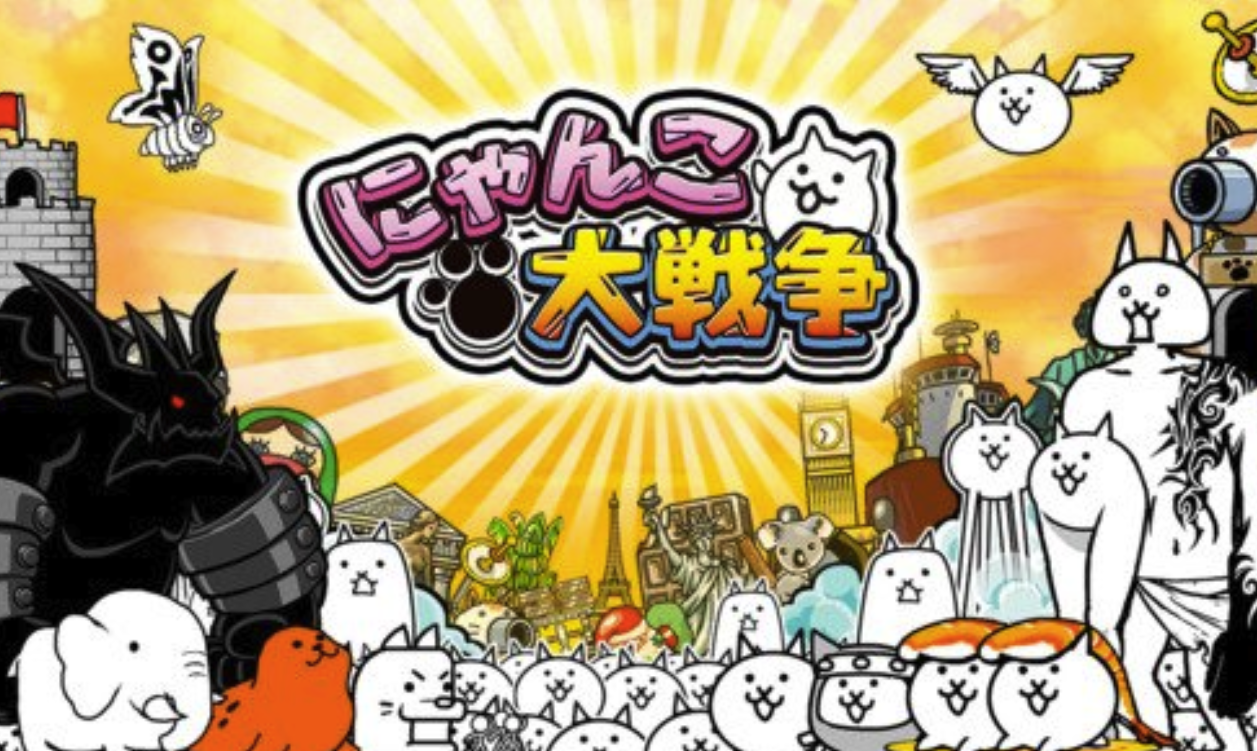 PONOS: Migrating the popular game "The Battle Cats" to Google Cloud, achieving modernization while minimizing impact on usersLearn about PONOS’ large-scale migration from AWS to Google Cloud and how they are utilizing Google Cloud.Read now
 Tencent games is unlocking a new way to develop 3D game assetsTencent Games shares how Google Cloud is boosting game developers' efficiency with cutting-edge AI technology.Watch now
Resources to help accelerate your AI and cloud journey
 2025: The year AI levels up the games industryLearn how AI-native games and tools will revolutionize the industry, fostering immersive, dynamic gameplay and transforming player support and monetization strategies.Read now
 Co-op mode: New partners driving the future of gaming with AIAnd just like any successful game studio is the work of a broad and diverse team, our partner ecosystem is ready to help level up any project, including with industry-specific AI tools.Read now
 The agentic era in gamesLearn how AI agents are changing the way games are created, operated, and experienced.Download now
 Living Games are here: Here's how developers are using AI to make it a realityGenerative AI is transforming games, moving from static experiences to "living games" that dynamically adapt and create content in real-time based on player interactions.Read now
 Enhancing multiplayer games with gen AI and cloud gaming: a technical deep diveLearn how integrating cutting-edge generative AI models—like Gemini or open models such as Gemma—enables developers to enrich their games with AI-driven features such as interactive user guidance, real-time chat capabilities, and personalized summaries of user progress, all while maintaining scalability and reliability.Read now
 1,302 real-world gen AI use cases from the world's leading organizationsAI is here, AI is everywhere: Top companies, researchers, and startups are already enhancing their work with Google's AI solutions.Read now
 AI meets the games industryWhy are 90% of developers are already using AI to innovate? Get the report to explore how your studio can harness the power of AI to innovate faster and create the next generation of games.Download now
- Square Enix’s journey of building an AI-driven Customer Data PlatformSquare Enix about its journey building a customer data platform with Google Cloud to enhance its first-party data strategy by collecting and connecting its marketing, player, and game data.Read now
- Ready player infinity: How AI is bringing living games and real-time content to lifeJack Buser, games industry lead for Google Cloud, explains the new capabilities, updates, and genres on the playable horizon thanks to AI.Read now
- How EA Sports protects their game servers with Cloud ArmorLearn about Google Cloud Armor and why EA Sports FC chose it to protect game servers and enhance its DDoS resiliency.Read now
- Game-changing assets: Making concept art with Google Cloud's generative AILearn how easy it is for game developers to deploy generative AI services on Google Cloud, showcase the available tooling of Model Garden on Vertex AI (including partner integrations like Hugging Face and Civitai), and highlight their potential for scaling game-asset creation.Read now
- The evolution of play: From live to living gamesLearn how gen AI is being used by developers to evolve the "live game" model, which relies on constant updates and new content, into "living games" that are more immersive, dynamic, and personalized.Read now
- From dark data to bright insights: How AI agents make data simpleAI agents are making it possible for businesses to easily understand and use all of their data, not just a small portion, leading to better decisions and new opportunities.Read now
Articles and ebooks
- 2025: The year AI levels up the games industryLearn how AI-native games and tools will revolutionize the industry, fostering immersive, dynamic gameplay and transforming player support and monetization strategies.Read now
- Co-op mode: New partners driving the future of gaming with AIAnd just like any successful game studio is the work of a broad and diverse team, our partner ecosystem is ready to help level up any project, including with industry-specific AI tools.Read now
- The agentic era in gamesLearn how AI agents are changing the way games are created, operated, and experienced.Download now
- Living Games are here: Here's how developers are using AI to make it a realityGenerative AI is transforming games, moving from static experiences to "living games" that dynamically adapt and create content in real-time based on player interactions.Read now
- Enhancing multiplayer games with gen AI and cloud gaming: a technical deep diveLearn how integrating cutting-edge generative AI models—like Gemini or open models such as Gemma—enables developers to enrich their games with AI-driven features such as interactive user guidance, real-time chat capabilities, and personalized summaries of user progress, all while maintaining scalability and reliability.Read now
- 1,302 real-world gen AI use cases from the world's leading organizationsAI is here, AI is everywhere: Top companies, researchers, and startups are already enhancing their work with Google's AI solutions.Read now
- AI meets the games industryWhy are 90% of developers are already using AI to innovate? Get the report to explore how your studio can harness the power of AI to innovate faster and create the next generation of games.Download now
Blogs
- Square Enix’s journey of building an AI-driven Customer Data PlatformSquare Enix about its journey building a customer data platform with Google Cloud to enhance its first-party data strategy by collecting and connecting its marketing, player, and game data.Read now
- Ready player infinity: How AI is bringing living games and real-time content to lifeJack Buser, games industry lead for Google Cloud, explains the new capabilities, updates, and genres on the playable horizon thanks to AI.Read now
- How EA Sports protects their game servers with Cloud ArmorLearn about Google Cloud Armor and why EA Sports FC chose it to protect game servers and enhance its DDoS resiliency.Read now
- Game-changing assets: Making concept art with Google Cloud's generative AILearn how easy it is for game developers to deploy generative AI services on Google Cloud, showcase the available tooling of Model Garden on Vertex AI (including partner integrations like Hugging Face and Civitai), and highlight their potential for scaling game-asset creation.Read now
- The evolution of play: From live to living gamesLearn how gen AI is being used by developers to evolve the "live game" model, which relies on constant updates and new content, into "living games" that are more immersive, dynamic, and personalized.Read now
- From dark data to bright insights: How AI agents make data simpleAI agents are making it possible for businesses to easily understand and use all of their data, not just a small portion, leading to better decisions and new opportunities.Read now
Explore Google Cloud products driving transformation in games
- Google Kubernetes EngineRun and scale dedicated game servers on GKE.Learn more
- Analytics Data Platform with BigQueryUnify multimodal data, accelerate innovation with AI, and simplify data analytics across all users in the enterprise.Learn more
- Cloud SpannerAlways-on database with virtually unlimited scale. Build intelligent, mission-critical apps on a single database that unifies relational, graph, key-value, and search.Learn more
- Gemini Enterprise Agent PlatformGoogle Cloud's open and comprehensive platform that empowers businesses to rapidly build, scale, govern, and optimize enterprise-grade agents.Learn more
- Gemini Code AssistAI-powered assistance to help developers deploy, and operate applications throughout the software development lifecycle.Learn more
- Google Cloud databasesIndustry-leading databases built on planet-scale infrastructure with AI at its core. Experience unmatched reliability, price-performance, security,all your applications.Learn more
- Looker agentic BI platformLeverage the power of Gemini and Google Cloud’s Agentic Data Cloud to deliver the most intelligent business intelligence solution—combining foundational AI, cloud-first infrastructure, industry leading APIs, and our flexible semantic layer.Learn more
- AgonesHost, run, and scale dedicated game servers on Kubernetes.Learn more
- Marketing and AI solutionsBring your marketing and business data together with native Google Ads integration.Learn more
Why game companies trust Google Cloud
Google Cloud ensures our customers maintain absolute control and sovereignty over their data, offering a transparent, independently verified security platform that protects information, applications, and infrastructure as rigorously as Google protects its own. Additionally, Google Cloud protects from DDoS attacks by filtering malicious traffic at the edge of Google's network, before it reaches the game servers.
- Security OperationsIntelligence-driven and AI-powered security operations platform empowers security teams to better detect, investigate, and respond to cybersecurity threats.Learn more
- Google Cloud ArmorProtect your applications and websites against DDoS attacks.Learn more
- Mandiant Cybersecurity ConsultingIncident response and expert guidance so you can maintain confidence in business operations before, during, and after an incident.Learn more
Frequently asked questions
How does Google Cloud help game companies leverage AI responsibly?
We provide platforms like Gemini Enterprise Agent Platform with built-in governance controls, grounding features to improve accuracy, and explainability tools, and operate under strict AI Principles. Our model risk management (MRM) guidance helps apply risk frameworks to Gen AI.
What are AI Agents, and how can they help my games and business?
AI agents are software systems that understand goals and act autonomously (or semi-autonomously) to complete tasks. They can boost employee productivity, enhance consumer and player experiences, automate complex workflows, and unlock data insights, all driving efficiency and growth.
How does Google Cloud support multicloud strategies?
Google Cloud supports robust multicloud strategies through our commitment to openness and interoperable technologies. We provide consistent platforms like Google Kubernetes Engine (GKE) for managing applications across environments, and open-source solutions like Agones and Open Match for game-specific workloads like Game Servers and Matchmaking. Together, this ensures you can leverage the best of all clouds without being locked in.
How does Google Cloud support companies in achieving their sustainability goals?
Google Cloud collaborates with game companies to implement sustainable practices across their organization. Our tools help track and measure environmental impact, such as carbon footprint tracking, water usage monitoring, and waste reduction. We also assist in generating comprehensive ESG reports and offer 24/7 carbon-free energy solutions to support sustainability objectives.
How long does it take to move to Google Cloud?
The timeline for migrating to Google Cloud is tailored to the specific scope and complexity of your game and your launch date. Key factors include the volume of data across your organization and your migration strategy. Google Cloud and/or your preferred partner will assist you in scoping your project, setting priorities, and determining a timeline that aligns with your critical game launch dates.


