The job builder is a visual UI for building and running Dataflow pipelines in the Google Cloud console, without writing code.
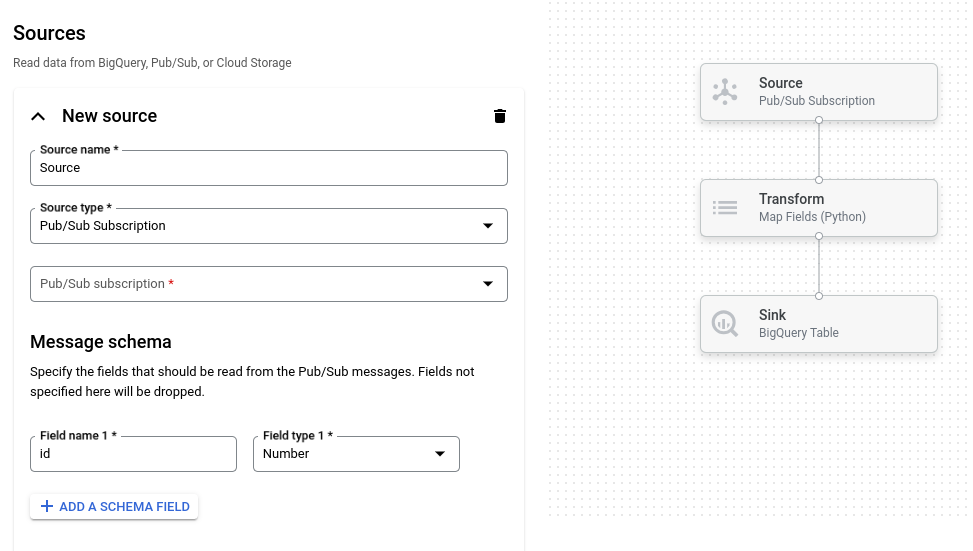
The following image shows a detail from the job builder UI. In this image, the user is creating a pipeline to read from Pub/Sub to BigQuery:
Overview
The job builder supports reading and writing the following types of data:
- Pub/Sub messages
- BigQuery table data
- CSV files, JSON files, and text files in Cloud Storage
- PostgreSQL, MySQL, Oracle, and SQL Server table data
It supports pipeline transforms including filter, map, SQL, group-by, join, and explode (array flatten).
With the job builder you can:
- Stream from Pub/Sub to BigQuery with transforms and windowed aggregation
- Write data from Cloud Storage to BigQuery
- Use error handling to filter erroneous data (dead-letter queue)
- Manipulate or aggregate data using SQL with the SQL transform
- Add, modify, or drop fields from data with mapping transforms
- Schedule recurring batch jobs
The job builder can also save pipelines as Apache Beam YAML files and load pipeline definitions from Beam YAML files. By using this feature, you can design your pipeline in the job builder and then store the YAML file in Cloud Storage or a source control repository for reuse. YAML job definitions can also be used to launch jobs using the gcloud CLI.
Consider the job builder for the following use cases:
- You want to build a pipeline quickly without writing code.
- You want to save a pipeline to YAML for re-use.
- Your pipeline can be expressed using the supported sources, sinks, and transforms.
- There is no Google-provided template that matches your use case.
Run a sample job
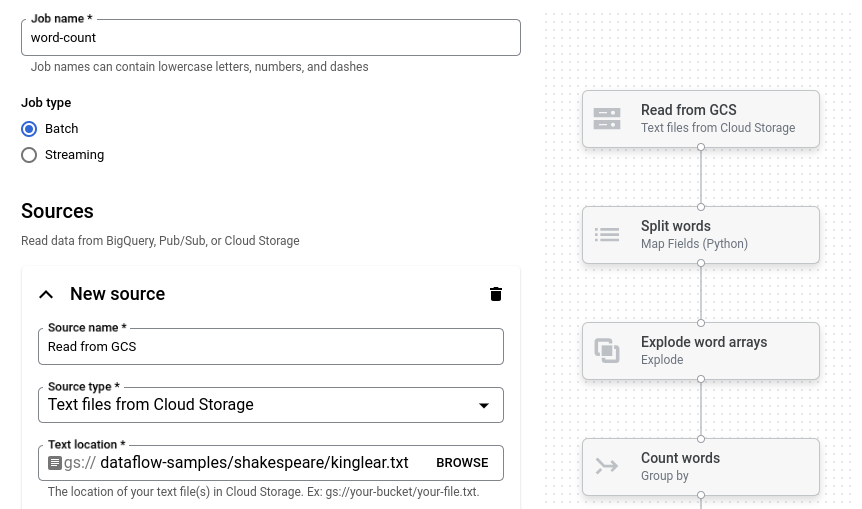
The Word Count example is a batch pipeline that reads text from Cloud Storage, tokenizes the text lines into individual words, and performs a frequency count on each of the words.
If the Cloud Storage bucket is outside of your service perimeter, create an egress rule that allows access to the bucket.
To run the Word Count pipeline, follow these steps:
Go to the Jobs page in the Google Cloud console.
Click Create job from template.
In the side pane, click Job builder.
Click Load blueprints.
Click Word Count. The job builder is populated with a graphical representation of the pipeline.
For each pipeline step, the job builder displays a card that specifies the configuration parameters for that step. For example, the first step reads text files from Cloud Storage. The location of the source data is pre-populated in the Text location box.
Locate the card titled New sink. You might need to scroll.
In the Text location box, enter the Cloud Storage location path prefix for the output text files.
Click Run job. The job builder creates a Dataflow job and then navigates to the job graph. When the job starts, the job graph shows a graphical representation of the pipeline. This graph representation is similar to the one shown in the job builder. As each step of the pipeline runs, the status is updated in the job graph.
The Job info panel shows the overall status of the job. If the job completes
successfully, the Job status field updates to Succeeded.
What's next
- Use the Dataflow job monitoring interface.
- Create a custom job in the job builder.
- Save and load YAML job definitions in the job builder.
- Learn more about Beam YAML.