La vue Canevas fournit une interface intuitive et conviviale pour gérer vos workflows d'intégration.
Avantages
La vue Canevas offre les avantages suivants :
Réactivité améliorée de l'interaction avec le canevas : la vue Canevas vous permet de déplacer facilement les tâches et les déclencheurs, ce qui facilite la création de workflows complexes.
Une vue plus claire de votre intégration : la nouvelle conception visuelle offre une vue plus claire de votre intégration.
Vue Mini-carte : cette vue vous permet de voir la fenêtre d'affichage par rapport au graphique.
Créer des intégrations plus facilement : la vue Canevas offre une méthode intuitive pour ajouter une tâche enfant avec un bord de connexion ou créer un bord de connexion à une tâche existante dans votre intégration.
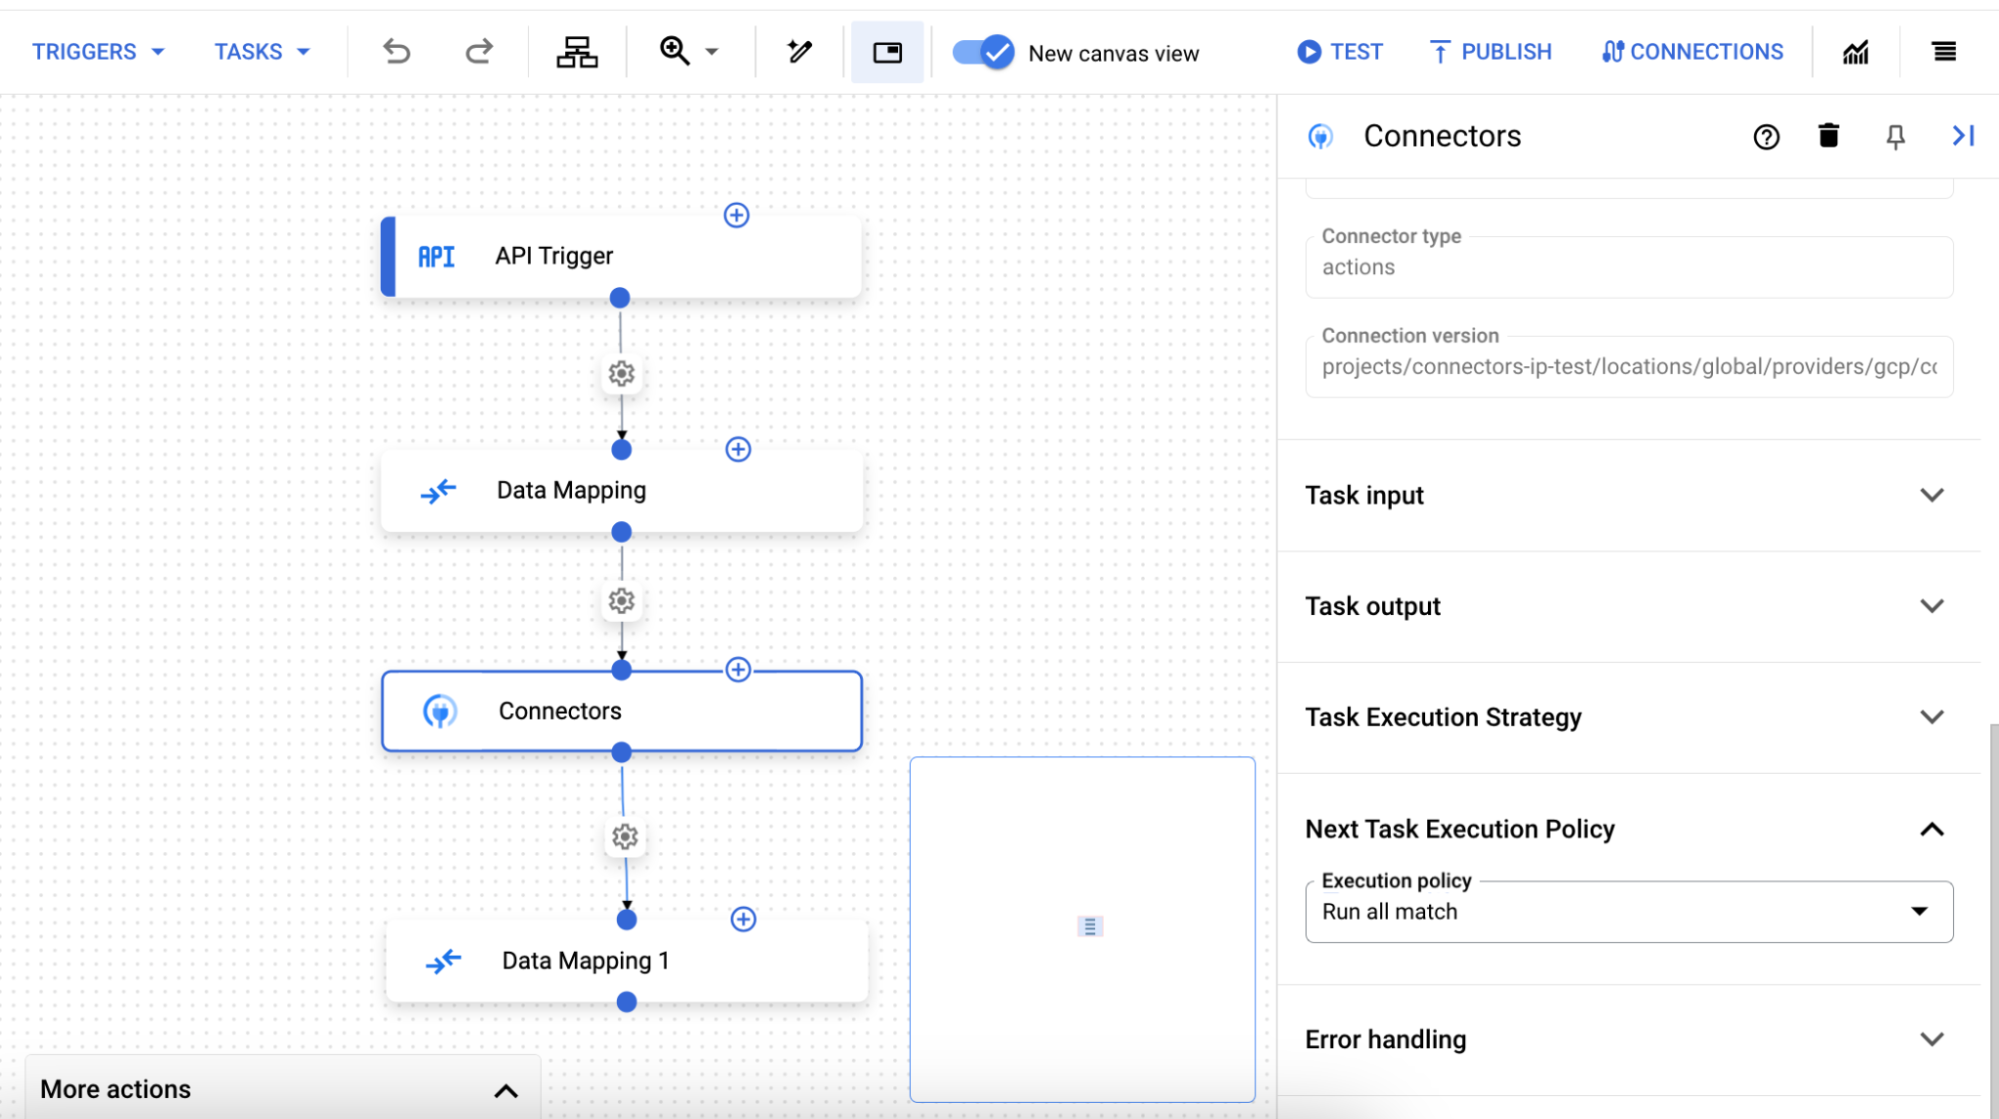
Découverte améliorée : dans le volet de configuration des tâches, vous pouvez configurer les options Stratégie d'exécution pour cette tâche et Stratégie d'exécution pour les tâches suivantes. Pour en savoir plus sur ces règles, consultez Duplications et jointures.
Utiliser la vue Canevas
Pour utiliser la vue Canevas :
Ouvrez l'éditeur d'intégration.
Dans la barre de navigation, la vue Canevas est automatiquement active.
Utilisez le canevas pour créer votre workflow d'intégration.
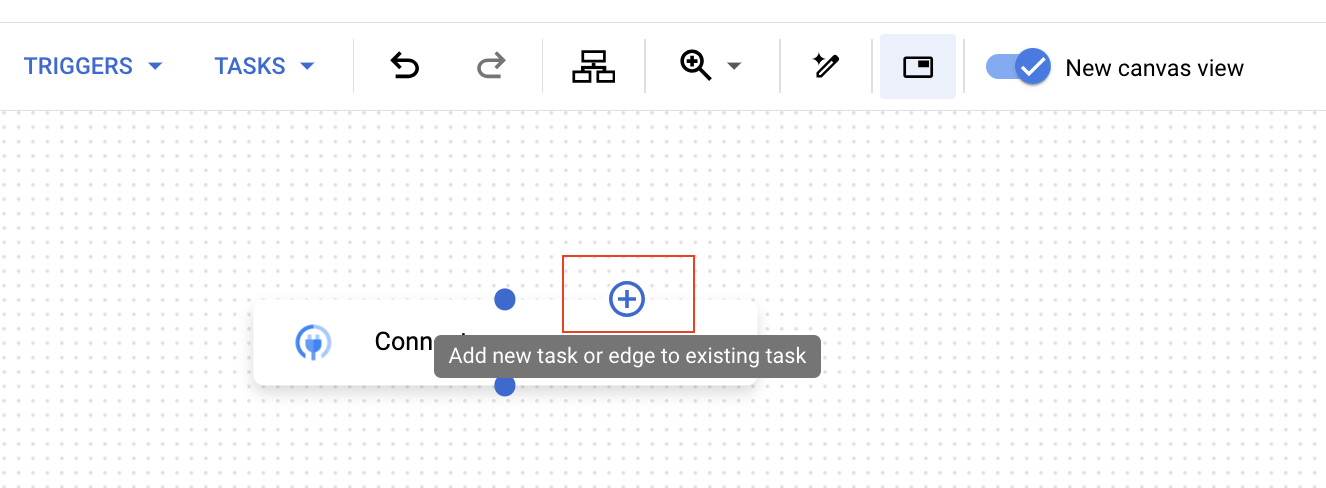
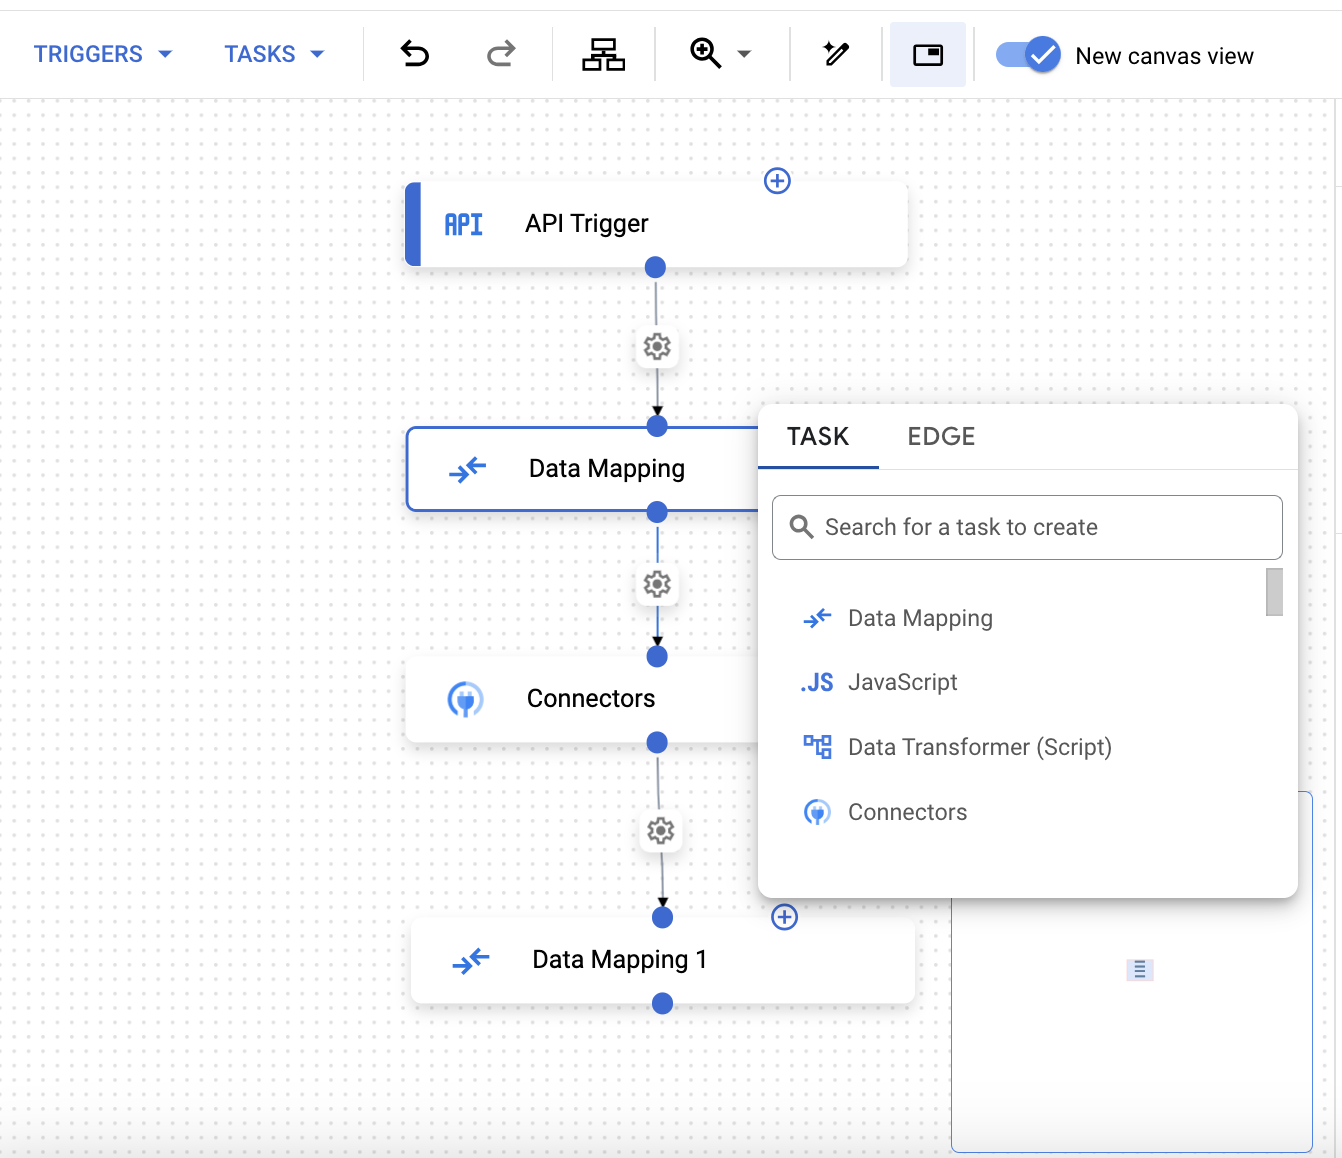
Pour ajouter une tâche ou un bord, cliquez sur add_circleAjouter une tâche ou un bord à la tâche existante.
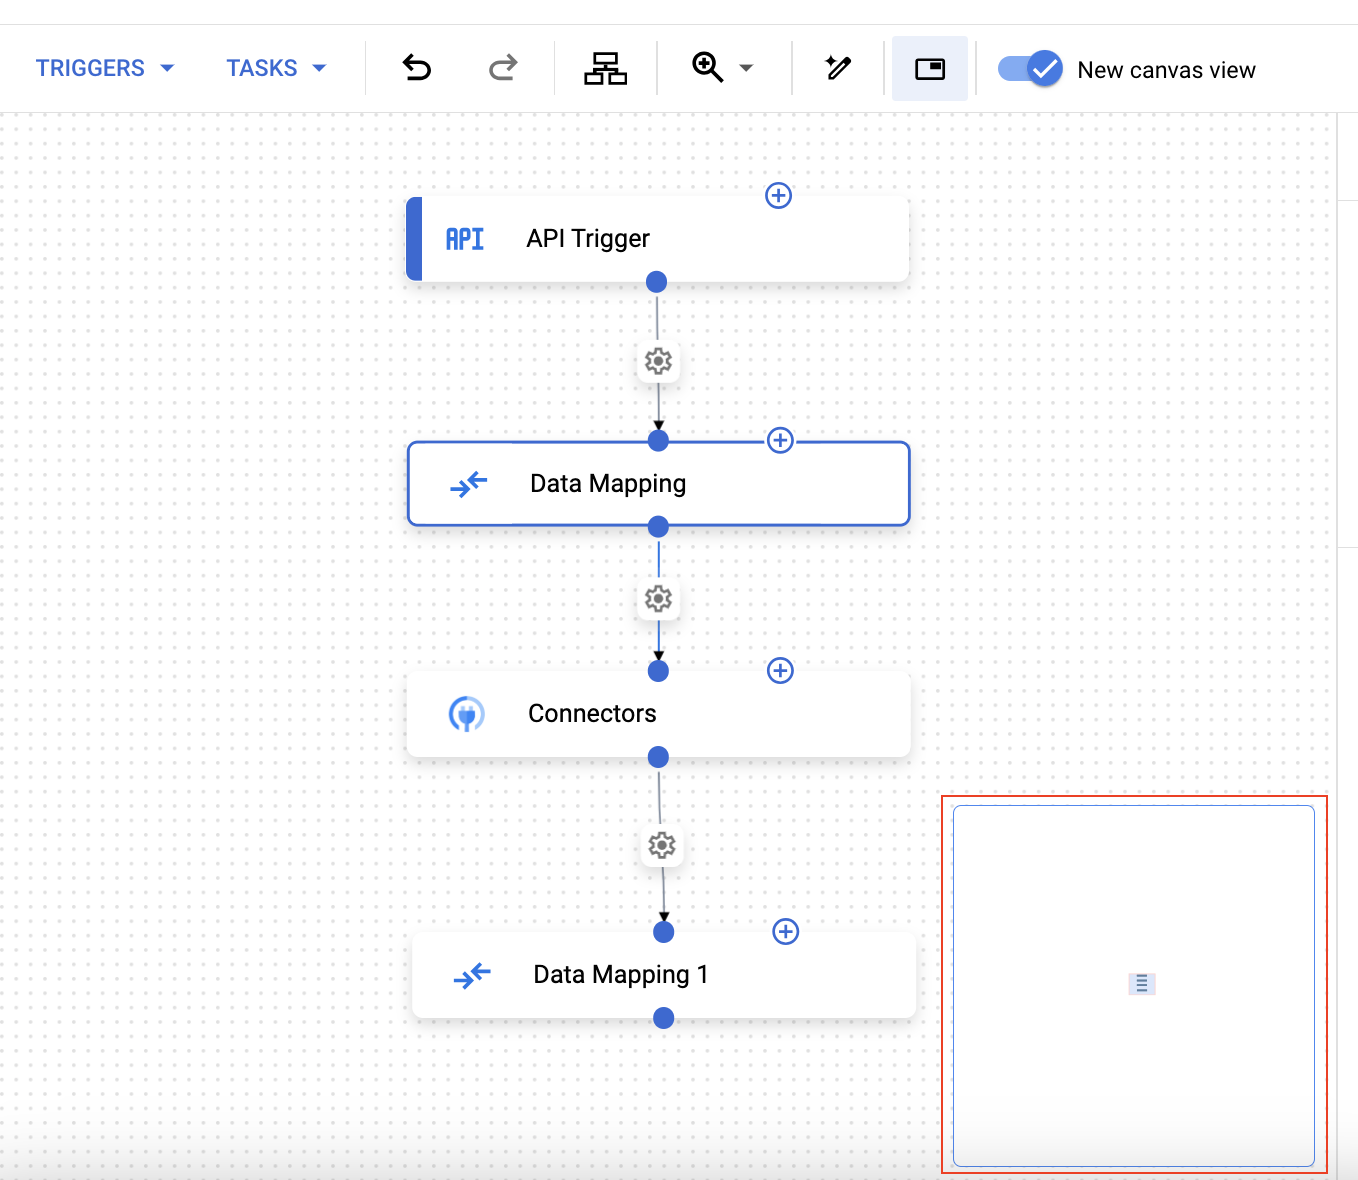
Si votre intégration comporte plusieurs déclencheurs, vous pouvez utiliser la vue Plan miniature pour afficher la fenêtre d'affichage par rapport au graphique.
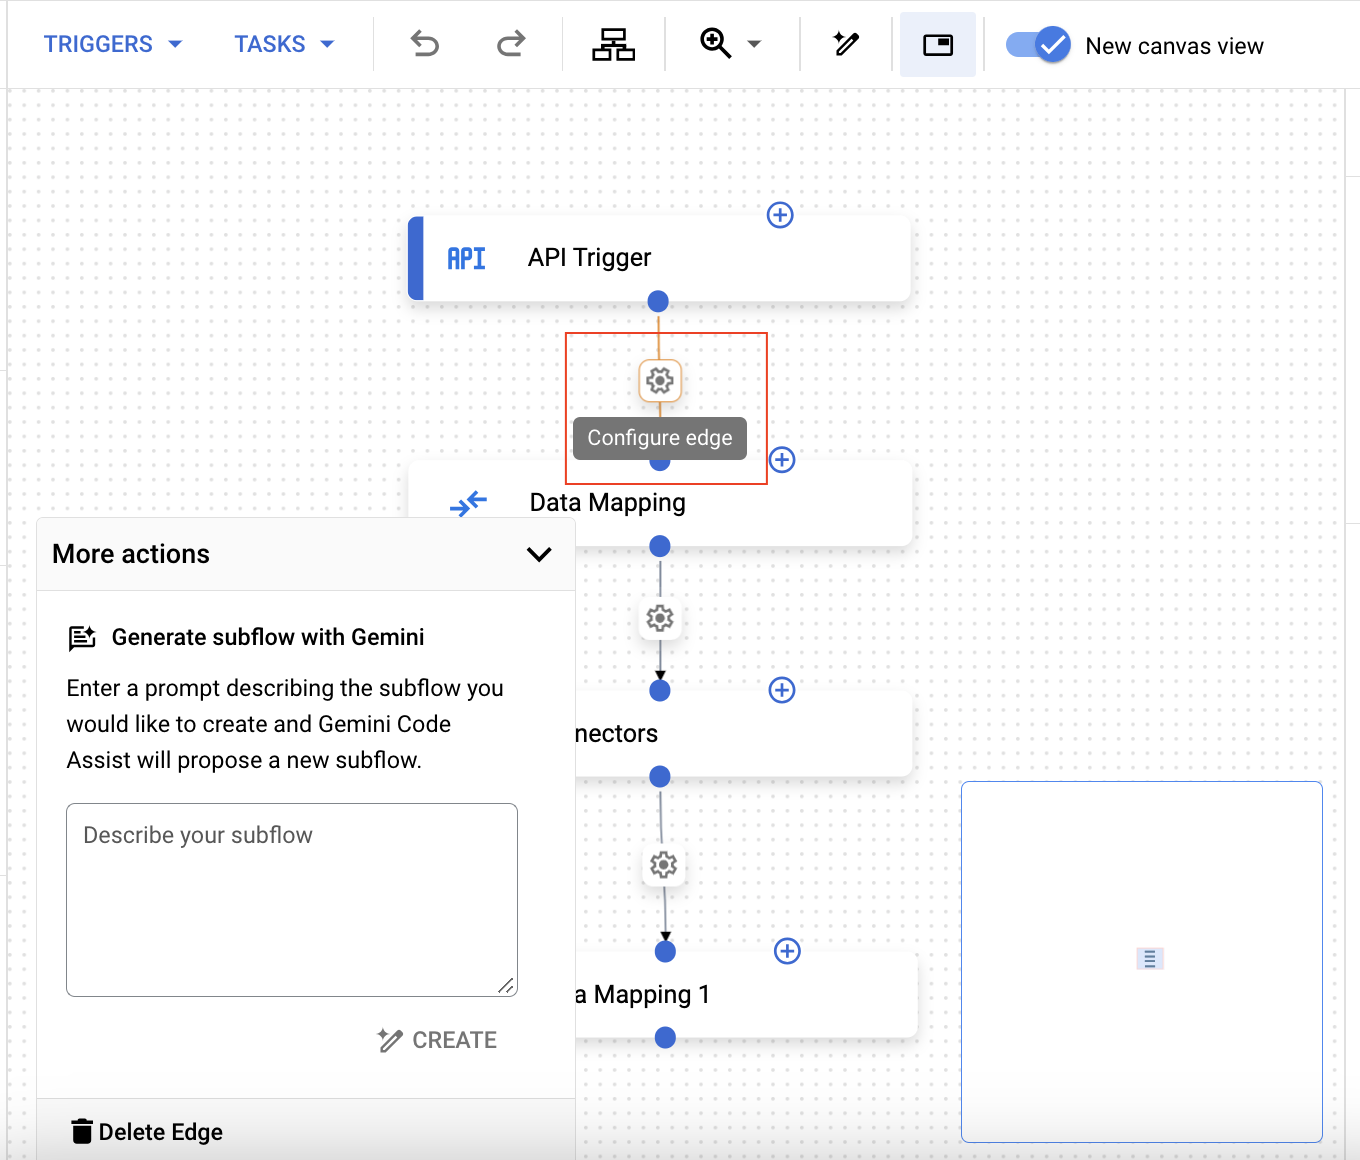
Pour configurer une arête, cliquez sur Configurer l'arêtesettings. Si vous avez activé Gemini, un menu pop-up semblable à celui de l'image suivante s'affiche et vous invite à fournir une entrée.
Pour ajouter une duplication, cliquez sur la tâche, puis, dans le volet Configuration de la tâche, développez Stratégie d'exécution pour les tâches suivantes.
Si vous le souhaitez, pour utiliser des touches de raccourci, cliquez sur une tâche ou un déclencheur dans la vue Canevas. Utilisez ensuite des raccourcis clavier pour mettre à jour le workflow d'intégration.
Raccourcis clavier
Les raccourcis clavier suivants sont disponibles dans la vue Canevas :
Sauf indication contraire, le contenu de cette page est régi par une licence Creative Commons Attribution 4.0, et les échantillons de code sont régis par une licence Apache 2.0. Pour en savoir plus, consultez les Règles du site Google Developers. Java est une marque déposée d'Oracle et/ou de ses sociétés affiliées.
Dernière mise à jour le 2025/09/03 (UTC).
[[["Facile à comprendre","easyToUnderstand","thumb-up"],["J'ai pu résoudre mon problème","solvedMyProblem","thumb-up"],["Autre","otherUp","thumb-up"]],[["Difficile à comprendre","hardToUnderstand","thumb-down"],["Informations ou exemple de code incorrects","incorrectInformationOrSampleCode","thumb-down"],["Il n'y a pas l'information/les exemples dont j'ai besoin","missingTheInformationSamplesINeed","thumb-down"],["Problème de traduction","translationIssue","thumb-down"],["Autre","otherDown","thumb-down"]],["Dernière mise à jour le 2025/09/03 (UTC)."],[[["\u003cp\u003eThe new canvas view offers an intuitive interface for managing integration workflows, including improved responsiveness for moving tasks and triggers.\u003c/p\u003e\n"],["\u003cp\u003eUsers can easily add new tasks and edges, or create new edges to existing tasks, streamlining the integration building process.\u003c/p\u003e\n"],["\u003cp\u003eThe canvas view features a minimap view to help users navigate complex integrations with multiple triggers, providing a view of the viewport relative to the entire graph.\u003c/p\u003e\n"],["\u003cp\u003eConfiguration of task execution strategies and policies, along with fork additions are made easier from the task configuration pane.\u003c/p\u003e\n"],["\u003cp\u003eThe canvas view supports hotkeys such as copy, paste, undo, redo, and delete for efficient integration workflow management.\u003c/p\u003e\n"]]],[],null,["# Use the canvas view\n\nSee the [supported connectors](/integration-connectors/docs/connector-reference-overview) for Application Integration.\n\nUse the canvas view\n===================\n\nThe canvas view provides an intuitive and user-friendly interface for managing your\nintegration workflows.\n\nBenefits\n--------\n\nThe canvas view offers the following benefits:\n\n- **Improved responsiveness of the canvas interaction:** With the canvas view, you can smoothly move tasks and triggers, making it easier to create complex workflows.\n- **Clearer view of your integration:** The updated visual design provides a clearer view of your integration.\n- **Minimap view:** With the minimap view, you can see the viewport relative to the graph.\n- **Easier to build integrations:** The canvas view provides an intuitive method to add a new child task with a connecting edge or create a new edge to an existing task in your integration.\n\n\n- **Improved discoverability:** In the task configuration pane, you can configure the *Execution strategy for this task* and the *Execution policy for next tasks* . For more information about these policies, see [Forks and joins](/application-integration/docs/forks-joins).\n\nUse the canvas view\n-------------------\n\nTo use the canvas view, follow these steps:\n\n1. Open the integration editor.\n2. In the navigation bar, the canvas view will automatically be active. Use the canvas to create your integration workflow.\n3. To add a task or an edge, click the add_circle **Add new task or edge to the existing task** .\n\n\n4. If you have multiple triggers in an integration, you can use the *Minimap view* to see the viewport relative to the graph.\n\n\n5. To configure an [edge](/application-integration/docs/edge-and-edge-conditions), click the settings **Configure edge** . If you have [enabled Gemini](/application-integration/docs/build-integrations-gemini), then a pop-up menu, similar to the following image appears prompting you to provide an input.\n\n\n6. To add a [fork](/application-integration/docs/forks-joins), click the task and then in the **Task configuration** pane, expand the **Execution policy for next tasks** .\n\n\n7. Optionally, to use [hotkeys](#hotkeys), click a task or a trigger in the canvas view. Then, use hotkeys to update the integration workflow.\n\nHotkeys\n-------\n\nThe following hotkeys are available in the canvas view:\n\nWhat's next\n-----------\n\n- Learn about the [Integration editor layout](/application-integration/docs/integration-designer-layout).\n- Learn about [Application Integration concepts](/application-integration/docs/concepts)."]]