Google Distributed Cloud
Extend Google Cloud's infrastructure and AI on-premises
GDC is a fully managed software and hardware solution for data centers and edge locations to address regulatory, local data processing, survivability, and low-latency needs.
"With Google Distributed Cloud, we have been able to reimagine the possibilities of building and deploying innovative technology securely across NAPA’s distributed locations. GDC is central to our strategy to simplify infrastructure and accelerate software delivery. It provides the agility to bring new features to our stores with greater speed and security while optimizing our long-term costs."
Navin Anandaraj, Technology Fellow, Genuine Parts Company
Overview
Leading AI capabilities
Gemini is now available on GDC. Gemini’s advanced reasoning and state-of-the-art generation capabilities on GDC unlock key generative AI capabilities including automation, content generation, discovery, and summarization on-premises.
Enable inference at the edge
On-premises computing is not new, but extending AI-optimized cloud infrastructure from the cloud to on-premises deployments is. With Google Distributed Cloud, you can extend the latest in AI models and AI-optimized infrastructure without compromising on data residency, latency, or connectivity.

Run modern apps on-premises
Build modern apps everywhere in a uniform developer environment from cloud to edge. Google Distributed Cloud enables your team to build, deploy, and scale with a Kubernetes-based developer workflow and leverage an active ecosystem of partners.
Address digital sovereignty needs
Google Distributed Cloud air-gapped is a fully managed experience for organizations requiring complete isolation to meet stringent sovereignty and regulatory requirements. It does not require connectivity to an external network. Our air-gapped option is one of our Sovereign Cloud solutions.
Scale anywhere with cloud-native agility
Scale from one to thousands of locations with flexible hardware and software options for your business. Google Distributed Cloud equips your team with fully managed software to quickly adapt and respond to the latest customer requirement and market changes.

Build apps with an air-gapped option
Full isolation with no connectivity to the public internet
Safeguard sensitive data and adhere to strict regulations with Google Distributed Cloud's air-gapped option. The solution does not require connectivity to Google Cloud or the public internet to manage infrastructure, services, APIs, or tooling, and is built to remain disconnected in perpetuity. Our product's open architecture creates familiarity across both public and air-gapped private clouds.

More about Google Distributed Cloud's air-gapped option


How-tos
Full isolation with no connectivity to the public internet
Safeguard sensitive data and adhere to strict regulations with Google Distributed Cloud's air-gapped option. The solution does not require connectivity to Google Cloud or the public internet to manage infrastructure, services, APIs, or tooling, and is built to remain disconnected in perpetuity. Our product's open architecture creates familiarity across both public and air-gapped private clouds.
Additional resources
More about Google Distributed Cloud's air-gapped option
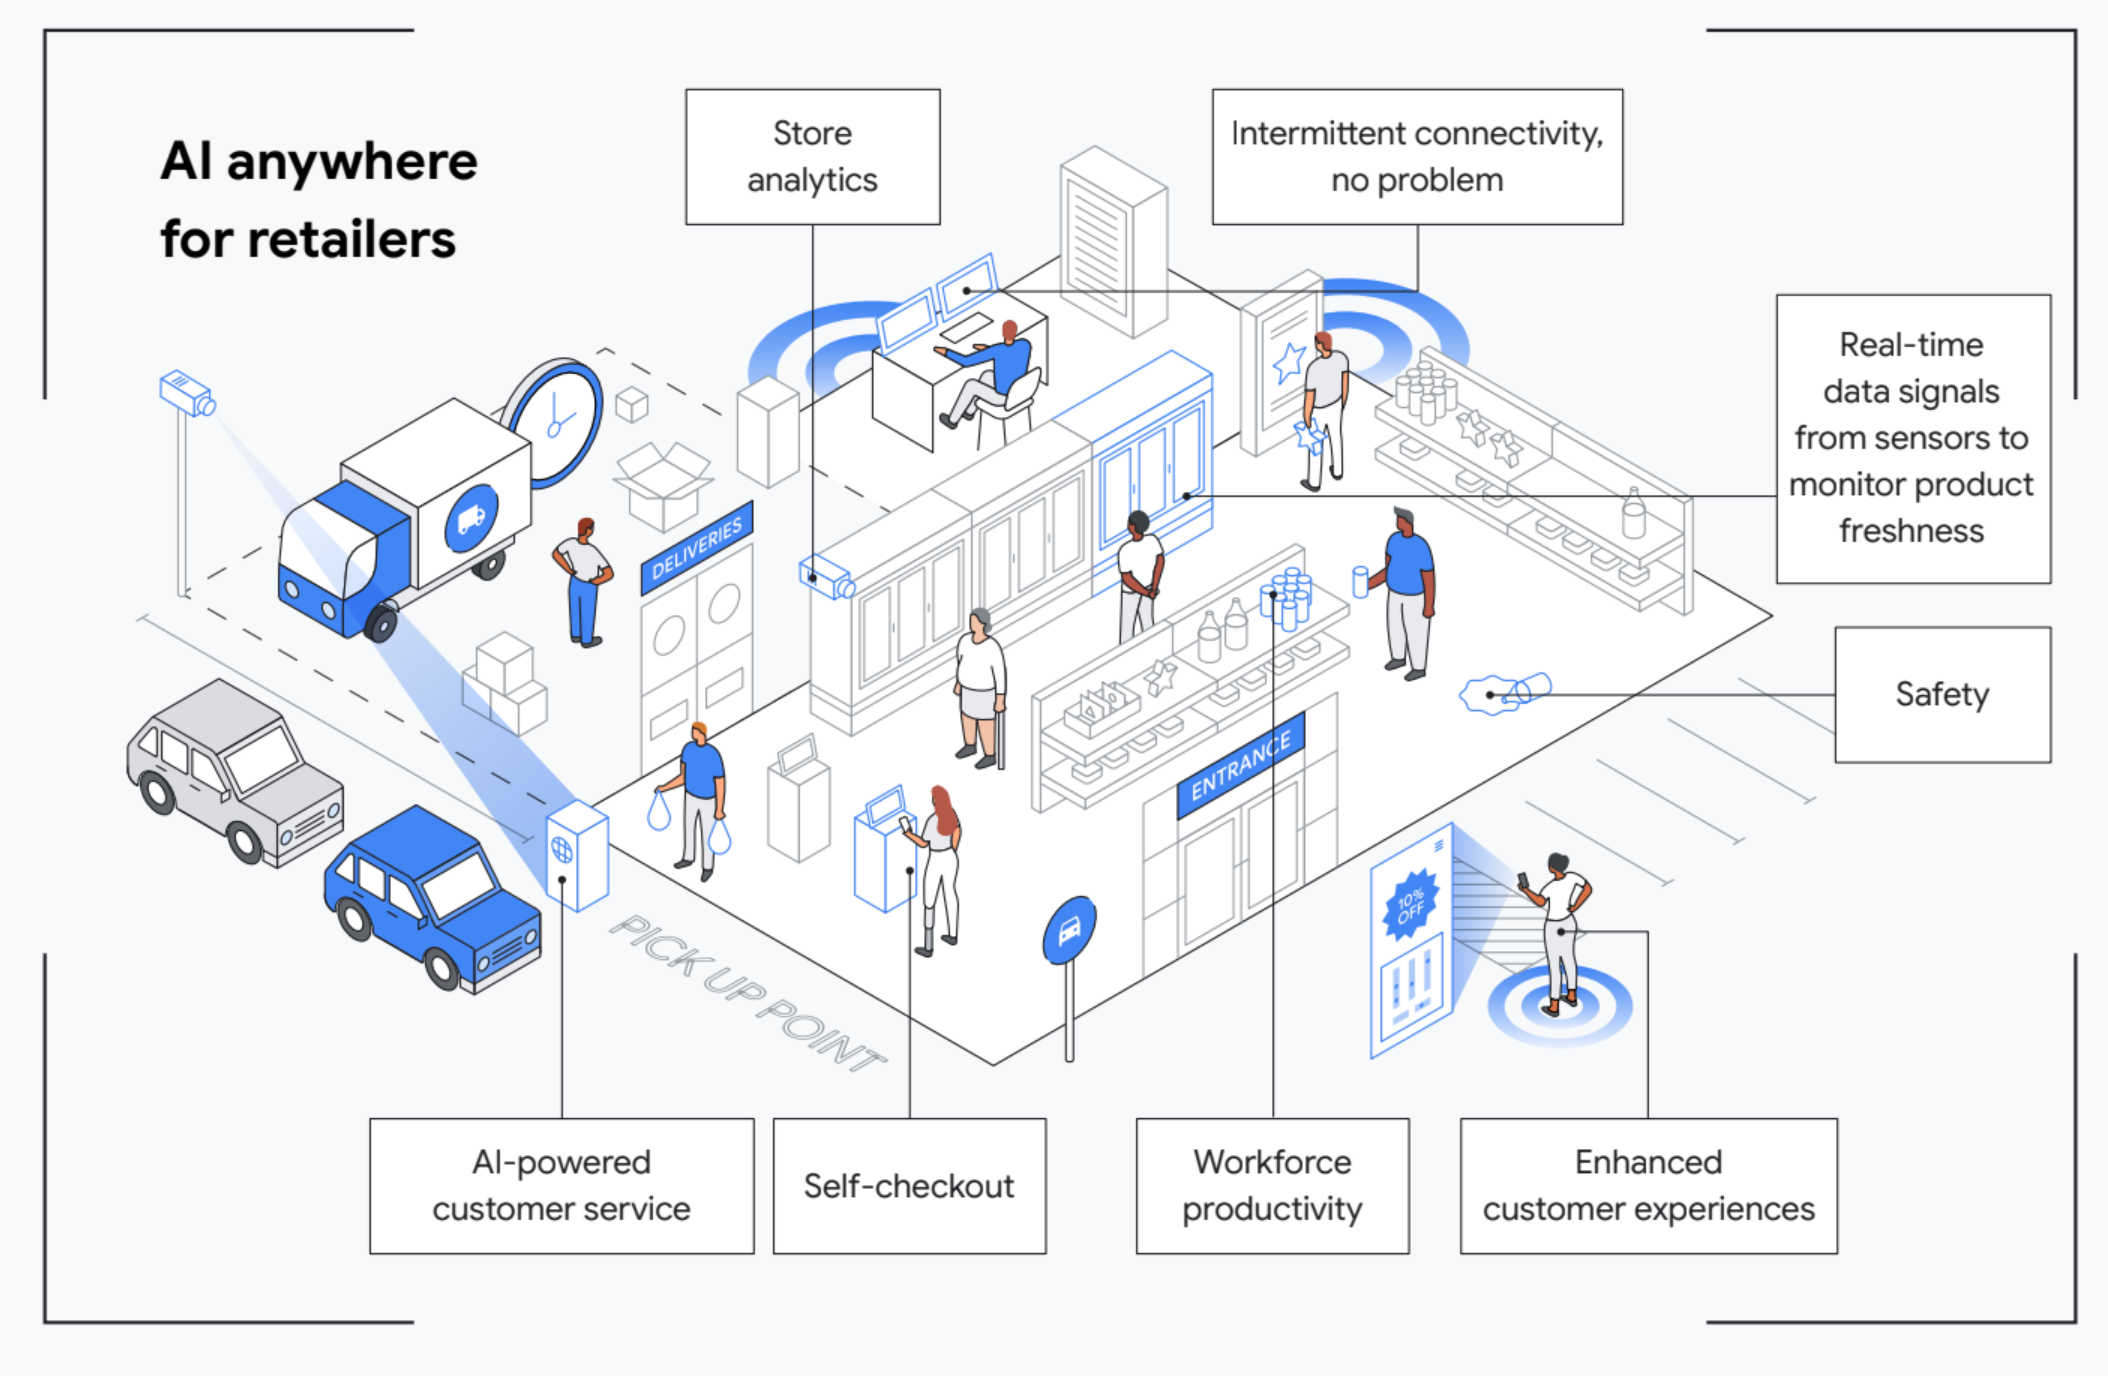
Enable modern retail experiences
Deliver modern store use cases to thousands of locations
Building, deploying, and scaling software for thousands of clusters and locations can be challenging. With Google Distributed Cloud, you can build, deploy, and scale configurations from a single to thousands of retail locations to support use cases like store analytics, fast checkout, and predictive analytics.


How-tos
Deliver modern store use cases to thousands of locations
Building, deploying, and scaling software for thousands of clusters and locations can be challenging. With Google Distributed Cloud, you can build, deploy, and scale configurations from a single to thousands of retail locations to support use cases like store analytics, fast checkout, and predictive analytics.
Additional resources
Enable the modern factory floor
Deliver factory floor use cases directly on-site
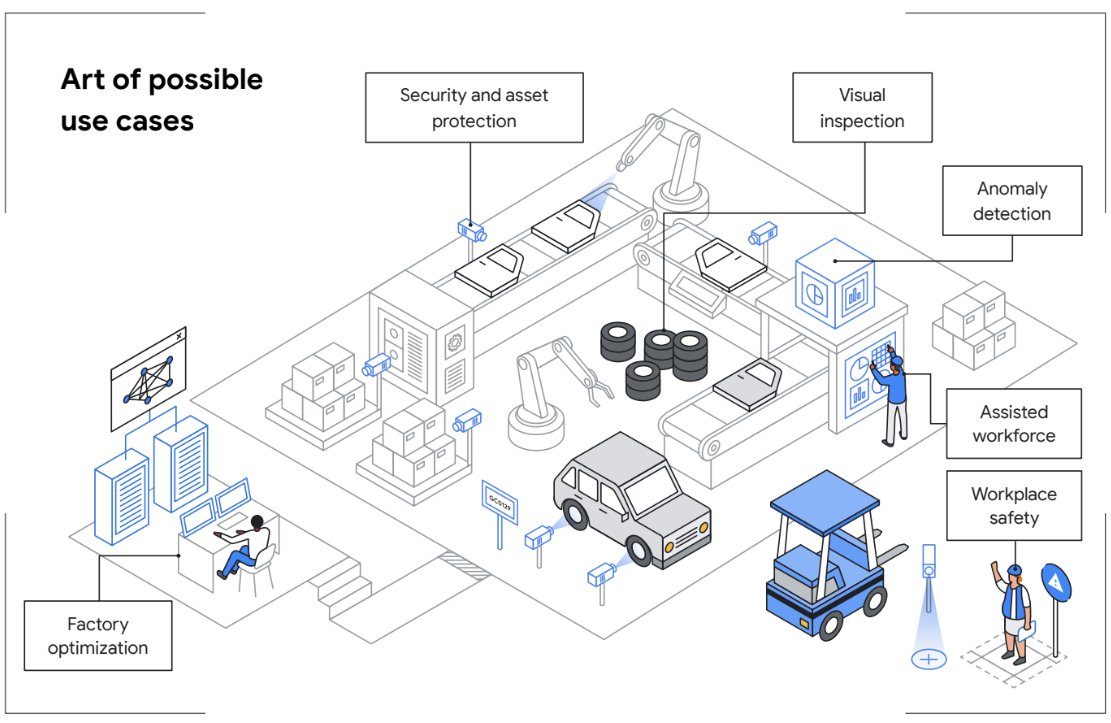
Modernizing factory operations with legacy solutions can be difficult. With Google Distributed Cloud, you can enable modern industrial outcomes, such as process optimization, security, asset protection, visual inspection, and assisted workforce across the factory floor, while delivering improved customer experiences, such as predictable delivery lead times and real time updates.


Interactive demos and videos
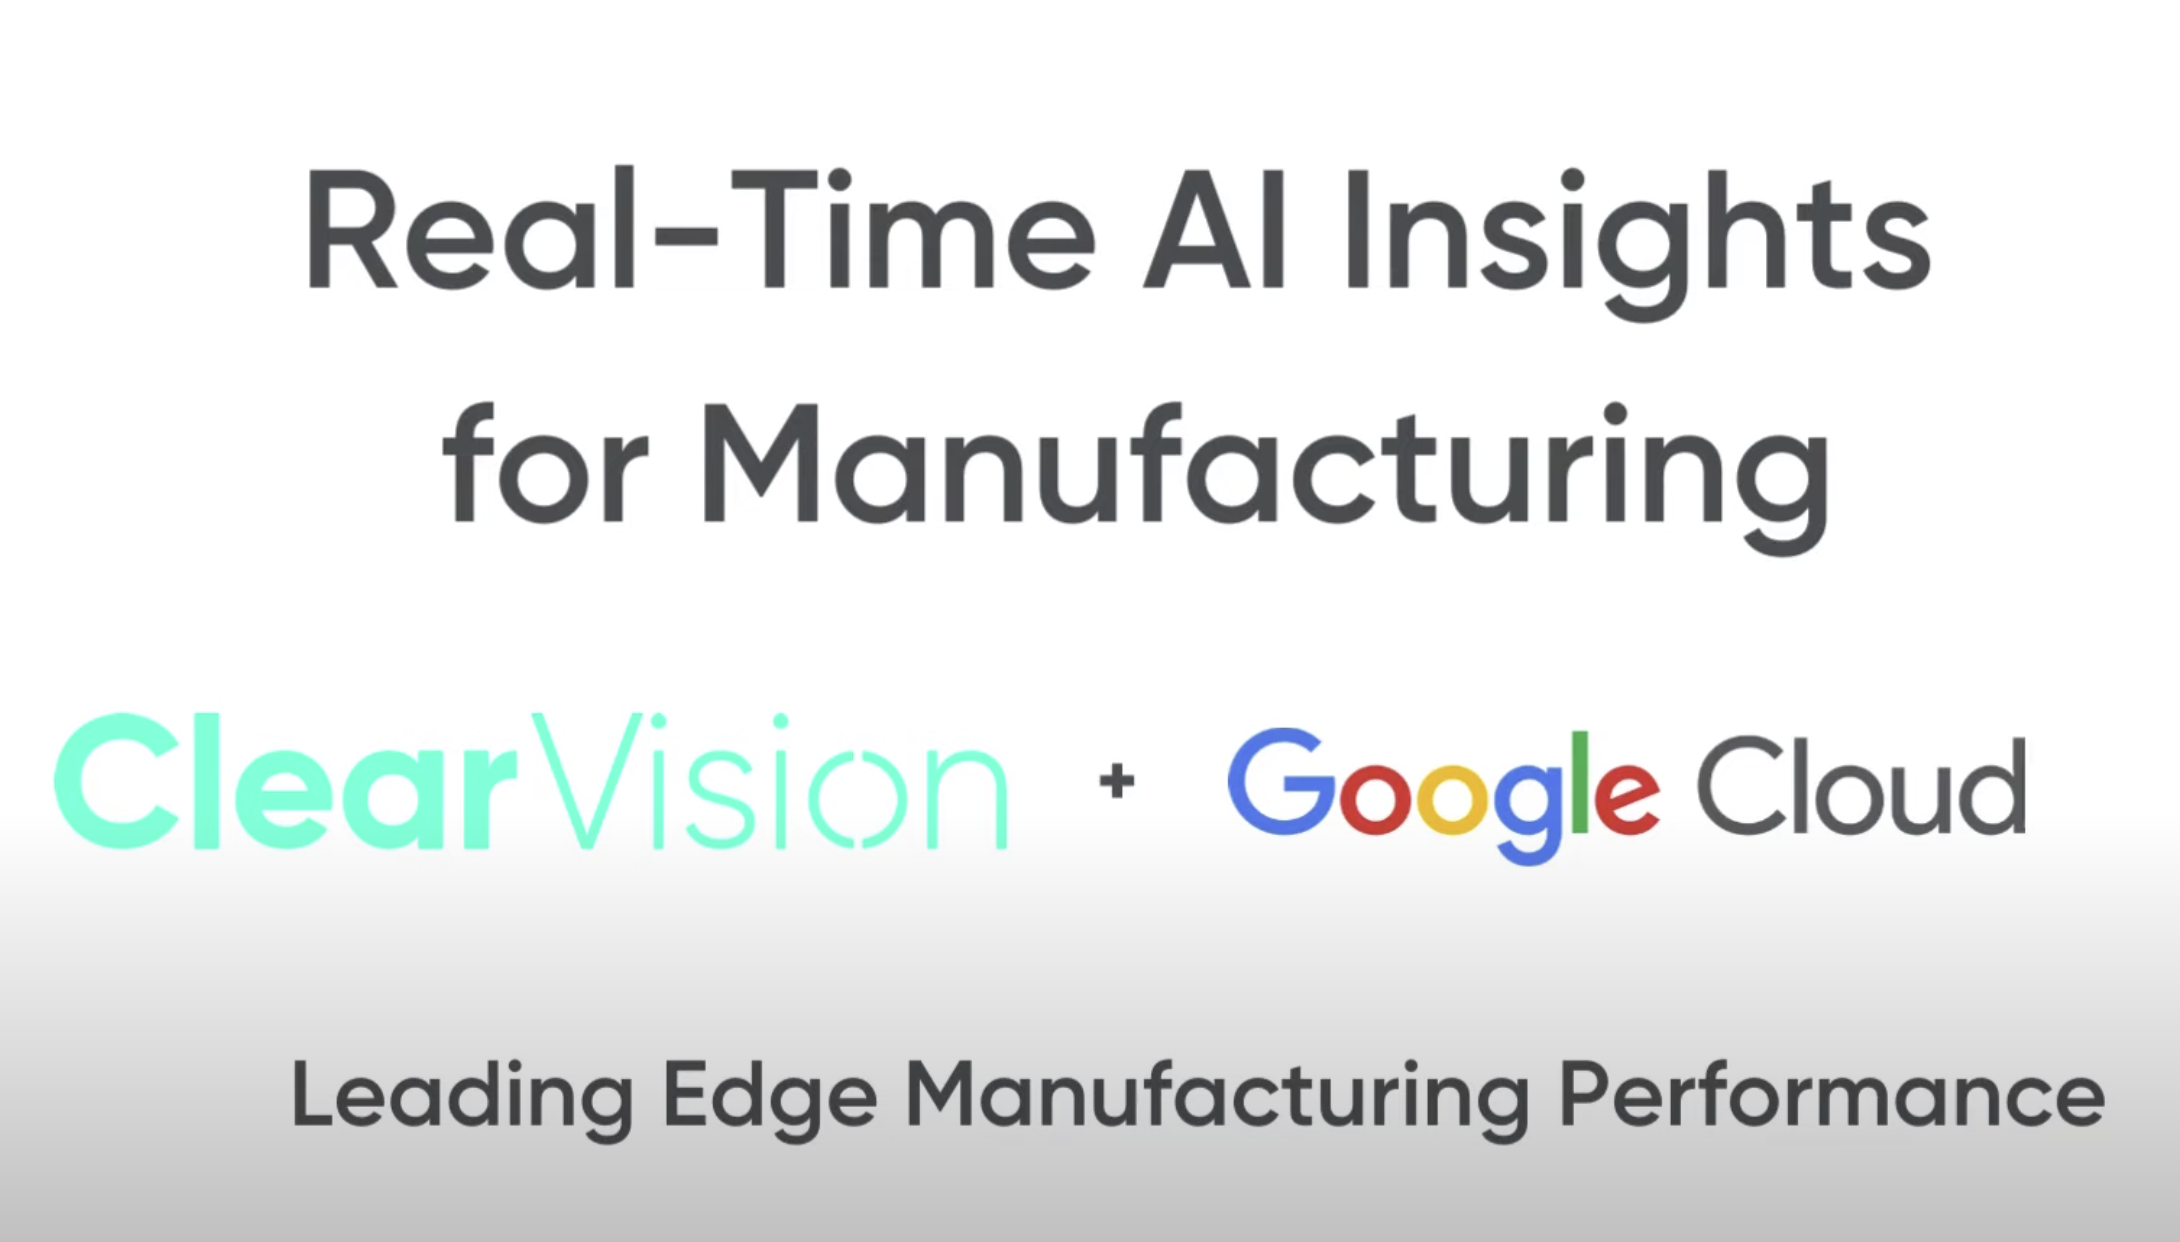
In this interactive demo created in collaboration with Google Cloud partner ClearObject, you can experience real-time anomaly detection on the factory floor solution, built with GDC connected and ClearVision for manufacturing.
How-tos
Deliver factory floor use cases directly on-site
Modernizing factory operations with legacy solutions can be difficult. With Google Distributed Cloud, you can enable modern industrial outcomes, such as process optimization, security, asset protection, visual inspection, and assisted workforce across the factory floor, while delivering improved customer experiences, such as predictable delivery lead times and real time updates.
Additional resources
Interactive demos and videos
In this interactive demo created in collaboration with Google Cloud partner ClearObject, you can experience real-time anomaly detection on the factory floor solution, built with GDC connected and ClearVision for manufacturing.
Transform telecommunications
Digitally transform from IT to networks with the latest AI
Modernizing and monetizing workflows for cloud solution providers (CSPs) can be expensive. In the 5G era, CSPs focus on activating data and analytics with AI and ML. A common operating model is needed to manage networks running across premises-based and cloud environments—from core to edge. Google’s flexibility optimizes deployment and operating costs—both essential to monetizing 5G investments.
How-tos
Digitally transform from IT to networks with the latest AI
Modernizing and monetizing workflows for cloud solution providers (CSPs) can be expensive. In the 5G era, CSPs focus on activating data and analytics with AI and ML. A common operating model is needed to manage networks running across premises-based and cloud environments—from core to edge. Google’s flexibility optimizes deployment and operating costs—both essential to monetizing 5G investments.
Pricing
| How our pricing works | Google Distributed Cloud pricing is based on Google Cloud services, storage, networking, and hardware configurations. | |
|---|---|---|
| Services and configurations | Details | Price (USD) |
AIR-GAPPED | Pricing is based on services consumed and capacity used. *Billing is computed in an air-gapped environment (not connected to Google Cloud), so consumption info is not visible in Google Cloud console. | Request a quote from a Google Cloud sales specialist for costs based on your requirements. |
CONNECTED | Managed kubernetes for containers and VMs on a 1U half-depth ruggedized server (optimized for retail and manufacturing). | Starting at $415 per node per month Five-year commitment is $1,245 per month for 3-node configuration |
Request a quote from Google Cloud sales based on your requirements.
How our pricing works
Google Distributed Cloud pricing is based on Google Cloud services, storage, networking, and hardware configurations.
AIR-GAPPED
Pricing is based on services consumed and capacity used.
*Billing is computed in an air-gapped environment (not connected to Google Cloud), so consumption info is not visible in Google Cloud console.
Request a quote from a Google Cloud sales specialist for costs based on your requirements.
CONNECTED
Managed kubernetes for containers and VMs on a 1U half-depth ruggedized server (optimized for retail and manufacturing).
Starting at
$415 per node per month
Five-year commitment is $1,245 per month for 3-node configuration
Request a quote from Google Cloud sales based on your requirements.
Need help getting started?
Partners & Integration
Partner with Google Distributed Cloud


All partners
Google Cloud Ready
Managed Google Distributed Cloud providers
Hardware partners
Service partners
Visit our partner directory to learn about these Google Distributed Cloud partners.
FAQ
What is a Google Cloud Ready partner and how does my company become one?
The Google Cloud Ready - Distributed Cloud validation recognizes partner solutions that have met a core set of functional and interoperability requirements. Through the process, partners closely collaborate with Google to provide new integrations to best support customer use cases. Learn more in the Google Cloud Ready - Distributed Cloud Partner Validation Guide.
What is a Managed Google Distributed Cloud provider and how does my company become one?
The Managed GDC Providers (MGP) is a strategic partnership initiative by Google Cloud Partner Advantage program designed to accelerate Google Distributed Cloud adoption by collaborating with specialized partners who are skilled in deploying, operating, and managing services. These MGPs form a comprehensive ecosystem, providing end-to-end Google Distributed Cloud solutions, including top-tier support, robust data security, and more. By offering Google Distributed Cloud as a managed service, MGPs empower businesses to scale efficiently while maintaining high service quality.
Are there datasheets on Google Distributed Cloud products?
Yes, here are the datasheets on the Google Distributed Cloud products available and their specs.
Where can I find more videos about Google Distributed Cloud?
Google Distributed Cloud YouTube playlist has a variety of content about driving data and AI transformation, accelerating cloud-native network adoption, and new monetization models. You can also see demos on our YouTube demo playlist, featuring managed edge hardware and software product configurations for enterprises and public sector to innovate with AI, keep data secure, and modernize with a Kubernetes-based consistent and open developer experience from edge to cloud.


