Cloud Workstations comes with a default base editor that lets you write, build, test, debug, and run your applications. The base editor is based on the Code-OSS open source project, supports IDE extensions provided with the Open VSX Registry, and comes with the Cloud Code IDE extension pre-installed.
To get started using the Cloud Workstations base editor:
- Follow the quickstart instructions to Create a workstation configuration. When prompted to select Environment customization, select Code OSS (default) as your code editor.
Follow the quickstart instructions to Create a workstation using the configuration that you just created.
In the Google Cloud console, go to the Cloud Workstations page to launch your workstation from the browser.
Activity bar
The Activity bar appears to the side and you can access the views available in the Cloud Workstations base editor. These Activity bar views are as follows:
 Explorer: view the folders and files in your current workspace
 Search: search your files for a string or regular expression
 Source Control: manage application files with the
Cloud Workstations base editor's Git support
Source Control: manage application files with the
Cloud Workstations base editor's Git support Debug: debug your application by setting breakpoints and inspecting
variables
Debug: debug your application by setting breakpoints and inspecting
variables Extensions: search through a catalog of extensions that add additional
features to your IDE
Extensions: search through a catalog of extensions that add additional
features to your IDE Cloud Code: create and deploy Google Cloud applications directly from
the IDE
Cloud Code: create and deploy Google Cloud applications directly from
the IDE Settings: customize the Cloud Workstations base editor to suit your
workflow
Settings: customize the Cloud Workstations base editor to suit your
workflow
View and edit files
The built-in code editor that lets you browse file directories and view and edit files inside your workstation.
To work with the base editor, follow these steps:
Use the Activity Bar to switch between views.
Use the Editor to view and edit your files.
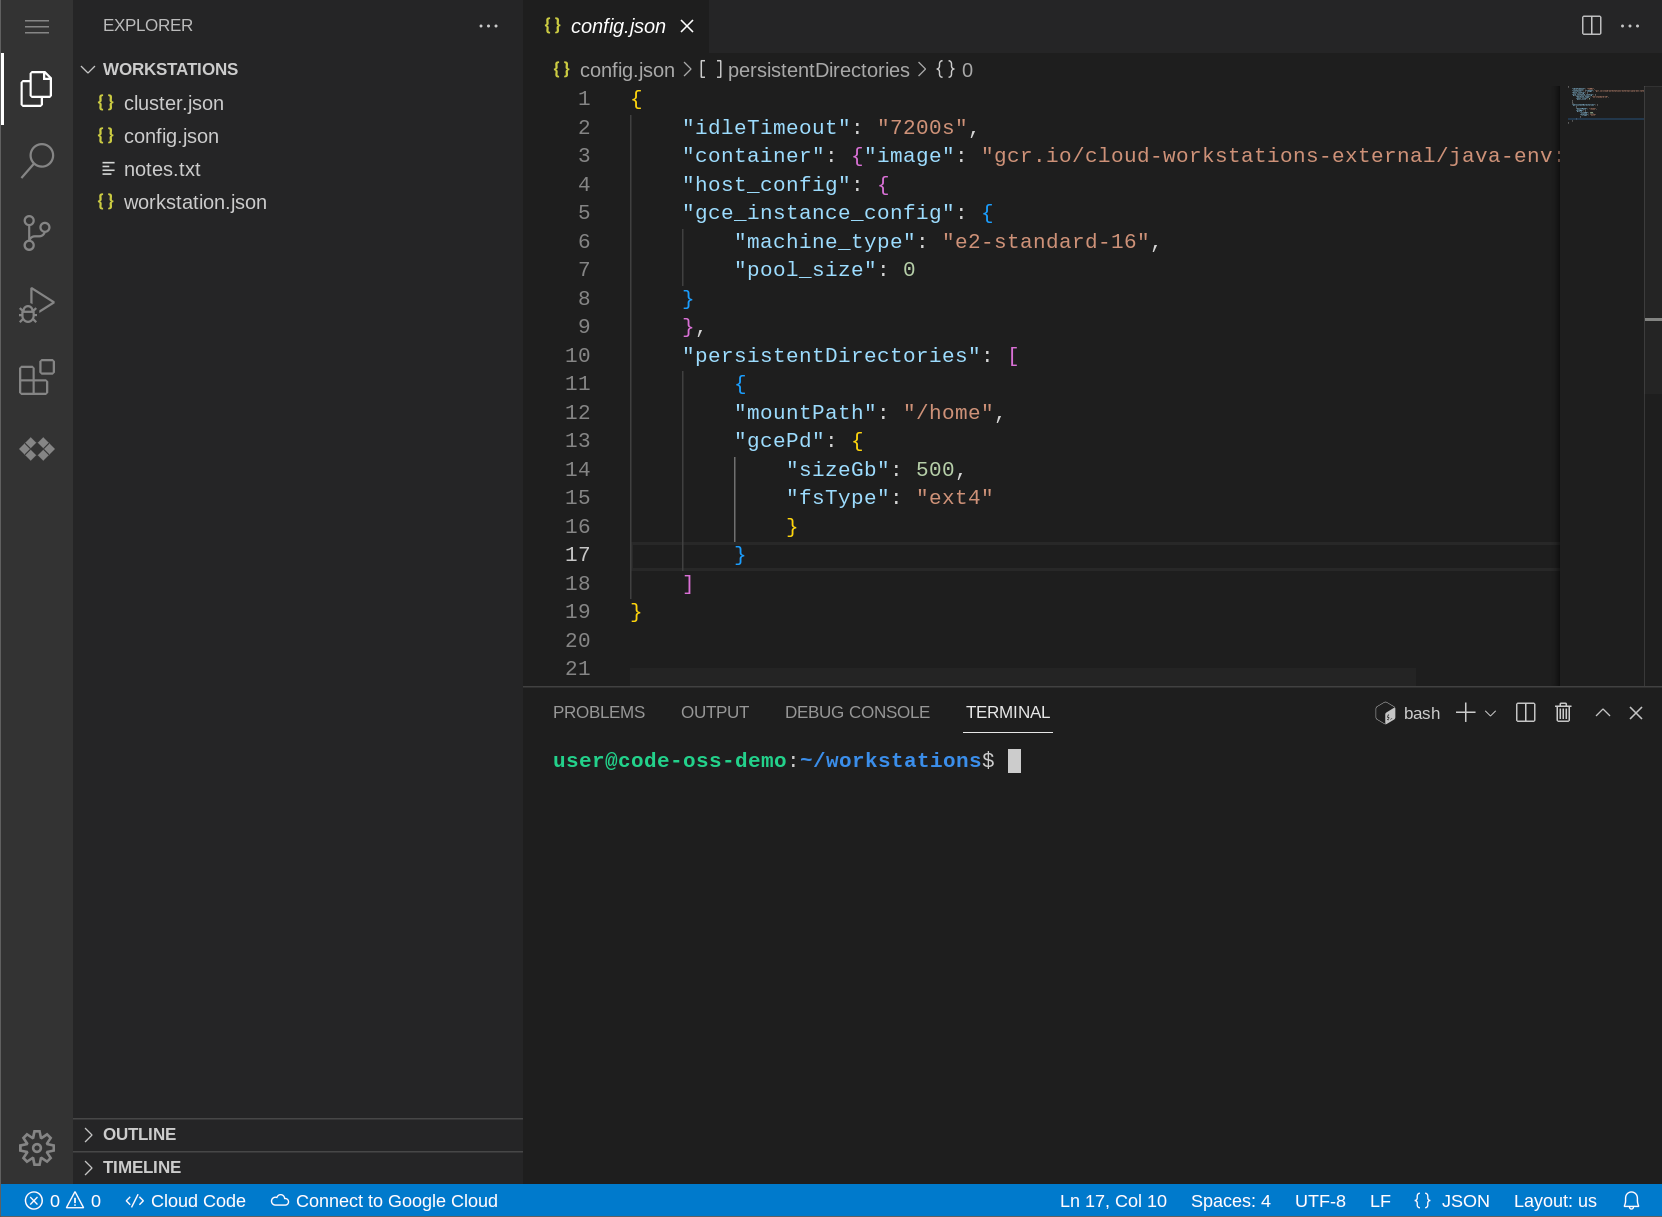
Use the Explorer view to browse through the file directories, upload and download files, preview web applications on a Cloud Workstations virtual machine instance, and view usage statistics.

Figure 1. Cloud Workstations base editor
Upload and download files and directories
To upload or download files and directories in the Code-OSS Explorer view, use any of the following methods:
Drag files over the Explorer view to add it to the workspace.
Navigate to the files and directories you would like to use, right-click, and then choose Upload or Download.
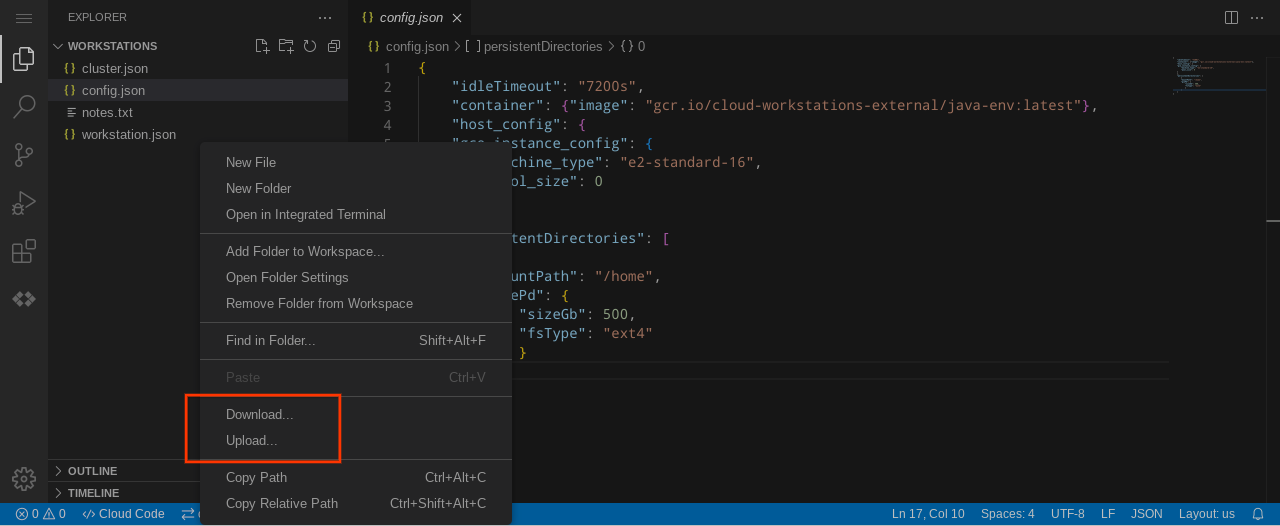
Figure 2. Right-click in Explorer view to upload and download files
Language support
The Cloud Workstations base editor supports languages such as Go, Python, Java, .NET Core, and Node.js through extensions, providing language features such as:
- Smart highlighting, code suggestions and context-based completions
- Linting and providing descriptive errors
- Code navigation (go to definitions, declarations, references, and implementations)
- Intuitive debugging support
Cloud Code integration
Cloud Code provides IDE support for the full development cycle of Kubernetes and Cloud Run applications, from creating and customizing a new application from sample applications to running your finished application. Cloud Code also supports you along the way with run-ready samples, configuration snippets, and a tailored debugging experience.
Cloud Code integrates with Gemini, an AI-powered collaborator, to simplify development. Use Gemini to accomplish tasks more effectively and efficiently.
Cloud Code supports the development of applications in Node.js, Python, Java, Go, and .NET Core.
In addition to the Cloud Code menu available in the status bar of Cloud Workstations, you can also access Cloud Code commands through the command palette. To open the command palette, press Control+Shift+P (or Command+Shift+P on macOS), or click View > Command Palette.
Version control support
The Cloud Workstations base editor comes with pre-configured version control. You can initialize repositories, diff between file states, stage, unstage, and commit changes. You can also use public, private, or even self-hosted repositories, as long as the repositories are accessible from the workstation.
Workspace management
With Cloud Workstations, you can manage and configure your projects as workspaces. Workspaces usually represent your root project folder and with the Cloud Workstations base editor, you can create, open, and save workspaces as well as customize them with project-specific settings.
To open a folder as a workspace, use the menu at the top of the activity bar and
select File > Open Folder. Alternatively, you may use
the Open File or Recent Workspace options on the Welcome Page of the
base editor, or use the URL parameter folder to specify the path of the folder
you want to open—for example, &folder=/home/user/foo.
Debug applications
Cloud Workstations lets you debug your application, with support for Go, Node.js, Python, and Java applications. You can create launch configurations, set breakpoints, and inspect variables, all within Cloud Workstations.
Additionally, you can debug Kubernetes applications on a local cluster such as minikube or Docker Desktop, a remote cluster on GKE, or any other Cloud provider.
Integrated terminal
You can interact with your underlying development environment through the integrated terminal. Use any of the following methods to toggle the terminal view on and off:
- Press
Control+. - Press Control+Shift+P (or Command+Shift+P on macOS), or click
View > Command Palette, and then enter
View: Toggle Terminal. - Select Terminal > New Terminal.
- Select View > Terminal.
- Click addAdd in the terminal tab list.
To open multiple terminal windows, click ![]() Split, or
press Control+Shift+5.
Split, or
press Control+Shift+5.
Manage and customize terminal tabs
If you open multiple terminals, a terminal tabs list appears on the side of the terminal view. This list contains names of open terminals.
When you select a terminal name in the list,
 Split and
  Delete icons
appear. Click the respective icon to split or delete a terminal window.
Delete icons
appear. Click the respective icon to split or delete a terminal window.To see additional terminal options such as Move Terminal into Editor Area, Rename, Change Color, Change Icon, and more, right-click on a terminal name.
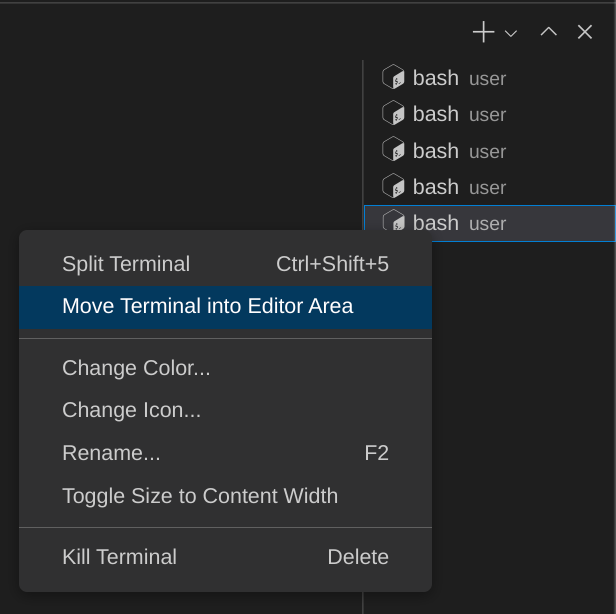
Figure 5. Customize your terminal
Scroll the display
In addition to using your mouse while browser focus is on a session tab, you can scroll by pressing Control+Shift+PageUp and Control+Shift+PageDn on Windows and Linux (or Fn+Shift+Up and Fn+Shift+Down on macOS).
Customize settings
To customize the editor, user interface, and functional behavior, the Cloud Workstations base editor provides the following scopes for defining settings:
Machine Settings: Settings that apply globally when you connect to a Cloud Workstations virtual instance and that appear on your workstation in the
$HOME/.codeoss-cloudworkstations/data/Machine/settings.jsonfile.User Settings: Settings that apply globally when you connect to a Cloud Workstations virtual instance and that persist in browser storage for each workstation instance.
Workspace Settings: Settings stored inside a workspace that only apply when opening that workspace. These settings appear with your workspace files in the
$WORKSPACE_ROOT/.vscode/settings.jsonfile.
The editor evaluates each settings scope respectively.
Keyboard shortcuts
Because the default base editor runs in the browser, some keyboard shortcuts might be reserved by the browser and not captured by the editor.
To support all keyboard shortcuts, the default base editor bundles a Progressive Web App (PWA) that allows the editor to capture these shortcuts.
To use the PWA:
- Open the Workstation in your browser.
- Click the installation icon that appears in your browser's address bar.
The PWA should then be installed and the Workstation reopens in the PWA. On subsequent loads of your Workstation the browser presents an option to reopen the Workstation in the PWA in the address bar.