了解如何使用 Imagen on Vertex AI 的文本转图片功能并对生成的图片验证数字水印 (SynthID)。本快速入门介绍如何在Google Cloud 控制台中使用 Imagen 图片生成。
Imageer on Vertex AI 价格取决于您使用的功能。如需了解详情,请参阅价格。
准备工作
- Sign in to your Google Cloud account. If you're new to Google Cloud, create an account to evaluate how our products perform in real-world scenarios. New customers also get $300 in free credits to run, test, and deploy workloads.
-
In the Google Cloud console, on the project selector page, select or create a Google Cloud project.
Roles required to select or create a project
- Select a project: Selecting a project doesn't require a specific IAM role—you can select any project that you've been granted a role on.
-
Create a project: To create a project, you need the Project Creator
(
roles/resourcemanager.projectCreator), which contains theresourcemanager.projects.createpermission. Learn how to grant roles.
-
Verify that billing is enabled for your Google Cloud project.
-
Enable the Vertex AI API.
Roles required to enable APIs
To enable APIs, you need the Service Usage Admin IAM role (
roles/serviceusage.serviceUsageAdmin), which contains theserviceusage.services.enablepermission. Learn how to grant roles. -
Make sure that you have the following role or roles on the project: Vertex AI User
Check for the roles
-
In the Google Cloud console, go to the IAM page.
Go to IAM - Select the project.
-
In the Principal column, find all rows that identify you or a group that you're included in. To learn which groups you're included in, contact your administrator.
- For all rows that specify or include you, check the Role column to see whether the list of roles includes the required roles.
Grant the roles
-
In the Google Cloud console, go to the IAM page.
前往 IAM - 选择项目。
- 点击 授予访问权限。
-
在新的主账号字段中,输入您的用户标识符。 这通常是 Google 账号的电子邮件地址。
- 在选择角色列表中,选择一个角色。
- 如需授予其他角色,请点击 添加其他角色,然后添加其他各个角色。
- 点击 Save(保存)。
-
-
In the Google Cloud console, on the project selector page, select or create a Google Cloud project.
Roles required to select or create a project
- Select a project: Selecting a project doesn't require a specific IAM role—you can select any project that you've been granted a role on.
-
Create a project: To create a project, you need the Project Creator
(
roles/resourcemanager.projectCreator), which contains theresourcemanager.projects.createpermission. Learn how to grant roles.
-
Verify that billing is enabled for your Google Cloud project.
-
Enable the Vertex AI API.
Roles required to enable APIs
To enable APIs, you need the Service Usage Admin IAM role (
roles/serviceusage.serviceUsageAdmin), which contains theserviceusage.services.enablepermission. Learn how to grant roles. -
Make sure that you have the following role or roles on the project: Vertex AI User
Check for the roles
-
In the Google Cloud console, go to the IAM page.
Go to IAM - Select the project.
-
In the Principal column, find all rows that identify you or a group that you're included in. To learn which groups you're included in, contact your administrator.
- For all rows that specify or include you, check the Role column to see whether the list of roles includes the required roles.
Grant the roles
-
In the Google Cloud console, go to the IAM page.
前往 IAM - 选择项目。
- 点击 授予访问权限。
-
在新的主账号字段中,输入您的用户标识符。 这通常是 Google 账号的电子邮件地址。
- 在选择角色列表中,选择一个角色。
- 如需授予其他角色,请点击 添加其他角色,然后添加其他各个角色。
- 点击 Save(保存)。
-
在 Google Cloud 控制台中,依次前往 Vertex AI > Media Studio 页面。
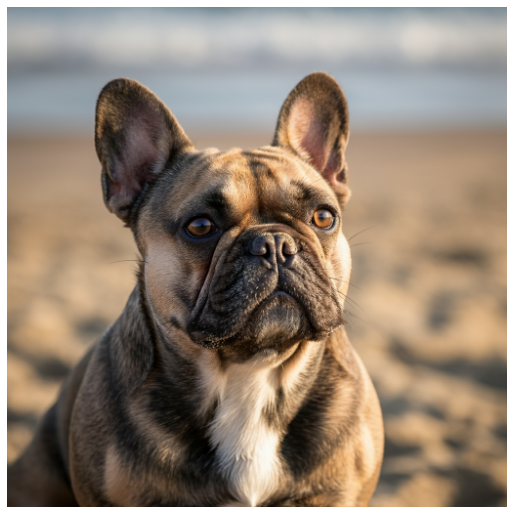
在提示(在此处输入提示)字段中,输入以下提示:
portrait of a french bulldog at the beach, 85mm f/2.8如果未选择,请在参数面板的模型选项框中选择
Imagen 3。如果未选择,请在参数面板的宽高比部分中选择
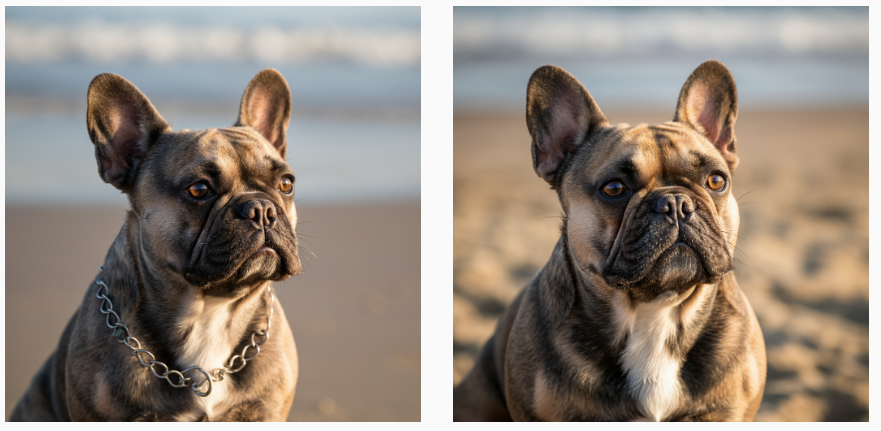
1:1。在结果数量部分中,将结果数量更改为
2。点击 生成。
生成的图片类似于以下图片:
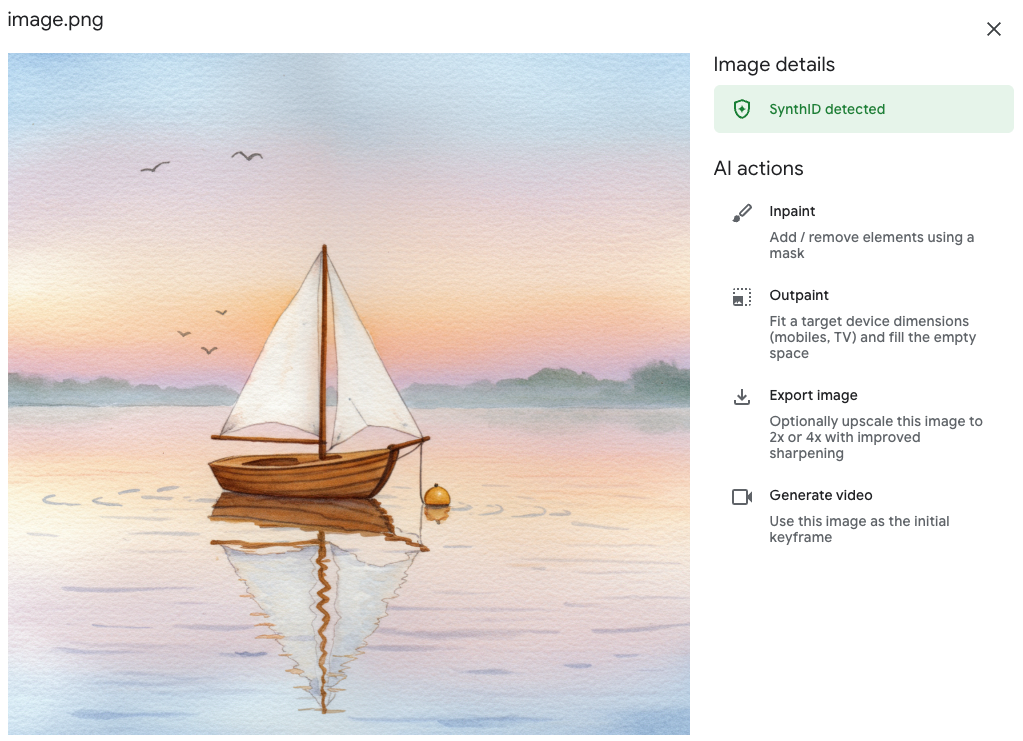
如需保存图片的本地副本,请点击其中一个图片。
在打开的图片详情窗口中,点击导出。
在导出图片对话框中,点击导出。
在图片详情窗口中,点击导出。
在下方面板中,点击验证。
点击上传图片。
选择本地保存的生成的图片。
- In the Google Cloud console, go to the Manage resources page.
- In the project list, select the project that you want to delete, and then click Delete.
- In the dialog, type the project ID, and then click Shut down to delete the project.
- 如需了解所有图像生成式 AI 功能,请参阅 Imagen on Vertex AI 概览。
- 阅读 Imagen on Vertex AI 的使用指南。
- 在 Model Garden 中探索更多预训练模型。
- 了解 Responsible AI 最佳实践和 Vertex AI 的安全过滤条件。
生成图片并保存本地副本
使用 Google Cloud 控制台发送文本到图像生成请求。
验证图片的数字水印
生成带水印的图片后,您可以验证新图片的数字水印。
恭喜!您刚刚使用 Imagen 文本到图像生成功能创建了新图片并验证其中一个图片的数字水印。
清理
为避免因本页中使用的资源导致您的 Google Cloud 账号产生费用,请按照以下步骤操作。