Stay organized with collections
Save and categorize content based on your preferences.
After the VM is Fully Cached and you want to start the
detach
process, you need to prepare the VM for detaching from Velostrata.
This task moves the VM disks from the Velostrata cache and object
store and creates native disks in Google Cloud.
Preparing to detach a VM
To detach a VM, Velostrata deploys an exporter instance to
Google Cloud. The exporter runs through all data disks and converts them
to native cloud disks, after this first iteration is completed, the exporter
continues to write the changes committed since its previous execution. This task
runs in cycles. After 3 cycles, the VM is marked as Ready to Detach.
The Velostrata exporter continues to synchronize the VM disks
until detached or until manually stopped. After the VM is in
the Ready to Detach state you need to schedule downtime for the detach action,
rebooting the VM, and changing any network configuration necessary for your
application.
The VM must be in the Fully Cached state prior to running the Preparing to
Detach task. If the VM is not in the Fully Cached state, first run the
procedure to migrate the VM storage to the cloud.
When working in cache mode, all cached data is stored in encrypted disks
attached to the Velostrata Cloud Extension.
Using the Velostrata vCenter Plugin
In the vSphere Web Client, select the virtual machine.
Right-click the VM and select Velostrata Operations > Migration Operations
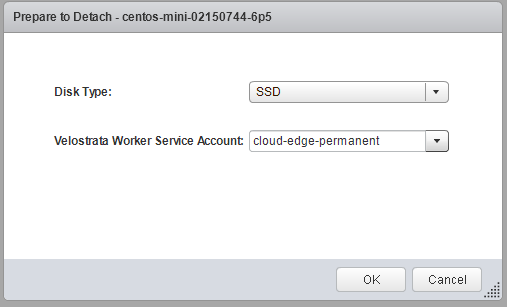
> Prepare Detach.
Select the Disk Type and relevant service account for the Velostrata
Worker, and then click OK.
Screenshot of the Prepare to Detach dialog box (click to enlarge)
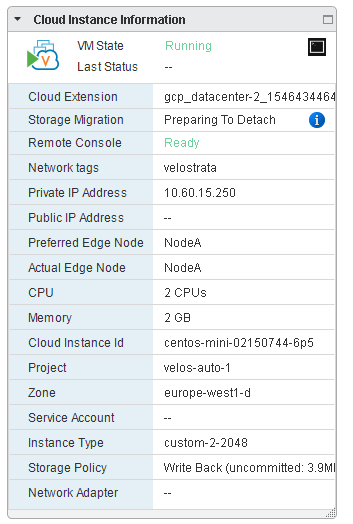
Monitor the detachment progress in the Summary tab.
Screenshot of monitoring the detachment (click to enlarge)
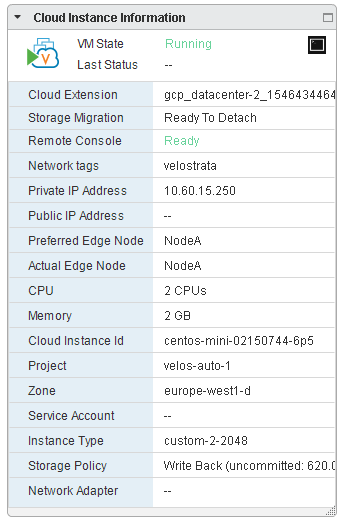
The VM is ready to detach when Ready to Detach is shown in the Storage
Migration field.
Screenshot of when the VM is ready to detach (click to enlarge)
Detaching the VM
After the Preparing to Detach task completes successfully, you can detach the
VM. You must assign a scheduled downtime slot for detaching. Detaching is a
sequence in which the VM shuts down, performs necessary last synchronization
including adjusting instance size, attaches the native disks to the instance,
and starts the instance.
After you detach the VM, perform any required validation that the VM is
functioning correctly, and then either clean up or rollback (if you do not want
to detach the VM from Velostrata). More information in the
Starting the detach cleanup section.
Using the Velostrata vCenter Plugin
In the vSphere Web Client, select the virtual machine.
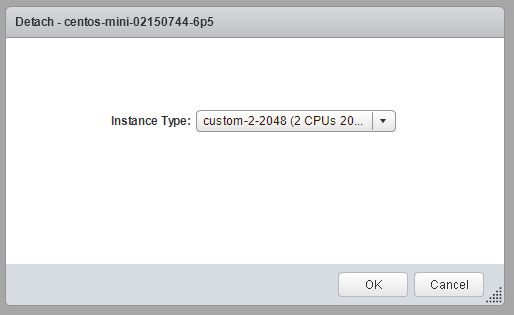
Right-click the VM and select Velostrata Operations > Migration Operations > Detach.
Select a new instance type (optional) and click OK.
Screenshot of selecting an instance type (click to enlarge)
You can monitor the detach progress from vCenter:
Screenshot of detachment progress (click to enlarge)
After the detach process is completed, Detached is shown in the Storage
Migration field.
Starting the detach cleanup
After the VM is detached and you have completed any required validation, you
can start the detach cleanup. The cleanup marks the VM as unmanaged by
Velostrata and removes the (temporary) storage objects. After you
run the detach cleanup, vCenter manages the VM. If you do not want to complete
the detach cleanup and you want to revert back, you can move the VM back to
fully cached.
Using the Velostrata vCenter Plugin
In the vSphere Web Client, select the virtual machine.
Right-click the VM and select Velostrata Operations > Migration Operations
> Cleanup.
Enter the number and then click OK.
If you want to force a clean up, select Force Clean up. The storage
migration state changes to Cleaning Up. After the clean up process is
completed, the VM is no longer managed by Velostrata, and is
instead managed by vSphere.
Screenshot of unmanaged state (click to enlarge)
Cancelling the detach
When the VM state is in the Ready to Detach state or after the VM is detached
and you want to revert to using the Velostrata cache, you can stop
or cancel the detach process. This deletes the Google Cloud
persistent disk created for the detached instance, and moves the VM back
to being fully cached.
Using the Velostrata vCenter Plugin
In the vSphere Web Client, select the virtual machine.
Right-click the VM and select Velostrata Operations > Migration Operations
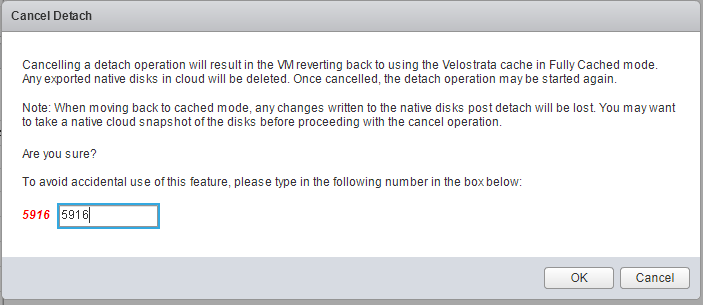
> Cancel Detach.
Type in four digits to confirm that you want to cancel.
Screenshot of Cancel Detach dialog box (click to enlarge)
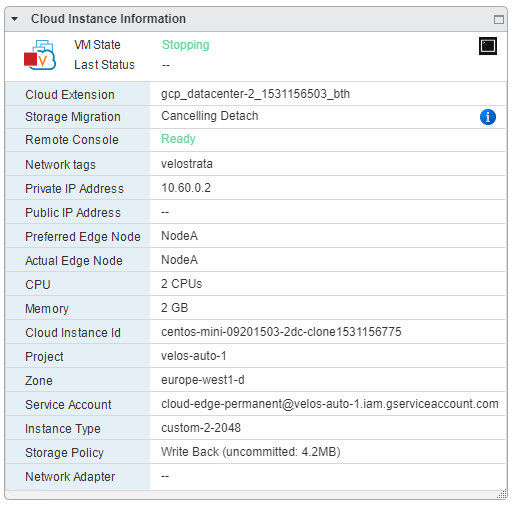
After you confirm, the storage migration state changes to Cancelling Detach.
Screenshot of Cancelling Detach status (click to enlarge)
When the cancellation is complete, the storage migration state changes back
to Fully Cached.