跟踪视频中的对象
创建(训练)完模型后,您可以使用 batchPredict 方法请求对一个或多个视频执行预测。您可以为 batchPredict 方法提供包含一系列视频的 CSV 文件batchPredict 方法通过检测和跟踪模型预测的对象为视频加注释。
模型的最长使用期限为两年。两年后,您必须创建并训练新模型,才能继续为视频添加注释。
预测示例
要从 AutoML Video 对象跟踪请求批量预测,请创建一个 CSV 文件,在其中列出了您要添加注释的视频的 Cloud Storage 路径。您还可以指定开始时间和结束时间,指示 AutoML Video 对象跟踪仅对一段视频添加注释。开始时间必须等于或大于零,必须早于结束时间。结束时间必须晚于开始时间,并且必须小于或等于视频的时长。
以下示例展示了如何通过将开始时间和结束时间指定为 0,inf 来为整个视频添加注释。
gs://my-videos-vcm/cow_video.mp4,0,inf
gs://my-videos-vcm/bird_video.mp4,10.00000,15.50000
您还必须指定输出文件路径,AutoML Video 对象跟踪会将您模型的预测结果写到该路径下。该路径必须是您有写入权限的 Cloud Storage 存储桶和对象。
每个视频的时长上限为 3 小时,文件大小上限为 50GB。 AutoML Video Object Tracking 可以在 12 个小时的处理时间内为大约 100 小时的视频生成预测。
网页界面
- 打开 AutoML Video 对象跟踪界面。
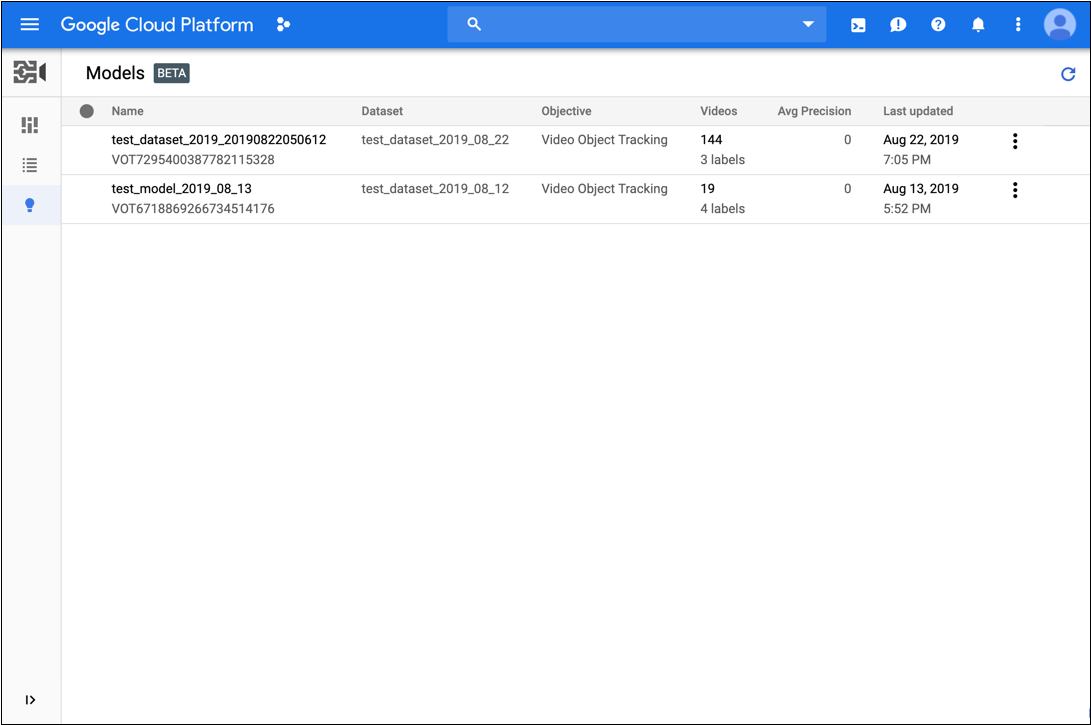
- 从显示的列表中点击要使用的模型。
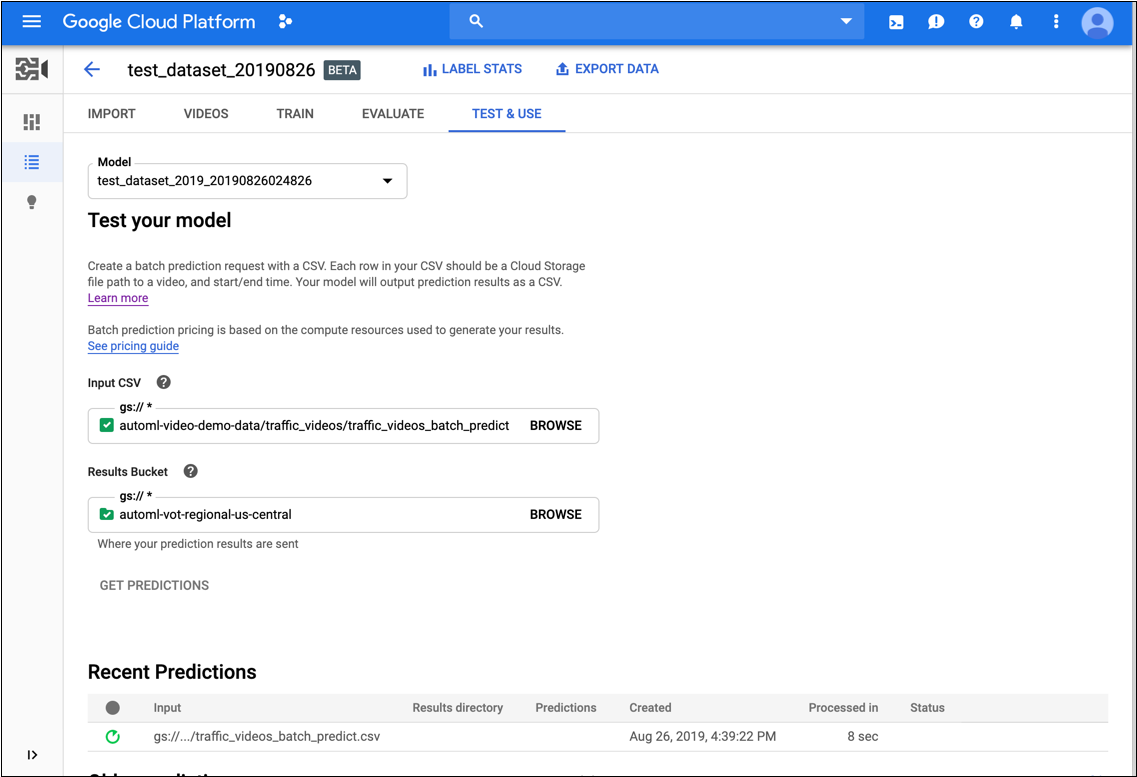
- 在模型的测试和使用标签页上,执行以下操作:
- 在测试您的模型下,选择要用于预测的 CSV 文件。CSV 文件必须提供要添加注释的视频的列表。
此外,在测试模型下,选择 Cloud Storage 存储桶中的一个目录以接收注解结果。
实际上,您可能想要在 Cloud Storage 存储桶中创建一个特定的“结果”文件夹以用于保存注解结果。
- 点击获取预测。
获取预测结果的过程可能需要一些时间,具体取决于要添加注释的视频数量。
该过程完成后,结果将显示在该模型页面中最近的预测下方。要查看结果,请执行以下操作:
- 在预测列的最近的预测下,点击要查看的预测结果所对应的查看。
- 在视频下,选择要查看其结果的视频的名称。
REST
在使用任何请求数据之前,请先进行以下替换:
- model-id:替换为您的模型 ID。此 ID 是模型名称的最后一个元素。例如,如果模型的名称为
projects/project-number/locations/location-id/models/VOT6312181905852727296,则模型 ID 为VOT6312181905852727296。 - request-id:为此字段分配任何数字价值。
- bucket-name:替换为您的 Cloud Storage 存储桶名称。例如:
my-project-vcm。 - input-file:替换为 CSV 文件(标识要添加注释的视频)的名称。
- output-storage-path:替换为要存储预测输出的 Cloud Storage 存储桶的路径。AutoML Video 对象跟踪将为此路径中的结果创建一个子文件夹,其名称采用以下格式:
prediction-model_name-timestamp。该子文件夹将包含批量请求中每个视频的预测结果文件。您必须拥有此路径的写入权限。 - 注意:
- project-number:您的项目编号
- location-id:在其中添加注解的 Cloud 区域。支持的云区域为:
us-east1、us-west1、europe-west1、asia-east1。如果未指定区域,系统将根据视频文件位置确定区域。
HTTP 方法和网址:
POST https://automl.googleapis.com/v1beta1/projects/project-number/locations/location-id/models/model-id:batchPredict
请求 JSON 正文:
{
  "request_id": "request-id",
  "inputConfig": {
    "gcsSource": {
      "inputUris": ["gs://bucket-name/input-file.csv"]
    }
  },
  "outputConfig": {
    "gcsDestination": {
      "outputUriPrefix": "gs://output-storage-path"
    }
  },
  "params": {
    "score_threshold": "0.0"
  }
}
如需发送请求,请选择以下方式之一:
curl
将请求正文保存在名为 request.json 的文件中,然后执行以下命令:
curl -X POST \
     -H "Authorization: Bearer $(gcloud auth print-access-token)" \
     -H "x-goog-user-project: project-number" \
     -H "Content-Type: application/json; charset=utf-8" \
     -d @request.json \
     "https://automl.googleapis.com/v1beta1/projects/project-number/locations/location-id/models/model-id:batchPredict"
PowerShell
将请求正文保存在名为 request.json 的文件中,然后执行以下命令:
$cred = gcloud auth print-access-token
$headers = @{ "Authorization" = "Bearer $cred"; "x-goog-user-project" = "project-number" }

Invoke-WebRequest `
    -Method POST `
    -Headers $headers `
    -ContentType: "application/json; charset=utf-8" `
    -InFile request.json `
    -Uri "https://automl.googleapis.com/v1beta1/projects/project-number/locations/location-id/models/model-id:batchPredict" | Select-Object -Expand Content
VOT1741767155885539328 的响应。
Java
如需向 AutoML Video Object Tracking 进行身份验证,请设置应用默认凭据。如需了解详情,请参阅为本地开发环境设置身份验证。
Node.js
如需向 AutoML Video Object Tracking 进行身份验证,请设置应用默认凭据。如需了解详情,请参阅为本地开发环境设置身份验证。
Python
如需向 AutoML Video Object Tracking 进行身份验证,请设置应用默认凭据。如需了解详情,请参阅为本地开发环境设置身份验证。
获取预测操作的状态
您可以使用以下 curl 或 PowerShell 命令查询批量预测操作的状态。
REST
在使用任何请求数据之前,请先进行以下替换:
- project-number:您项目的编号
- location-id:在其中添加注解的 Cloud 区域。支持的云区域为:
us-east1、us-west1、europe-west1、asia-east1。如果未指定区域,系统将根据视频文件位置确定区域。 - operation-id:是为请求创建的长时间运行的操作的 ID,并在启动操作时在响应中提供,例如
VOT12345....
HTTP 方法和网址:
GET https://automl.googleapis.com/v1beta1/projects/project-number/locations/location-id/operations/operation-id
如需发送请求,请选择以下方式之一:
curl
执行以下命令:
curl -X GET \
     -H "Authorization: Bearer $(gcloud auth print-access-token)" \
     -H "x-goog-user-project: project-number" \
     "https://automl.googleapis.com/v1beta1/projects/project-number/locations/location-id/operations/operation-id"
PowerShell
执行以下命令:
$cred = gcloud auth print-access-token
$headers = @{ "Authorization" = "Bearer $cred"; "x-goog-user-project" = "project-number" }

Invoke-WebRequest `
    -Method GET `
    -Headers $headers `
    -Uri "https://automl.googleapis.com/v1beta1/projects/project-number/locations/location-id/operations/operation-id" | Select-Object -Expand Content
projects/project-number/locations/location-id/operations/operation-id 格式
批量预测任务完成后,预测输出结果将存储在您在命令中指定的 Cloud Storage 存储桶中。每个视频片段都有一个 JSON 文件。JSON 文件的格式类似于 my-video-01.avi.json,其中文件扩展名 .json 附加到原始文件名。
{
  "inputUris": ["automl-video-demo-data/sample_video.avi"],
  "object_annotations": [ {
    "annotation_spec": {
      "display_name": "Cat",
      "description": "Cat"
    },
    "confidence": 0.43253016
    "frames": [ {
      "frame": {
        "time_offset": {
          "seconds": 4,
          "nanos": 960000000
        },
        "normalized_bounding_box": {
          "x_min": 0.1,
          "y_min": 0.1,
          "x_max": 0.8,
          "y_max": 0.8
        }
      }
    }, {
      "frame": {
        "time_offset": {
          "seconds": 5,
          "nanos": 960000000
        },
        "normalized_bounding_box": {
          "x_min": 0.2,
          "y_min": 0.2,
          "x_max": 0.9,
          "y_max": 0.9
        }
      }
    } ],
    "segment": {
      "start_time_offset": {
          "seconds": 4,
          "nanos": 960000000
      },
      "end_time_offset": {
          "seconds": 5,
          "nanos": 960000000
      }
    }
  } ],
  "error": {
    "details": [ ]
  }
}