이 가이드에서는 리치 콘텐츠를 Dialogflow Messenger로 보내는 방법을 설명합니다.
1단계: 에이전트에서 addRichContent 도구 만들기
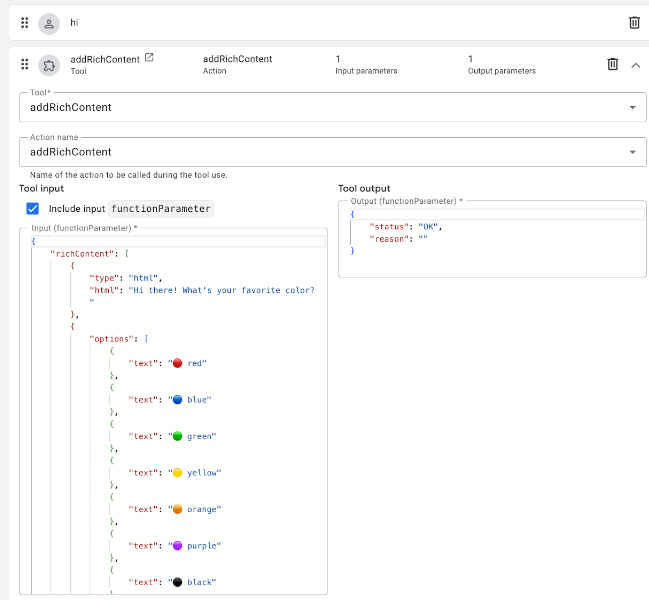
다음 데이터로 addRichContent라는 함수 도구를 만듭니다.
도구 입력:
properties: {}
type: object
도구 출력:
properties:
  status:
    type: string
  reason:
    type: string
type: object
2단계: 이 도구를 사용하는 방법을 에이전트에게 알리기
안내 및 예시로 도구 사용 방법을 에이전트에게 알립니다.
예를 들어 지침에 다음과 같은 내용을 추가하세요.
-  Greet  the  user
-  Ask  the  user  what  their  favorite  color  is.
   At  the  same  time  run  ${TOOL:  addRichContent}  to  display  buttons
   for  blue,  red,  yellow,  and  green.
-  Thank  the  user
예를 들어 다음과 같은 예시를 만듭니다.
리치 콘텐츠의 구문은 흐름 기반 가상 에이전트에서 커스텀 페이로드를 반환하는 경우 사용하는 것과 동일합니다.
3단계: JavaScript 정의
df-messenger를 호스팅하는 페이지의 코드에서 df-messenger에 리치 콘텐츠를 렌더링하도록 지시하는 함수를 정의하는 JavaScript 코드를 만들어야 합니다.
또한 가상 에이전트에 필요할 때 함수를 실행할 수 있도록 df-messenger로 해당 함수를 등록해야 합니다.
dfMessenger 변수가 선언되었고 df-messenger 인스턴스를 가리키는지 확인합니다.
다음은 이 용도로 사용할 수 있는 몇 가지 예시 코드입니다.
const dfMessenger = document.querySelector('df-messenger');

function  addRichContent(customPayload)  {
  dfMessenger.renderCustomCard(customPayload.richContent);

  // add error handling

  return  Promise.resolve({  status:  "OK",  reason:  null  });
}

// substitute your own tool id

const  toolId  =  'projects/PROJECT_ID/locations/LOCATION/agents/AGENT_ID/tools/TOOL_ID'
dfMessenger.registerClientSideFunction(toolId,  addRichContent.name,  addRichContent);