下位認証局を作成する
このページでは、CA プールで下位認証局(CA)を作成する方法について説明します。
下位 CA は、ユーザー、コンピュータ、デバイスなどのエンド エンティティに直接証明書を発行します。下位 CA は、親 CA(多くの場合ルート CA)によって暗号で署名されます。その結果、ルート CA を信頼するシステムは、下位 CA と、下位 CA が発行するエンド エンティティ証明書を自動的に信頼します。
始める前に
- CA Service オペレーション マネージャー(
roles/privateca.caManager)または CA Service 管理者(roles/privateca.admin)の IAM ロールがあることを確認します。詳細については、IAM ポリシーを構成するをご覧ください。 - CA プールを作成します。
- ルート CA を選択します。
下位 CA を作成する
下位 CA は、ルート CA よりも取り消しとローテーションが容易です。証明書発行のシナリオが複数ある場合は、それぞれのシナリオに下位 CA を作成できます。複数の下位 CA を CA プールに追加すると、証明書リクエストのロード バランシングを改善し、有効 QPS の合計をより高い値で達成できます。
下位 CA を作成するには、次の手順を行います。
Console
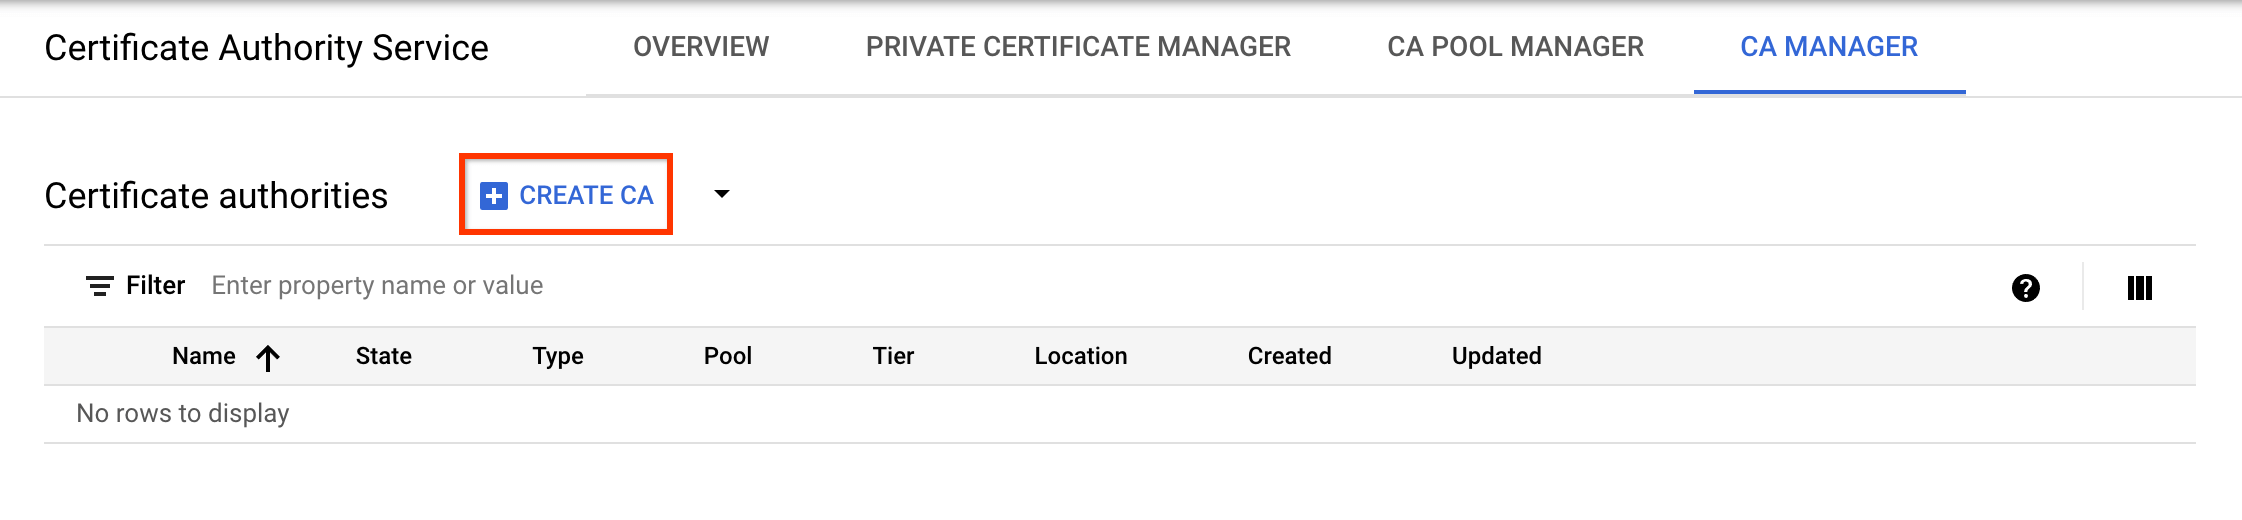
Google Cloud コンソールの [Certificate Authority Service] ページに移動します。
[CA マネージャー] タブをクリックします。
[CA を作成] をクリックします。
CA タイプの選択
- [下位 CA] をクリックします。
- [ルート CA は Google Cloud 内] をクリックします。
- [有効期間] フィールドに、CA 証明書の有効期間を入力します。
- 省略可: CA のティアを選択します。デフォルトのティアは Enterprise です。詳細については、オペレーション ティアを選択するをご覧ください。
- [リージョン] をクリックして、CA のロケーションを選択します。詳細については、ロケーションをご覧ください。
- 省略可: [初期化された状態] で、CA の作成時に設定する必要がある状態を選択します。
- 省略可: [発行シナリオの設定] で [証明書プロファイル] をクリックし、要件に最適な証明書プロファイルをリストから選択します。詳細については、証明書プロファイルをご覧ください。
- [次へ] をクリックします。
- [組織(O)] フィールドに、組織の名前を入力します。
- 省略可: [組織部門(OU)] フィールドに、会社の部門またはビジネス ユニットを入力します。
- 省略可: [国名] フィールドに、2 文字の国コードを入力します。
- 省略可: [州または省名] フィールドに、州名を入力します。
- 省略可: [地域名] フィールドに、都市の名前を入力します。
- [CA 共通名(CN)] フィールドに、CA 名を入力します。
- [プール ID] フィールドに、CA プールの名前を入力します。CA の作成後に CA プールを変更することはできません。
- [次へ] をクリックします。
- 自社のニーズに最適な鍵アルゴリズムを選択します。適切な鍵アルゴリズムを決定する方法については、鍵アルゴリズムを選択するをご覧ください。
- [次へ] をクリックします。
次の手順は省略可能です。 この手順をスキップすると、デフォルト設定が適用されます。
- Google 管理またはセルフマネージドの Cloud Storage バケットのどちらを使用するかを選択します。
- Cloud Storage バケットへの証明書失効リスト(CRL)と CA 証明書の公開を無効にするかどうかを選択します。
- [次へ] をクリックします。
セルフマネージド Cloud Storage バケットを選択しない場合、CA Service は CA と同じロケーションに Google 管理バケットを作成します。
Cloud Storage バケットでの CRL および CA 証明書の公開は、デフォルトで有効になっています。これらの設定を無効にするには、切り替えボタンをクリックします。
次の手順は省略可能です。
CA にラベルを追加する場合は、次の手順を行います。
- [項目を追加] をクリックします。
- [キー 1] フィールドにラベルキーを入力します。
- [値 1] フィールドにラベルの値を入力します。
- 別のラベルを追加する場合は、項目を追加をクリックします。次に、手順 2 と 3 で説明したように、ラベルキーと値を追加します。
- [次へ] をクリックします。
すべての設定をよく確認し、[作成] をクリックして CA を作成します。
gcloud
下位 CA の CA プールを作成します。
gcloud privateca pools create SUBORDINATE_POOL_ID --location=LOCATION以下を置き換えます。
- SUBORDINATE_POOL_ID: CA プールの名前。
- LOCATION: CA プールを作成するロケーション。ロケーションの完全なリストについては、ロケーションをご覧ください。
CA プールの作成の詳細については、CA プールを作成するをご覧ください。
gcloud privateca pools createコマンドの詳細については、gcloud privateca pools create をご覧ください。作成した CA プールに下位 CA を作成します。
gcloud privateca subordinates create SUBORDINATE_CA_ID \
    --pool=SUBORDINATE_POOL_ID \
    --location=LOCATION \
    --issuer-pool=POOL_ID \
    --issuer-location=ISSUER_LOCATION \
    --key-algorithm="ec-p256-sha256" \
    --subject="CN=Example Server TLS CA, O=Example LLC"
下位 CA が作成されると、次のステートメントが返されます。
Created Certificate Authority [projects/my-project-pki/locations/us-west1/caPools/SUBORDINATE_POOL_ID/certificateAuthorities/SUBORDINATE_CA_ID].
すべてを網羅した設定のリストを表示するには、次の
gcloudコマンドを実行します。gcloud privateca subordinates create --helpこのコマンドは、発行元が CA Service 上に配置されているか、別の場所に配置されている下位 CA を作成する例を返します。
Terraform
Java
CA Service への認証を行うには、アプリケーションのデフォルト認証情報を設定します。 詳細については、ローカル開発環境の認証の設定をご覧ください。
Python
CA Service への認証を行うには、アプリケーションのデフォルト認証情報を設定します。 詳細については、ローカル開発環境の認証の設定をご覧ください。
下位 CA を有効にする
下位 CA を有効にするには、次の手順を行います。
Console
Google Cloud コンソールの [Certificate Authority Service] ページに移動します。
[CA マネージャー] タブをクリックします。
[認証局] で、有効にする CA を選択します。
[有効にする] をクリックします。
表示されたダイアログで [CSR をダウンロード] をクリックして、発行 CA が署名できる PEM でエンコードされた CSR ファイルをダウンロードします。
[次へ] をクリックします。
[証明書チェーンをアップロード] フィールドで、[ブラウジング] をクリックします。
拡張子が
.crtの署名付き証明書ファイルをアップロードします。[有効化] をクリックします。
gcloud
新しく作成した下位 CA を有効にするには、次のコマンドを実行します。
gcloud privateca subordinates enable SUBORDINATE_CA_ID \
--pool=SUBORDINATE_POOL_ID \
--location=LOCATION
以下を置き換えます。
- SUBORDINATE_CA_ID: 下位 CA の固有識別子。
- SUBORDINATE_POOL_ID: 下位 CA を含む CA プールの名前。
- LOCATION: CA プールのロケーション。ロケーションの完全なリストについては、ロケーションをご覧ください。
gcloud privateca subordinates enable コマンドの詳細については、gcloud privateca subordinates enable をご覧ください。
Terraform
下位 CA でフィールド desired_state を ENABLED に設定し、terraform apply を実行します。
次のステップ
- 証明書をリクエストする方法を学習する。
- テンプレートと発行ポリシーについて学習する。