您可以使用 Cloud Shell 編輯器,以工作區的形式管理專案。 工作區通常代表專案的根資料夾,並包含專案專用的設定檔。系統會自動為您建立「Home」工作區 (根據您的「Home」目錄)。
透過工作區,您可以為工作區中的所有資料夾指定持續性設定、執行及偵錯設定,以及 UI 狀態 (例如開啟的檔案)。
本頁說明如何建立、開啟、儲存及關閉工作區,以及如何設定 Cloud Shell 編輯器和工作區設定。
建立新的工作區
如要建立新工作區,請按照下列步驟操作:
- 使用 Cloud Shell 終端機建立新目錄,做為工作區:
- 使用
mkdir手動建立新目錄 - 使用
git clone複製現有存放區
- 使用
- 目錄準備就緒後,依序點選「File」>「Open Workspace」,開啟該目錄做為新的工作區。
開啟工作區
您可以透過下列任一方式開啟工作區:
依序點選「File」 >「Open Folder」。
如果沒有開啟任何工作區,請按一下 Cloud Shell 編輯器 Explorer 檢視畫面中的「Open Folder」(開啟資料夾) 按鈕。

在「歡迎使用 Cloud Shell」視窗的「最近」部分中,選取最近開啟的工作區。
或者,依序點按「檔案」 >「開啟最近的工作區」。

開啟住家工作區
如要使用「主頁面」工作區,請依序點選「File」(檔案) >「Open Folder」(開啟資料夾),然後選擇「主頁面」目錄,將其做為工作區。
儲存工作區
將專案資料夾新增至工作區並完成設定後,您可以按一下「檔案」>「另存工作區」,以新名稱儲存工作區。
關閉工作區
如要關閉工作區,請依序點選「File」 >「Close Folder」,然後在系統提示時點選「OK」。
刪除工作區
如要刪除資料夾,請執行下列指令:
rm -rf FOLDER_NAME
調整設定
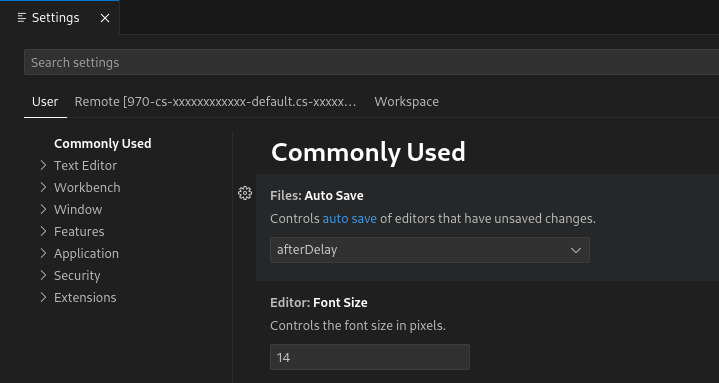
您可以使用「設定」選單輕鬆設定 Cloud Shell 編輯器的行為和介面。您可以使用這個設定編輯器,定義偵錯設定、YAML 編輯支援和指令面板記錄限制等各種設定的偏好設定。如要存取設定,請按一下編輯器左下角的「設定」齒輪圖示 ![]() 。
。
設定有三種範圍:
- 使用者設定:適用於全域的設定,會套用至所有 Cloud Shell 編輯器執行個體。這項設定會儲存在瀏覽器中。
- 遠端設定:適用於全域的設定,會套用至所有 Cloud Shell 編輯器執行個體。這些設定會儲存在 Cloud Shell 主目錄的 $HOME/.codeoss/data/Machine/settings.json 中。
- Workspace 設定:Workspace 專屬設定,只會套用至有效 Workspace。這些設定會儲存在工作區資料夾的 .codeoss/settings.json 檔案中,並可透過版本管控或下載工作區資料夾的方式共用。
如要搜尋設定,可以使用「搜尋設定」搜尋列,系統會傳回一組符合查詢的設定,並篩除與條件無關的設定。你可以透過填寫輸入欄位、從下拉式選單中選擇選項,或切換核取方塊來設定。