Uptrain a pretrained processor
Using the Invoice Parser, you can uptrain a pretrained processor to improve accuracy. You begin with a pre-made model, then train it with your data, adding custom fields. Invoice formats are diverse, and uptraining a generic Invoice Parser with your data can improve accuracy on specific formats and allow the parser to extract fields that aren't supported by the pre-trained model. Sample data is provided, but you can follow the same procedures using your own data.
To follow step-by-step guidance for this task directly in the Google Cloud console, click Guide me:
Before you begin
- Sign in to your Google Cloud account. If you're new to Google Cloud, create an account to evaluate how our products perform in real-world scenarios. New customers also get $300 in free credits to run, test, and deploy workloads.
-
In the Google Cloud console, on the project selector page, select or create a Google Cloud project.
-
Verify that billing is enabled for your Google Cloud project.
-
Enable the Document AI, Cloud Storage APIs.
-
In the Google Cloud console, on the project selector page, select or create a Google Cloud project.
-
Verify that billing is enabled for your Google Cloud project.
-
Enable the Document AI, Cloud Storage APIs.
Create a processor
In the Google Cloud console navigation menu, select Document AI and select Processor Gallery.
In the Processor Gallery,
search for Invoice Parser and select Create.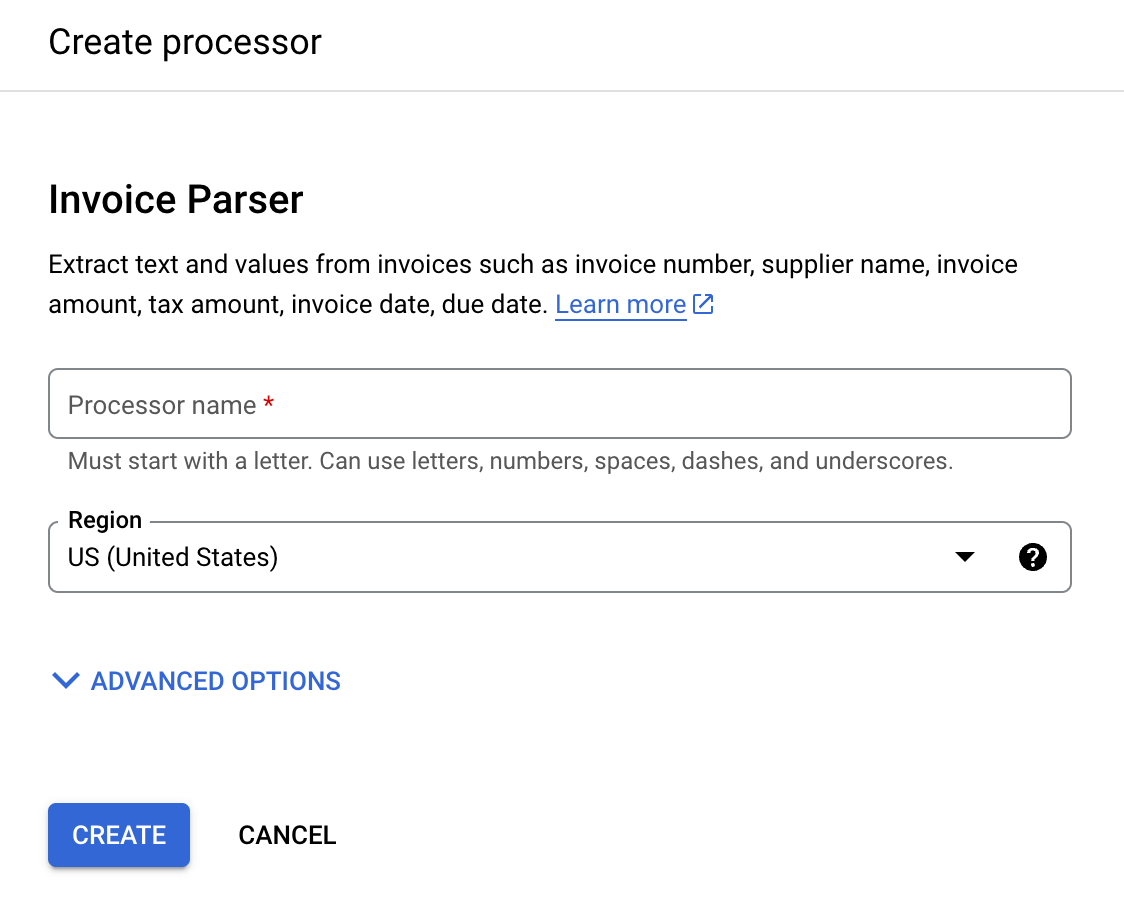
Enter a Processor name, such as
invoice-parser-for-uptraining.Select the region closest to you.
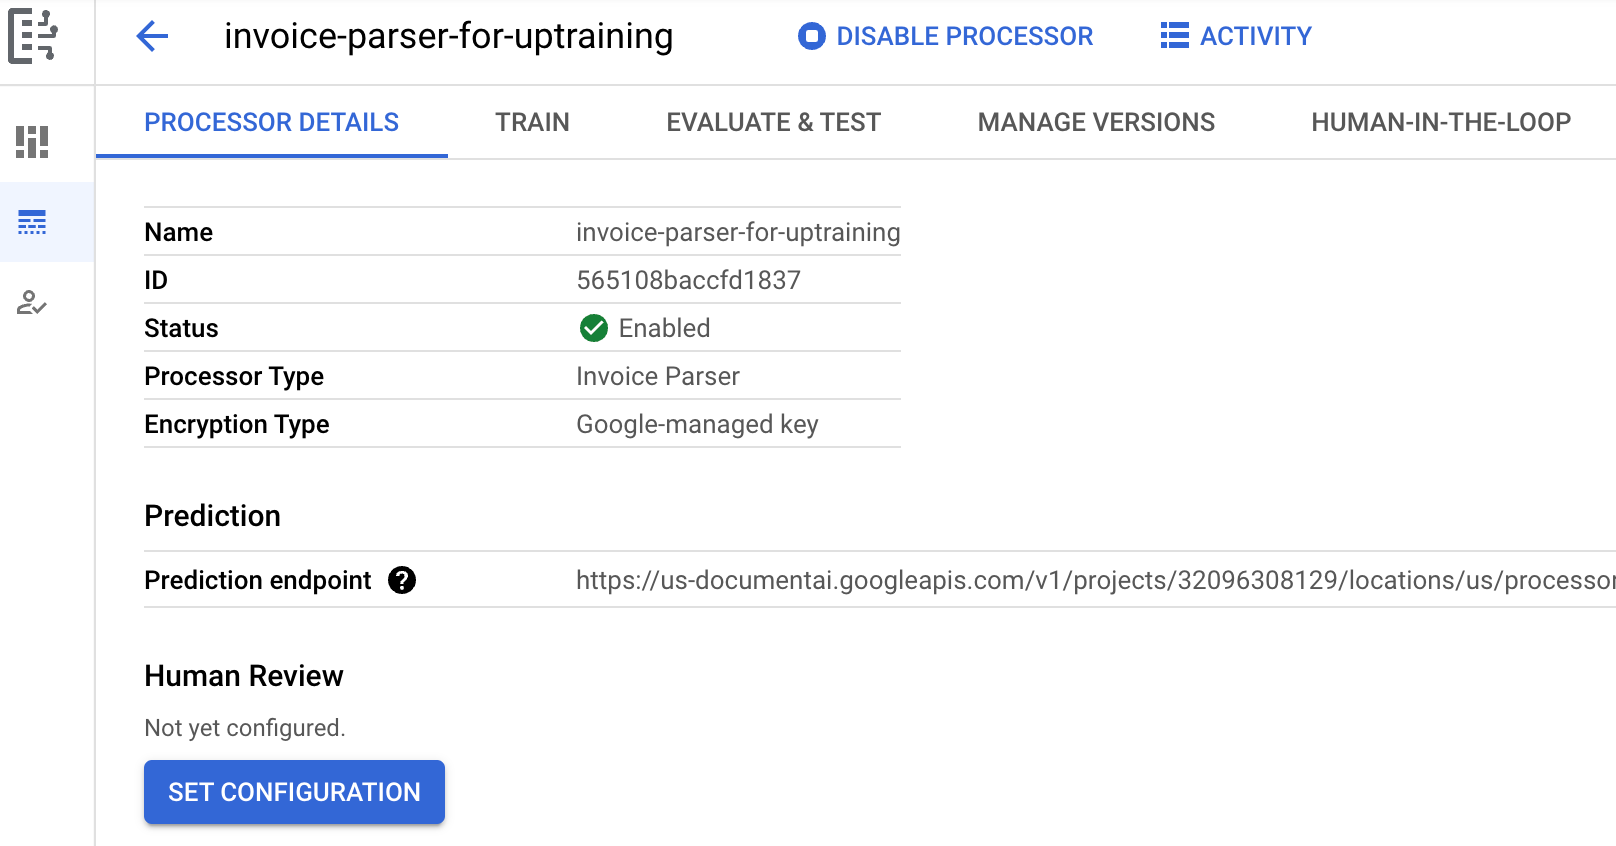
Select Create. The Processor Details tab appears.
Create a Cloud Storage bucket for the dataset
In order to train this new processor, you must create a dataset with training and testing data to help the processor identify the entities that you want to extract.
This dataset requires a new Cloud Storage bucket. Don't use the same bucket as the one where your documents are stored.
Go to your processor's
Train tab.Select
Set Dataset Location . You are prompted to select or create an empty Cloud Storage bucket or folder.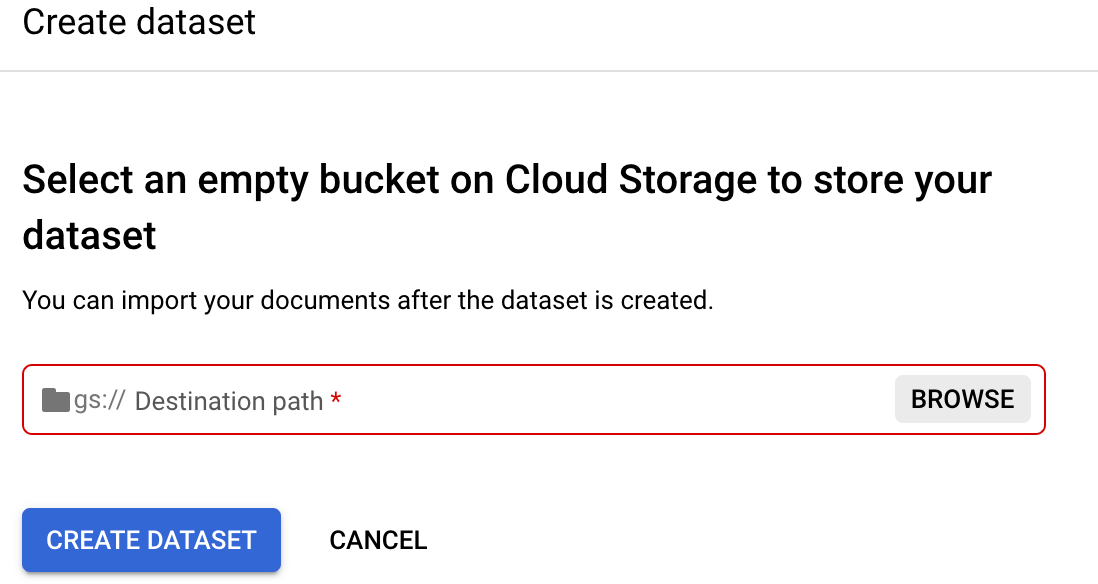
Select
Browse to open Select folder.Select
Create a new bucket and follow the prompts to create a new bucket. For more information on creating a Cloud Storage bucket, refer to Cloud Storage buckets.Note: A bucket is the top-level storage entity, in which you can nest folders. Instead of creating and selecting a bucket, you could also create and select an empty folder inside an existing bucket, if you prefer. Refer to simulated folders.
After you create the bucket, the Select folder page appears for that bucket.
On the Select folder page for your bucket, select the
Select at the bottom of the dialog.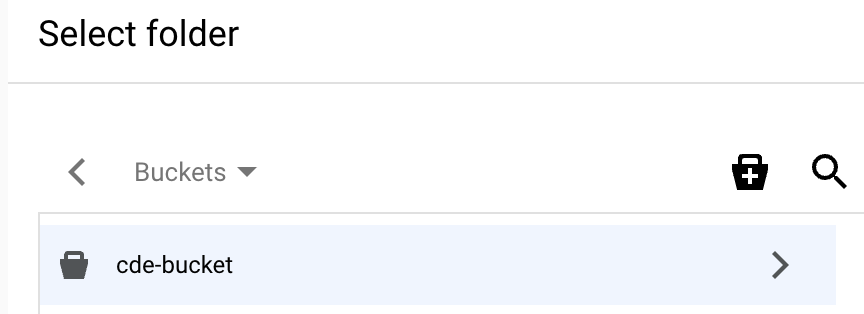
Make sure the destination path is populated with the bucket name you selected. Select
Create Dataset . The dataset might take up to several minutes to create.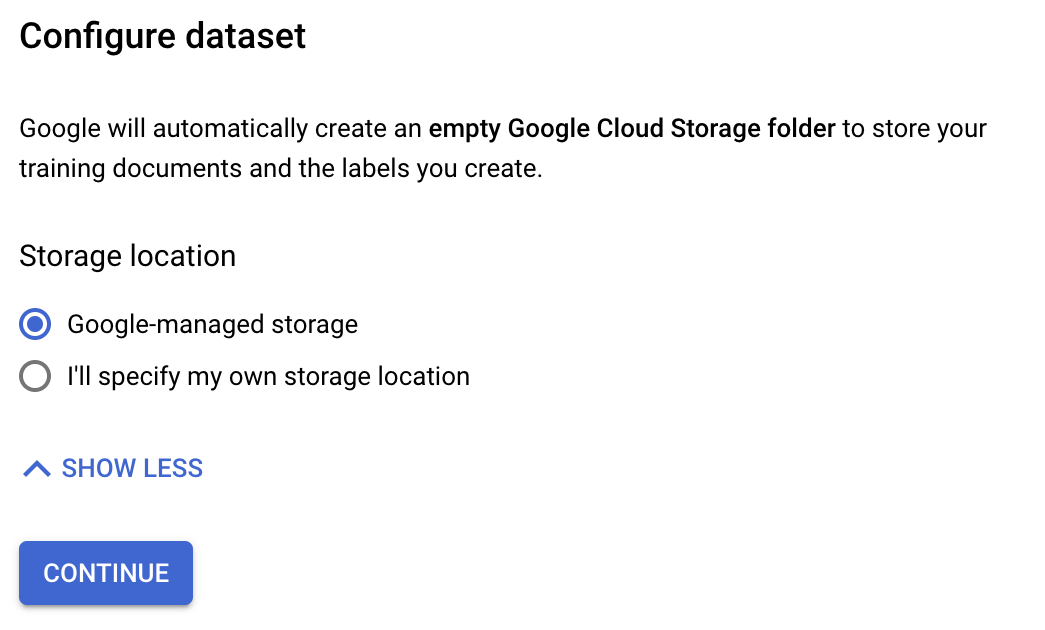
Proceed directly to uptraining: Skip to import pre-labeled data. Instead of importing a sample document, use tools to manually label the fields, and add the document to the training data.
Manually label and add documents to the training set: Before you proceed with uptraining, continue to Import a sample document for manual labeling, completing the instructions there.
Import a sample document for manual labeling
Next, import a sample invoice PDF file into your dataset. You label the fields in this document to assist the subsequent uptraining process.
In this guide, you are provided with a representative file to be the sample document.
On the Train tab, select
Import documents .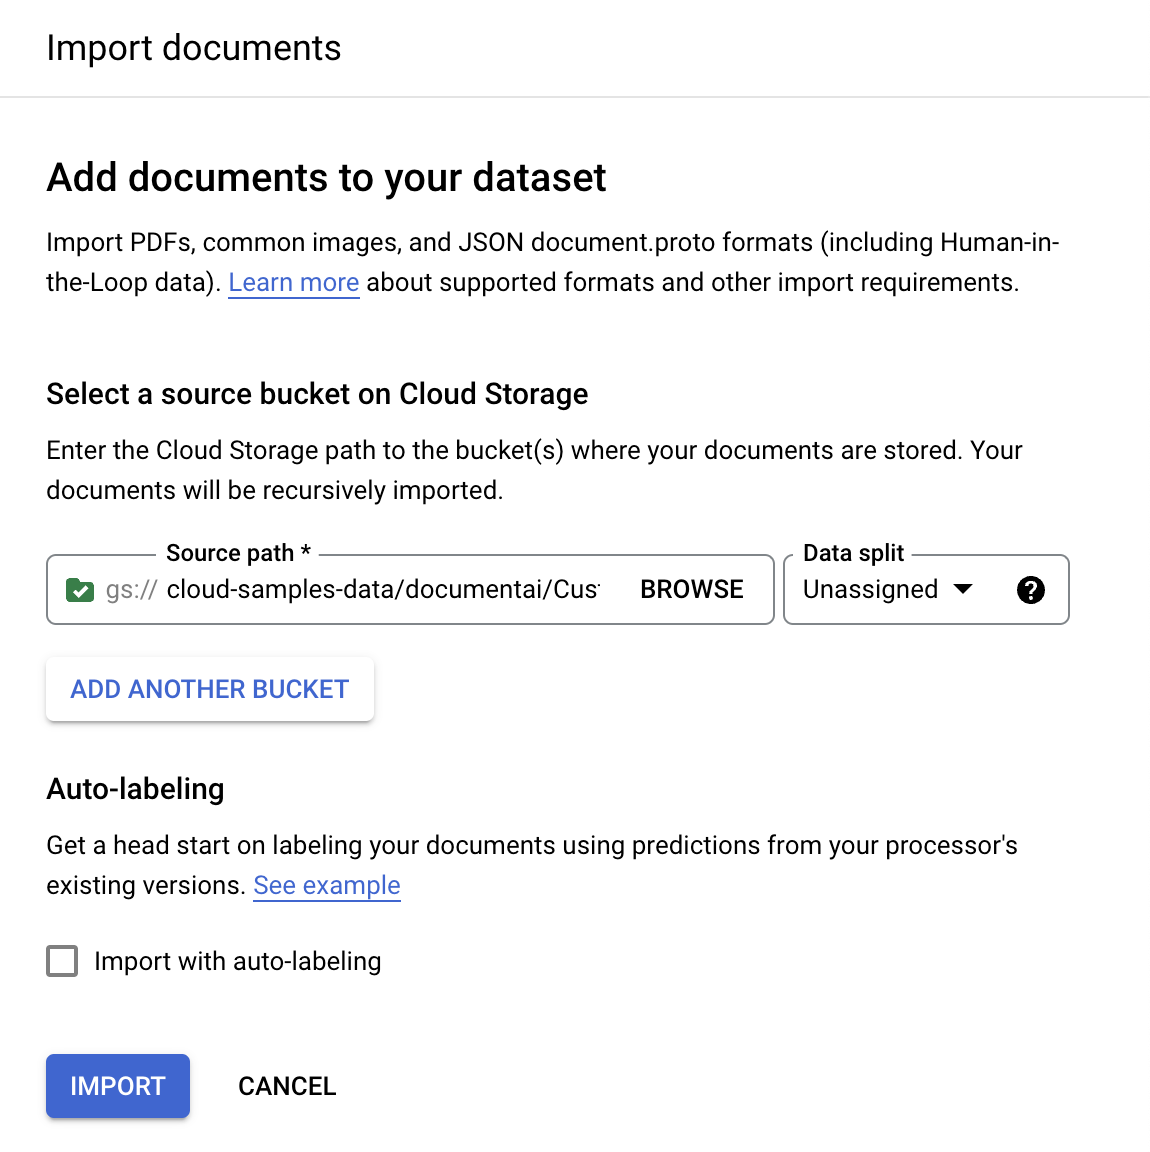
For this example, enter this bucket name in
Source path . This links directly to one document.cloud-samples-data/documentai/codelabs/uptraining/pdfsFor Data split, select Unassigned. The document in this folder is not assigned to either the testing or training set. Leave Import with auto-labeling unchecked.
Select Import. Document AI reads the documents from the bucket into the dataset. It does not modify the import bucket or read from the bucket after the import is complete.
When you import documents, you can optionally assign the documents to the Training or Test set when imported, or wait to assign them later.
If you want to delete a document or documents that you have imported, select them on the Train tab, and select Delete.
For more information about preparing your data for import, refer to the Data preparation guide.
Define processor schema
Your dataset might not contain all of the labels supported by the Invoice Parser.
If so, you must mark the labels that aren't used as Inactive before
you begin training. You can also add one or more custom labels before you
begin uptraining.
On the Train tab, select
Edit Schema in the lower left. The Manage labels page opens.To disable unused labels, select the
checkboxes for the fields that are not on the following list, and then select Disable. The following fields should remain enabled:invoice_date line_item amount description receiver_address receiver_name supplier_address supplier_name total_amountNote: Labels cannot be deleted. Instead, you can disable any label you don't want to use.
Select
Save when the labels are complete.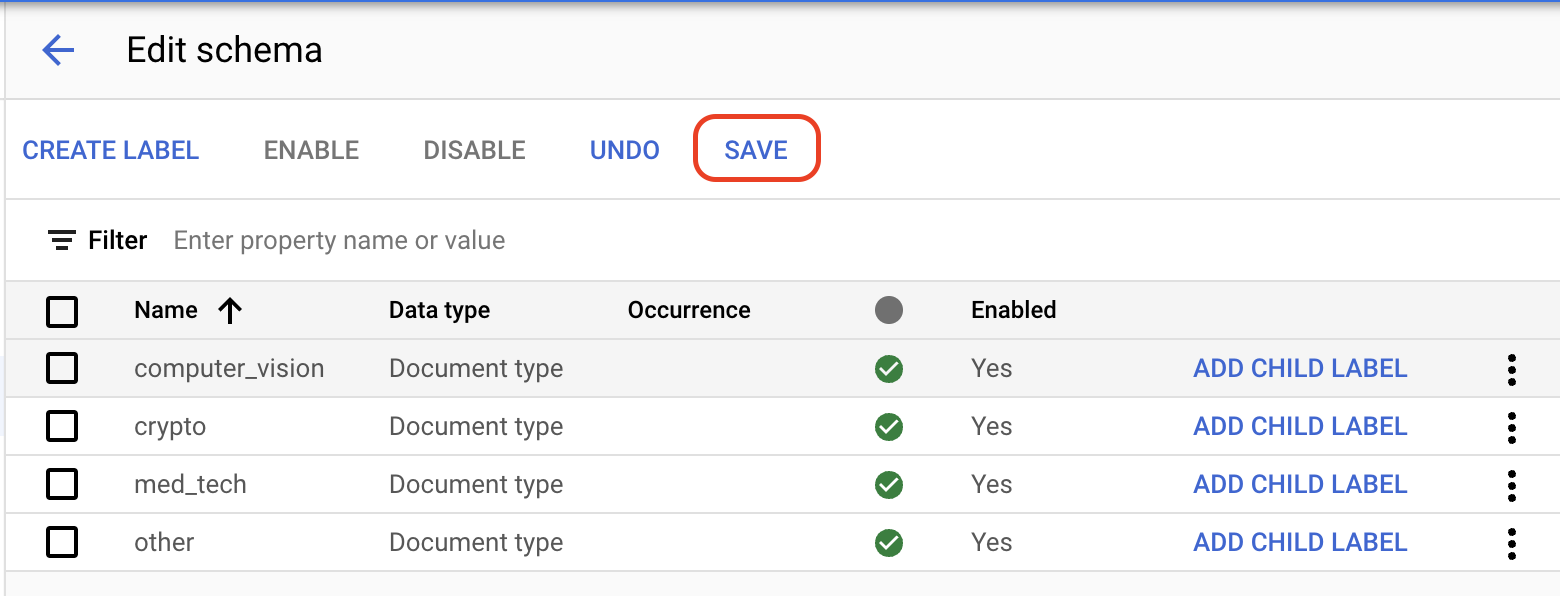
Select the
Back Arrow to return to the Train page.
Label a document
The process of selecting text in a document, and applying labels is known as annotation.
Return to the Train tab, and select
a document to open the Label management console.Next, you select from the schema label in the left-hand panel that corresponds to the value you want to annotate, and apply the label.
Use the
Bounding box tool by default, or theSelect text tool for multi-line values, to select the content and apply the label.For example, in this invoice, the text "McWilliam Piping International Piping Company" should be assigned the label
supplier_name. You can use the text filter to search for label names.Note: The Select text tool does not work for all text values, so use the Bounding box if appropriate. You can also select non-text fields such as checkboxes using the Bounding box tool.
Review the detected text values to ensure that they reflect the correct text from the document.
When you select text that corresponds to a label, make sure you include only the relevant text. For example, for an
invoice_idlabel, don't include characters like#that often precede the numeric value. Don't include currency symbols like$for money.- Make sure you annotate all instances of an entity. For example,
supplier_nameorinvoice_idmight occur multiple times in the document, and each instance should be annotated.
- Make sure you annotate all instances of an entity. For example,
Repeat for each field that you want to label.
Here is an example of the full set of labels with corresponding text.
| Label Name | Text |
|---|---|
supplier_name |
McWilliam Piping International Piping Company |
supplier_address |
14368 Pipeline Ave Chino, CA 91710 |
invoice_id |
10001 |
due_date |
2020-01-02 |
line_item/description |
Knuckle Couplers |
line_item/quantity |
9 |
line_item/unit_price |
74.43 |
line_item/amount |
669.87 |
line_item/description |
PVC Pipe 12 Inch |
line_item/quantity |
7 |
line_item/unit_price |
15.90 |
line_item/amount |
111.30 |
line_item/description |
Copper Pipe |
line_item/quantity |
7 |
line_item/unit_price |
91.20 |
line_item/amount |
638.40 |
net_amount |
1,419.57 |
total_tax_amount |
113.57 |
total_amount |
1,533.14 |
currency |
$ |
Select
Mark as Labeled when you have finished annotating the document.On the Train tab, the left-hand panel shows that 1 document has been labeled.
Assign annotated document to the training set
Now that you have labeled this example document, you can assign it to the training set.
On the Train tab, select the
Select All checkbox.From the
Assign to Set list, select Training.
In the left-hand panel, you can find that 1 document has been assigned to the training set.
Import pre-labeled data to the training and test sets
Document AI uptraining requires a minimum of 10 documents in both the training and test sets, along with 10 instances of each label in each set.
It's recommended that you have at least 50 documents in each set, with 50 instances of each label, for best performance. More training data generally equates to higher accuracy.
In this guide, you are provided with pre-labeled data. If working on your own project, you have to determine how to label your data. Refer to Labeling options.
Select
Import documents .Enter the following path in
Source path . This bucket contains pre-labeled documents in the Document JSON format.cloud-samples-data/documentai/Custom/Invoices/JSONFrom the Data split list, select Auto-split. This automatically splits the documents to have 80% in the training set, and 20% in the test set. Leave Import with auto-labeling unchecked.
Select Import. The import might take several minutes. Afterward, you find the documents on the Train tab.
Optional: Auto-label newly imported documents
When importing unlabeled documents for a processor with an existing deployed processor version, you can use Auto-labeling to save time on labeling.
On the Train page,
Import documents .Copy and paste the following Cloud Storage path. This directory contains five unlabeled invoice PDFs. From the Data split drop-down list, select Training.
cloud-samples-data/documentai/Custom/Invoices/PDF_UnlabeledIn the Auto-labeling section, select the
Import with auto-labeling checkbox.Select an existing processor version to label the documents.
- For example:
pretrained-invoice-v1.3-2022-07-15
- For example:
Select Import and wait for the documents to import. You can leave this page and return later.
- When complete, the documents appear in the Train page in the Auto-labeled section.
You cannot use auto-labeled documents for training or testing without marking them as labeled. Go to the
Auto-labeled section to view the auto-labeled documents.Select the first document to enter the labeling console.
Verify the label to ensure it is correct. Adjust if it is incorrect.
Select
Mark as Labeled when finished.Repeat the label verification for each auto-labeled document, then return to the Train page to use the data for training.
Train the processor
Now that you have imported the training and test data, you can train the processor. Because training might take several hours, make sure you have set up the processor with the appropriate data and labels before you begin training.
Select
Uptrain New Version .In the
Version name field, enter a name for this processor version, such asinvoice-uptrain-1.(Optional) Select View Label Stats to find information about the document labels. That can help determine your coverage. Select Close to return to the training setup.
Select
Start training You can check the status on the right-hand panel.The Dataset management page opens. You can view the training status on the right side. Training will likely take a few hours, depending on the size of your dataset. You can leave this page and return later.
Deploy the processor version
After training is complete, navigate to the
Manage Versions tab. You can view details about the version you just trained.Select the
three vertical dots on the right of the version you want to deploy, and select Deploy version.Select
Deploy from the popup window.Deployment takes a few minutes to complete.
Evaluate and test the processor
After deployment is complete, navigate to the
Evaluate & Test tab.On this page, you can view evaluation metrics including the F1 score, Precision and Recall for the full document, and individual labels. For more information about evaluation and statistics, refer to Evaluate processor.
Download a document that has not been involved in previous training or testing so that you can use it to evaluate the processor version. If using your own data, you would use a document set aside for this purpose.
Select
Upload Test Document and select the document you just downloaded.The Invoice Parser analysis page opens. The screen output demonstrate how well the document was classified.
You can also re-run the evaluation against a different test set or processor version.
Use the processor
You have successfully created and uptrained an Invoice Parser processor.
You can manage your custom-trained processor versions just like any other processor version, such as when migrating to a newer processor when one is deprecated. For more information, refer to Managing processor versions.
You can Send a processing request to your custom processor, and the response can be handled the same as other entity extraction processors.
Clean up
To avoid incurring charges to your Google Cloud account for the resources used on this page, follow these steps.
To avoid unnecessary Google Cloud charges, use the Google Cloud console to delete your processor and project if you don't need them.
If you created a new project to learn about Document AI and you no longer need the project, [delete the project][delete-project].
If you used an existing Google Cloud project, delete the resources you created to avoid incurring charges to your account:
In the Google Cloud console navigation menu, select Document AI and select My Processors.
Select
More actions in the same row as the processor you want to delete.Select Delete processor, enter the processor name, then select Delete again to confirm.