A node pool is a group of nodes within a cluster that have the same configuration. All nodes in your cluster must belong to a node pool. There are three kinds of node pools in a Google Distributed Cloud cluster: control plane, load balancer, and worker node pools.
This page describes how to check the status of worker node pools, and how to add, update, and remove worker node pools.
Choose a tool to manage node pools
How you manage node pools depends on the cluster type and for user clusters, whether the cluster is managed by the GKE On-Prem API. A user cluster is managed by the GKE On-Prem API if one of the following is true:
The cluster was created in the Google Cloud console or using the Google Cloud CLI (gcloud CLI), which automatically configures the GKE On-Prem API to manage the cluster.
The cluster was created using
bmctl, but it was configured to be managed by the GKE On-Prem API.
If the GKE On-Prem API is managing a user cluster, you can use either the
console or the gcloud CLI to manage node pools. If the
user cluster isn't managed by the GKE On-Prem API, use kubectl on the admin
workstation to manage node pools. You also use kubectl to manage node
pools for all cluster types that can contain worker node pools (hybrid,
standalone, and user clusters).
If you plan to use the gcloud CLI, do the following on a computer that has the gcloud CLI installed:
Sign in with your Google Account
gcloud auth login
Update components:
gcloud components update
Check node status
Before adding or removing node pools, check the status of nodes and their respective node pools.
kubectl
With kubectl, you can get the status of nodes in a specific namespace or
in the entire cluster. The following example shows the status of the node
pools in the cluster namespace cluster-abm-cluster:
kubectl get nodepools.baremetal.cluster.gke.io -n cluster-abm-cluster
The system returns results similar to the following:
NAME                    READY   RECONCILING   STALLED   UNDERMAINTENANCE   UNKNOWN
abm-cluster             3       0             0         0                  0
default-pool            2       0             0         0                  0
backup-pool             3       0             0         0                  0
Each column in the table indicates the different statuses a node can be in. Each row in the table is the number of nodes per node pool in each of the node statuses.
When you add a node, initially it has a status of Reconciling while the node
is provisioned. After the node is part of the cluster, the node status
changes to Ready.
You can also check the status of nodes in the cluster by running the following command:
kubectl get nodes --kubeconfig=PATH_TO_KUBECONFIG
Console
In the console, go to the Google Kubernetes Engine clusters overview page.
Select the Google Cloud project that the user cluster is in.
In the cluster list, click the name of the cluster, and then click More details in the Details panel.
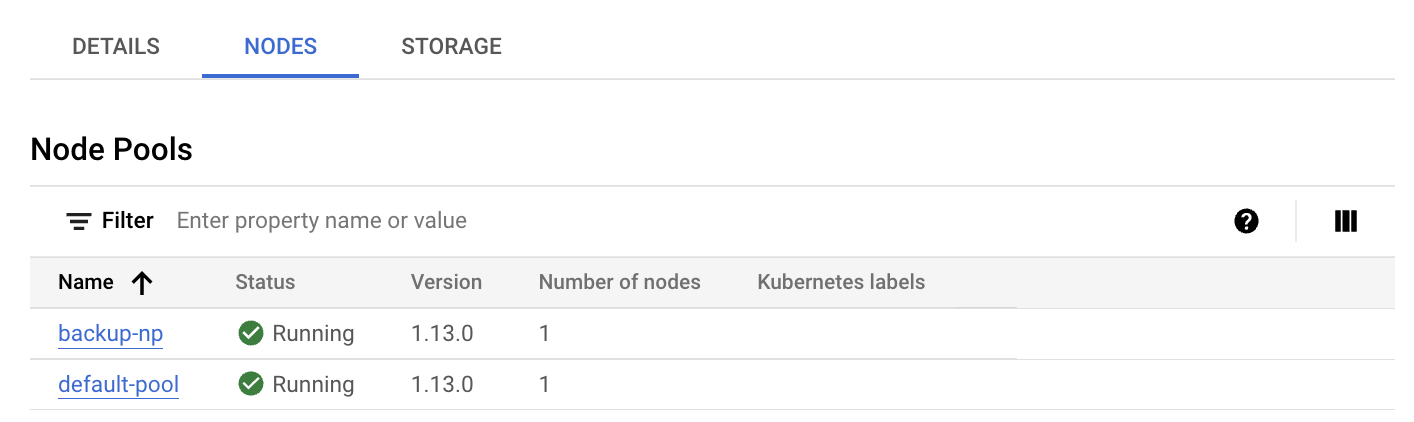
Click the Nodes tab.
A list of node pools is displayed.
gcloud CLI
List the node pools on the cluster:
gcloud container bare-metal node-pools list \
  --cluster=USER_CLUSTER_NAME \
  --project=FLEET_HOST_PROJECT_ID \
  --location=LOCATION
Replace the following:
USER_CLUSTER_NAME: The name of the user cluster that contains the node pools.FLEET_HOST_PROJECT_ID: The ID of the project that that the cluster was created in.LOCATION: The Google Cloud location associated with the user cluster.
Describe a node pool:
gcloud container bare-metal node-pools describe NODE_POOL_NAME \
  --cluster=USER_CLUSTER_NAME \
  --project=FLEET_HOST_PROJECT_ID \
  --location=LOCATION
Replace
NODE_POOL_NAMEwith the name of the node pool.
If you need more information about how to diagnose your clusters, see Create snapshots for diagnosing clusters.
Add a new node pool
kubectl
Keep in mind the following rules when adding a node pool to a cluster:
An admin cluster can contain a load balancer node pool and a control plane node pool, but it can't contain a worker node pool: attempting to add a worker node pool to an admin cluster produces an error.
A cluster can contain only a single control plane node pool, and a single load balancer node pool. You can't add additional control plane or load balance node pools to a cluster.
You add new node pools to a cluster by creating a new
nodepools.baremetal.cluster.gke.io resource in the cluster. In the following
example, a new node pool named "machine-learning-pool" is added to the manifest. The new
node pool consists of two nodes with IP addresses 10.200.0.7 and 10.200.0.8:
apiVersion: baremetal.cluster.gke.io/v1
kind: NodePool
metadata:
  name: machine-learning-pool
  namespace: cluster-abm-cluster
spec:
  clusterName: abm-cluster
  nodes:
  - address: 10.200.0.7
  - address: 10.200.0.8
  taints:
  - key: TAINT_KEY
    value: TAINT_VALUE
    effect: NoSchedule
  labels:
    key1: LABEL_1
    key2: LABEL_2
Store the configuration in a file named machine-learning-pool.yaml and apply the
configuration to the cluster with the following command:
kubectl apply -f machine-learning-pool.yaml
The following facts should be considered when adding a node pool to a cluster:
NodePool.spec.taintsandNodePool.spec.labelsconfigurations are reconciled to nodes. All taints and labels that are added directly to the nodes are removed. The control plane doesn't remove the taints and labels that you add directly during the sync process. To bypass this reconciliation step, you can annotate the node withbaremetal.cluster.gke.io/label-taint-no-sync.The node pool resource must be created in the same namespace as the associated cluster and the node pool resource needs to refer to the cluster name in the
spec.clusterNamefield.
Console
In the console, go to the Google Kubernetes Engine clusters overview page.
Select the Google Cloud project that the user cluster is in.
In the cluster list, click the name of the cluster, and then click More details in the Details panel.
Click Add Node Pool.
Enter a name for the node pool.
In the Nodes address 1 field, enter the IP address of the worker node machine.
If you have more than one worker node machine to add, click Add Address.
Optionally, add Kubernetes labels and/or Kubernetes taints.
Click Create.
The status of the node pool is displayed on the Nodes tab. You might have to refresh the page to see an updated status.
gcloud CLI
gcloud container bare-metal node-pools create NODE_POOL_NAME \
  --cluster=USER_CLUSTER_NAME \
  --project=FLEET_HOST_PROJECT_ID \
  --location=LOCATION \
  --node-configs-from-file=NODE_POOL_CONFIG
Replace the following:
NODE_POOL_NAME: A name of your choice for the node pool. The name must:- contain at most 40 characters
- contain only lowercase alphanumeric characters or a hyphen (
-) - start with an alphabetic character
- end with an alphanumeric character
USER_CLUSTER_NAME: The name of the user cluster.FLEET_HOST_PROJECT_ID: The ID of the project that the cluster was created in.LOCATION: The Google Cloud location that you specified when you created the cluster.NODE_POOL_CONFIG: The path of a configuration file that describes the node pool. For example:nodeConfigs: - nodeIP: 10.200.0.10 labels: key1: value1 key2: value2 - nodeIP: 10.200.0.11 labels: key3: value3 key4: value4
Optionally, you can specify the following:
--node-labels=KEY=VALUE,...: A comma-separated list of Kubernetes labels (key-value pairs) applied to each node in the pool.--node-taints=KEY=VALUE:EFFECT,...A comma-separated list of Kubernetes taints
applied to each node in the pool. Taints are key-value pairs associated with
an effect. Taints are used with tolerations for Pod scheduling. Specify one
of the following for EFFECT: NoSchedule,
PreferNoSchedule, NoExecute.
--validate-onlySpecify this flag if you want to validate the update but not make any changes.
Update a node pool
kubectl
You update a node pool by modifying the
nodepools.baremetal.cluster.gke.io resource in the cluster. You can
update the resource directly using kubectl edit, or you can update
the YAML file and use kubectl apply.
Console
In the console, go to the Google Kubernetes Engine clusters overview page.
Select the Google Cloud project that the user cluster is in.
In the cluster list, click the name of the cluster, and then click More details in the Details panel.
Click the Nodes tab.
In the list, click the node pool that you want to update.
On the Node pool details page, click Edit.
Change the settings as needed, and click Save.
gcloud CLI
Optionally, list the node pools on the cluster to get the node pool name that you want to update.
gcloud container bare-metal node-pools list \
  --cluster=USER_CLUSTER_NAME \
  --project=FLEET_HOST_PROJECT_ID \
  --location=LOCATION
Replace the following:
USER_CLUSTER_NAME: The name of the user cluster that contains the node pools.FLEET_HOST_PROJECT_ID: The ID of the project that the cluster was created in.LOCATION: The Google Cloud location associated with the user cluster.
Run the following command:
gcloud container bare-metal node-pools update NODE_POOL_NAME  \
  --cluster=USER_CLUSTER_NAME \
  --project=FLEET_HOST_PROJECT_ID \
  --location=LOCATION \
  --node-configs-from-file=NODE_CONFIG_FILE
Replace the following:
NODE_POOL_NAMEwith the name of the node pool.NODE_CONFIG_FILE: The path of a configuration file that describes the node pool. For example:
nodeConfigs:
  - nodeIP: 10.200.0.10
    labels:
      key1: value1
  - nodeIP: 10.200.0.11
Optionally, you can specify the following:
--node-labels=KEY=VALUE,...: A comma-separated list of Kubernetes labels (key-value pairs) applied to each node in the pool.--node-taints=KEY=VALUE:EFFECT,...A comma-separated list of Kubernetes taints. applied to each node in the pool. Taints are key-value pairs associated with an effect. Taints are used with tolerations for Pod scheduling. Specify one of the following for EFFECT:NoSchedule,PreferNoSchedule,NoExecute.--validate-onlySpecify this flag if you want to validate the update but not make any changes.
For example:
gcloud container bare-metal node-pools create default-pool \
    --cluster=user-cluster-1  \
    --location=us-west1 \
    --node-configs-from-file=node-pool-config.yaml \
    --node-taints=key1=val1:NoSchedule,key2=val2:NoExecute
Remove a node pool
kubectl
You remove node pools with kubectl delete. For example, to remove the node
pool added in the preceding section, machine-learning-pool, use the
following command:
kubectl delete nodepool machine-learning-pool -n cluster-abm-cluster
Keep in mind that control plane node pools and load balancer node pools are critical to a cluster's function and consequently can't be removed from a cluster.
Console
In the console, go to the Google Kubernetes Engine clusters overview page.
Select the Google Cloud project that the user cluster is in.
In the cluster list, click the name of the cluster, and then click More details in the Details panel.
Click the Nodes tab, and then click the node pool that you want to delete.
Click Delete.
In the confirmation dialog, enter the name of the node pool and click Confirm.
gcloud CLI
gcloud container bare-metal node-pools delete NODE_POOL_NAME  \
  --cluster=USER_CLUSTER_NAME \
  --project=FLEET_HOST_PROJECT_ID \
  --location=LOCATION
Replace the following:
NODE_POOL_NAMEwith the name of the node pool.USER_CLUSTER_NAME: The name of the user cluster that contains the node pools.FLEET_HOST_PROJECT_ID: The ID of the project that the cluster was created in.LOCATION: The Google Cloud location associated with the user cluster.
Removing a worker node pool in a cluster can cause Pod Disruptions. If there is a PodDisruptionBudget (PDB) in place, you may be blocked from removing a node pool. For more information about pod disruption policies, refer to Removing nodes blocked by the Pod Disruption Budget.
What's next
If your workload requirements change after you create node pools, you can update a worker node pool to add or remove nodes. To add or remove nodes from a worker node pool, see Add or remove nodes in a cluster.