Label videos by using the Google Cloud console
In this quickstart you will go through the process of annotating videos using an AutoML model.
Enable the API
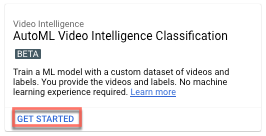
Visit the AutoML Video UI and click Enable API.
Create your dataset
Once the API is enabled, go to the AutoML Video UI and click Get Started.
The following screen appears:
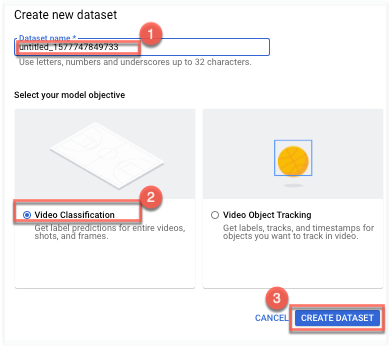
(1) specify a name for this dataset
(2) select Video Classification
(3) click Create DatasetThe following screen appears:
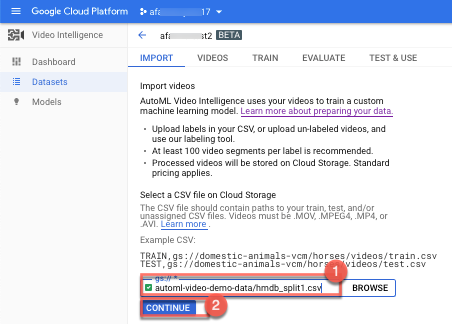
(1) Provide the Cloud Storage URI of the CSV file that contains the URIs of your training data.(see Prepare data)
In this quickstart, use:
automl-video-demo-data/hmdb_split1.csv
(2) Click Continue to begin importing your data.
The following screen appears:
Once the import process has completed you will receive an email with a link to
the dataset in the Videos tab.
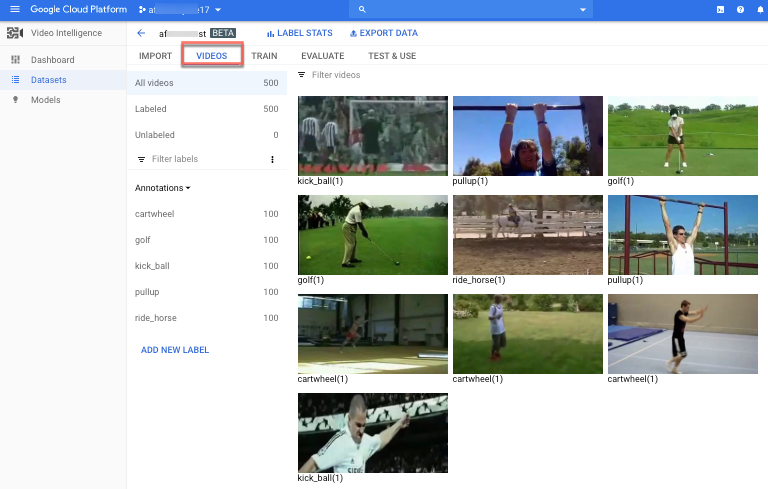
To view any errors that occurred during the import process, switch to the Import tab and check any error messages.
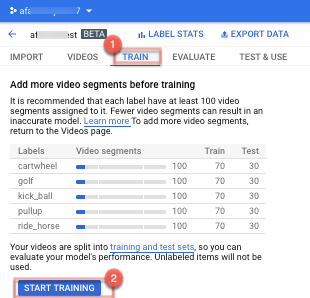
Train your model
- Now that the dataset has been created and processed, go to the Train tab
and click Start Training.
The Train new model screen appears:
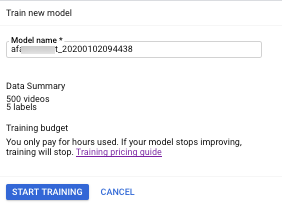
- Click Start Training.
Training is now initiated for your model. For this particular dataset, the service will email you with a link to the results.
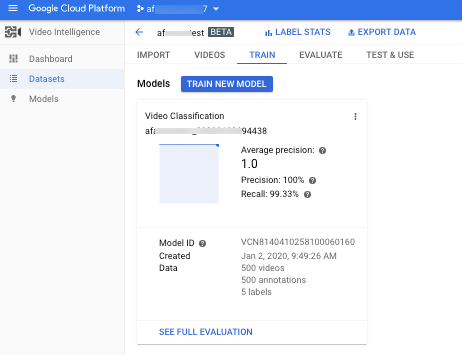
The service automatically deploys your model. - Click the Evaluate tab to get more details about F1, Precision, and
Recall scores, etc.
The Evaluate view appears: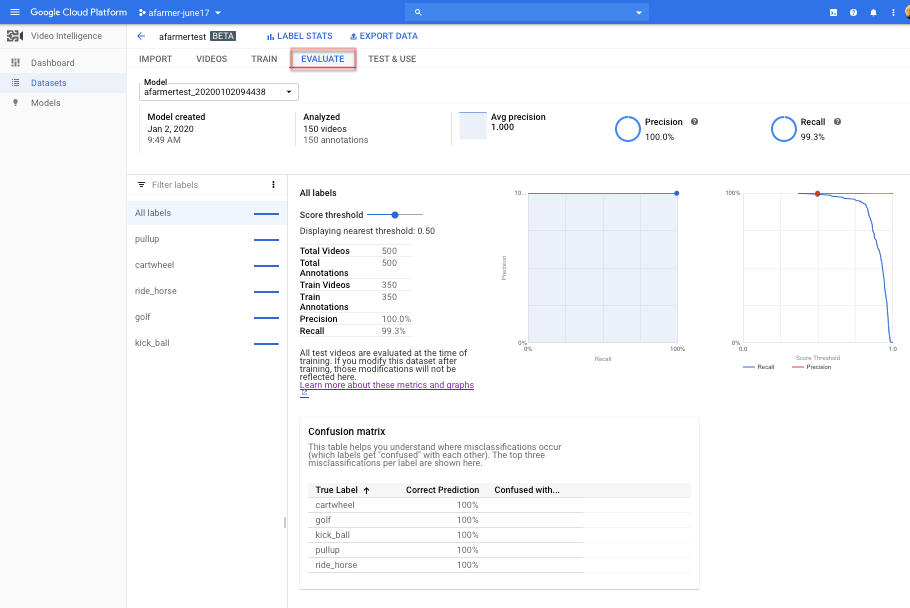
Classify a video
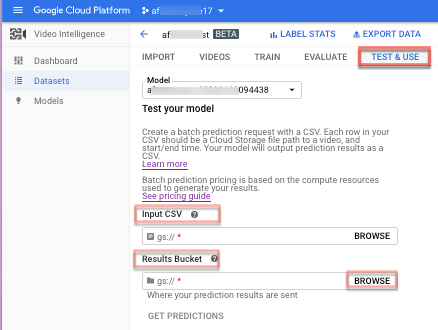
To make a prediction using your model—that is, to classify a video, select the Test & Use tab for the model.
Test your model
- In the Input CSV field, add:
gs://automl-video-demo-data/hmdb_split1_test_gs_predict.csv(see Prepare data) - Under Results bucket, click Browse to select, or create
a directory within your Cloud Storage bucket where the annotation
results will be stored. When creating your bucket, make sure the location
is specified as US-CENTRAL1.
For example:
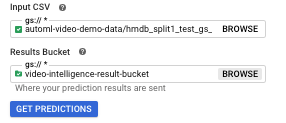
You may actually want to create a specific 'results' folder in your Cloud Storage bucket to hold the annotation results. By doing so, you can more easily access older predictions by loading thevideo_classification.csvfile contained in the results directory. - Click Get Predictions.
You will receive an email with a link to the dataset.
The process for getting predictions can take some time, depending on the number
of videos that you want annotated.
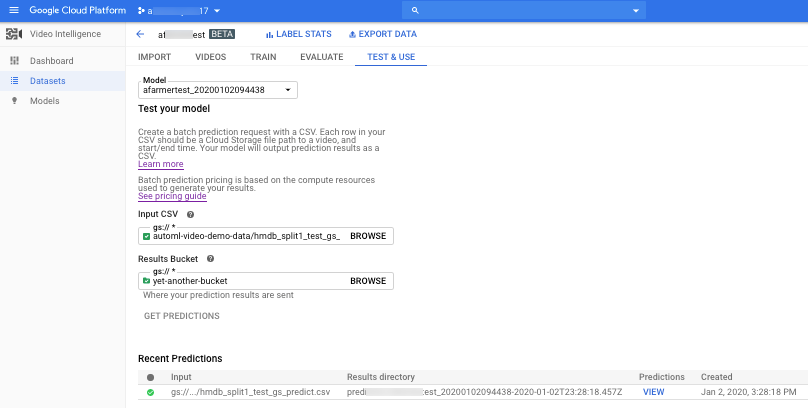
When the process has completed, the results appear on the page for the model under Recent Predictions. To view the results, do the following:
- Under Recent Predictions in the Predictions column, click View for the prediction you want to look at.
- Under Video, select the name of the video you want to see the
results for.
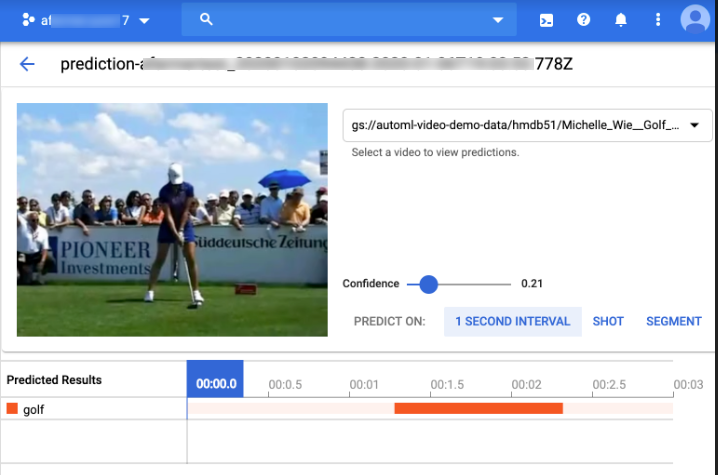
View the results
In the results for your video annotation, AutoML Video provides three types of information:
- Labels for the video. You can find this information under the Segment tab below the video on the results page.
- Labels for shots within the video. You can find this information under the Shot tab below the video on the results page.
- Labels for each 1-second interval within the video. You can find this information under the 1 Second Interval tab below the video on the results page.
If you want to see more labels, you can change the threshold score when you request a prediction. AutoML Video only displays the labels that are above the specified threshold.
If the prediction fails, the results in the list show a red icon on the Recent Predictions list.
If only one video in the prediction attempt failed, the prediction shows green in the Recent Predictions list. On the results page for that prediction, you can the results for the videos that AutoML Video annotated.