多模态嵌入模型会根据您提供的输入生成 1408 维向量*,可以包含图片、文本和视频数据的组合。然后,嵌入向量可用于后续任务,例如图片分类或视频内容审核。
图片嵌入向量和文本嵌入向量位于同一维度空间中,并且具有相同的维度。因此,这些向量可以互换用于应用场景,例如按文本搜索图片或按图片搜索视频。
对于纯文字嵌入用例,我们建议改用 Vertex AI 文本嵌入 API。例如,text-embeddings API 可能更适合基于文本的语义搜索、聚类、长文档分析以及其他文本检索或问答用例。如需了解详情,请参阅获取文本嵌入。
* 默认值。
使用场景
图片和文本:
- 图片分类:将图片用作输入并预测一个或多个类别(标签)。
- 图片搜索:搜索相关或类似的图片。
- 建议:根据图片生成产品或广告推荐。
图片、文本和视频:
- 推荐:根据视频生成产品或广告推荐(相似度搜索)。
- 视频内容搜索
- 使用语义搜索:将文本作为输入,并返回一组与查询匹配的已排序帧。
- 使用相似度搜索功能:
- 将视频作为输入,并返回一组与查询匹配的视频。
- 将一张图片作为输入,并返回一组与查询匹配的视频。
- 视频分类:将视频提取为输入并预测一个或多个类别。
支持的模型
您可以使用以下模型获取多模态嵌入:
multimodalembedding
最佳实践
使用多模态嵌入模型时,请考虑以下输入方面:
- 图片中的文本 - 模型可以区分图片中的文本,类似于光学字符识别 (OCR)。如果您需要区分图片内容的说明和图片中的文本,请考虑使用提示工程来指定目标内容。例如:根据您的用例,指定“picture of a cat”或“the text 'cat”,而不只是“cat”。
the text 'cat'
picture of a cat
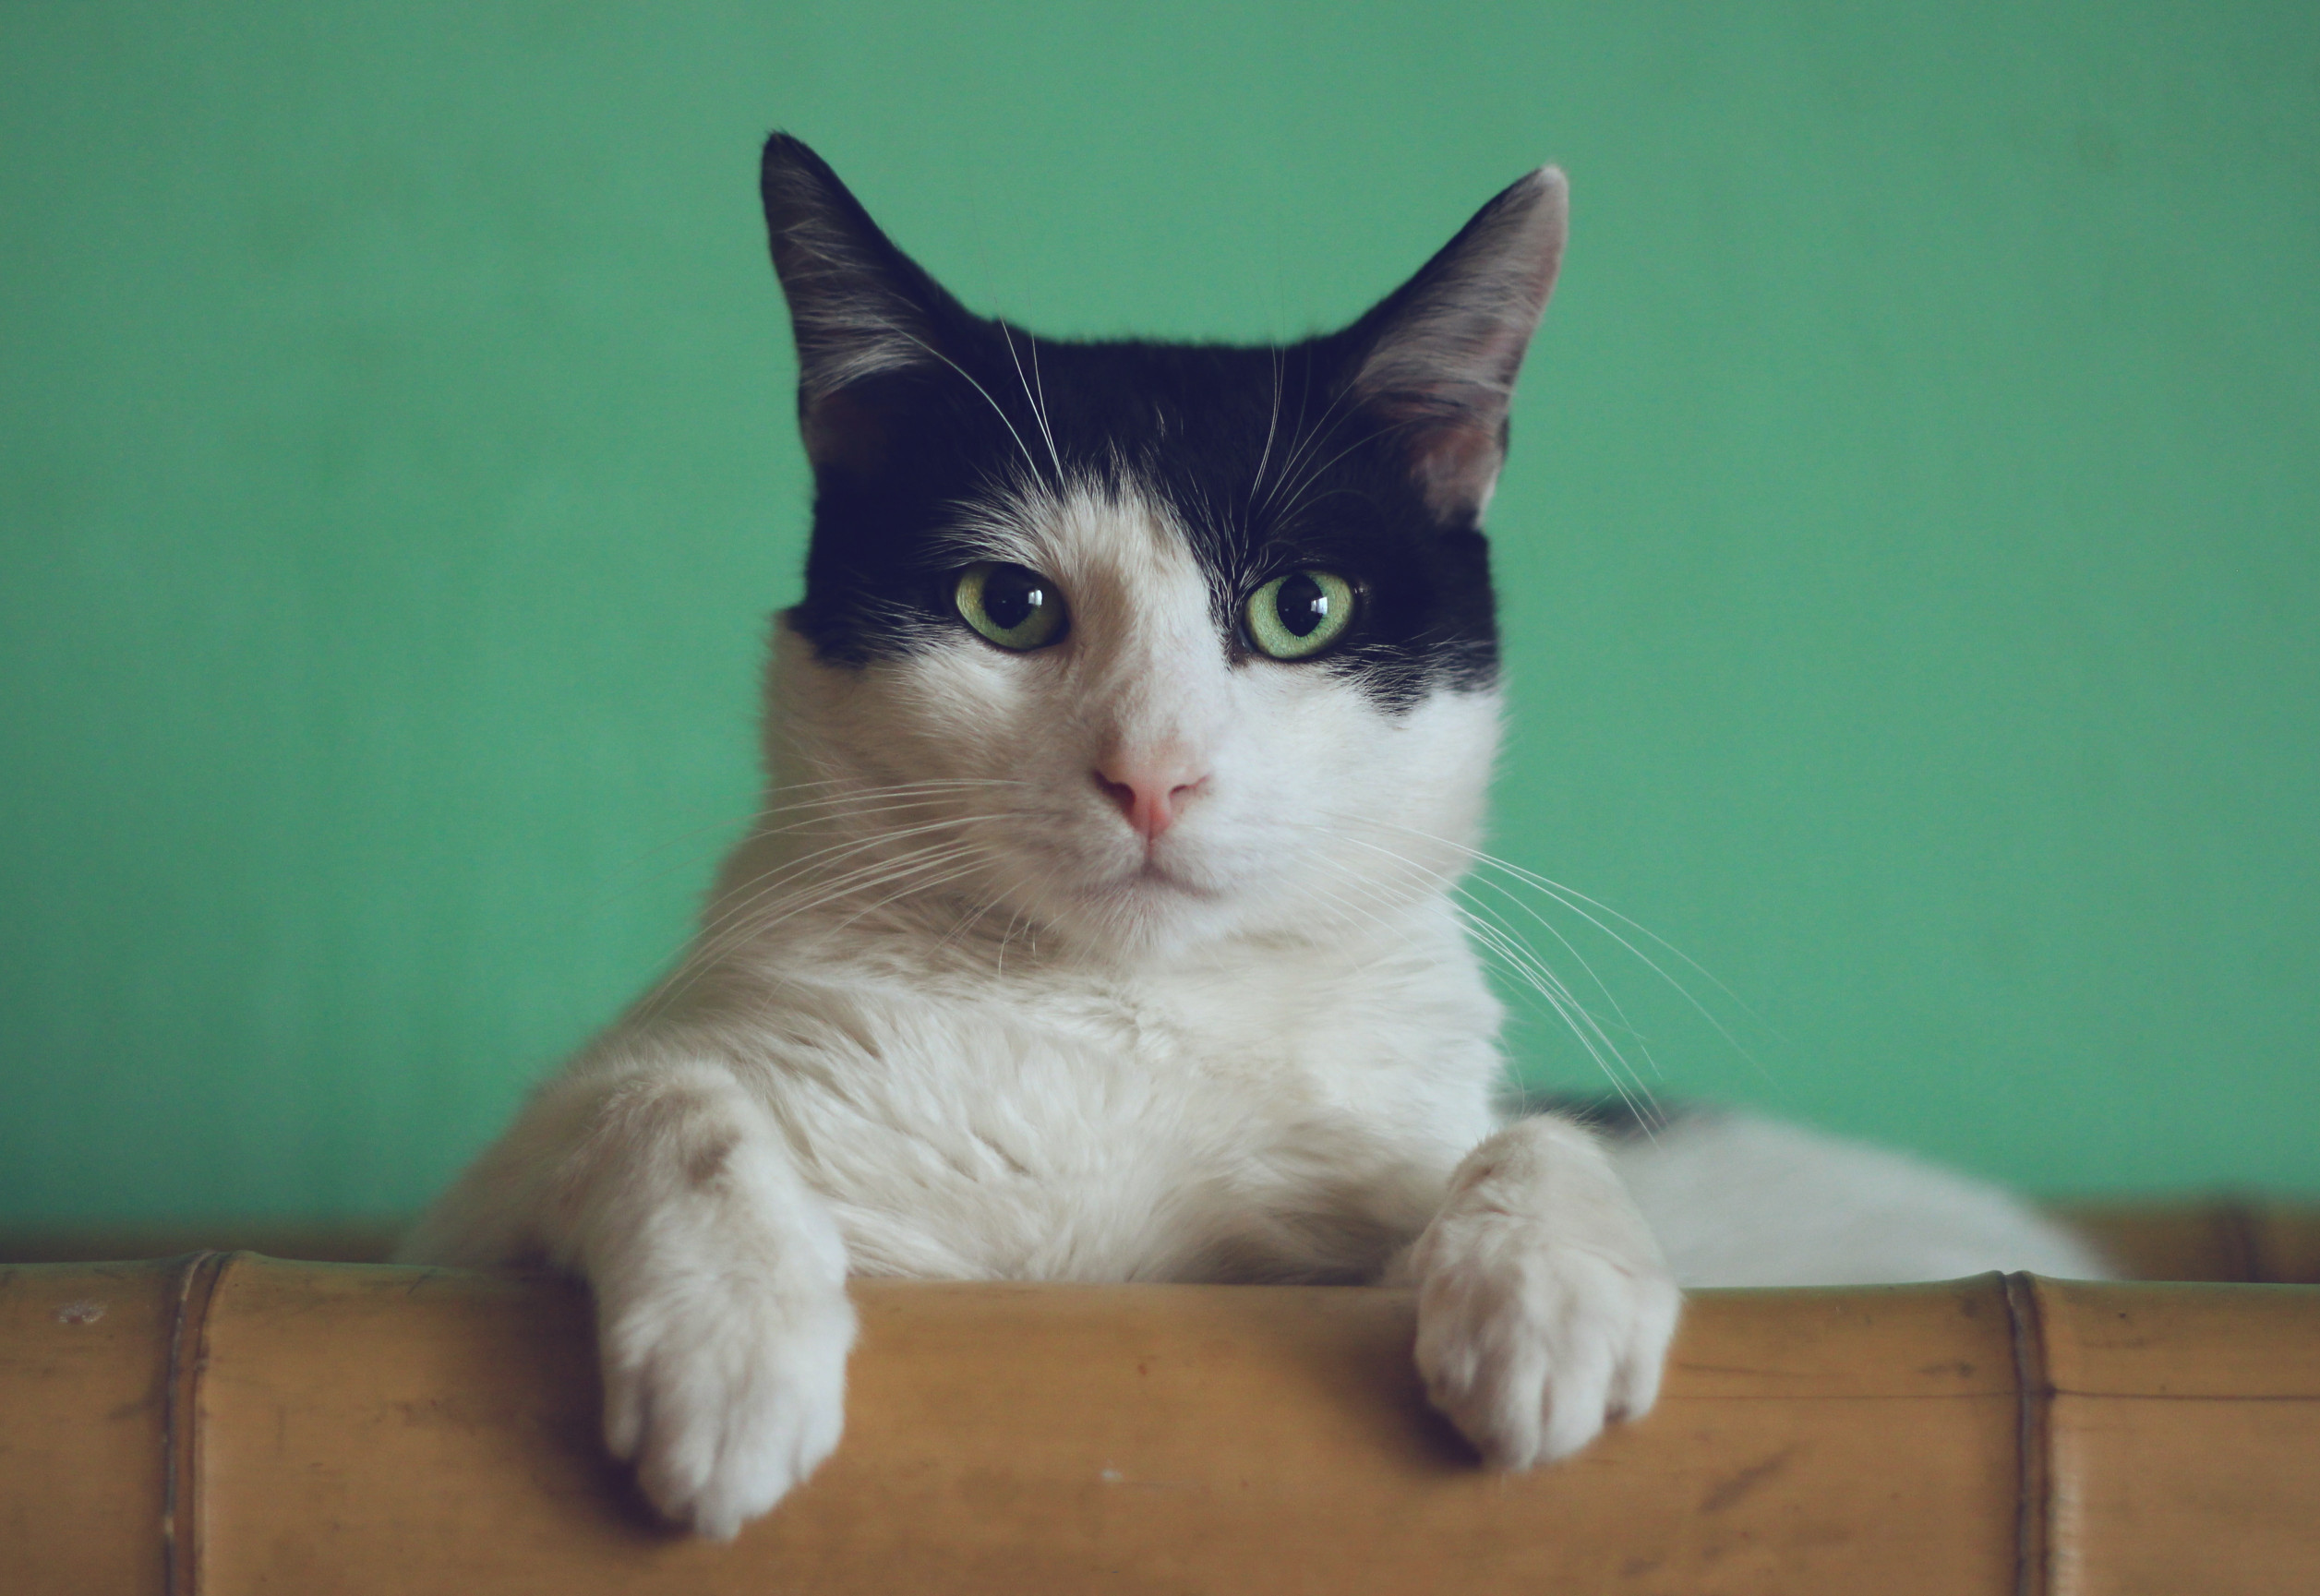
图片来源:Manja Vitolic on Unsplash。 - 嵌入相似度 - 嵌入的点积不是校准的概率。点积是相似度指标,不同用例的得分分布可能不同。因此,请避免使用固定值阈值来衡量质量。请改用排名方法进行检索,或使用 sigmoid 进行分类。
API 用量
API 限额
使用 multimodalembedding 模型进行文本和图片嵌入时,存在以下限制:
| 限制 | 值和说明 |
|---|---|
| 文本和图片数据 | |
| 每项目每分钟的 API 请求数上限 | 120 |
| 文本长度上限 | 32 个词法单元(约 32 个字) 最大文本长度为 32 个词法单元(约 32 个词)。如果输入超过 32 个词法单元,则模型会在内部将输入缩短到此长度。 |
| 语言 | 英语 |
| 图片格式 | BMP、GIF、JPG、PNG |
| 映像大小 | 采用 Base64 编码的图片:20 MB(转码为 PNG 时) Cloud Storage 图片:20 MB(原始文件格式) 接受的图片大小上限为 20 MB。为避免增加网络延迟时间,请使用较小的图片。此外,该模型会将图片的大小调整为 512 x 512 像素分辨率。因此,您无需提供分辨率更高的图片。 |
| 视频数据 | |
| 支持音频 | 不适用 - 模型在生成视频嵌入时不会考虑音频内容 |
| 视频格式 | AVI、FLV、MKV、MOV、MP4、MPEG、MPG、WEBM 和 WMV |
| 视频时长上限 (Cloud Storage) | 无限制。但是,一次只能分析 2 分钟的内容。 |
准备工作
- 登录您的 Google Cloud 账号。如果您是 Google Cloud 新手,请创建一个账号来评估我们的产品在实际场景中的表现。新客户还可获享 $300 赠金,用于运行、测试和部署工作负载。
-
In the Google Cloud console, on the project selector page, select or create a Google Cloud project.
-
启用 Vertex AI API。
-
In the Google Cloud console, on the project selector page, select or create a Google Cloud project.
-
启用 Vertex AI API。
-
为您的环境设置身份验证。
Select the tab for how you plan to use the samples on this page:
Java
如需在本地开发环境中使用本页面上的 Java 示例,请安装并初始化 gcloud CLI,然后使用您的用户凭据设置应用默认凭据。
- 安装 Google Cloud CLI。
-
如需初始化 gcloud CLI,请运行以下命令:
gcloud init
- 更新并安装
gcloud组件:gcloud components update
gcloud components install beta -
为您的 Google 账号创建本地身份验证凭据:
gcloud auth application-default login
如需了解详情,请参阅 Google Cloud 身份验证文档中的为本地开发环境设置身份验证。
Node.js
如需在本地开发环境中使用本页面上的 Node.js 示例,请安装并初始化 gcloud CLI,然后使用您的用户凭据设置应用默认凭据。
- 安装 Google Cloud CLI。
-
如需初始化 gcloud CLI,请运行以下命令:
gcloud init
- 更新并安装
gcloud组件:gcloud components update
gcloud components install beta -
为您的 Google 账号创建本地身份验证凭据:
gcloud auth application-default login
如需了解详情,请参阅 Google Cloud 身份验证文档中的为本地开发环境设置身份验证。
Python
如需在本地开发环境中使用本页面上的 Python 示例,请安装并初始化 gcloud CLI,然后使用您的用户凭据设置应用默认凭据。
- 安装 Google Cloud CLI。
-
如需初始化 gcloud CLI,请运行以下命令:
gcloud init
- 更新并安装
gcloud组件:gcloud components update
gcloud components install beta -
为您的 Google 账号创建本地身份验证凭据:
gcloud auth application-default login
如需了解详情,请参阅 Google Cloud 身份验证文档中的为本地开发环境设置身份验证。
REST
如需在本地开发环境中使用本页面上的 REST API 示例,请使用您提供给 gcloud CLI 的凭据。
- 安装 Google Cloud CLI。
-
如需初始化 gcloud CLI,请运行以下命令:
gcloud init
- 更新并安装
gcloud组件:gcloud components update
gcloud components install beta
如需了解详情,请参阅 Google Cloud 身份验证文档中的使用 REST 时进行身份验证。
- 如需使用 Python SDK,请按照安装 Python 版 Vertex AI SDK 中的说明操作。如需了解详情,请参阅 Python 版 Vertex AI SDK API 参考文档。
- 可选。查看此功能的价格。嵌入的价格取决于您发送的数据类型(例如图片或文本),还取决于您用于某些数据类型(例如 Video Plus、Video Standard 或 Video Essential)的模式。
位置
位置是您可以在请求中指定的区域,用于控制静态数据的存储位置。如需查看可用区域的列表,请参阅 Vertex AI 上的生成式 AI 位置。
错误消息
“超出配额”错误
google.api_core.exceptions.ResourceExhausted: 429 Quota exceeded for
aiplatform.googleapis.com/online_prediction_requests_per_base_model with base
model: multimodalembedding. Please submit a quota increase request.
如果这是您第一次收到此错误,请使用 Google Cloud 控制台为您的项目申请增加配额。在申请增加配额之前,请使用以下过滤条件:
Service ID: aiplatform.googleapis.commetric: aiplatform.googleapis.com/online_prediction_requests_per_base_modelbase_model:multimodalembedding
如果您已发送配额增加请求,请等待另一个请求。如果您需要进一步增加配额,请重复增加配额申请,并提供持续配额申请的理由。
指定低维嵌入
默认情况下,嵌入请求会为一个数据类型返回 1408 浮点矢量。您还可以为文本和图片数据指定低维嵌入(128、256 或 512 浮点向量)。通过此选项,您可以根据计划使用嵌入的方式针对延迟时间和存储或质量进行优化。低维嵌入为后续嵌入任务(例如搜索或推荐)提供了较低的存储需求和更低的延迟,而高维嵌入可为相同任务提供更高的准确率。
REST
可以通过添加
parameters.dimension字段来获得较低维度。该参数接受以下值之一:128、256、512或1408。响应包含该维度的嵌入。在使用任何请求数据之前,请先进行以下替换:
- LOCATION:您的项目的区域。 例如
us-central1、europe-west2或asia-northeast3。如需查看可用区域的列表,请参阅 Vertex AI 上的生成式 AI 位置。 - PROJECT_ID:您的 Google Cloud 项目 ID。
- IMAGE_URI:要为其获取嵌入的目标视频的 Cloud Storage URI。
例如
gs://my-bucket/embeddings/supermarket-img.png。您还可以以 base64 编码的字节字符串形式提供图片:
[...] "image": { "bytesBase64Encoded": "B64_ENCODED_IMAGE" } [...] - TEXT:要获取嵌入的目标文本。例如:
a cat。 - EMBEDDING_DIMENSION:嵌入维度的数量。值越小,后续任务使用这些嵌入时的延迟时间就越短,而值越大,准确率就越高。可用值:
128、256、512和1408(默认值)。
HTTP 方法和网址:
POST https://LOCATION-aiplatform.googleapis.com/v1/projects/PROJECT_ID/locations/LOCATION/publishers/google/models/multimodalembedding@001:predict
请求 JSON 正文:
{
  "instances": [
    {
      "image": {
        "gcsUri": "IMAGE_URI"
      },
      "text": "TEXT"
    }
  ],
  "parameters": {
    "dimension": EMBEDDING_DIMENSION
  }
}
如需发送请求,请选择以下方式之一:
curl
将请求正文保存在名为
request.json的文件中,然后执行以下命令:curl -X POST \
-H "Authorization: Bearer $(gcloud auth print-access-token)" \
-H "Content-Type: application/json; charset=utf-8" \
-d @request.json \
"https://LOCATION-aiplatform.googleapis.com/v1/projects/PROJECT_ID/locations/LOCATION/publishers/google/models/multimodalembedding@001:predict"PowerShell
将请求正文保存在名为
request.json的文件中,然后执行以下命令:$cred = gcloud auth print-access-token
$headers = @{ "Authorization" = "Bearer $cred" }
Invoke-WebRequest `
-Method POST `
-Headers $headers `
-ContentType: "application/json; charset=utf-8" `
-InFile request.json `
-Uri "https://LOCATION-aiplatform.googleapis.com/v1/projects/PROJECT_ID/locations/LOCATION/publishers/google/models/multimodalembedding@001:predict" | Select-Object -Expand Content模型返回的嵌入是您指定的维度的浮点矢量。为了节约空间,以下示例响应已被缩短。 128 个维度:
{
  "predictions": [
    {
      "imageEmbedding": [
        0.0279239565,
        [...128 dimension vector...]
        0.00403284049
      ],
      "textEmbedding": [
        0.202921599,
        [...128 dimension vector...]
        -0.0365431122
      ]
    }
  ],
  "deployedModelId": "DEPLOYED_MODEL_ID"
}
256 个维度:
{
  "predictions": [
    {
      "imageEmbedding": [
        0.248620048,
        [...256 dimension vector...]
        -0.0646447465
      ],
      "textEmbedding": [
        0.0757875815,
        [...256 dimension vector...]
        -0.02749932
      ]
    }
  ],
  "deployedModelId": "DEPLOYED_MODEL_ID"
}
512 个维度:
{
  "predictions": [
    {
      "imageEmbedding": [
        -0.0523675755,
        [...512 dimension vector...]
        -0.0444030389
      ],
      "textEmbedding": [
        -0.0592851527,
        [...512 dimension vector...]
        0.0350437127
      ]
    }
  ],
  "deployedModelId": "DEPLOYED_MODEL_ID"
}
发送嵌入请求(图片和文本)
使用以下代码示例发送包含图片和数据的嵌入请求。这些示例展示了如何同时发送这两种数据类型的请求,但您也可以将该服务用于个别数据类型。
获取文本和图片嵌入
REST
如需详细了解
multimodalembedding模型请求,请参阅multimodalembedding模型 API 参考文档。在使用任何请求数据之前,请先进行以下替换:
- LOCATION:您的项目的区域。 例如
us-central1、europe-west2或asia-northeast3。如需查看可用区域的列表,请参阅 Vertex AI 上的生成式 AI 位置。 - PROJECT_ID:您的 Google Cloud 项目 ID。
- TEXT:要获取嵌入的目标文本。例如:
a cat。 - B64_ENCODED_IMG:要获取嵌入的目标图片。图片必须指定为 base64 编码的字节字符串。
HTTP 方法和网址:
POST https://LOCATION-aiplatform.googleapis.com/v1/projects/PROJECT_ID/locations/LOCATION/publishers/google/models/multimodalembedding@001:predict
请求 JSON 正文:
{
  "instances": [
    {
      "text": "TEXT",
      "image": {
        "bytesBase64Encoded": "B64_ENCODED_IMG"
      }
    }
  ]
}
如需发送请求,请选择以下方式之一:
模型返回的嵌入是 1408 个浮点矢量。以下示例响应会缩短。curl
将请求正文保存在名为
request.json的文件中,然后执行以下命令:curl -X POST \
-H "Authorization: Bearer $(gcloud auth print-access-token)" \
-H "Content-Type: application/json; charset=utf-8" \
-d @request.json \
"https://LOCATION-aiplatform.googleapis.com/v1/projects/PROJECT_ID/locations/LOCATION/publishers/google/models/multimodalembedding@001:predict"PowerShell
将请求正文保存在名为
request.json的文件中,然后执行以下命令:$cred = gcloud auth print-access-token
$headers = @{ "Authorization" = "Bearer $cred" }
Invoke-WebRequest `
-Method POST `
-Headers $headers `
-ContentType: "application/json; charset=utf-8" `
-InFile request.json `
-Uri "https://LOCATION-aiplatform.googleapis.com/v1/projects/PROJECT_ID/locations/LOCATION/publishers/google/models/multimodalembedding@001:predict" | Select-Object -Expand Content{ "predictions": [ { "textEmbedding": [ 0.010477379, -0.00399621, 0.00576670747, [...] -0.00823613815, -0.0169572588, -0.00472954148 ], "imageEmbedding": [ 0.00262696808, -0.00198890246, 0.0152047109, -0.0103145819, [...] 0.0324628279, 0.0284924973, 0.011650892, -0.00452344026 ] } ], "deployedModelId": "DEPLOYED_MODEL_ID" }Python
如需了解如何安装或更新 Python 版 Vertex AI SDK,请参阅安装 Python 版 Vertex AI SDK。如需了解详情,请参阅 Python API 参考文档。
Node.js
在尝试此示例之前,请按照《Vertex AI 快速入门:使用客户端库》中的 Node.js 设置说明执行操作。如需了解详情,请参阅 Vertex AI Node.js API 参考文档。
如需向 Vertex AI 进行身份验证,请设置应用默认凭据。 如需了解详情,请参阅为本地开发环境设置身份验证。
Java
在尝试此示例之前,请按照《Vertex AI 快速入门:使用客户端库》中的 Java 设置说明执行操作。如需了解详情,请参阅 Vertex AI Java API 参考文档。
如需向 Vertex AI 进行身份验证,请设置应用默认凭据。 如需了解详情,请参阅为本地开发环境设置身份验证。
发送嵌入请求(视频、图片或文本)
发送嵌入请求时,您可以单独指定输入视频,也可以指定视频、图片和文本数据的组合。
视频嵌入模式
有三种模式可用于视频嵌入:Essential、Standard 或 Plus。该模式与生成的嵌入的密度相对应,可以由请求中的
interval_sec配置指定。对于时长为interval_sec的每个视频间隔,系统会生成一个嵌入。视频间隔时长下限为 4 秒。间隔时长超过 120 秒可能会对生成的嵌入的质量产生负面影响。视频嵌入的价格取决于您使用的模式。如需了解详情,请参阅价格。
下表总结了可用于视频嵌入的三种模式:
模式 每分钟的嵌入数上限 视频嵌入间隔(最小值) 必要的 4 15
这对应于:intervalSec>= 15标准 8 8
这对应于:8 <=intervalSec< 15Plus 15 4
这对应于:4 <=intervalSec< 8视频嵌入最佳实践
发送视频嵌入请求时,请考虑以下事项:
如需为任意时长的输入视频的前两分钟生成单个嵌入,请使用以下
videoSegmentConfig设置:request.json:// other request body content "videoSegmentConfig": { "intervalSec": 120 } // other request body content如需为时长超过两分钟的视频生成嵌入,您可以发送多个在
videoSegmentConfig中指定开始时间和结束时间的请求:request1.json:// other request body content "videoSegmentConfig": { "startOffsetSec": 0, "endOffsetSec": 120 } // other request body contentrequest2.json:// other request body content "videoSegmentConfig": { "startOffsetSec": 120, "endOffsetSec": 240 } // other request body content
获取视频嵌入
使用以下示例单独获取视频内容的嵌入。
REST
如需详细了解
multimodalembedding模型请求,请参阅multimodalembedding模型 API 参考文档。以下示例使用位于 Cloud Storage 中的视频。您还可以使用
video.bytesBase64Encoded字段提供视频的 base64 编码字符串表示形式。在使用任何请求数据之前,请先进行以下替换:
- LOCATION:您的项目的区域。 例如
us-central1、europe-west2或asia-northeast3。如需查看可用区域的列表,请参阅 Vertex AI 上的生成式 AI 位置。 - PROJECT_ID:您的 Google Cloud 项目 ID。
- VIDEO_URI:要为其获取嵌入的目标视频的 Cloud Storage URI。
例如
gs://my-bucket/embeddings/supermarket-video.mp4。您还可以以 base64 编码的字节字符串形式提供视频:
[...] "video": { "bytesBase64Encoded": "B64_ENCODED_VIDEO" } [...] videoSegmentConfig(START_SECOND、END_SECOND、INTERVAL_SECONDS)。可选。为其生成嵌入的特定视频片段(以秒为单位)。例如:
[...]
"videoSegmentConfig": {
  "startOffsetSec": 10,
  "endOffsetSec": 60,
  "intervalSec": 10
}
[...]
使用此配置可指定从 10 秒到 60 秒的视频数据,并为以下 10 秒的视频间隔生成嵌入:[10, 20), [20, 30), [30, 40), [40, 50), [50, 60)。 此视频间隔 (
"intervalSec": 10) 属于标准视频嵌入模式,用户按标准模式价格费率计费。如果省略
videoSegmentConfig,则服务使用以下默认值:"videoSegmentConfig": { "startOffsetSec": 0, "endOffsetSec": 120, "intervalSec": 16 }。 此视频间隔 ("intervalSec": 16) 属于基本视频嵌入模式,用户按基本模式价格费率计费。
HTTP 方法和网址:
POST https://LOCATION-aiplatform.googleapis.com/v1/projects/PROJECT_ID/locations/LOCATION/publishers/google/models/multimodalembedding@001:predict
请求 JSON 正文:
{
  "instances": [
    {
      "video": {
        "gcsUri": "VIDEO_URI",
        "videoSegmentConfig": {
          "startOffsetSec": START_SECOND,
          "endOffsetSec": END_SECOND,
          "intervalSec": INTERVAL_SECONDS
        }
      }
    }
  ]
}
如需发送请求,请选择以下方式之一:
模型返回的嵌入是 1408 个浮点矢量。以下响应示例缩短了空间。curl
将请求正文保存在名为
request.json的文件中,然后执行以下命令:curl -X POST \
-H "Authorization: Bearer $(gcloud auth print-access-token)" \
-H "Content-Type: application/json; charset=utf-8" \
-d @request.json \
"https://LOCATION-aiplatform.googleapis.com/v1/projects/PROJECT_ID/locations/LOCATION/publishers/google/models/multimodalembedding@001:predict"PowerShell
将请求正文保存在名为
request.json的文件中,然后执行以下命令:$cred = gcloud auth print-access-token
$headers = @{ "Authorization" = "Bearer $cred" }
Invoke-WebRequest `
-Method POST `
-Headers $headers `
-ContentType: "application/json; charset=utf-8" `
-InFile request.json `
-Uri "https://LOCATION-aiplatform.googleapis.com/v1/projects/PROJECT_ID/locations/LOCATION/publishers/google/models/multimodalembedding@001:predict" | Select-Object -Expand Content响应(7 秒视频,未指定
videoSegmentConfig):{ "predictions": [ { "videoEmbeddings": [ { "endOffsetSec": 7, "embedding": [ -0.0045467657, 0.0258095954, 0.0146885719, 0.00945400633, [...] -0.0023291884, -0.00493789, 0.00975185353, 0.0168156829 ], "startOffsetSec": 0 } ] } ], "deployedModelId": "DEPLOYED_MODEL_ID" }响应(59 秒视频,采用以下视频片段配置:
"videoSegmentConfig": { "startOffsetSec": 0, "endOffsetSec": 60, "intervalSec": 10 }):{ "predictions": [ { "videoEmbeddings": [ { "endOffsetSec": 10, "startOffsetSec": 0, "embedding": [ -0.00683252793, 0.0390476175, [...] 0.00657121744, 0.013023301 ] }, { "startOffsetSec": 10, "endOffsetSec": 20, "embedding": [ -0.0104404651, 0.0357737206, [...] 0.00509833824, 0.0131902946 ] }, { "startOffsetSec": 20, "embedding": [ -0.0113538112, 0.0305239167, [...] -0.00195809244, 0.00941874553 ], "endOffsetSec": 30 }, { "embedding": [ -0.00299320649, 0.0322436653, [...] -0.00993082579, 0.00968887936 ], "startOffsetSec": 30, "endOffsetSec": 40 }, { "endOffsetSec": 50, "startOffsetSec": 40, "embedding": [ -0.00591270532, 0.0368893594, [...] -0.00219071587, 0.0042470959 ] }, { "embedding": [ -0.00458270218, 0.0368121453, [...] -0.00317760976, 0.00595594104 ], "endOffsetSec": 59, "startOffsetSec": 50 } ] } ], "deployedModelId": "DEPLOYED_MODEL_ID" }Python
如需了解如何安装或更新 Python 版 Vertex AI SDK,请参阅安装 Python 版 Vertex AI SDK。如需了解详情,请参阅 Python API 参考文档。
获取图片、文本和视频嵌入
使用以下示例获取视频、文本和图片内容的嵌入。
REST
如需详细了解
multimodalembedding模型请求,请参阅multimodalembedding模型 API 参考文档。以下示例使用图片、文本和视频数据。您可以在请求正文中使用这些数据类型的任意组合。
此外,此示例还会使用 Cloud Storage 中的视频。您还可以使用
video.bytesBase64Encoded字段提供视频的 base64 编码字符串表示形式。在使用任何请求数据之前,请先进行以下替换:
- LOCATION:您的项目的区域。 例如
us-central1、europe-west2或asia-northeast3。如需查看可用区域的列表,请参阅 Vertex AI 上的生成式 AI 位置。 - PROJECT_ID:您的 Google Cloud 项目 ID。
- TEXT:要获取嵌入的目标文本。例如:
a cat。 - IMAGE_URI:要为其获取嵌入的目标视频的 Cloud Storage URI。
例如
gs://my-bucket/embeddings/supermarket-img.png。您还可以以 base64 编码的字节字符串形式提供图片:
[...] "image": { "bytesBase64Encoded": "B64_ENCODED_IMAGE" } [...] - VIDEO_URI:要为其获取嵌入的目标视频的 Cloud Storage URI。
例如
gs://my-bucket/embeddings/supermarket-video.mp4。您还可以以 base64 编码的字节字符串形式提供视频:
[...] "video": { "bytesBase64Encoded": "B64_ENCODED_VIDEO" } [...] videoSegmentConfig(START_SECOND、END_SECOND、INTERVAL_SECONDS)。可选。为其生成嵌入的特定视频片段(以秒为单位)。例如:
[...]
"videoSegmentConfig": {
  "startOffsetSec": 10,
  "endOffsetSec": 60,
  "intervalSec": 10
}
[...]
使用此配置可指定从 10 秒到 60 秒的视频数据,并为以下 10 秒的视频间隔生成嵌入:[10, 20), [20, 30), [30, 40), [40, 50), [50, 60)。 此视频间隔 (
"intervalSec": 10) 属于标准视频嵌入模式,用户按标准模式价格费率计费。如果省略
videoSegmentConfig,则服务使用以下默认值:"videoSegmentConfig": { "startOffsetSec": 0, "endOffsetSec": 120, "intervalSec": 16 }。 此视频间隔 ("intervalSec": 16) 属于基本视频嵌入模式,用户按基本模式价格费率计费。
HTTP 方法和网址:
POST https://LOCATION-aiplatform.googleapis.com/v1/projects/PROJECT_ID/locations/LOCATION/publishers/google/models/multimodalembedding@001:predict
请求 JSON 正文:
{
  "instances": [
    {
      "text": "TEXT",
      "image": {
        "gcsUri": "IMAGE_URI"
      },
      "video": {
        "gcsUri": "VIDEO_URI",
        "videoSegmentConfig": {
          "startOffsetSec": START_SECOND,
          "endOffsetSec": END_SECOND,
          "intervalSec": INTERVAL_SECONDS
        }
      }
    }
  ]
}
如需发送请求,请选择以下方式之一:
模型返回的嵌入是 1408 个浮点矢量。以下示例响应会缩短。curl
将请求正文保存在名为
request.json的文件中,然后执行以下命令:curl -X POST \
-H "Authorization: Bearer $(gcloud auth print-access-token)" \
-H "Content-Type: application/json; charset=utf-8" \
-d @request.json \
"https://LOCATION-aiplatform.googleapis.com/v1/projects/PROJECT_ID/locations/LOCATION/publishers/google/models/multimodalembedding@001:predict"PowerShell
将请求正文保存在名为
request.json的文件中,然后执行以下命令:$cred = gcloud auth print-access-token
$headers = @{ "Authorization" = "Bearer $cred" }
Invoke-WebRequest `
-Method POST `
-Headers $headers `
-ContentType: "application/json; charset=utf-8" `
-InFile request.json `
-Uri "https://LOCATION-aiplatform.googleapis.com/v1/projects/PROJECT_ID/locations/LOCATION/publishers/google/models/multimodalembedding@001:predict" | Select-Object -Expand Content{ "predictions": [ { "textEmbedding": [ 0.0105433334, -0.00302835181, 0.00656806398, 0.00603460241, [...] 0.00445805816, 0.0139605571, -0.00170318608, -0.00490092579 ], "videoEmbeddings": [ { "startOffsetSec": 0, "endOffsetSec": 7, "embedding": [ -0.00673126569, 0.0248149596, 0.0128901172, 0.0107588246, [...] -0.00180952181, -0.0054573305, 0.0117037306, 0.0169312079 ] } ], "imageEmbedding": [ -0.00728622358, 0.031021487, -0.00206603738, 0.0273937676, [...] -0.00204976718, 0.00321615417, 0.0121978866, 0.0193375275 ] } ], "deployedModelId": "DEPLOYED_MODEL_ID" }Python
如需了解如何安装或更新 Python 版 Vertex AI SDK,请参阅安装 Python 版 Vertex AI SDK。如需了解详情,请参阅 Python API 参考文档。
后续步骤
- 阅读博客“什么是多模式搜索:‘有远见的法学硕士’改变业务”。
- 如需了解纯文本用例(基于文本的语义搜索、聚类、长文档分析以及其他文本检索或问答用例),请参阅获取文本嵌入。
- 在 Imagen on Vertex AI 概览中查看所有 Vertex AI 图片生成式 AI 产品。
- 在 Model Garden 中探索更多预训练模型。
- 了解 Vertex AI 中 Responsible AI 最佳实践和安全过滤条件。
如未另行说明,那么本页面中的内容已根据知识共享署名 4.0 许可获得了许可,并且代码示例已根据 Apache 2.0 许可获得了许可。有关详情,请参阅 Google 开发者网站政策。Java 是 Oracle 和/或其关联公司的注册商标。
最后更新时间 (UTC):2024-06-29。
[{ "type": "thumb-down", "id": "hardToUnderstand", "label":"Hard to understand" },{ "type": "thumb-down", "id": "incorrectInformationOrSampleCode", "label":"Incorrect information or sample code" },{ "type": "thumb-down", "id": "missingTheInformationSamplesINeed", "label":"Missing the information/samples I need" },{ "type": "thumb-down", "id": "translationIssue", "label":"翻译问题" },{ "type": "thumb-down", "id": "otherDown", "label":"其他" }] [{ "type": "thumb-up", "id": "easyToUnderstand", "label":"易于理解" },{ "type": "thumb-up", "id": "solvedMyProblem", "label":"解决了我的问题" },{ "type": "thumb-up", "id": "otherUp", "label":"其他" }]