在 Cloud Composer 3 中執行 Apache Airflow DAG
Cloud Composer 3 | Cloud Composer 2 | Cloud Composer 1
本快速入門指南說明如何建立 Cloud Composer 環境,並在 Cloud Composer 3 中執行 Apache Airflow DAG。
如果您是 Airflow 新手,請參閱 Apache Airflow 說明文件中的 Airflow 概念教學課程,進一步瞭解 Airflow 概念、物件及其用途。
如要改用 Google Cloud CLI,請參閱「在 Cloud Composer 中執行 Apache Airflow DAG (Google Cloud CLI)」。
如要使用 Terraform 建立環境,請參閱「建立環境 (Terraform)」。
事前準備
- Sign in to your Google Cloud account. If you're new to Google Cloud, create an account to evaluate how our products perform in real-world scenarios. New customers also get $300 in free credits to run, test, and deploy workloads.
-
In the Google Cloud console, on the project selector page, select or create a Google Cloud project.
-
Verify that billing is enabled for your Google Cloud project.
-
In the Google Cloud console, on the project selector page, select or create a Google Cloud project.
-
Verify that billing is enabled for your Google Cloud project.
-
Enable the Cloud Composer API.
-
如要取得完成本快速入門所需的權限,請要求管理員為您授予專案的下列 IAM 角色:
-
如要查看、建立及管理 Cloud Composer 環境,請按照下列步驟操作:
-
環境與 Storage 物件管理員 (
roles/composer.environmentAndStorageObjectAdmin) -
服務帳戶使用者 (
roles/iam.serviceAccountUser)
-
環境與 Storage 物件管理員 (
-
如要查看記錄,請按照下列步驟操作:
「記錄檢視器」 (
roles/logging.viewer)
如要進一步瞭解如何授予角色,請參閱「管理專案、資料夾和機構的存取權」。
-
如要查看、建立及管理 Cloud Composer 環境,請按照下列步驟操作:
按照 Identity and Access Management 說明文件中的說明,建立新的服務帳戶。
請按照 Identity and Access Management 說明文件中的說明授予角色。必要角色為 Composer Worker (
composer.worker)。前往 Google Cloud 控制台的「建立環境」頁面。
在「Name」(名稱) 欄位中輸入
example-environment。在「Location」(位置) 下拉式清單中,選取 Cloud Composer 環境所在的區域。本指南使用
us-central1區域。其他環境設定選項請使用系統提供的預設值。
按一下「建立」,然後等待環境建立完成。
完成後,環境名稱旁會顯示綠色勾號。
- 建立 DAG,
composer_sample_dag。這個 DAG 每天都會執行。 - 執行一項工作,
print_dag_run_conf。這項工作會使用 Bash 運算子,列印 DAG 執行的設定。 前往 Google Cloud 控制台的「Environments」頁面。
在環境清單中,按一下環境名稱
example-environment。「環境詳細資料」頁面隨即開啟。按一下「開啟 DAG 資料夾」。「Bucket details」(值區詳細資料) 頁面隨即開啟。
按一下「上傳檔案」,然後選取
quickstart.py的副本。如要上傳檔案,請按一下「開啟」。
- 剖析您上傳的 DAG 檔案。DAG 可能需要幾分鐘的時間才會在 Airflow 中顯示。
- 將 DAG 新增至可用 DAG 清單。
- 根據您在 DAG 檔案中提供的排程執行 DAG。
請稍候約五分鐘,讓 Airflow 處理先前上傳的 DAG 檔案,並完成第一個 DAG 執行作業 (稍後會說明)。
前往 Google Cloud 控制台的「Environments」頁面。
在環境清單中,按一下環境名稱
example-environment。「環境詳細資料」頁面隨即開啟。前往「DAG」分頁。
確認 DAG 清單中是否包含
composer_quickstartDAG。
圖 1. DAG 清單會顯示 composer_quickstart DAG (按一下即可放大) 在「DAGs」分頁中,按一下
composer_quickstart。系統會開啟 DAG 的「Runs」(執行) 分頁。在 DAG 執行清單中,按一下第一個項目。
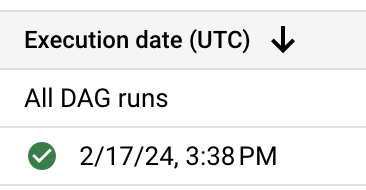
圖 2. composer_quickstart DAG 的 DAG 執行作業清單 (按一下即可放大) 系統會顯示 DAG 執行詳細資料,詳細說明範例 DAG 中個別工作的相關資訊。
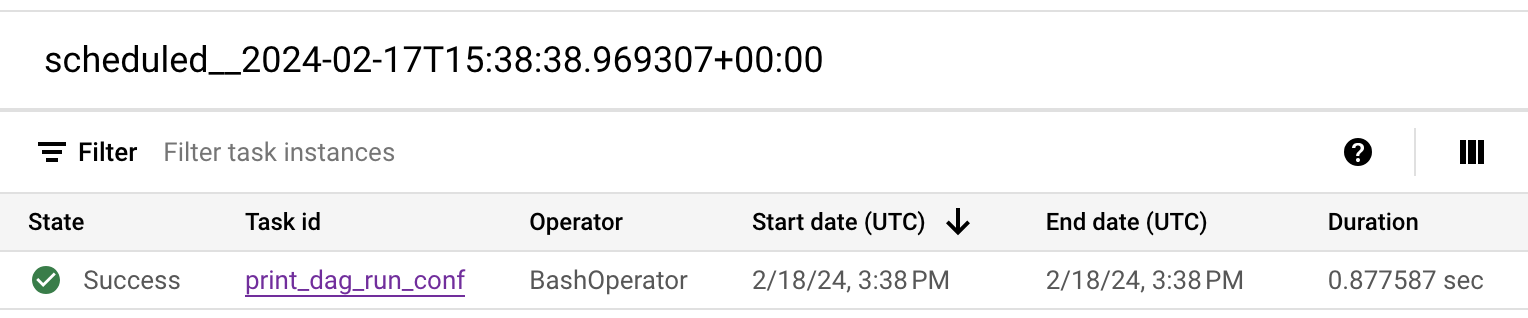
圖 3. DAG 執行中執行的工作清單 (按一下可放大) 「Logs for DAG run」(DAG 執行記錄) 部分會列出 DAG 執行作業中所有工作的記錄。 您可以在記錄檔中查看
echo指令的輸出內容。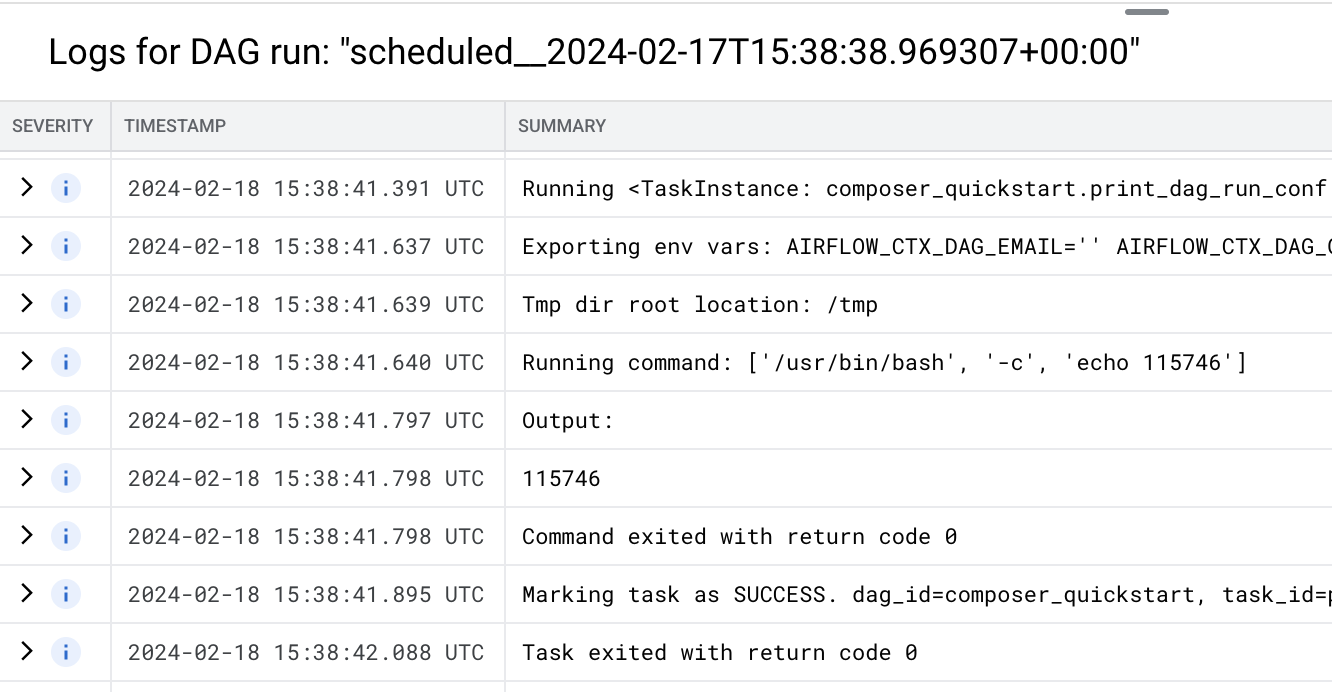
圖 4. print_dag_run_conf 工作的記錄 (按一下即可放大) 刪除 Cloud Composer 環境:
前往 Google Cloud 控制台的「Environments」頁面。
選取
example-environment,然後按一下「刪除」。等待環境刪除完成。
刪除環境的值區。刪除 Cloud Composer 環境不會刪除其值區。
在 Google Cloud 控制台中,依序前往「Storage」(儲存空間) >「Browser」(瀏覽器) 頁面。
選取環境的值區,然後按一下「Delete」(刪除)。舉例來說,這個值區可以命名為
us-central1-example-environ-c1616fe8-bucket。
建立環境的服務帳戶
建立環境時,請指定服務帳戶。這個服務帳戶稱為「環境的服務帳戶」。您的環境會使用這個服務帳戶執行大部分作業。
環境的服務帳戶不是使用者帳戶。服務帳戶是一種特殊帳戶,由應用程式或虛擬機器 (VM) 執行個體使用,而非由人員使用。
如要為環境建立服務帳戶,請按照下列步驟操作:
建立環境
建立 DAG 檔案
Airflow DAG 是經過整理的工作集合,可供您排定及執行。DAG 定義於標準 Python 檔案中。
本指南使用 quickstart.py 檔案中定義的範例 Airflow DAG。這個檔案中的 Python 程式碼會執行下列作業:
將 quickstart.py 檔案副本儲存在本機電腦上:
將 DAG 檔案上傳至環境的值區
每個 Cloud Composer 環境都有相關聯的 Cloud Storage bucket。Cloud Composer 中的 Airflow 只會為這個 bucket 中 /dags 資料夾內的 DAG 排程。
如要排定 DAG 的時間,請從本機電腦將 quickstart.py 上傳至環境的 /dags 資料夾:
查看 DAG
上傳 DAG 檔案後,Airflow 會執行下列作業:
在 DAG 使用者介面中查看 DAG,確認 DAG 處理程序沒有錯誤,且 DAG 可在 Airflow 中使用。DAG 使用者介面是 Cloud Composer 的介面,可讓您在 Google Cloud 控制台中查看 DAG 資訊。Cloud Composer 也提供 Airflow UI 的存取權,這是 Airflow 原生的網頁介面。
查看 DAG 執行作業詳細資料
DAG 的單一執行作業稱為「DAG 執行作業」。Airflow 會立即執行範例 DAG 的 DAG 執行作業,因為 DAG 檔案中的開始日期設為昨天。這樣一來,Airflow 就會趕上指定 DAG 的排程。
範例 DAG 包含一項工作 print_dag_run_conf,會在控制台中執行 echo 指令。這項指令會輸出 DAG 的中繼資訊 (DAG 執行的數值 ID)。
清除所用資源
如要避免系統向您的 Google Cloud 帳戶收取本頁所用資源的費用,請按照下列步驟操作。
刪除本教學課程中使用的資源:
後續步驟