If you have an existing project already configured with Kubernetes manifests, a Dockerfile, or Jib to build your images, you can open and use it with the plugin. The only additional configuration necessary is a Skaffold YAML file which either can be generated for you automatically or created using the provided template.
After you're done with configuring your Skaffold YAML, be sure to specify where your container images are stored where the project image is about to be pushed.
Automatic project bootstrapping
Your project must have one or more Kubernetes manifests. If Cloud Code detects any Kubernetes manifests in the project, Cloud Code will try to bootstrap.
If Cloud Code doesn't detect an existing Skaffold configuration, you will be prompted to help set it up.
Prerequisites
Your project must meet the following prerequisites in order to be prompted to
create a skaffold.yaml file and run any necessary configurations:
(Option 1) Your project has a Dockerfile and is configured for Jib, or
(Option 2) Your project is buildable using Buildpacks and has Kubernetes resources.
Set up Kubernetes run configuration
If the prerequisites are met, Cloud Code will
prompt you with a notification to create a skaffold.yaml file (if one doesn't
already exist) and any necessary run configurations:
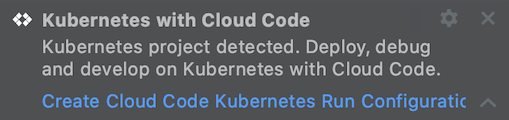
Click the notification. This automatically creates your configuration if possible.
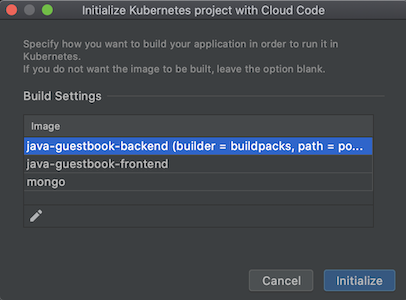
If automatic Skaffold configuration creation is not possible due to multiple images or builders being detected, Cloud Code will display a dialog asking you to provide mappings between the detected images and builders.
Alternatively, you can also set up a Skaffold configuration by navigating to Tools > Cloud Code > Kubernetes and selecting Add Kubernetes Support.
This option analyzes your project's Kubernetes resources and generates a
skaffold.yamlfile (if one doesn't already exist) as well as necessary run configurations. The two run configurations generated include one to run your project on Kubernetes and one for development on a Kubernetes cluster.After support is added, you can start running and debugging your project on Kubernetes using the newly added run configurations.
Manually create a Cloud Code Skaffold configuration
You can choose to manually create a new skaffold.yaml file or add an existing
one to your project.
To create a skaffold.yaml file manually using live templating, follow these
steps:
Create a new file named
skaffold.yamlin the root directory of your project (right-click > New > File).With the cursor in the new file, press
Ctrl+Spaceto bring up the live template suggestions and then choose the desired Skaffold template.
Populate the image field with your project image name and the manifests field with a list of the Kubernetes resources you want to deploy from the IDE.
After Cloud Code determines that your
skaffold.yamlfile is valid, click the prompt to create Kubernetes run configurations.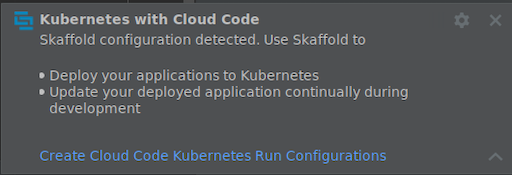
Examples of Cloud Code Skaffold configurations
Dockerfile based builds:
build:
  artifacts:
    - image: image_name
deploy:
  kubectl:
    manifests:
      - k8s/web.yaml
      - k8s/backend.yaml
Build section for Java Maven/Gradle projects with the Jib plugin (deploy section stays the same as the example above):
build:
artifacts:
- image: image_name
  jib: {}
If you'd like to define build, test, and deployment configurations for different contexts, you can have different profiles. Here's an example of a Cloud Build profile to configure Cloud Code to build images with Cloud Build:
profiles:
# use the cloudbuild profile to build images using Google Cloud Build
- name: cloudbuild
  build:
    googleCloudBuild: {}
If you'd like to deploy your project with Helm, see the Helm documentation.
Specifying where container images are stored
Container image storage
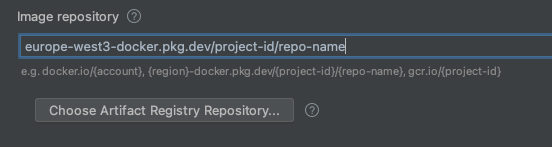
Before you deploy your application, you'll need to define a default image repository to use with your project.
By default, the project is configured to use the image name specified in your Kubernetes manifests. You can also customize this image specification. Once you have your preferred repository set up (Artifact Registry, DockerHub, or a private repository), edit the run configurations and specify it as a default image repository in run configuration settings.
These are accessible from the Run/Debug configurations dialog on the top taskbar under Edit Configurations > Develop on Kubernetes > Image repository.
For more on specifying your container image preferences, refer to the Configuring container image settings guide.
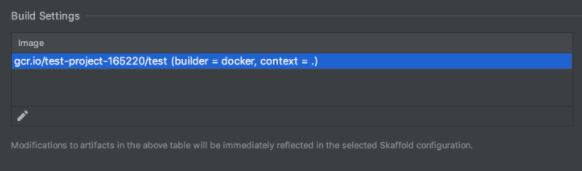
Build settings
Once you set your container image, you can configure its build settings. Cloud Code supports Docker, Jib, and Buildpacks artifact types.
On the Build / Deploy tab of your Run configuration settings (Edit Configurations > Develop on Kubernetes), you can configure the build settings for your default profile.
For more on specifying the build settings for your image, refer to the Configuring container image build preferences guide.
What's next
- Use file sync and hot reloading to speed up development.
- Debug your application in Cloud Code.