Vertex AI Platform
利用由 Gemini 模型增强的企业级 AI 加速创新
Vertex AI 是一个全托管式统一 AI 开发平台,专为构建和使用生成式 AI 打造。您可便捷访问并运用 Vertex AI Studio、Agent Builder 和 200 多种基础模型。
新客户最高可获享 300 美元赠金,用于体验 Vertex AI 和其他 Google Cloud 产品。
功能
Gemini - Google 旗下最强大的多模态模型
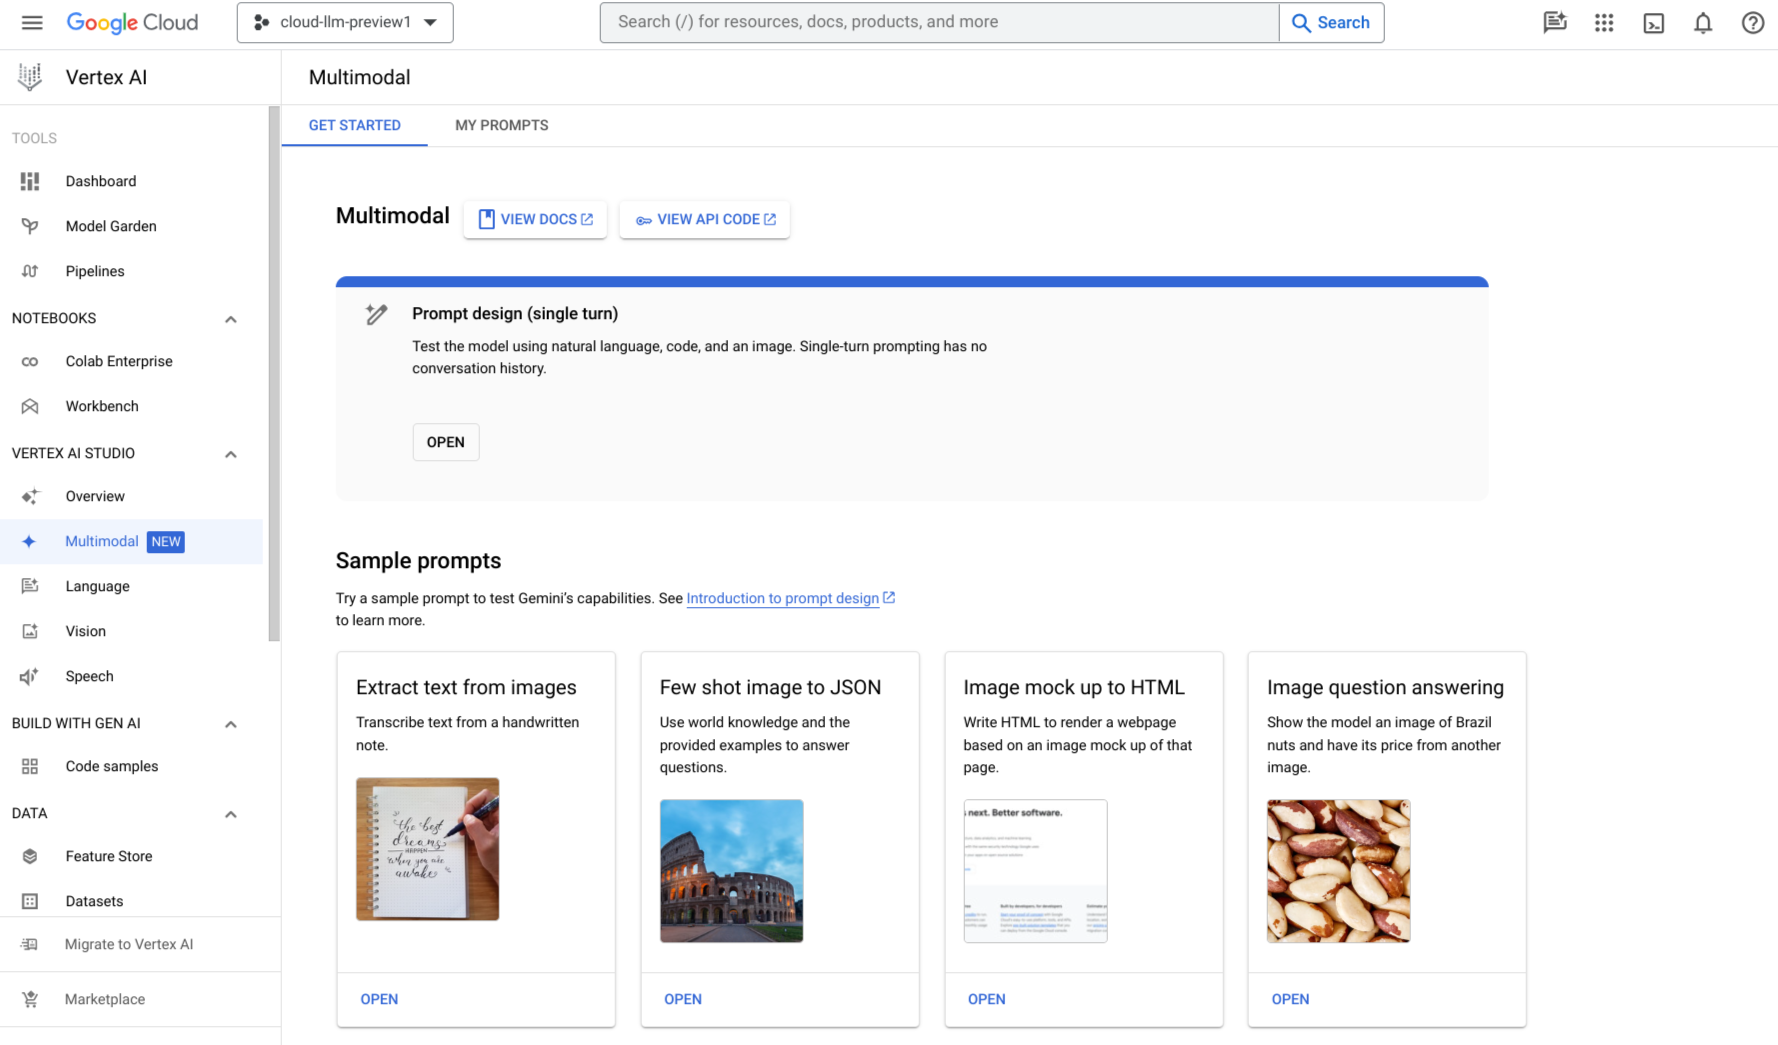
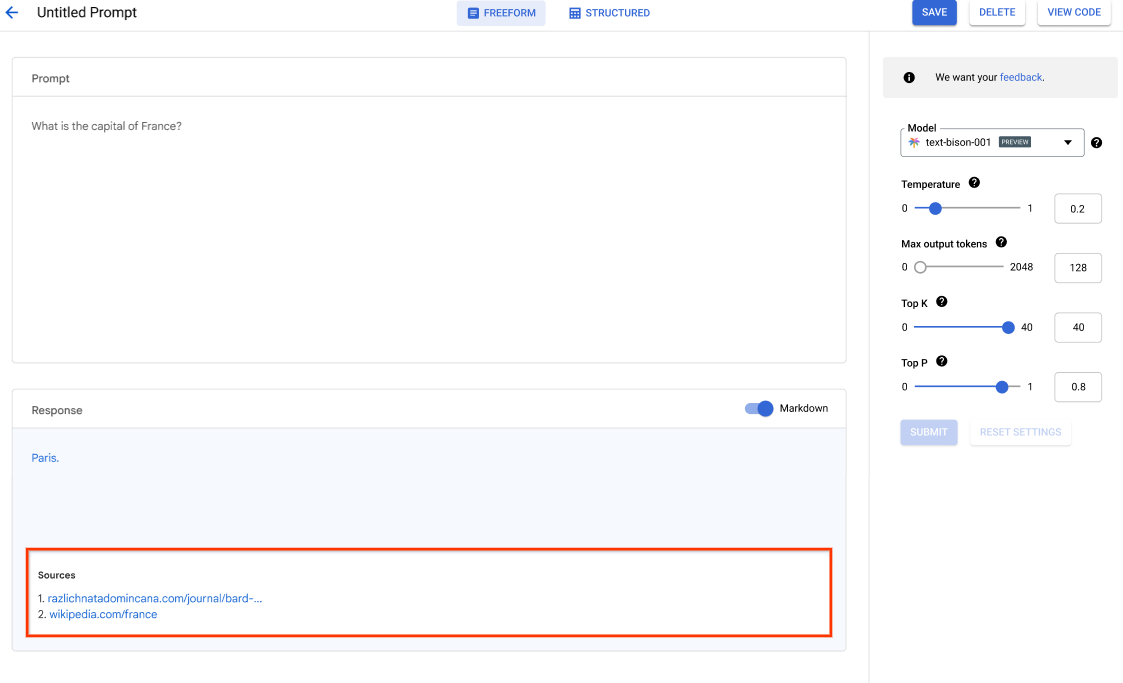
Vertex AI 让您轻松接入 Google 最新的 Gemini 模型,包括 Gemini 3。Gemini 几乎能够理解各类输入信息,整合不同类型的数据,并生成近乎任意形式的输出结果。您可在 Vertex AI Studio 中使用文本、图片、视频或代码,向 Gemini 发出提示并进行测试。利用 Gemini 的高级推理和先进的生成功能,开发者可体验各类示例提示场景:从图片中提取文本、将图片文本转换为 JSON 格式,甚至针对上传的图片生成答案,进而打造新一代 AI 应用。
200 多种生成式 AI 模型和工具
在 Model Garden 中,您可选择品类丰富的模型,包括第一方模型(Gemini、Imagen、Chirp、Veo)、第三方模型(Anthropic 的 Claude 模型系列)和开放模型(Gemma、Llama 3.2)。借助扩展程序,模型可获取实时信息并触发相关操作。您还能通过多种调优选项,根据自身使用场景定制模型。
Gen AI Evaluation Service 提供企业级工具,帮助您对生成式 AI 模型进行客观、数据驱动的评估。
开放的集成式 AI 平台
借助 Vertex AI Platform 中的机器学习模型训练、调优与部署工具,数据科学家可大幅提升工作效率。
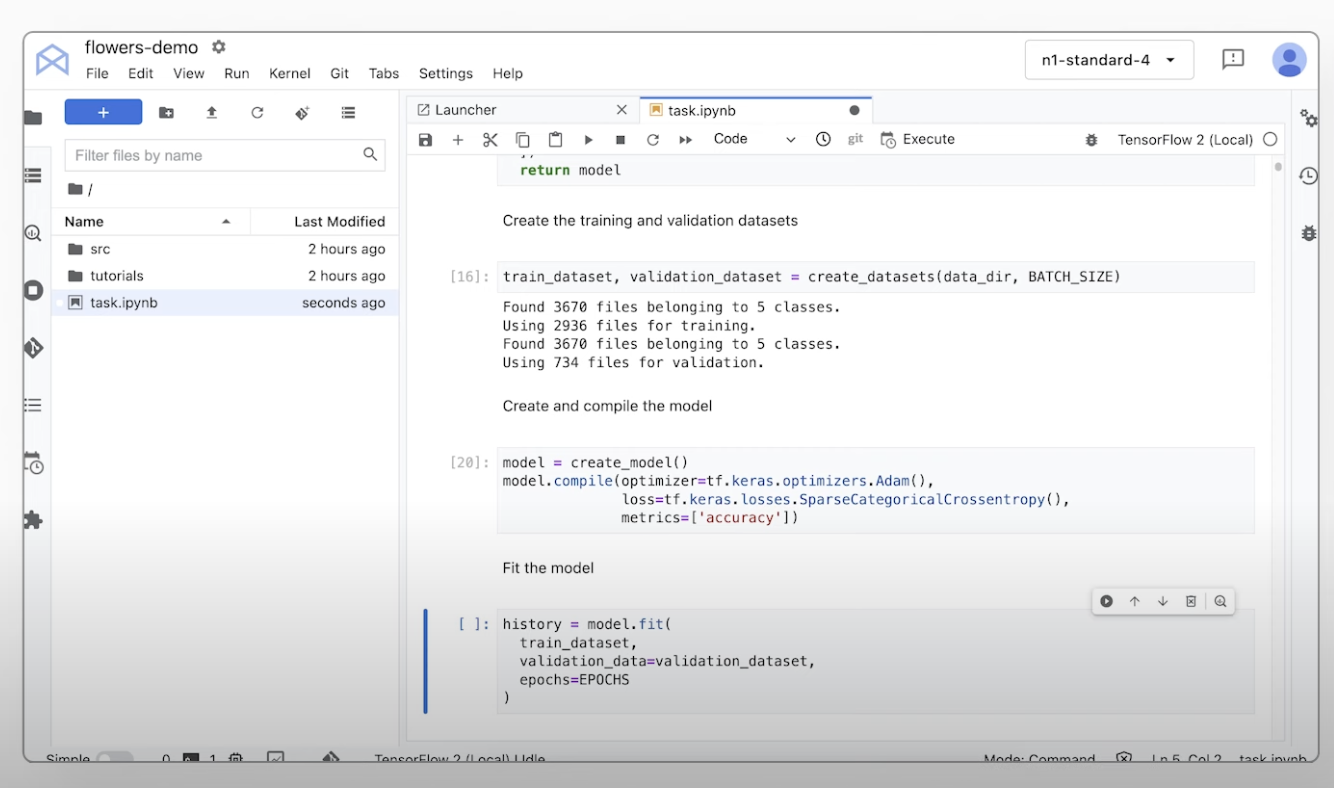
Vertex AI 笔记本(包括您选择的 Colab Enterprise 或 Workbench)与 BigQuery 原生集成,为各类数据及 AI 工作负载提供统一操作途径。
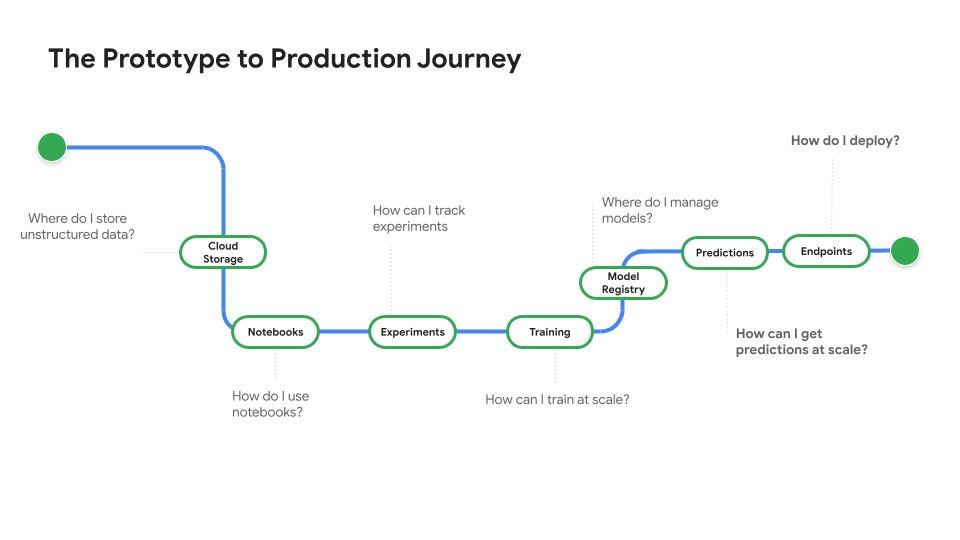
Vertex AI Training 和 Prediction 支持您选用开源框架及优化后的 AI 基础设施,助力缩短训练时间,轻松将模型部署至生产环境。
适用于预测式 AI 和生成式 AI 的 MLOps
Vertex AI Platform 提供专属 MLOps 工具,助力数据科学家与机器学习工程师实现机器学习项目的自动化、标准化和高效管理。
模块化工具支持跨团队协作,在整个开发生命周期中持续优化模型 – 通过 Vertex AI Evaluation 评估筛选适配特定场景的最优模型,借助 Vertex AI Pipelines 编排工作流、利用 Model Registry 管理各类模型、通过 Feature Store 实现机器学习特征的部署、共享和复用,并对模型进行输入偏移与漂移监控。
构建、扩缩和治理企业级智能体
Vertex AI Agent Builder 是我们开放而全面的平台,可帮助企业快速构建、扩缩和治理依托企业自身数据的企业级智能体。该平台提供全栈技术支撑与丰富的开发者自主选择空间,助您将应用及工作流转变为功能强大、可靠稳定的智能体系统,并实现全球范围的规模化部署。
工作方式
Vertex AI 提供多种模型训练和部署选项:
- 生成式 AI 让您可以使用大型生成式 AI 模型(包括 Gemini 3),助力您评估、调优并部署这些模型,应用于您的 AI 驱动型应用中。
- 借助 Model Garden,您可以在 Vertex AI 中发现、测试、定制和部署精选开源 (OSS) 模型和相关资产。
- 自定义训练让您完全掌控训练流程,包括使用您偏好的机器学习框架、编写专属训练代码,以及选择超参数调优方案。
Vertex AI 提供多种模型训练和部署选项:
- 生成式 AI 让您可以使用大型生成式 AI 模型(包括 Gemini 3),助力您评估、调优并部署这些模型,应用于您的 AI 驱动型应用中。
- 借助 Model Garden,您可以在 Vertex AI 中发现、测试、定制和部署精选开源 (OSS) 模型和相关资产。
- 自定义训练让您完全掌控训练流程,包括使用您偏好的机器学习框架、编写专属训练代码,以及选择超参数调优方案。
常见用途
使用 Gemini 模型进行构建
开始使用 Google 的多模态模型
开始使用 Google 的多模态模型
在 Google Cloud Vertex AI 中通过 Gemini API 访问 Gemini 模型
- Python
- JavaScript
- Java
- Go
- Curl
教程、快速入门和实验
开始使用 Google 的多模态模型
开始使用 Google 的多模态模型
代码示例
在 Google Cloud Vertex AI 中通过 Gemini API 访问 Gemini 模型
- Python
- JavaScript
- Java
- Go
- Curl
AI 智能体和应用
利用 Vertex AI 解锁高级 AI 功能
利用 Vertex AI 解锁高级 AI 功能
在可根据需求扩缩的平台上构建可用于生产用途的生成式 AI 智能体及应用。我们的 AI 开发平台 Vertex AI,为 AI 模型及应用的开发和部署,搭建了安全可靠的环境。
对于开发者而言,Vertex AI 依旧是功能强大的高级平台,您可以借助智能体开发套件 (ADK) 等框架,构建、定制和微调复杂的智能体。
立即开始使用此 Codelab 并构建您的第一个 AI 应用
教程、快速入门和实验
利用 Vertex AI 解锁高级 AI 功能
利用 Vertex AI 解锁高级 AI 功能
在可根据需求扩缩的平台上构建可用于生产用途的生成式 AI 智能体及应用。我们的 AI 开发平台 Vertex AI,为 AI 模型及应用的开发和部署,搭建了安全可靠的环境。
对于开发者而言,Vertex AI 依旧是功能强大的高级平台,您可以借助智能体开发套件 (ADK) 等框架,构建、定制和微调复杂的智能体。
立即开始使用此 Codelab 并构建您的第一个 AI 应用
提取、汇总数据,以及对数据进行分类
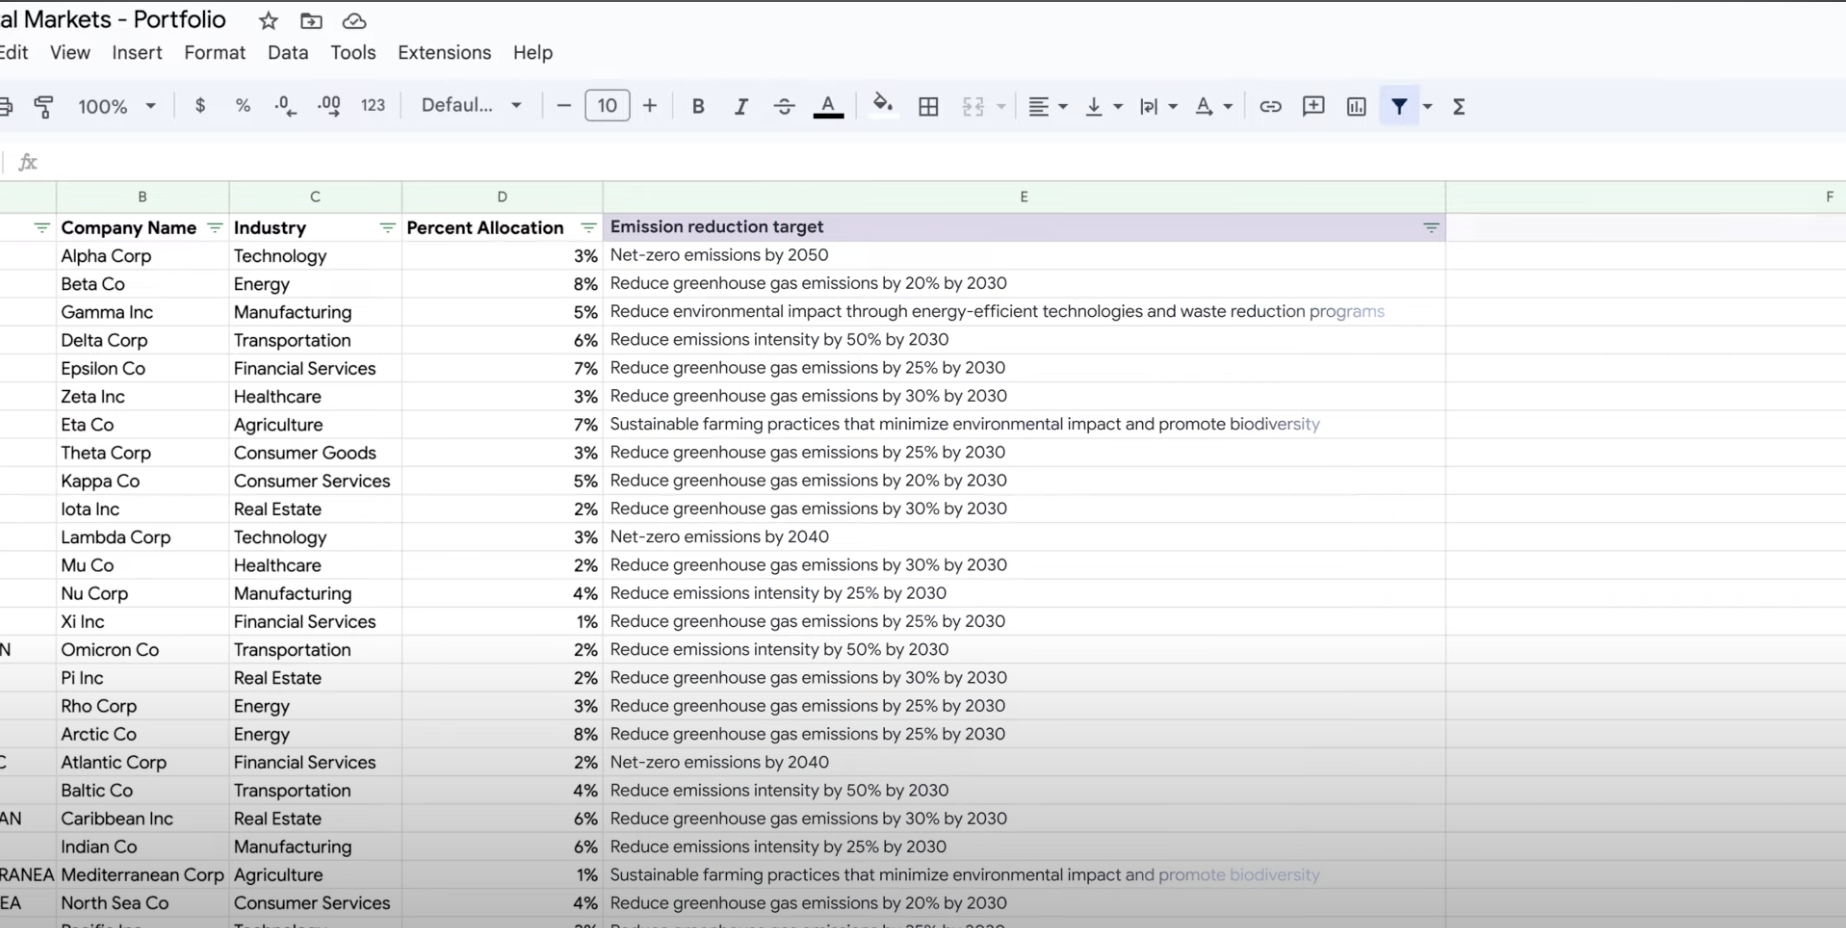
使用生成式 AI 进行总结、分类和信息提取
使用生成式 AI 进行总结、分类和信息提取
了解如何借助 Vertex AI 的生成式 AI 支持,创建可应对各类任务的文本提示。分类、总结、信息抽取是其中最常见的应用场景。借助 Gemini on Vertex AI,您可以灵活地设计提示的结构和格式。
教程、快速入门和实验
使用生成式 AI 进行总结、分类和信息提取
使用生成式 AI 进行总结、分类和信息提取
了解如何借助 Vertex AI 的生成式 AI 支持,创建可应对各类任务的文本提示。分类、总结、信息抽取是其中最常见的应用场景。借助 Gemini on Vertex AI,您可以灵活地设计提示的结构和格式。
价格
| Vertex AI 定价方式 | 按所使用的 Vertex AI 工具、存储、计算和 Google Cloud 资源付费。新客户可获赠 $300 赠金,用于试用 Vertex AI 和 Google Cloud 产品。 | |
|---|---|---|
| 工具和用法 | 说明 | 价格 |
生成式 AI | 用于生成图片的 Imagen 模型 按图片输入、字符输入或自定义训练的对应价格计费。 | 起价 $0.0001 |
文本、对话和代码生成 按每 1,000 个输入字符(提示)和每 1,000 个输出字符(响应内容)计费。 | 起价 $0.0001 这是每 1,000 个字符的价格 | |
自定义训练模型 | 联系销售团队 | |
Vertex AI 笔记本 | 计算和存储资源 计费标准与 Compute Engine 和 Cloud Storage 相同。 | 参阅产品 |
管理费 除上述资源使用费外,您还需要根据所使用的区域、实例、笔记本和托管式笔记本支付管理费用。查看详细信息。 | 参阅详细信息 | |
Vertex AI Pipelines | 执行费用和额外费用 按执行收费标准、所用资源及各项额外服务费计费。 | 起价 0.03 美元 每次流水线运行 |
Vertex AI Vector Search | 服务和构建费用 定价取决于您的数据规模、您要运行的每秒查询量 (QPS) 和使用的节点数量。查看示例。 | 参考示例 |
查看所有 Vertex AI 功能和服务的价格详情。
Vertex AI 定价方式
按所使用的 Vertex AI 工具、存储、计算和 Google Cloud 资源付费。新客户可获赠 $300 赠金,用于试用 Vertex AI 和 Google Cloud 产品。
文本、对话和代码生成
按每 1,000 个输入字符(提示)和每 1,000 个输出字符(响应内容)计费。
Starting at
$0.0001
这是每 1,000 个字符的价格
Vertex AI Pipelines
执行费用和额外费用
按执行收费标准、所用资源及各项额外服务费计费。
Starting at
0.03 美元
每次流水线运行
查看所有 Vertex AI 功能和服务的价格详情。
业务用例
充分发掘生成式 AI 的潜力

“Google Cloud 生成式 AI 解决方案的准确率和 Vertex AI Platform 的实用特性,让我们敢于将这项尖端技术落地于业务核心,朝着‘零延迟响应’的长期目标稳步前行。”
GA Telesis 首席执行官 Abdol Moabery
